One man's struggle to take it easy
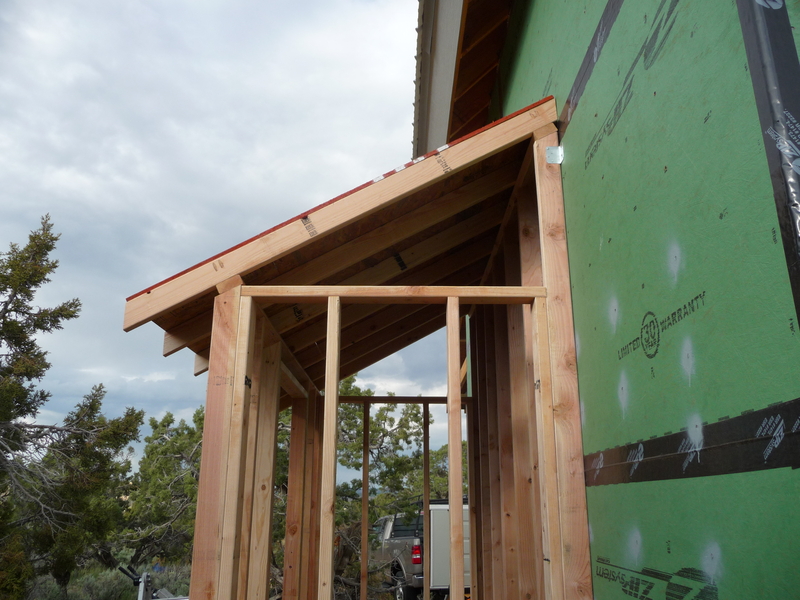
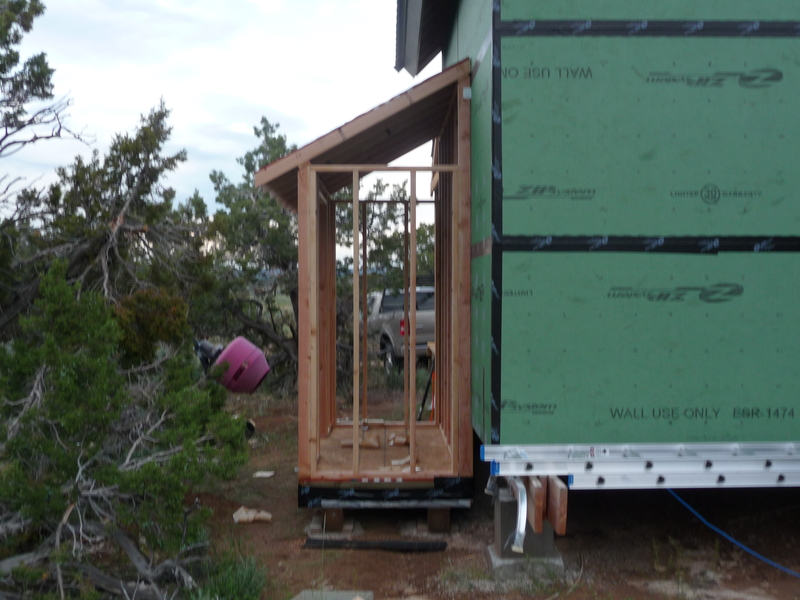
Cabin: Utility Building
Tuesday, Jul 05, 2011
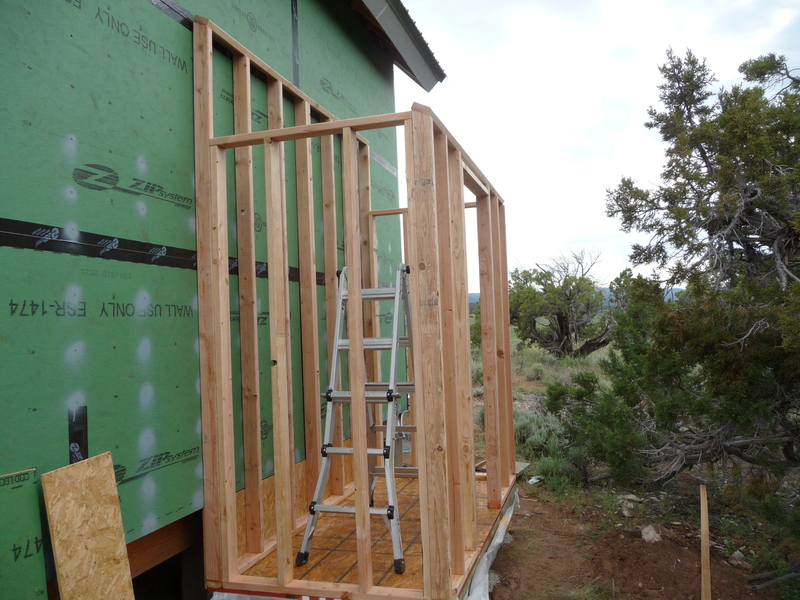
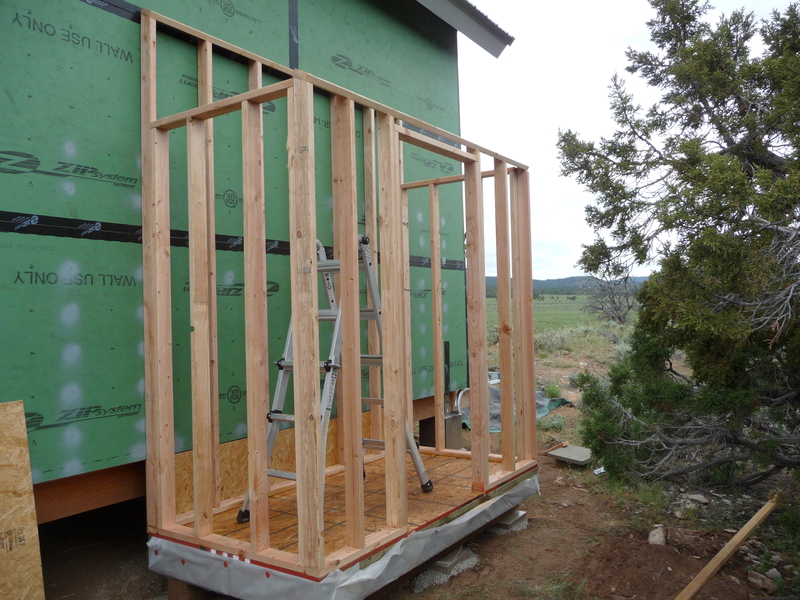
Over July 4th weekend I started building a "utility room" for the cabin. This 4'x8' building has one wall which is adjacent to the cabin but is essentially a discrete structure. There is no direct access from the cabin to the utility building, rather the utility building has its own exterior door. The purpose of the utility building is to house a water tank, water heater, electrical panel, battery bank, water pump, etc. The wall the utility building "shares" with the main cabin is the wall where the kitchen cabinets and appliances and bathroom sink and shower will be located allowing all plumbing, gas, and electrical to be run through the shared wall. The LP tanks will be stored on one end of the utility building and run into the utility building to directly supply the water heater, and then into the cabin through the adjacent wall to supply the refridgerator and range. The only LP appliance which will not be installed along the adjacent wall is the cabin's heater which will be located on the opposite wall. The gas line for the heater will run through the utility building and under the cabin to the opposite wall.
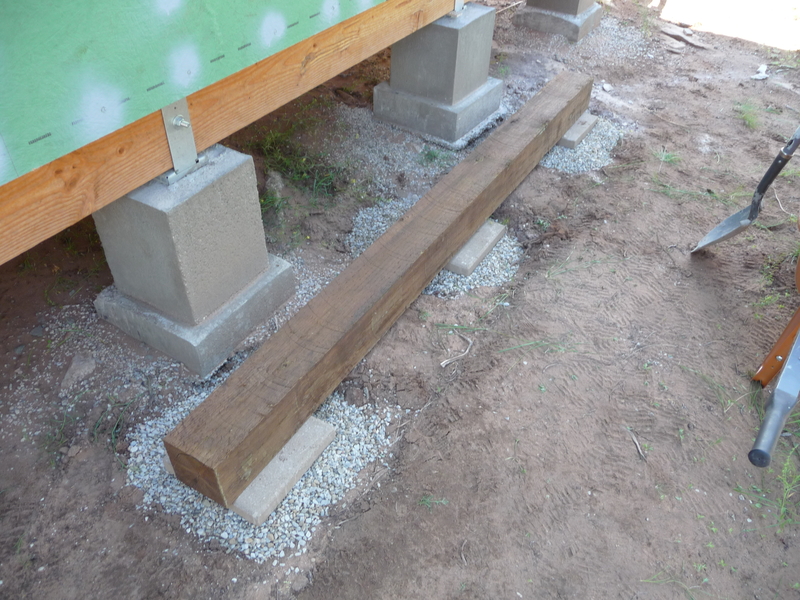
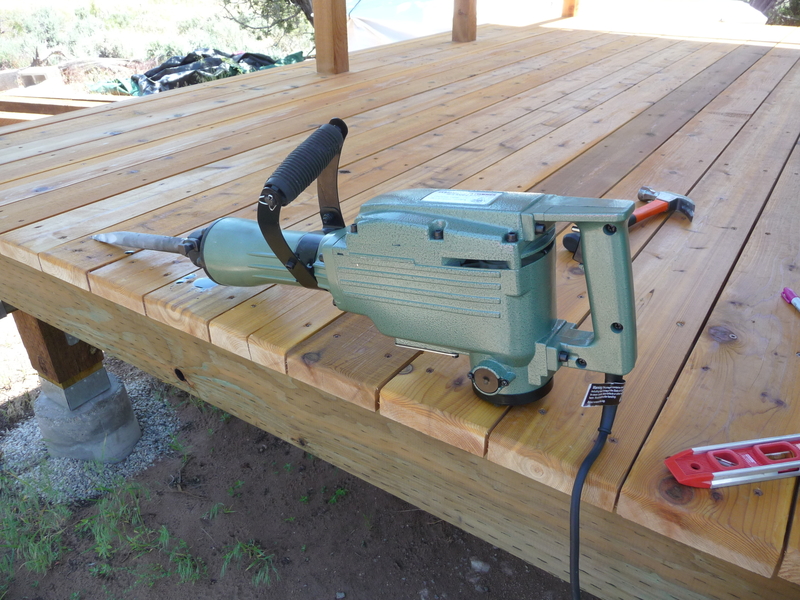
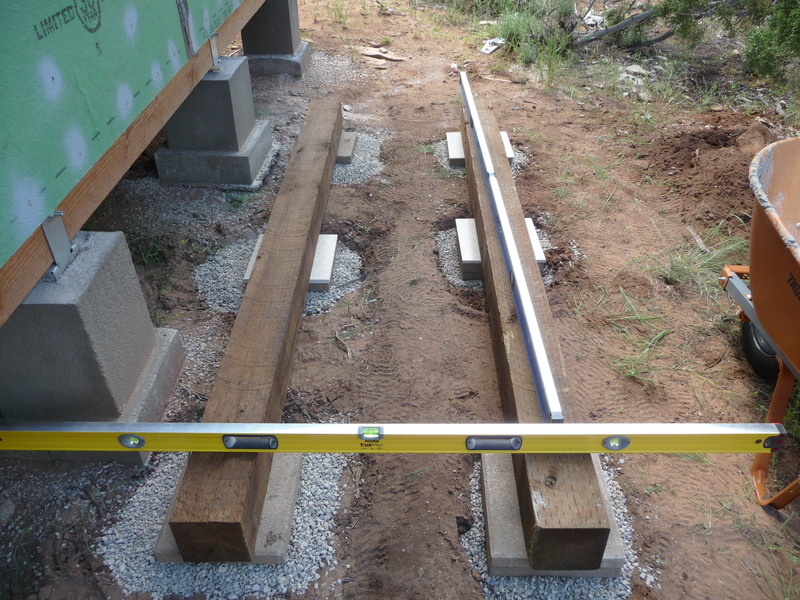
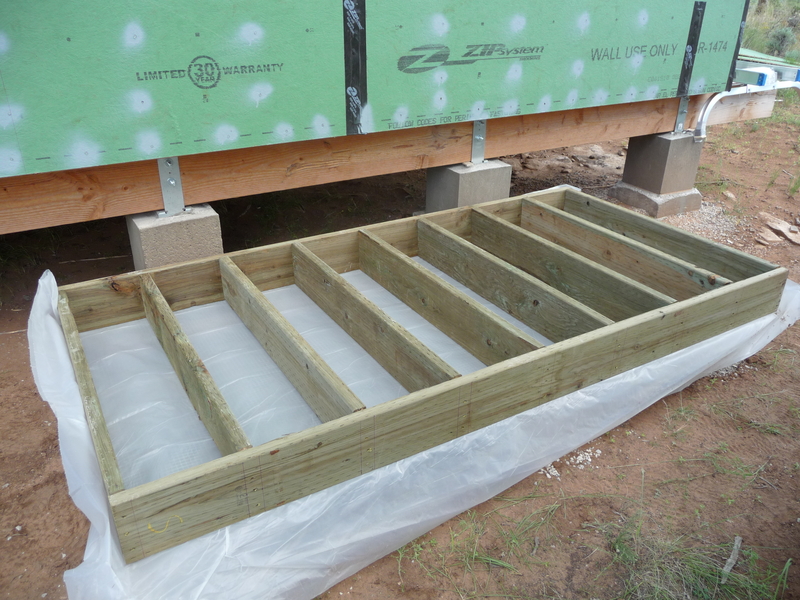
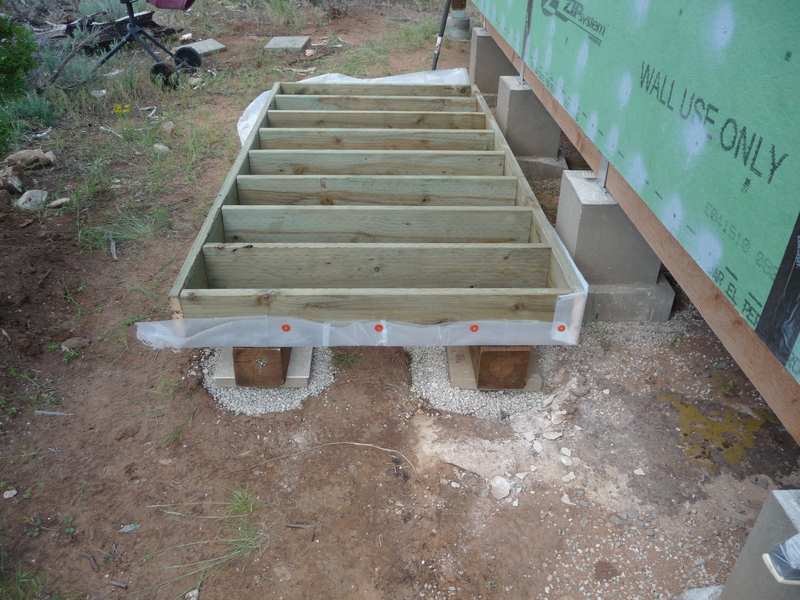
The foundation for the utility building consists of two treated 6x6 beams each supported by three gravel and stone pads. The beams are placed two feet apart and the floor is cantilevered six inches for a total of four feet. This should provide adequate support for the 1600 lbs. the water tank will weigh when full. There were some areas of protruding rock where I needed to place the pads so I used a jackhammer to remove the rock.

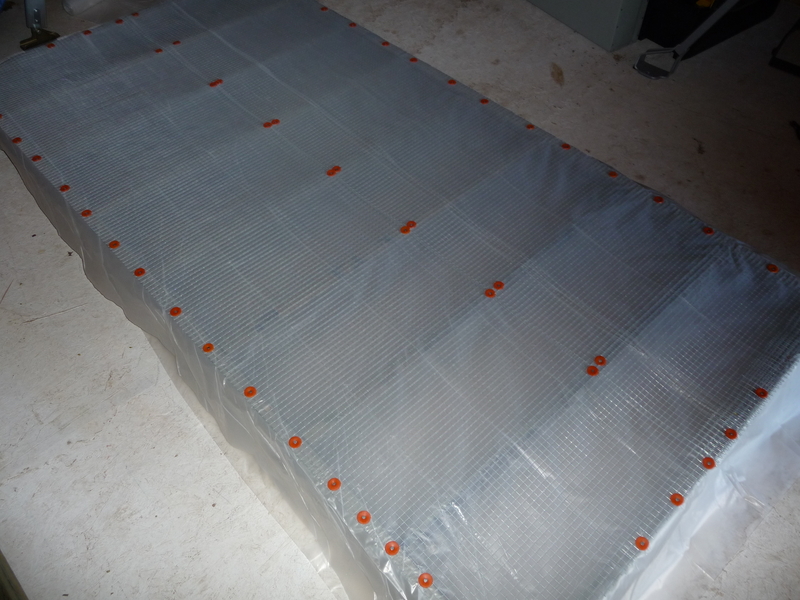
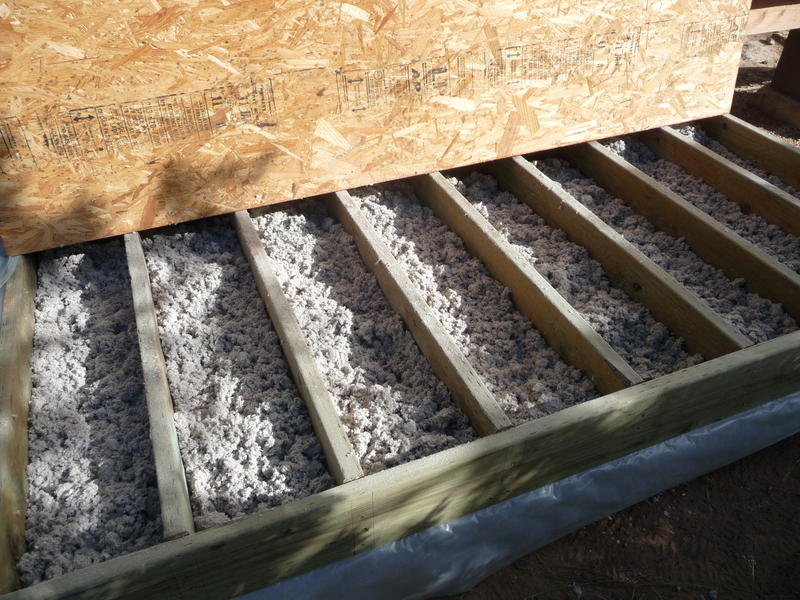
The floor is made up of 2x8 treated joists placed 12" O.C. The closer spacing is designed to support the weight of the water tank. The bottom of the floor is covered in a plastic vapor barrier and then a layer of hardware cloth to keep any critters out. I added a bundle of "blown-in" type insulation to the floor. Despite the labeling on the package indicating more than enough insulation to fill the floor, I found that trying to "de-compact" the compacted insulation by hand was difficult and in the end did not result in the volume I was hoping for. The top layer of the floor is standard 3/4" osb.


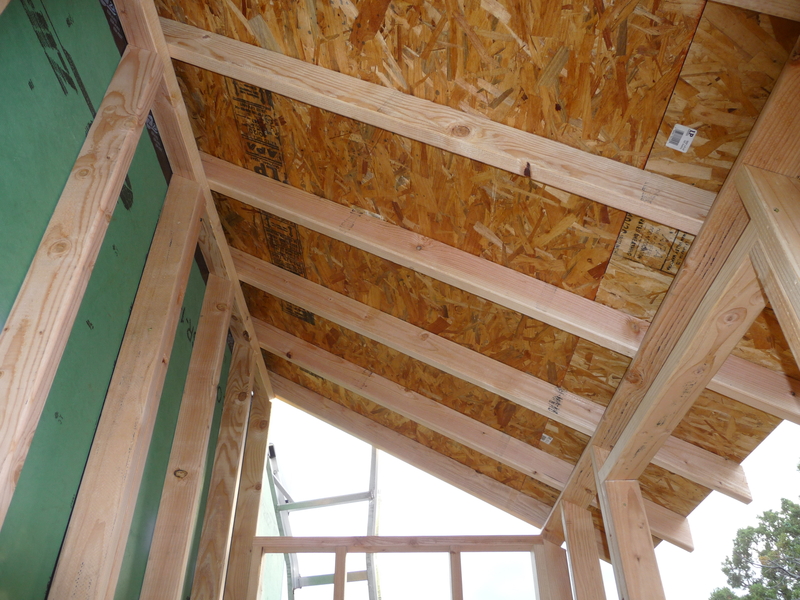
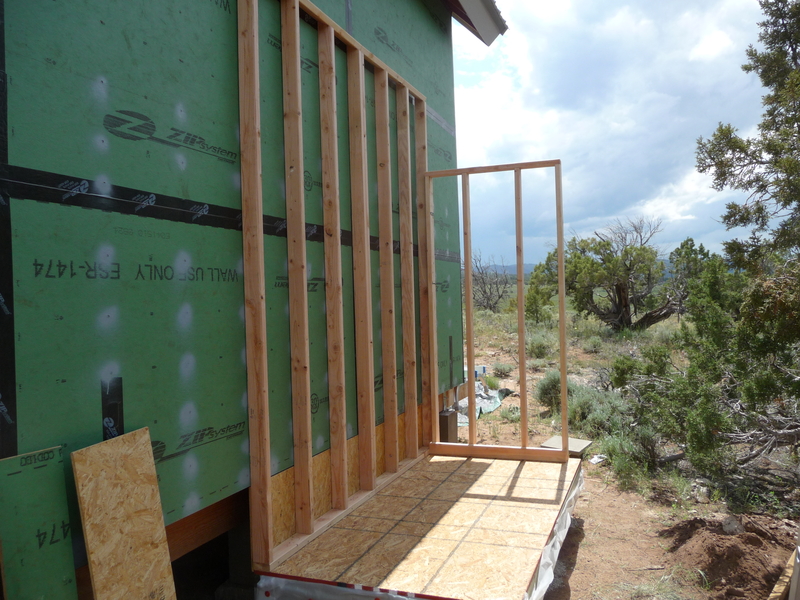
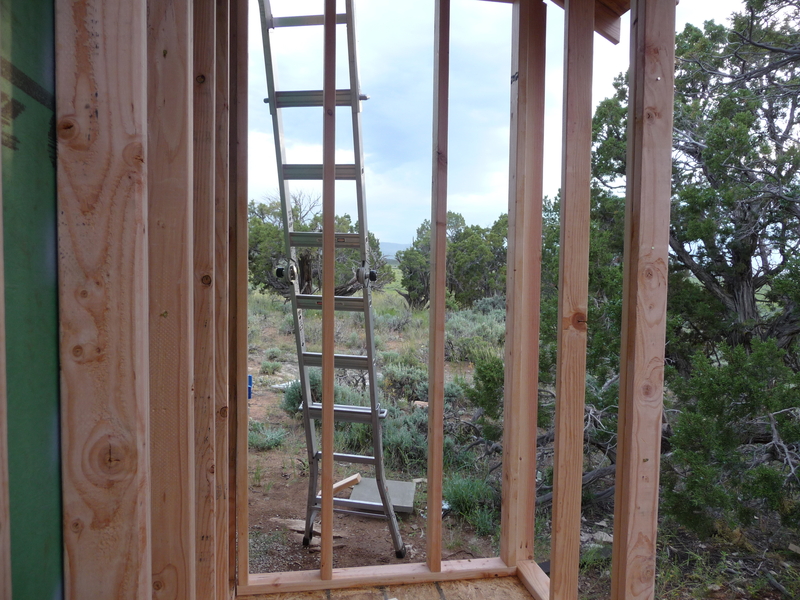
Framing was fairly standard 2x4, 16" OC with the exception of the rear wall being 2' taller to support the shed style roof. The top plates on the front and back walls are angled 26.5 degrees so the rafters will rest directly on the plates rather than notching them.

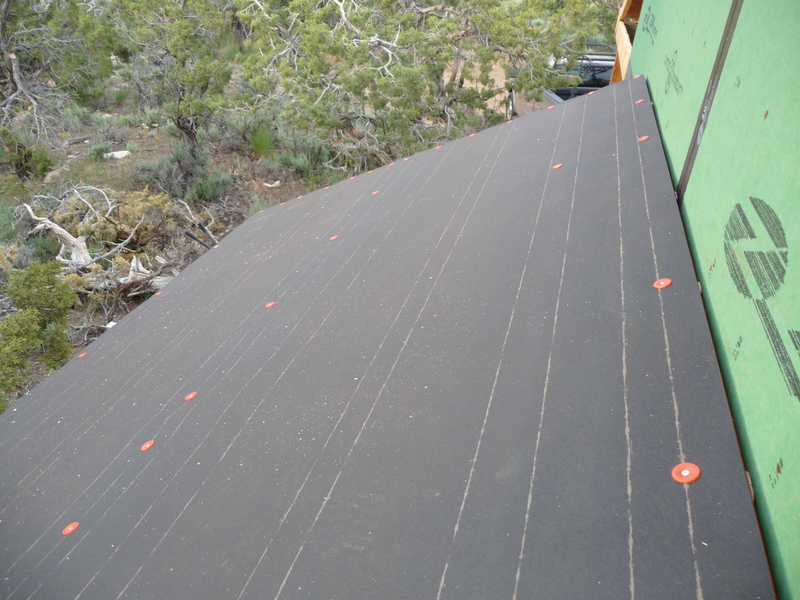
Finally, the roof was added using 2x4 rafters (well under maximum span) and sheathed with OSB and a layer of 30lb tar paper.