One man's struggle to take it easy
Cabin: Spring 2011 - Porch
Monday, May 23, 2011
I finally got started on the cabin again this spring after a long delay due to bad weather, vacation, and illness. I feel like I’m getting a really late start this year but looking back at last year, I didn’t finish the foundation until July 7th and I was able to get a staggering amount finished before winter. So I’m really ahead of schedule compared to last year.
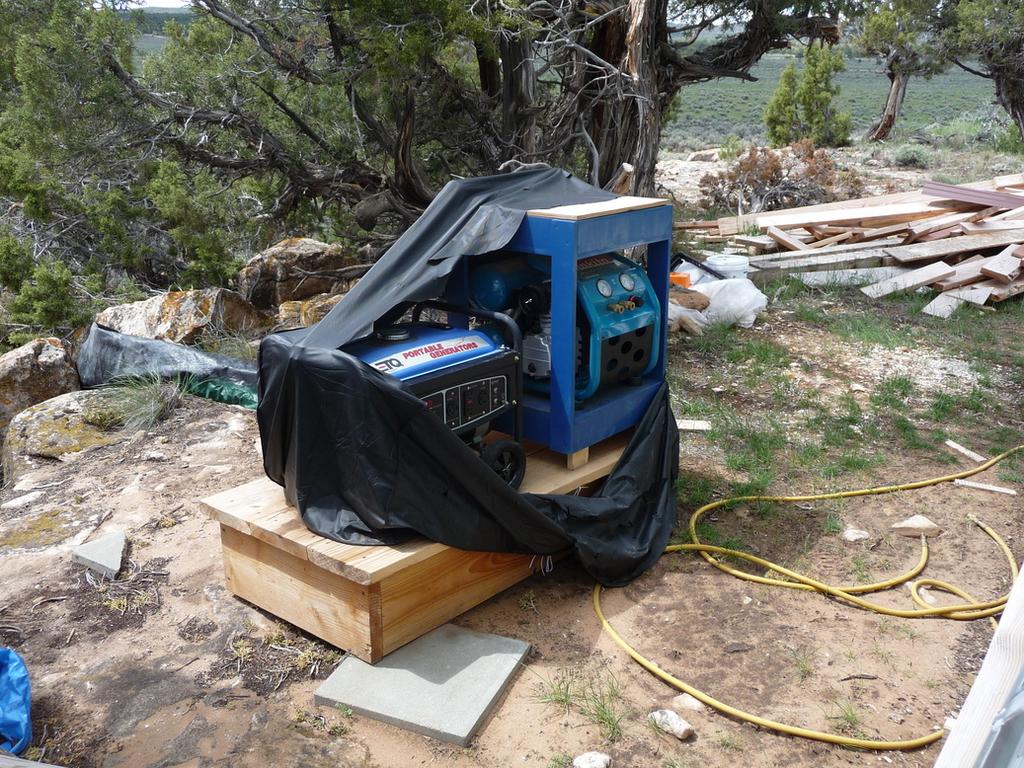
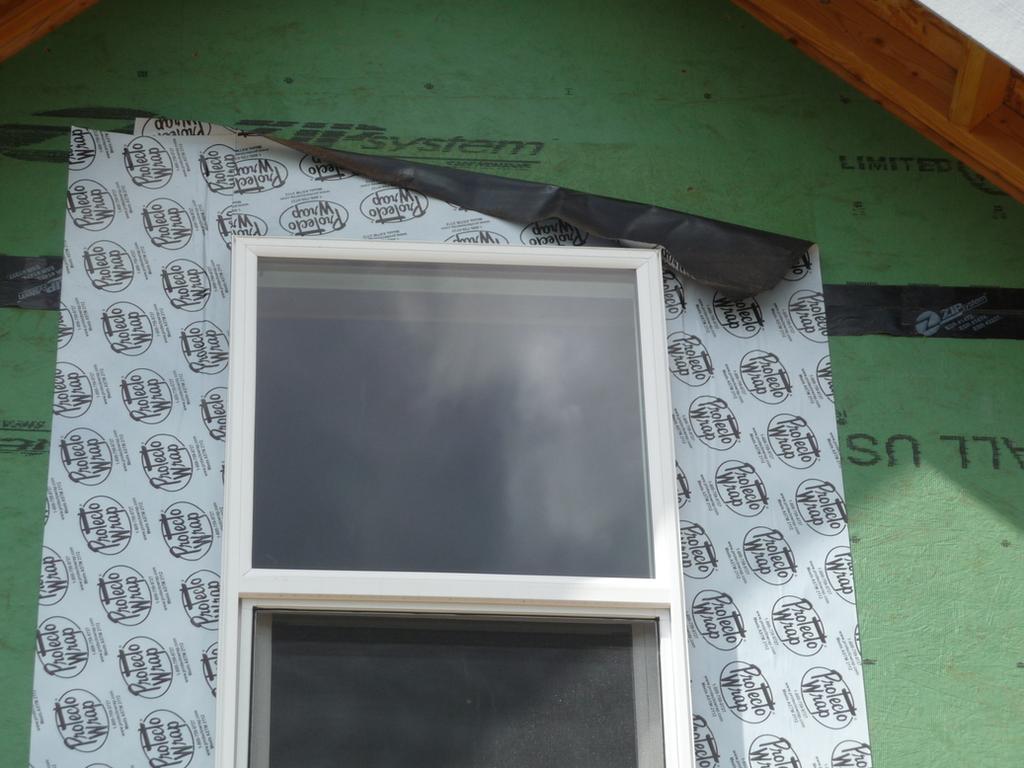
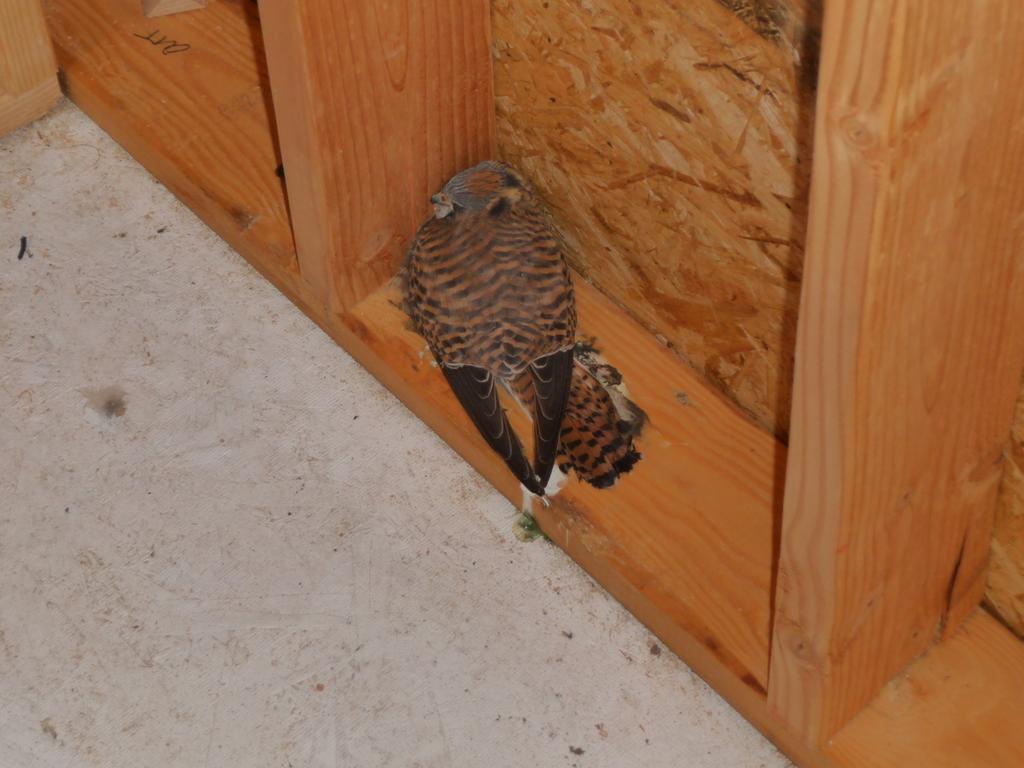
I hadn’t visited the cabin since January and was concerned about the condition it might be in after the harsh winter but everything was fine with the exception of a few minor issues. A bit of the sealing tape had blown loose from one of the windows, the cover over the generator and compressors had been blown to shreds, and there was a dead bird inside. The generator started on the third pull in spite of being exposed to the weather for several months. I’m continually amazed at how well a $300 generator has operated over the last three years.
This spring I started working on the front porch. I decided to build the porch before installing siding reasoning that it would be easier to install the siding around the porch rather that cutting siding out later or trying to calculate where the porch was going to be installed.
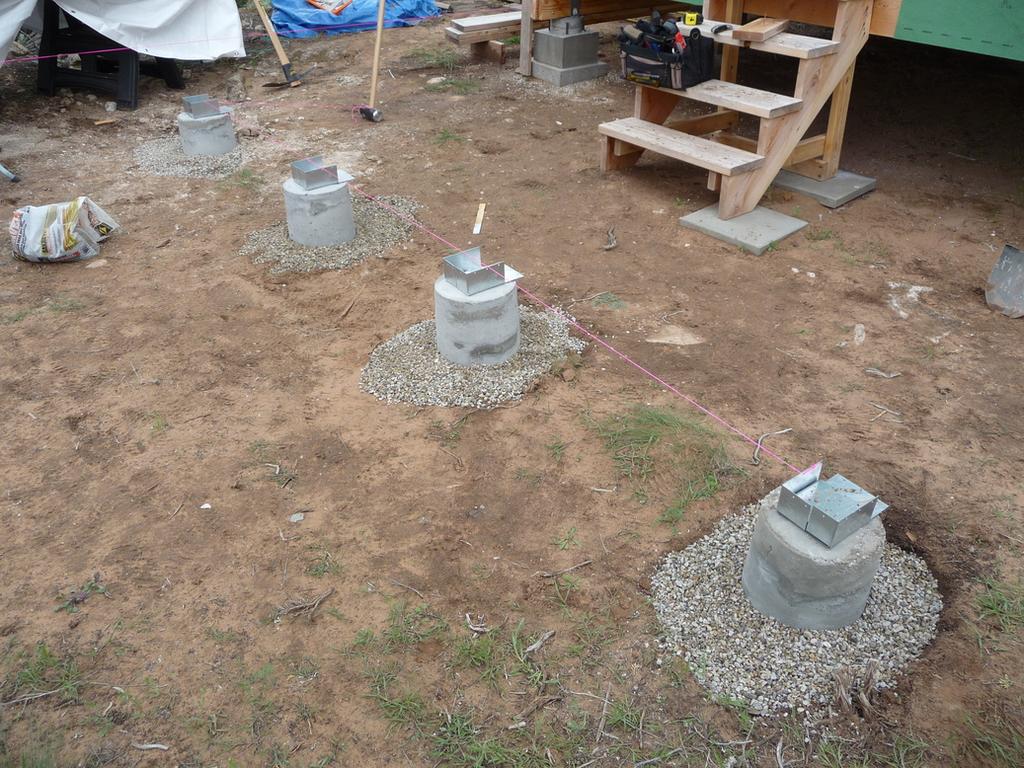
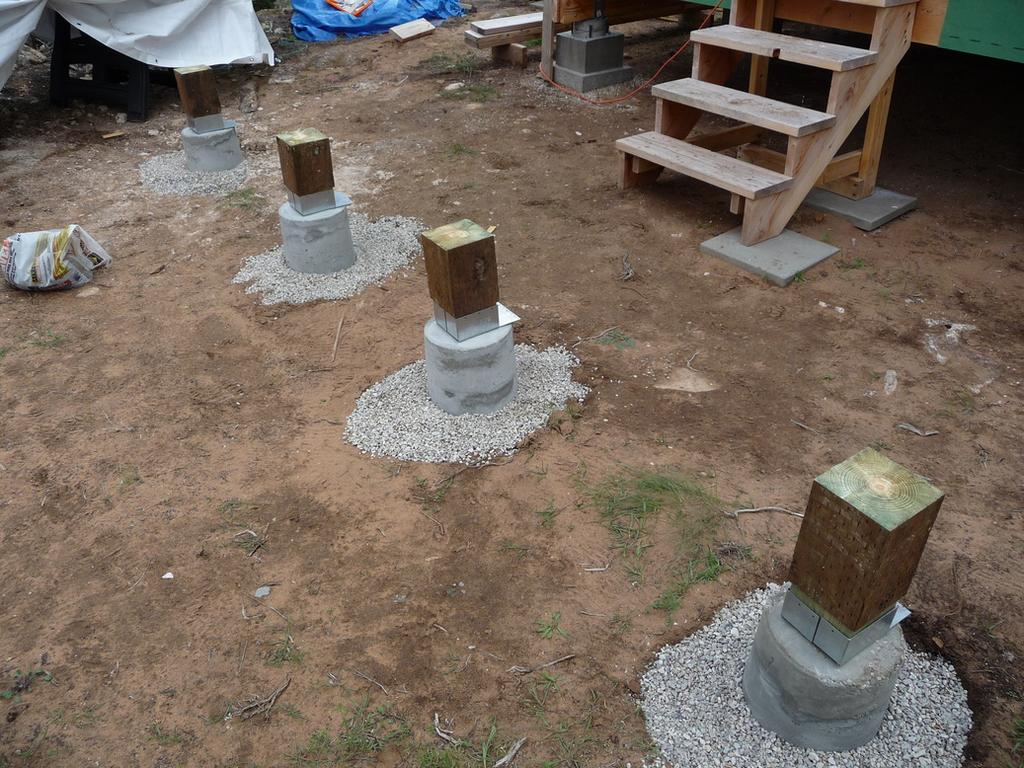
The porch will be a covered “deck” extending 8 feet from the front of the cabin and the full width (14 ft.). It will be attached on the cabin side via a double 2x8 ledger and the front will be supported by a triple 2x8 beam supported by 6x6 posts resting on 4 concrete piers.
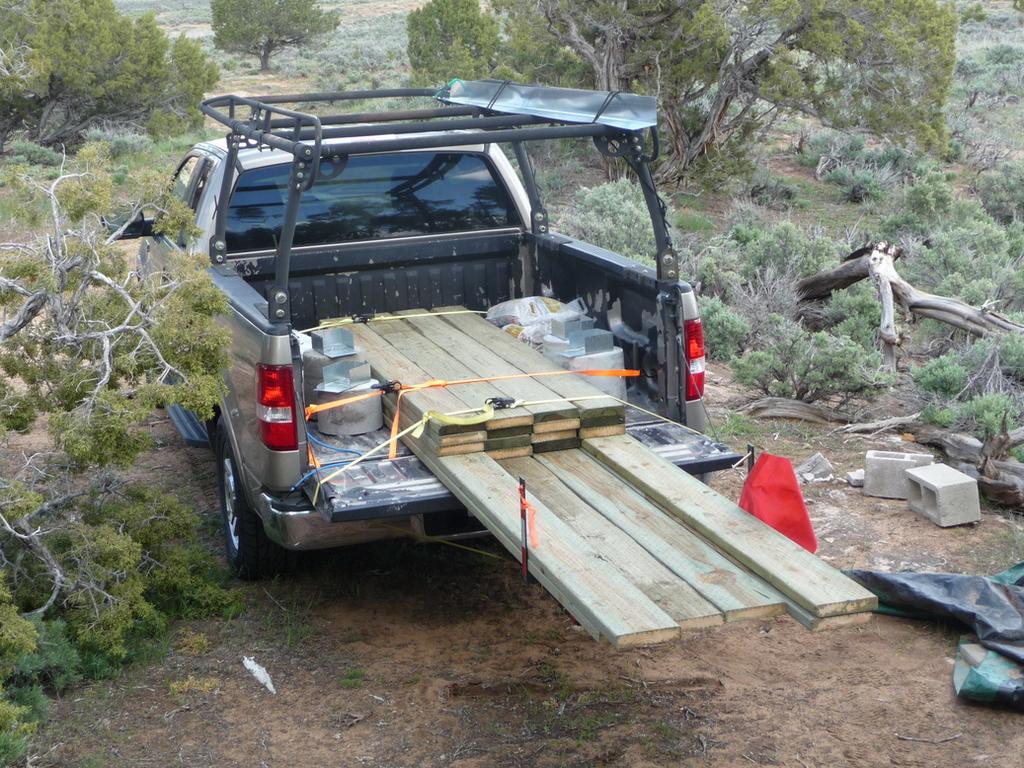
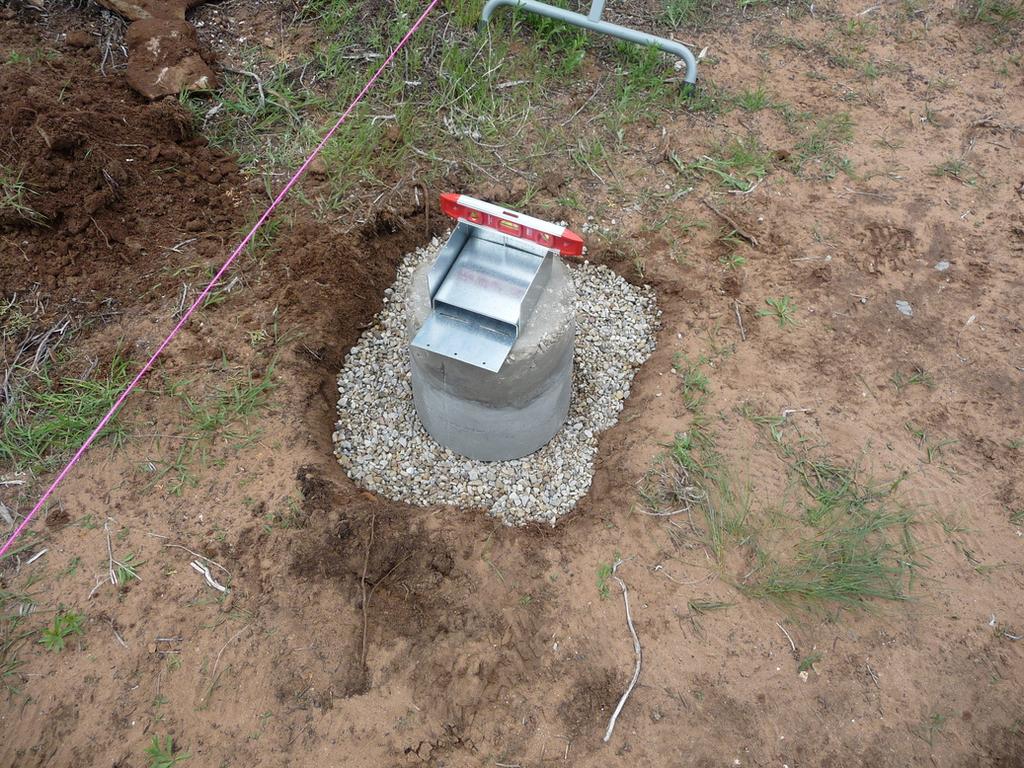
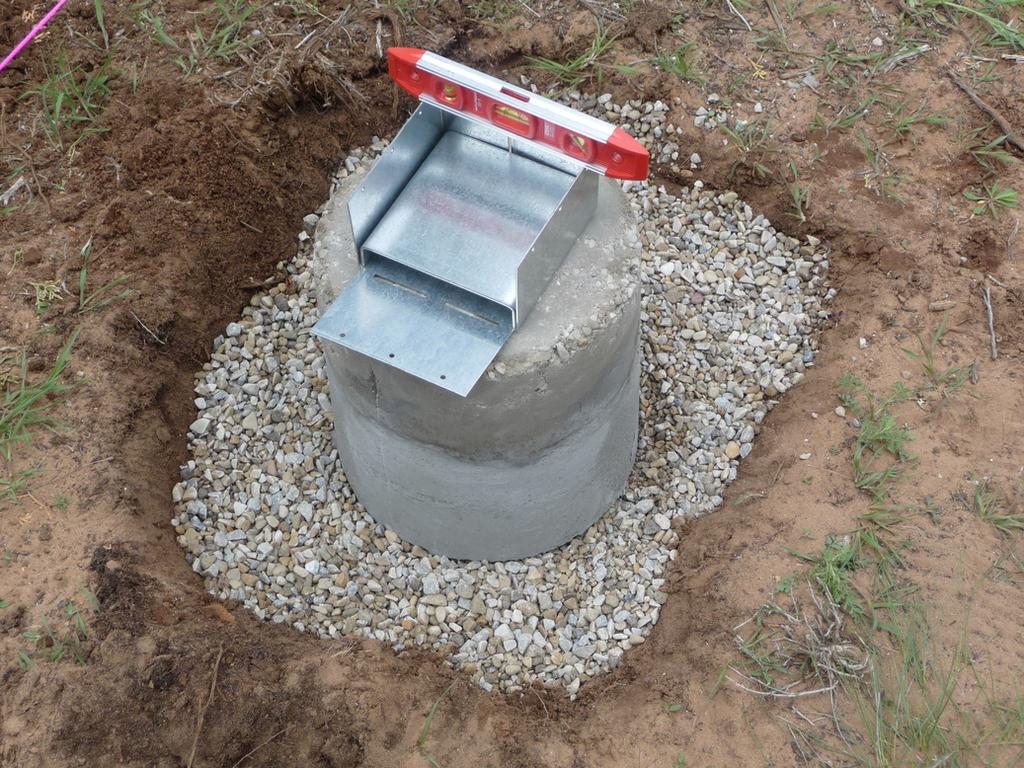
The only precast deck piers available locally are designed for 4x4 posts and are of dubious quality so I created my own piers by mixing concrete and filling 5 gallon buckets. I then cut the buckets off (they wouldn’t slide off in spite of greasing the sides w/ motor oil before pouring) and attached 6x6 post bases with 1/2” wedge anchors.
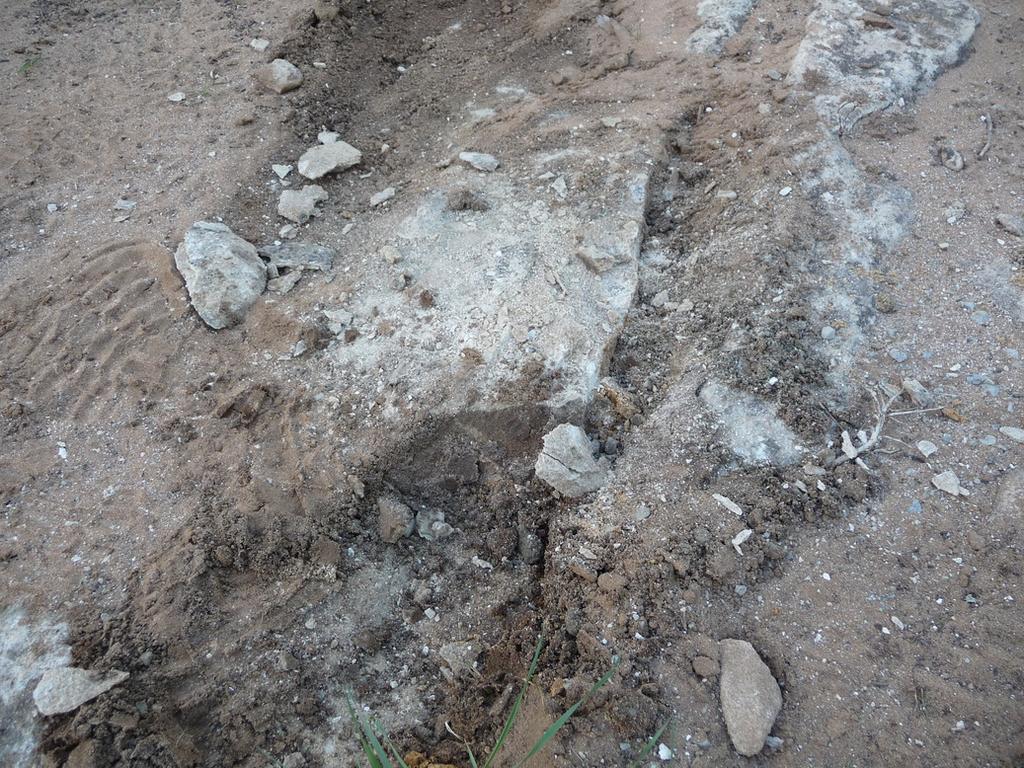
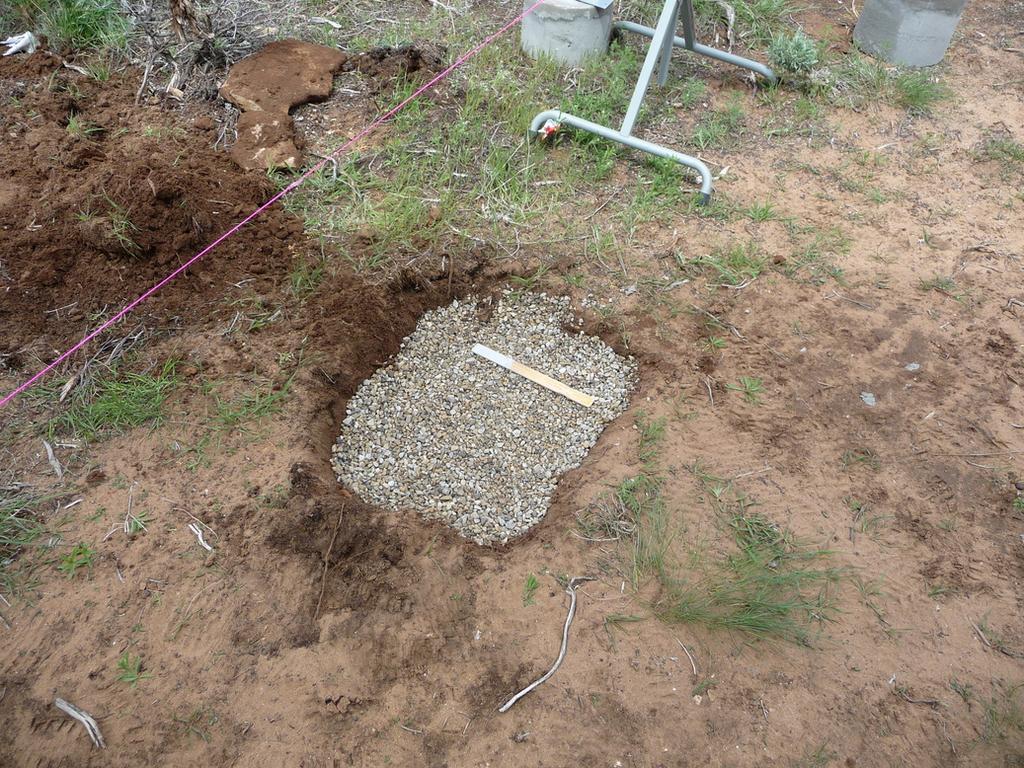
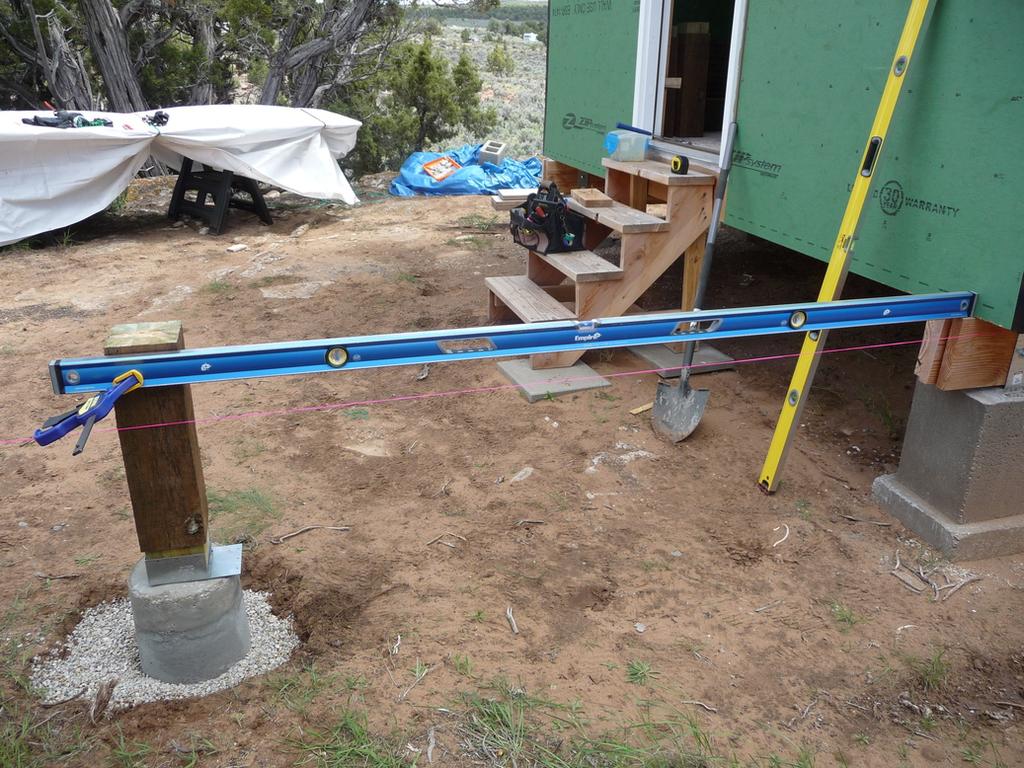
Installing the piers wasn’t difficult and involved digging a few inches down to solid rock and leveling the holes with gravel. There was one protruding piece of jagged rock in one of the pier locations which I had to remove with a pick axe and sledge hammer. The most difficult part of setting the piers was getting them lined up correctly but since they support a beam which will then support the deck joists, positioning wasn’t absolutely critical.
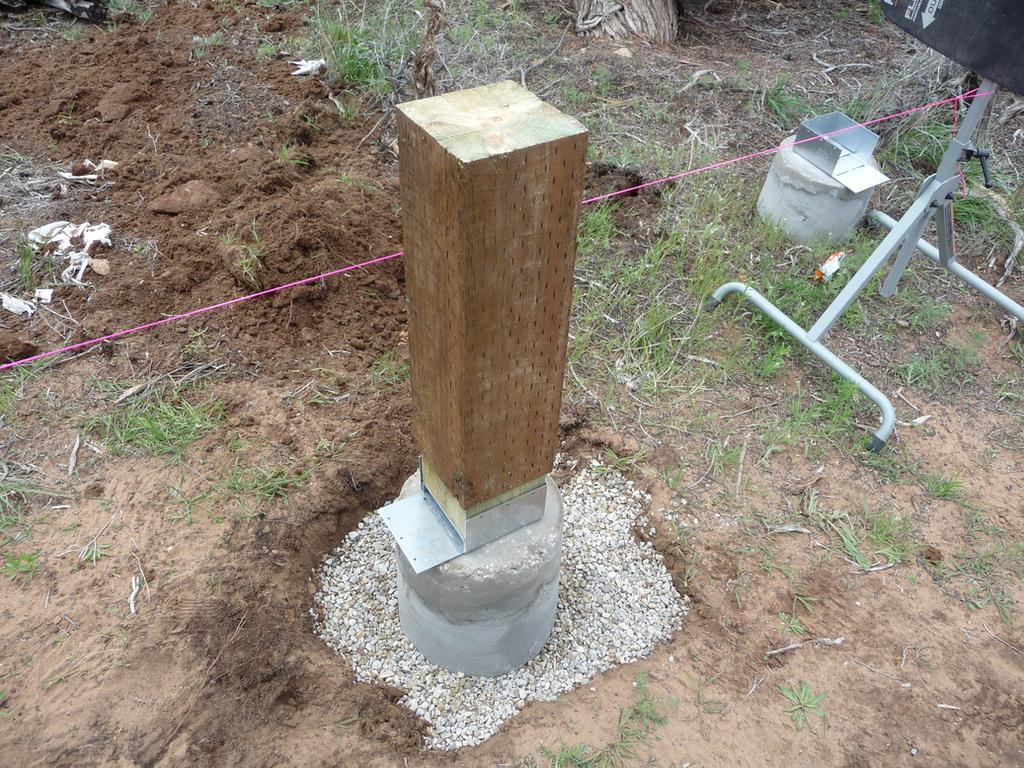
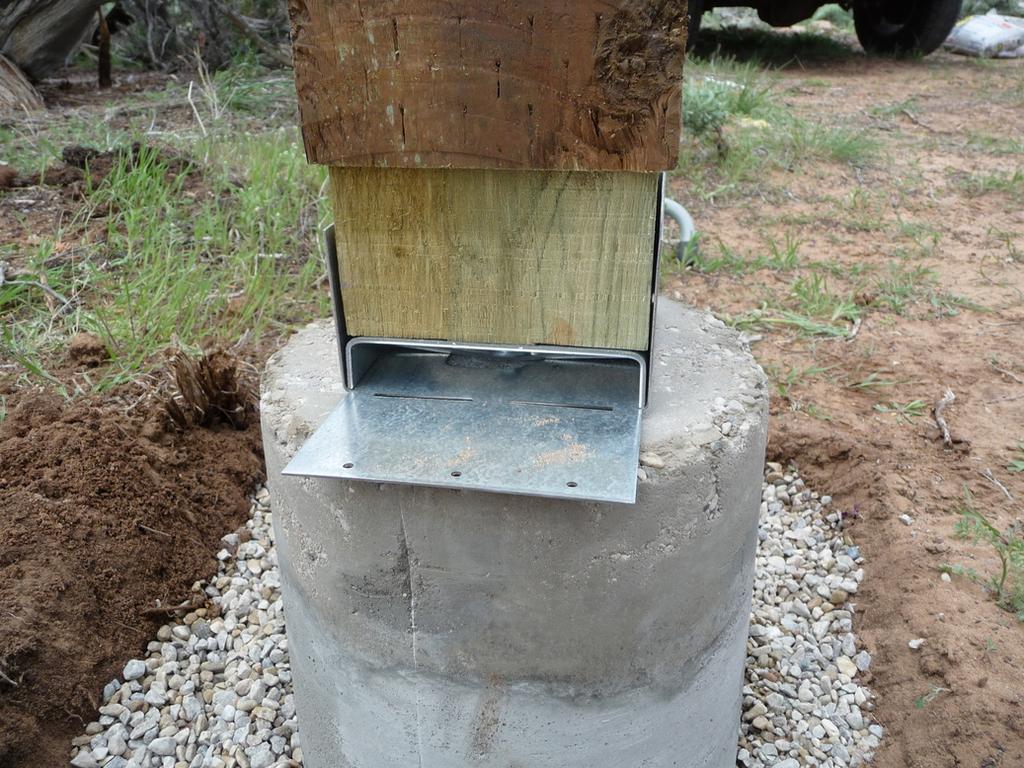
The concrete piers support treated 6x6 posts which will then support the beam. An issue arose when I discovered that the 6x6 posts I ordered were actually a full 6 inches square instead of a nominal 5-1/2 inches. The metal post bases were sanely designed for a “standard” 6x6 and the posts were 1/2” too big to fit in the bases. I ended up cutting a giant tenon on the end of each post using the table saw and a dado blade. This worked fine but required many extra cuts as I had to cut down the 8 ft 6x6 into 2 ft pieces in the shop so I could cut the tenons on the table saw prior to taking them to the cabin site. Cutting a 6x6 post requires cutting each side to the full depth of the circular saw and finishing the uncut center portion with a sawzall so making the tenons involved 15 extra cuts.
Once the piers were in position, I was able to mark and cut the corner posts using a new 96” level to line them up with the bottom of the cabin and cut the inner posts to size based on the height of the outer posts.
Weather permitting, this weekend I’ll be working on the beam, ledger, joists, and decking.
Cabin: Finish Roof
Monday, Nov 08, 2010
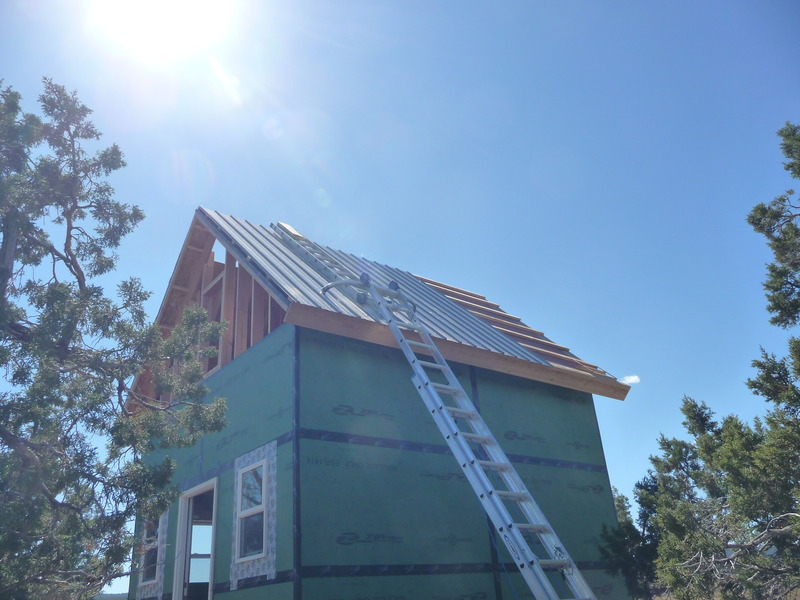
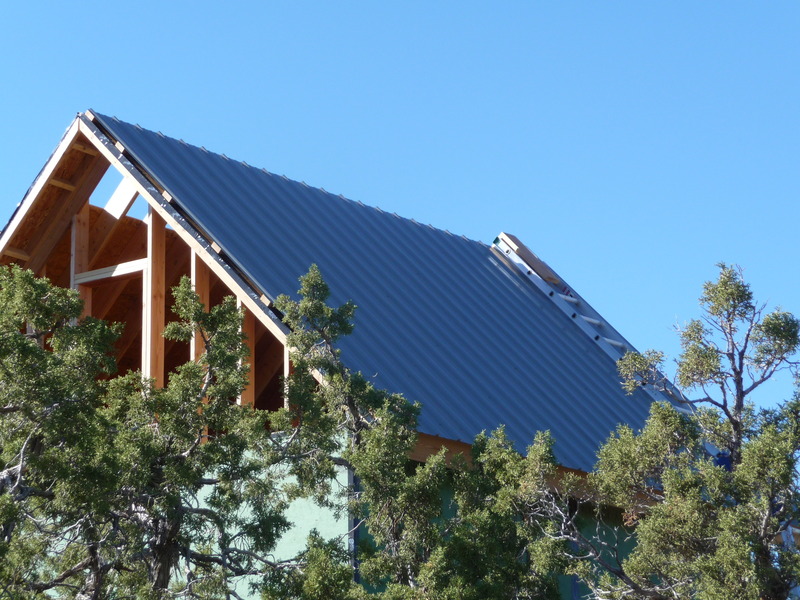
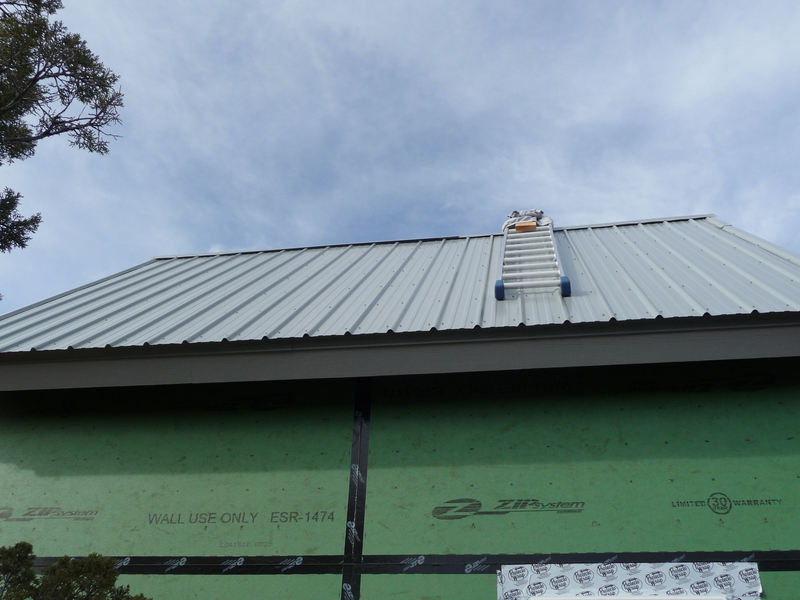
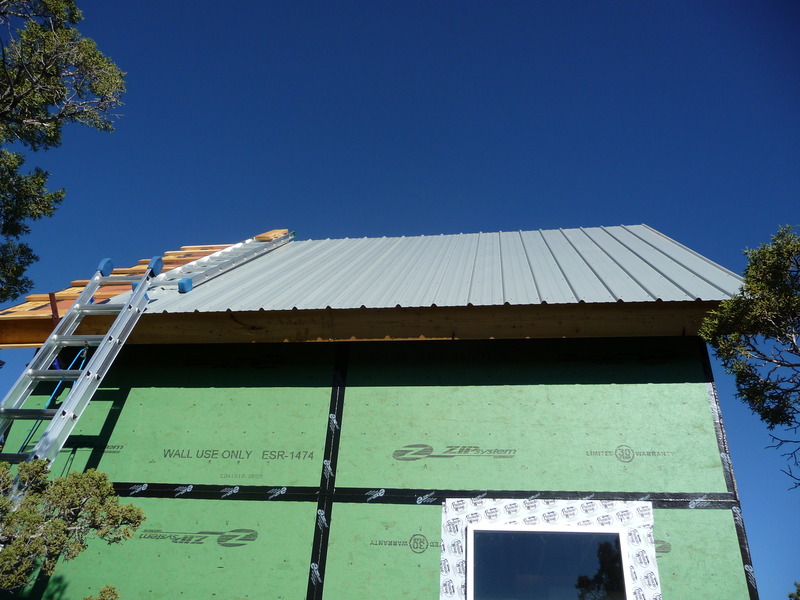
While it may not look like much has been accomplished over the last few weeks, this past weekend a fairly major milestone was passed. The roof of the cabin is finished and the cabin should be completely weatherproof, just in time for winter.
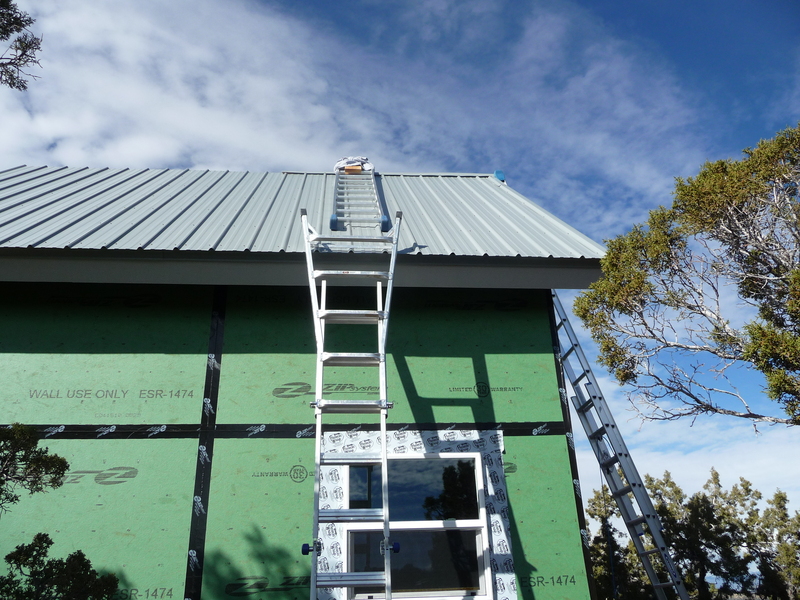
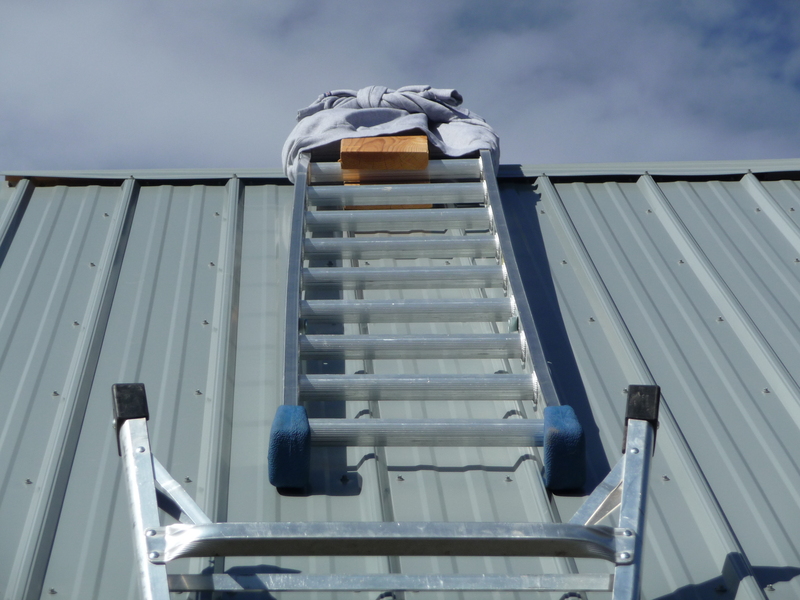
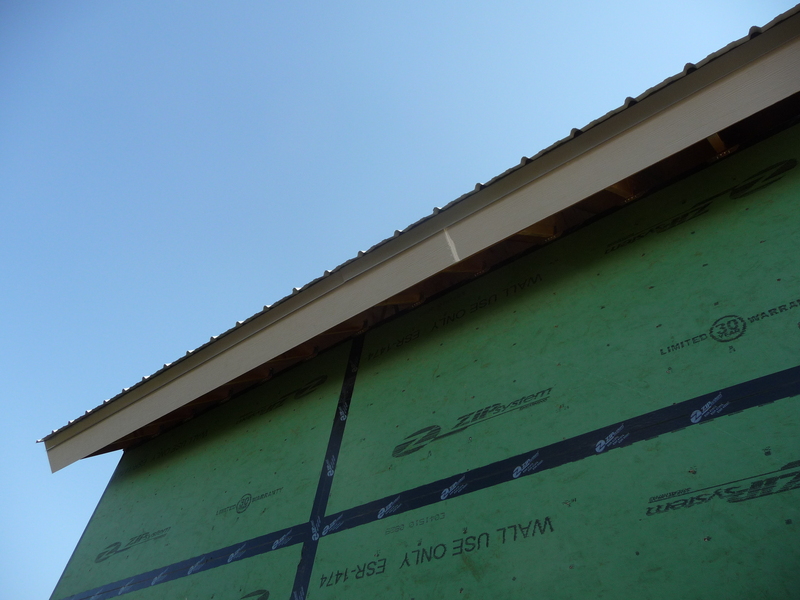
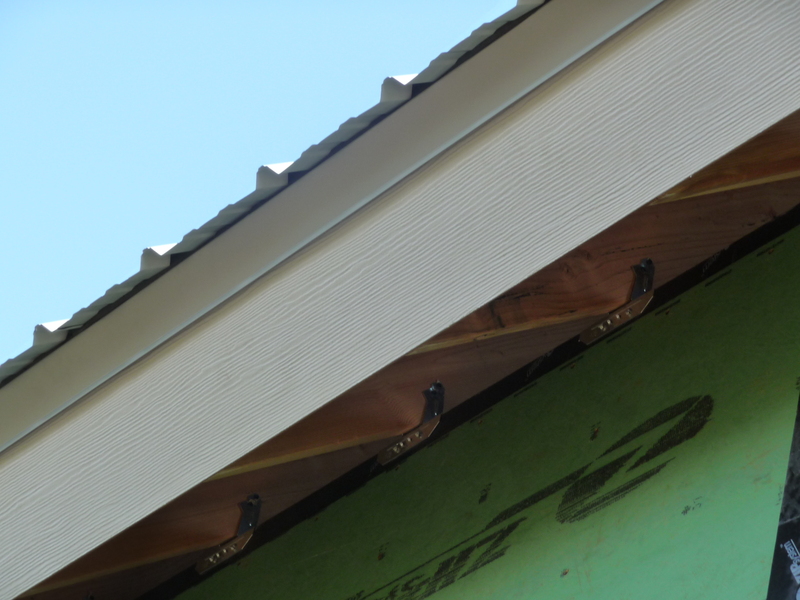
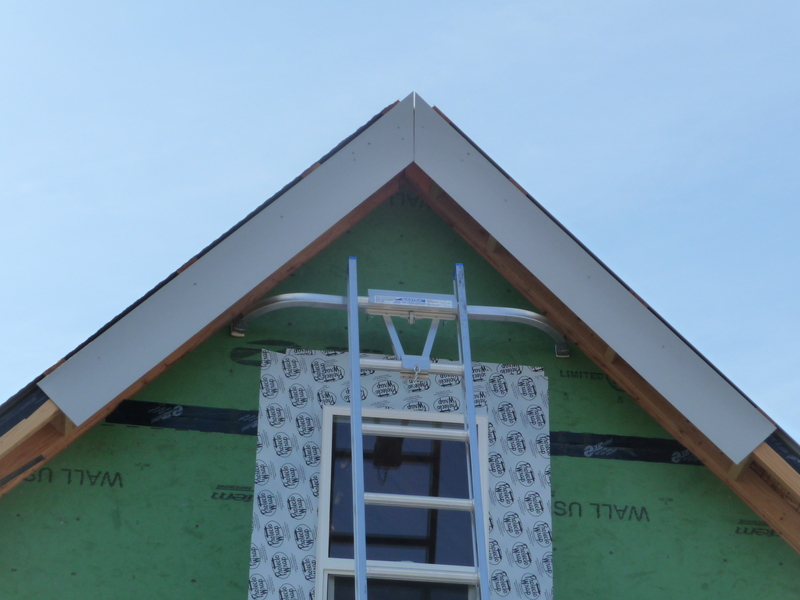
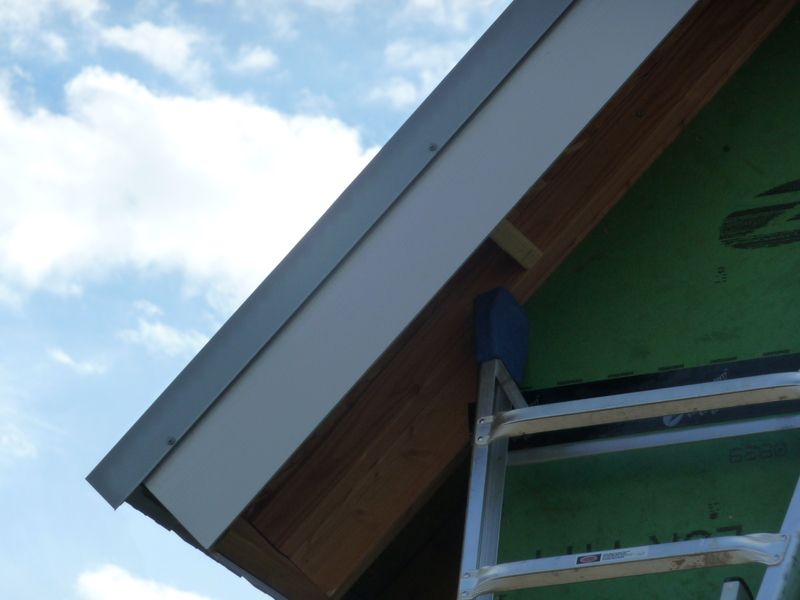
Last weekend I finished the fascia and all the gable flashing and installed the ridge cap. Mostly this involved constantly climbing up and down one of three ladders and moving ladders around.
Cabin: Gable windows and some roof work
Monday, Oct 18, 2010
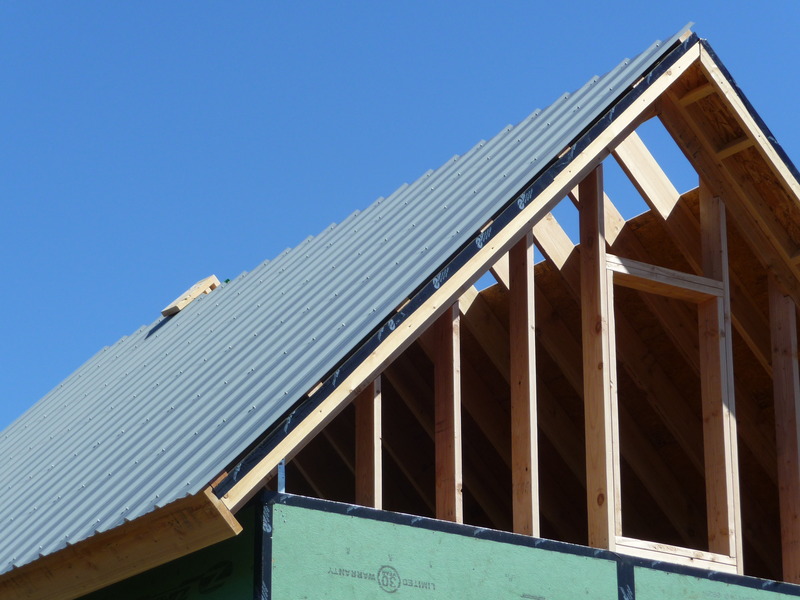
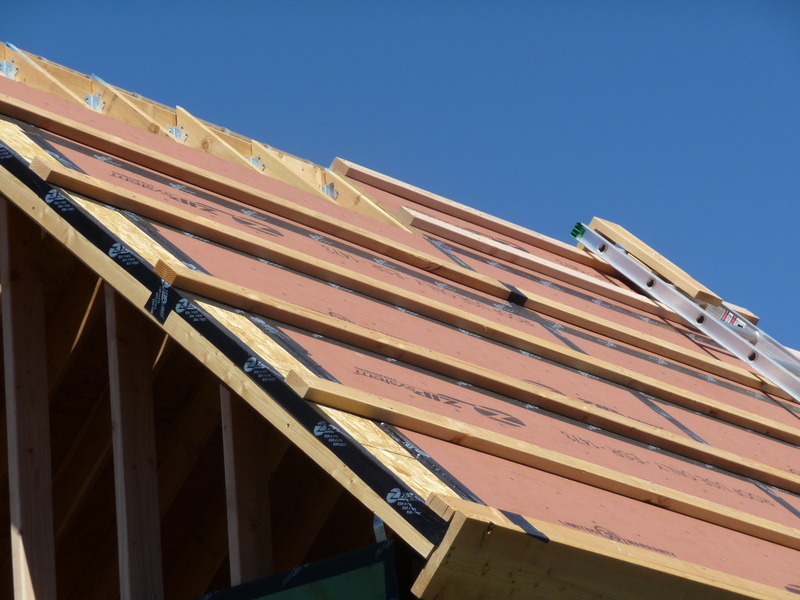
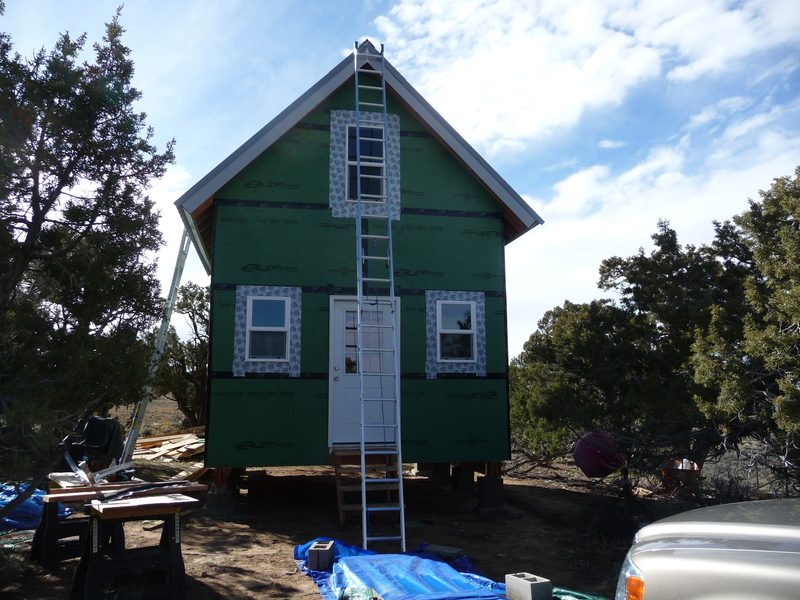
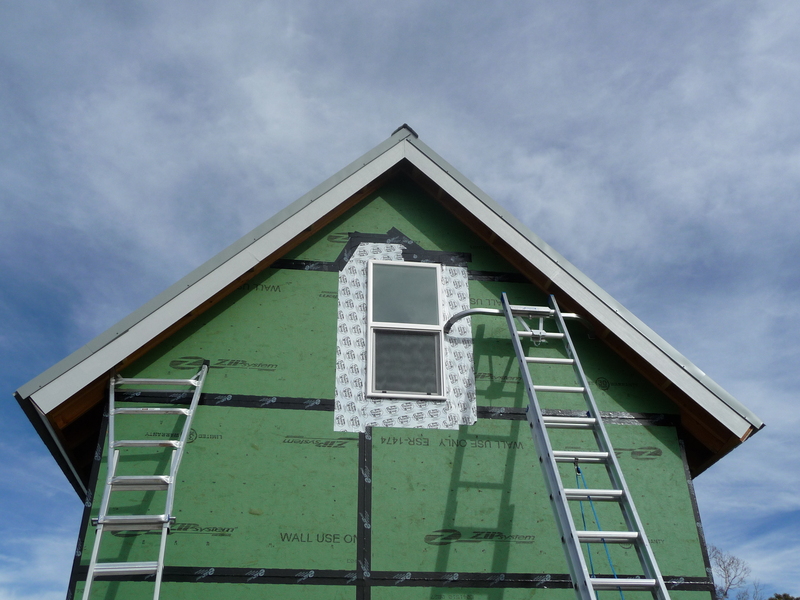
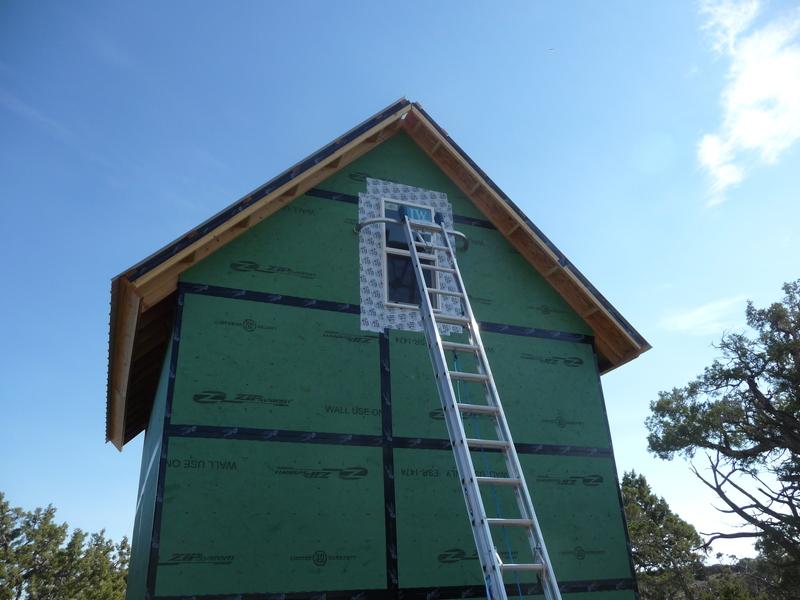
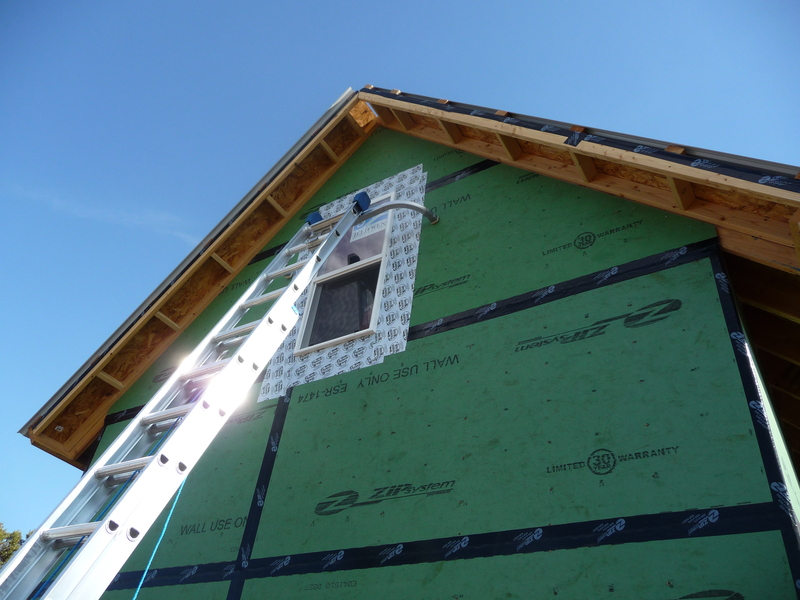
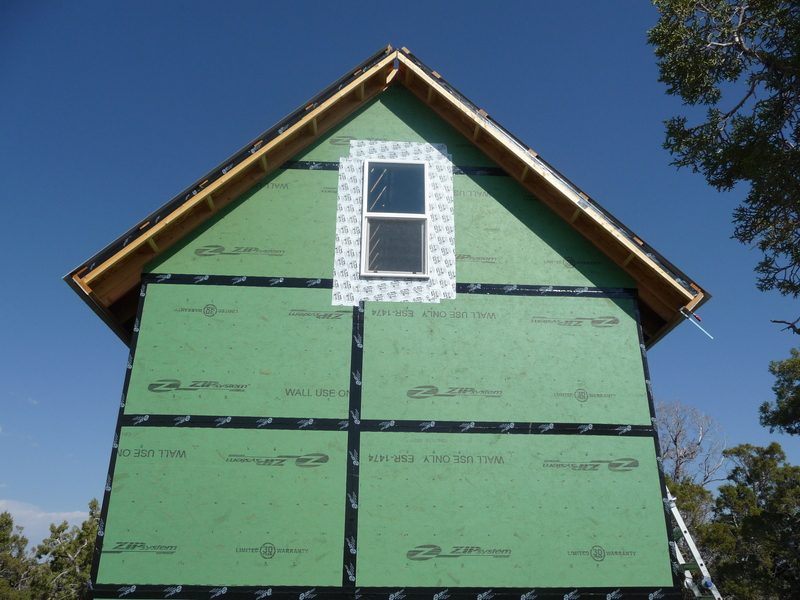
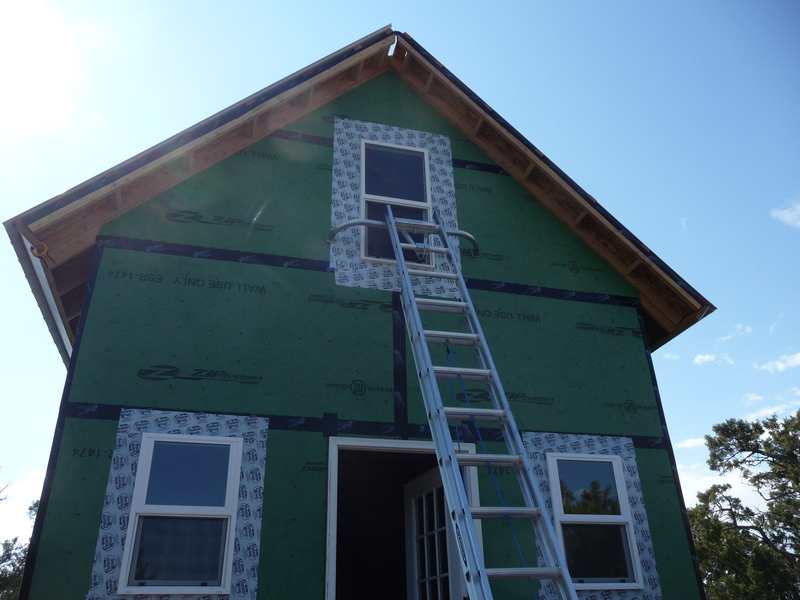
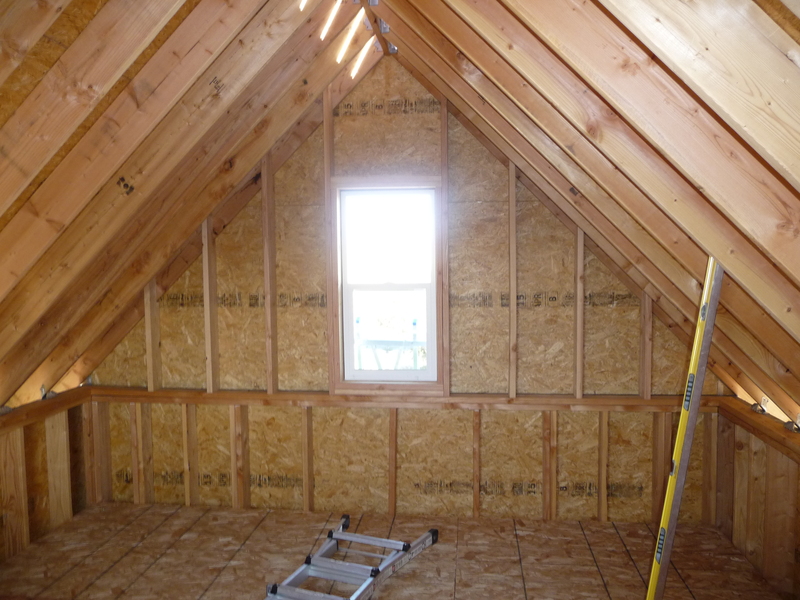
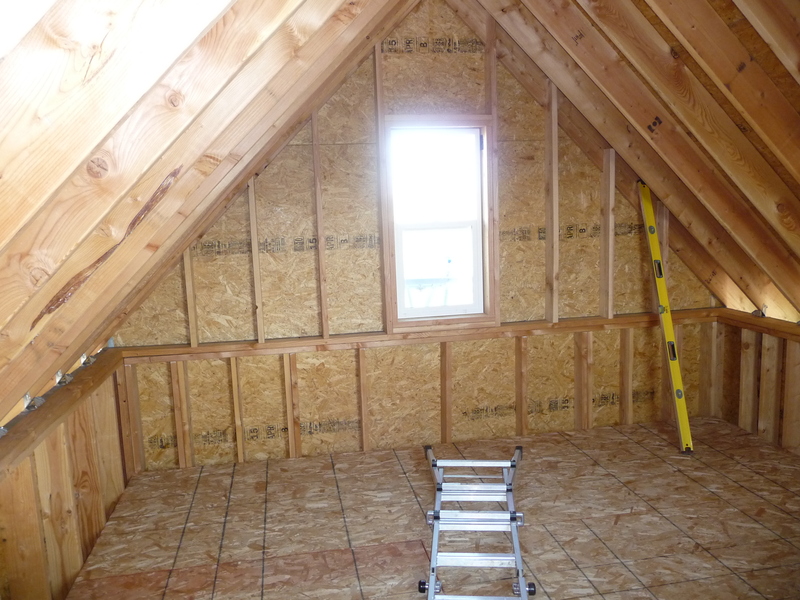
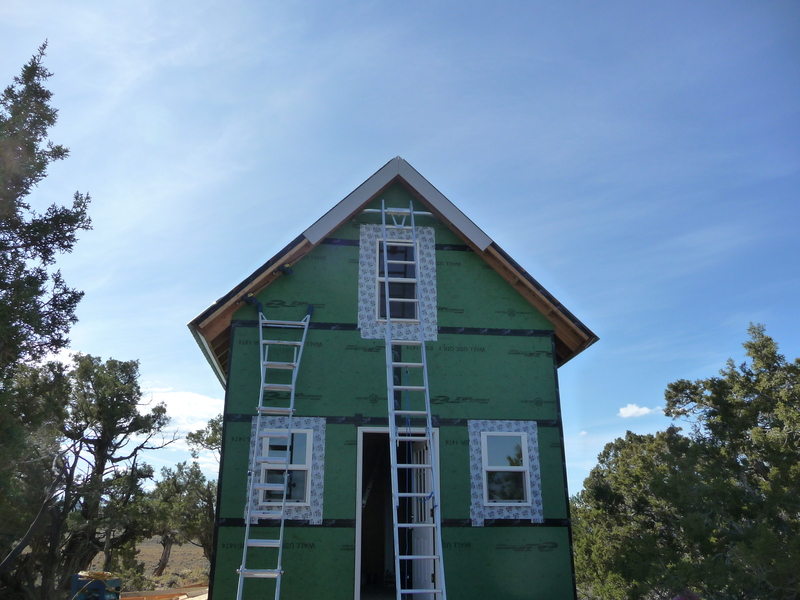
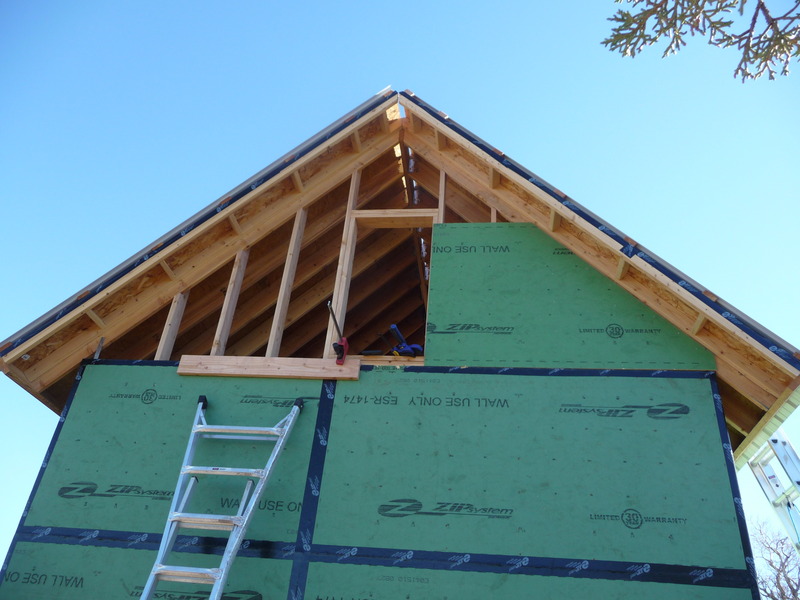
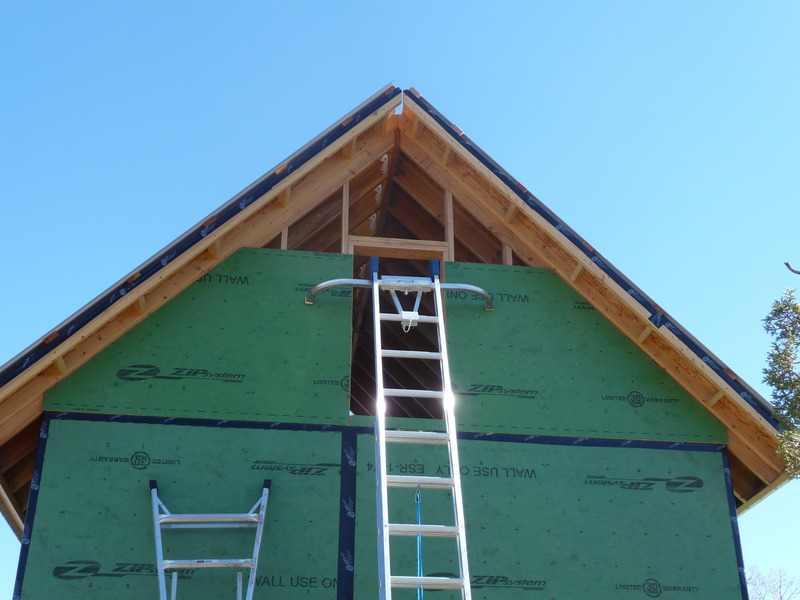
Over the last couple of weeks I finished sheathing both gable ends and installed the two gable windows. The windows are 24”x48”. I probably could have used larger windows but I already had these.
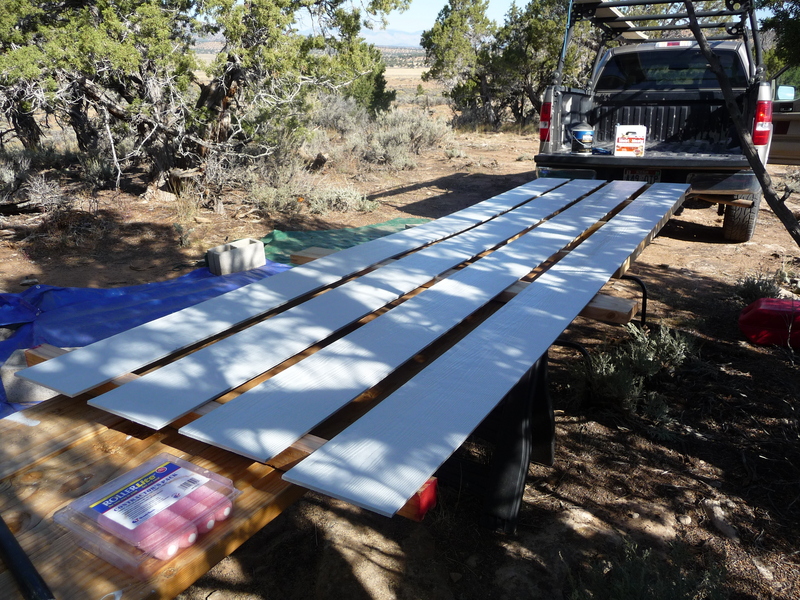
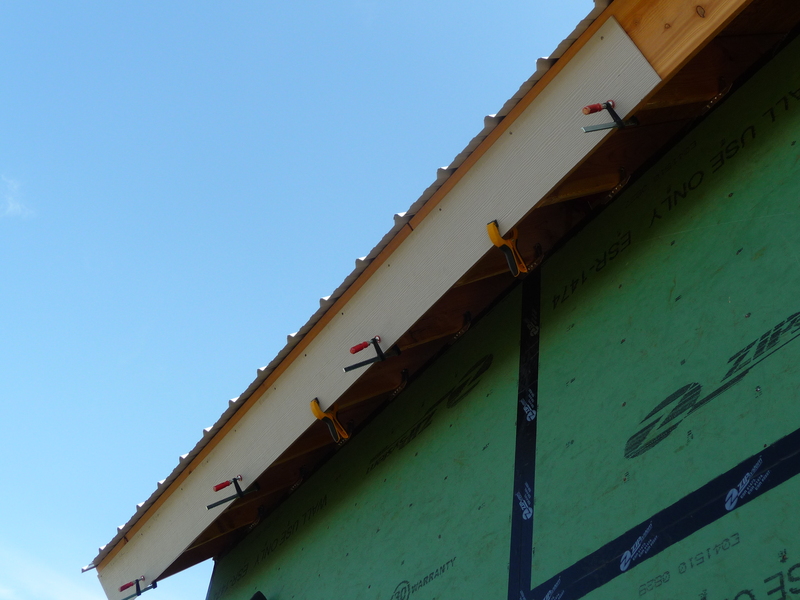
I started working on the fascia and remaining flashing for the steel roof. I’m using some fiber-cement siding panels for the fascia, painted to match the roofing. It was the right width and should be low maintenance.
Cabin: More roofing and gable sheathing
Tuesday, Sep 28, 2010
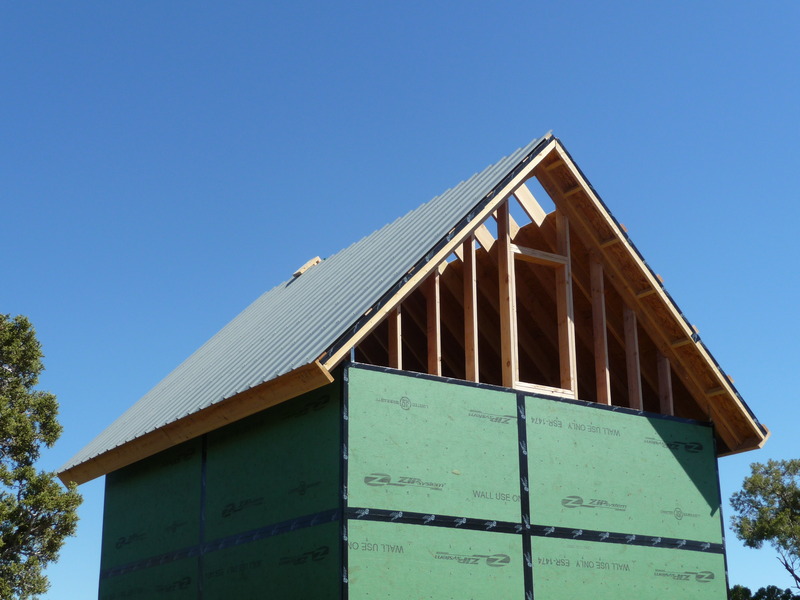
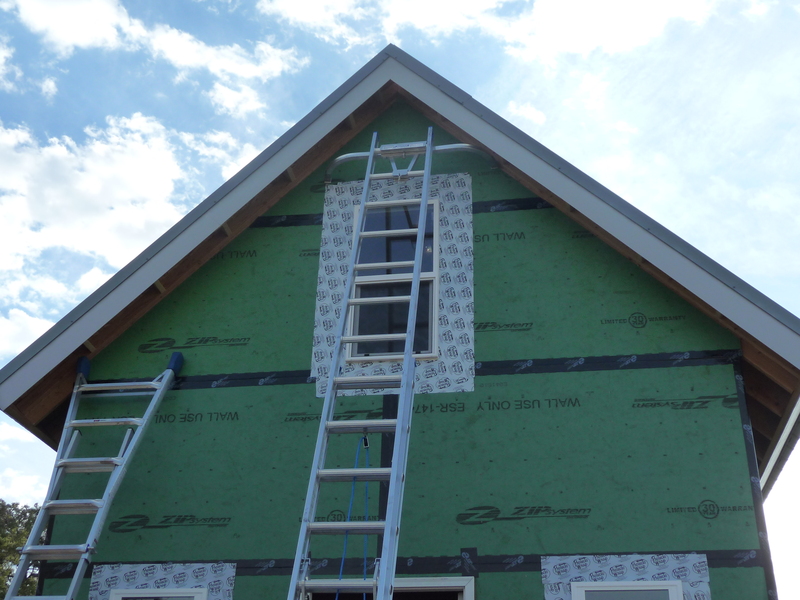
This weekend I finished installing the steel roof sheeting and installed sheathing on one of the gable ends.
Cabin: More roofing and gable framing
Monday, Sep 20, 2010
Nothing really new this week, just more progress on the roof. This weekend I finished installing the steel roofing panels on one side of the roof. When installing sheathing two weeks ago, we left a two foot gap unsheathed at the peak of the roof to provide easier access when installing the steel roofing. I installed the next to last piece of sheathing and purloins on the unfinished half of the roof. I also framed the other gable end.