One man's struggle to take it easy
Category: Cabin
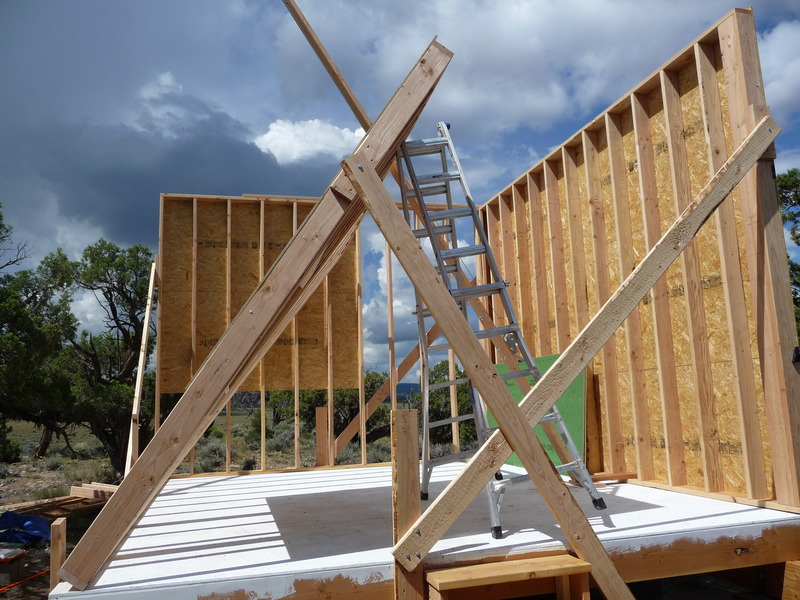
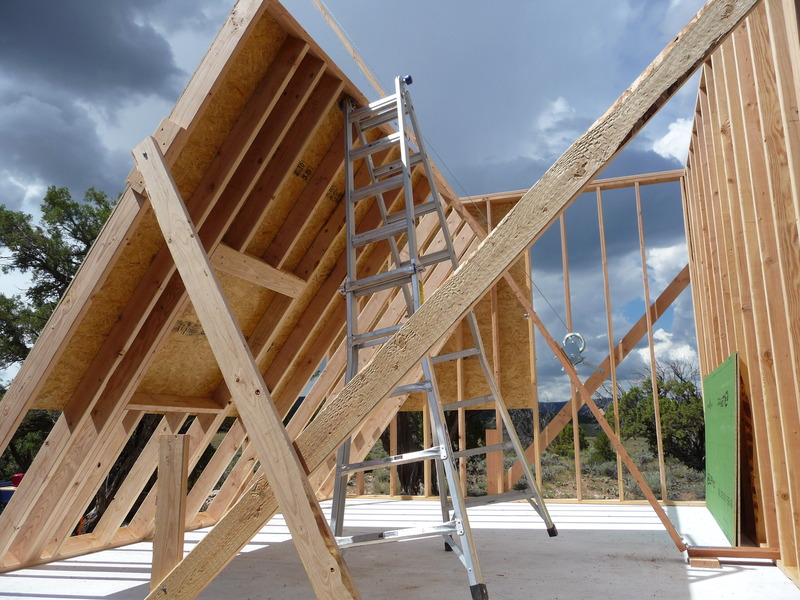
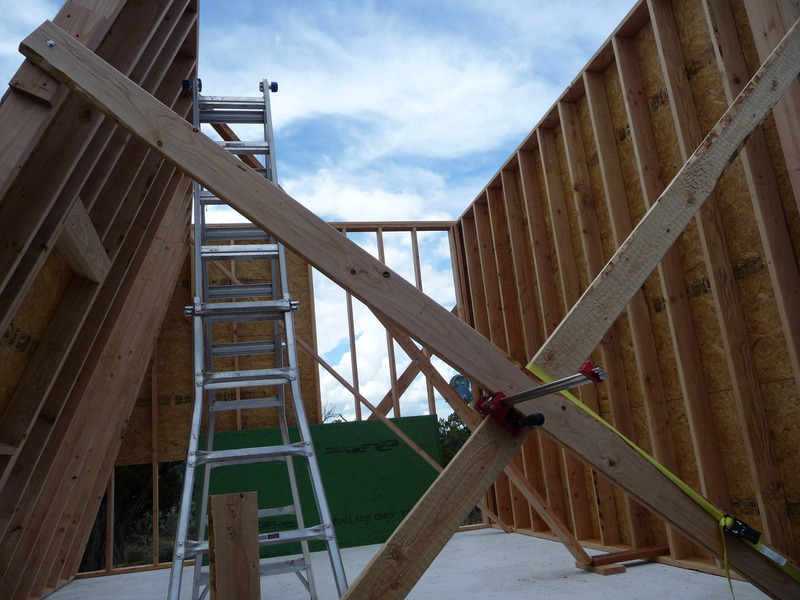
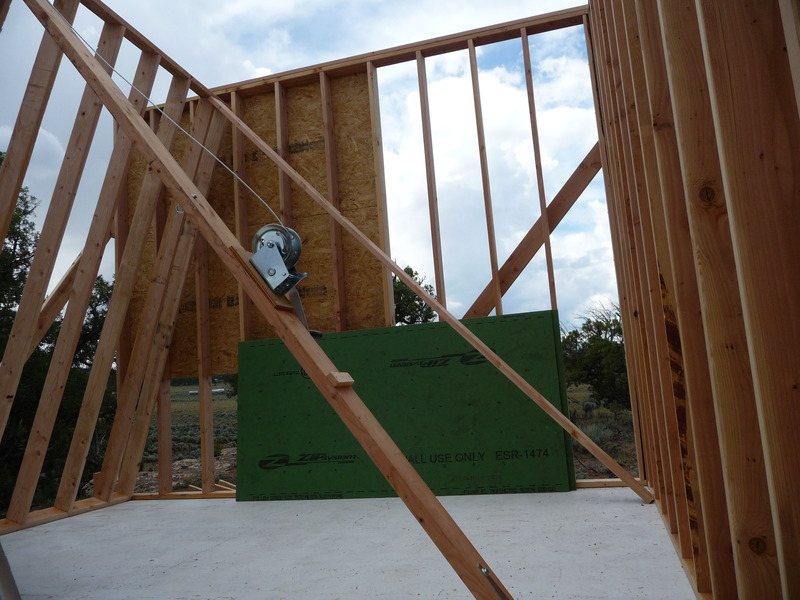
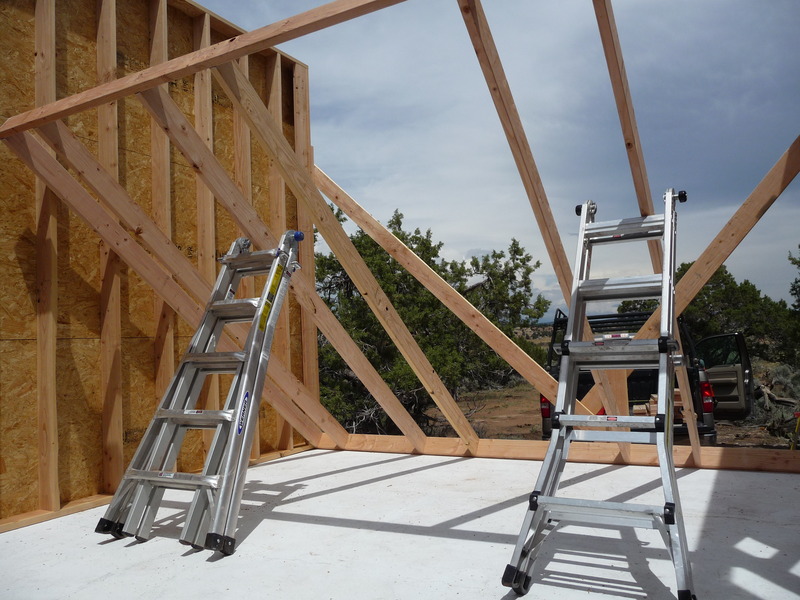
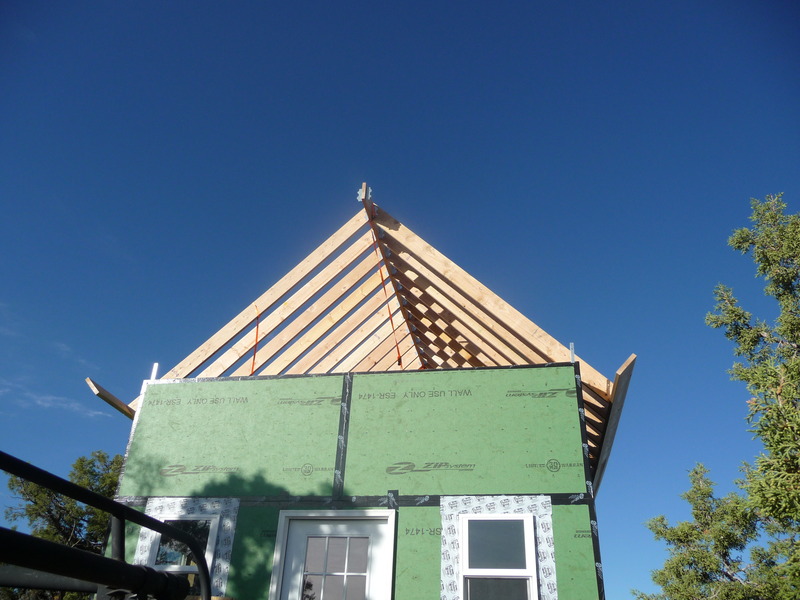
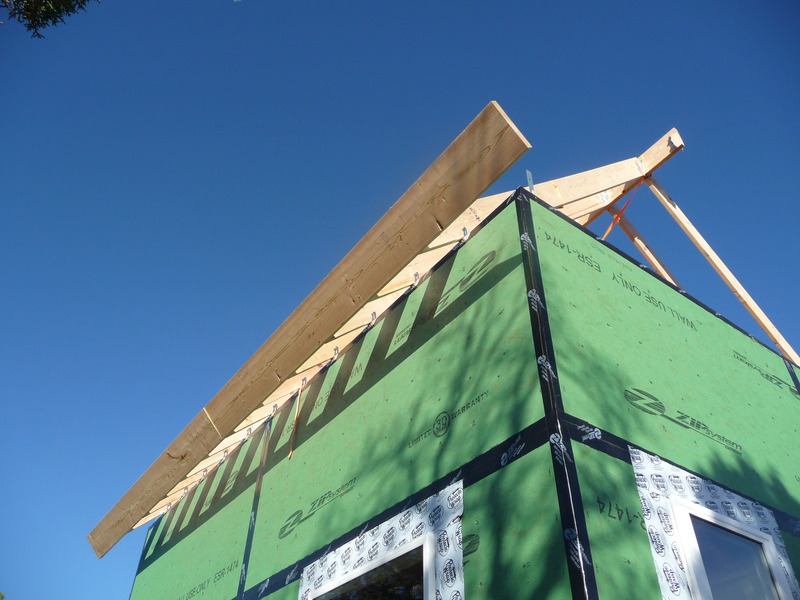
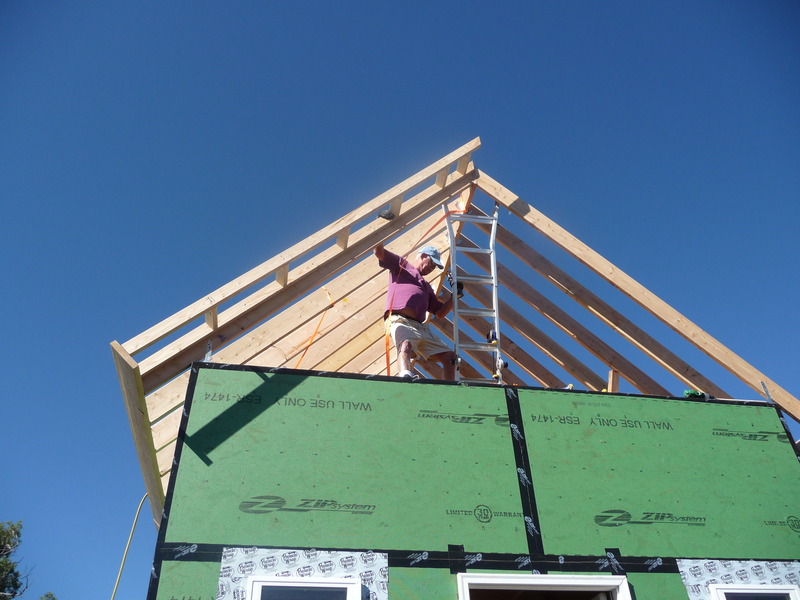
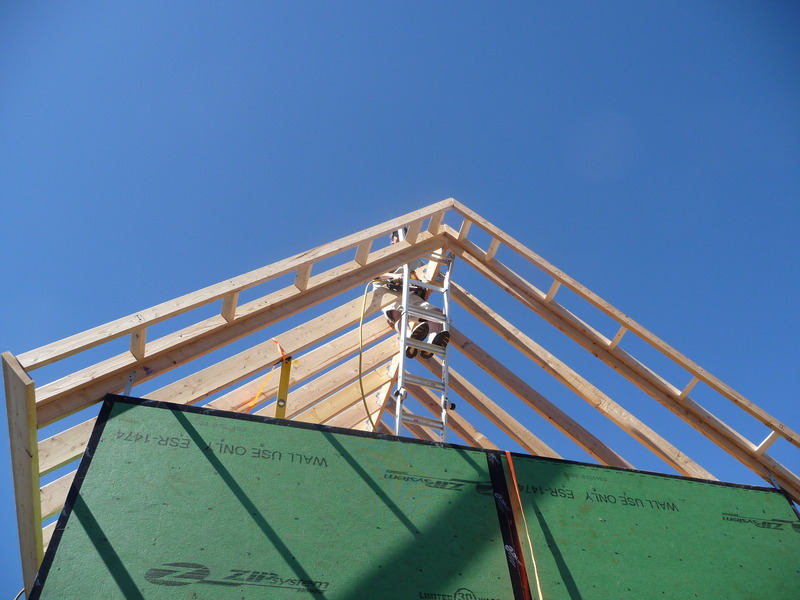
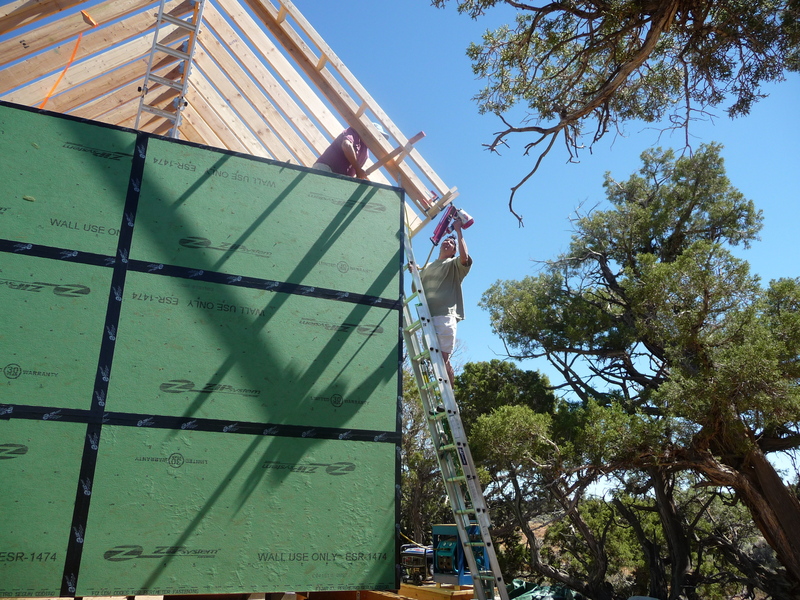
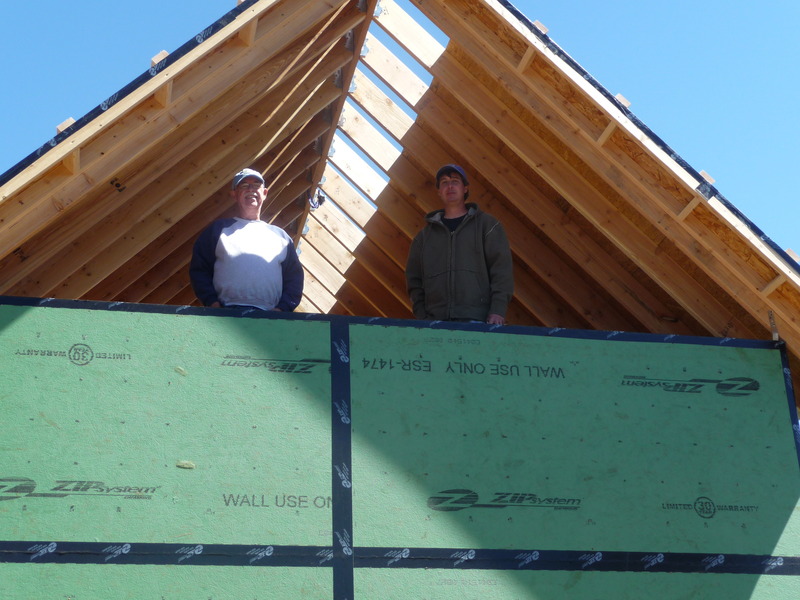
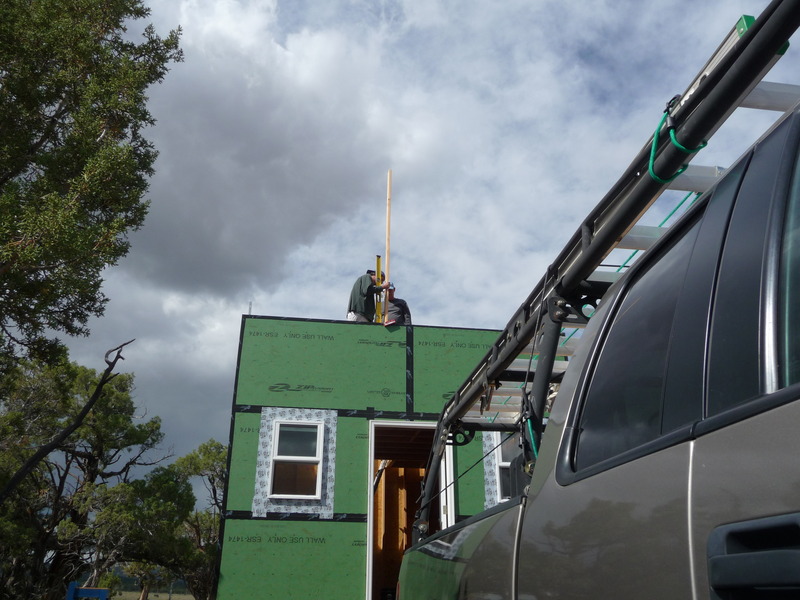
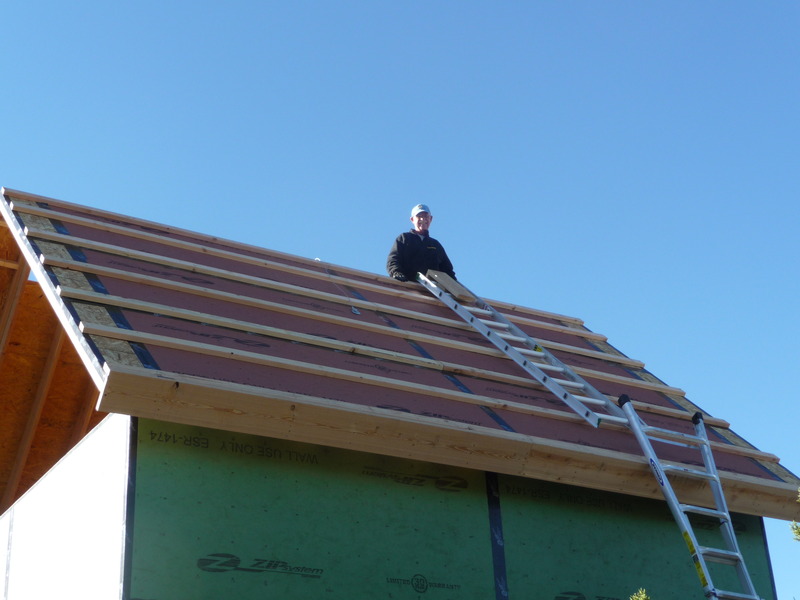
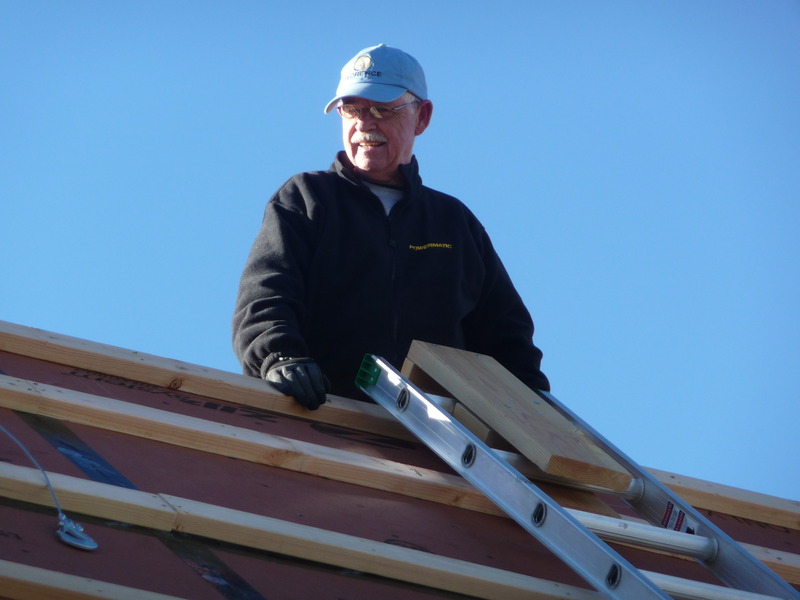
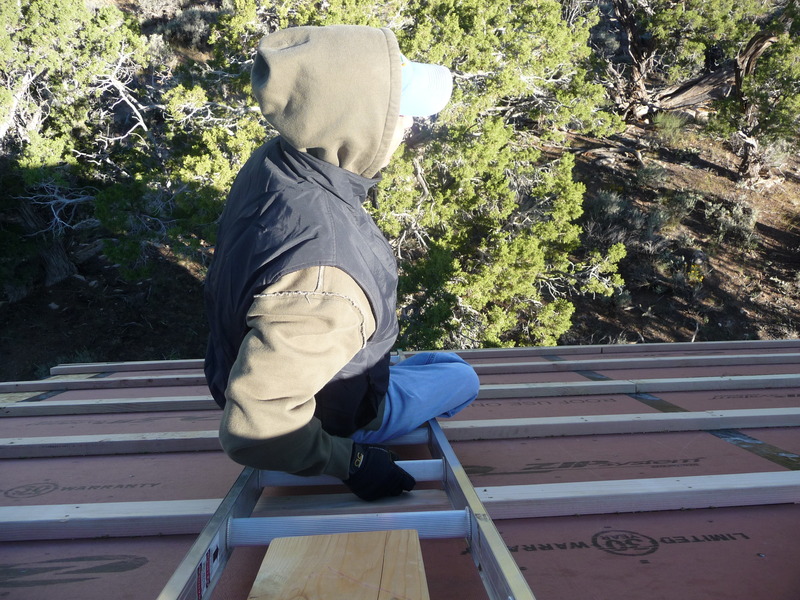
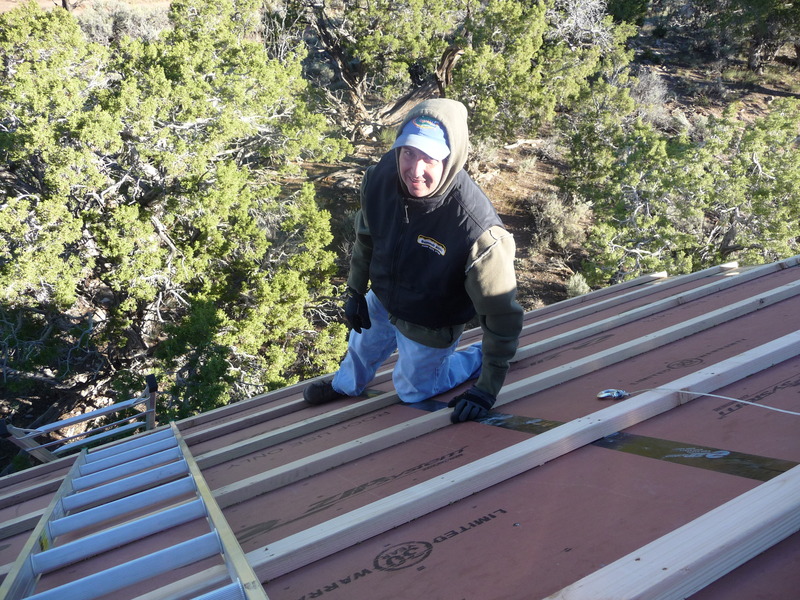
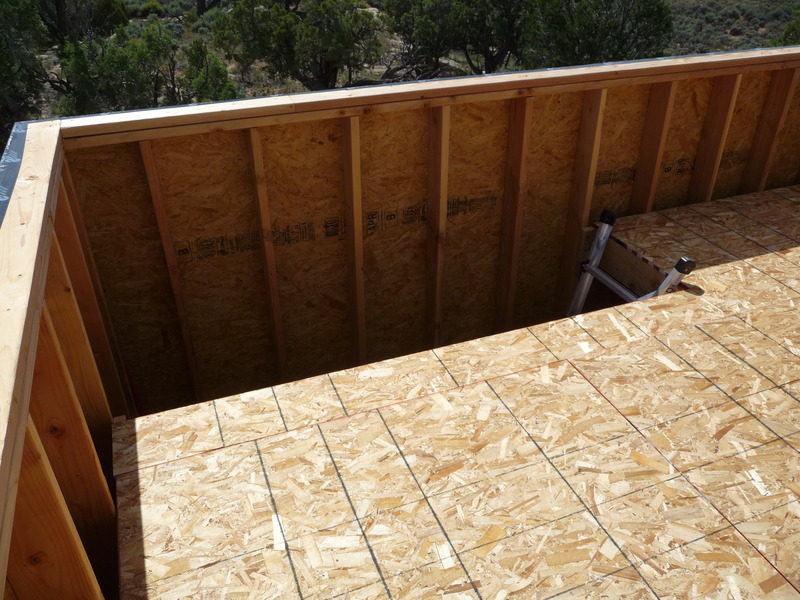
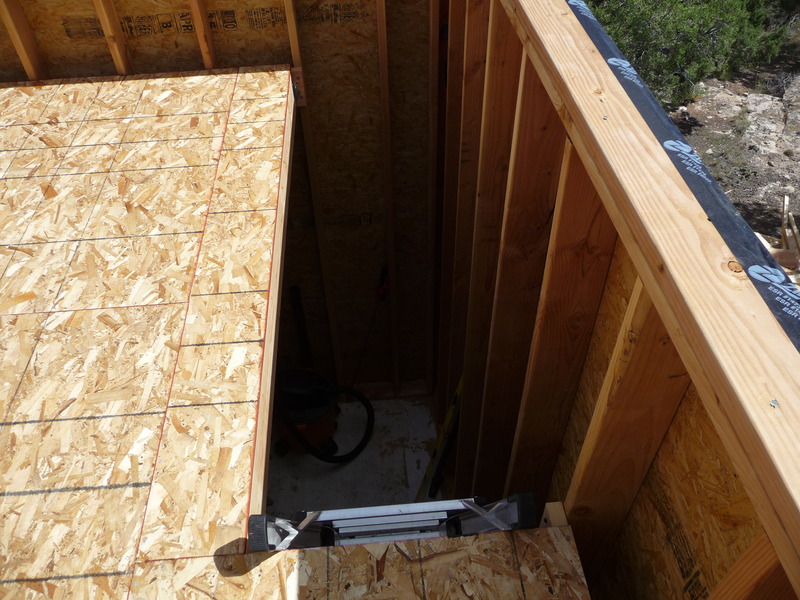
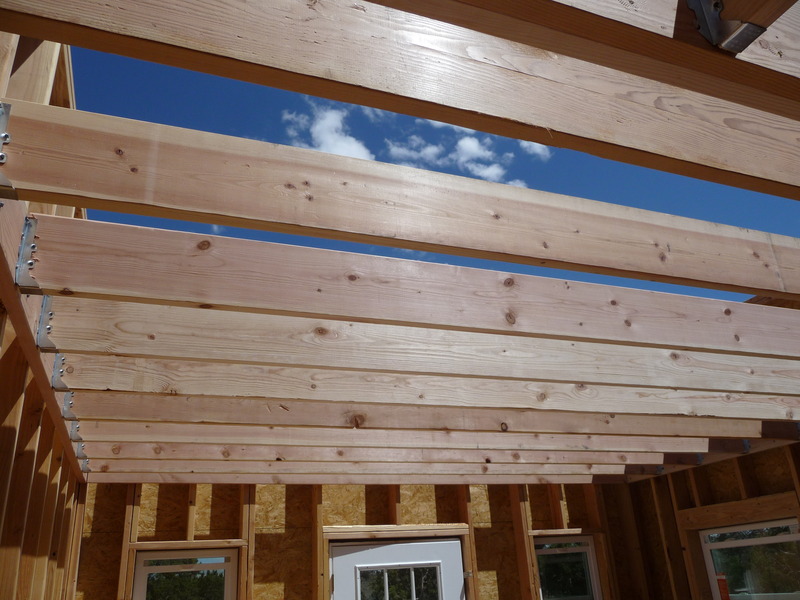
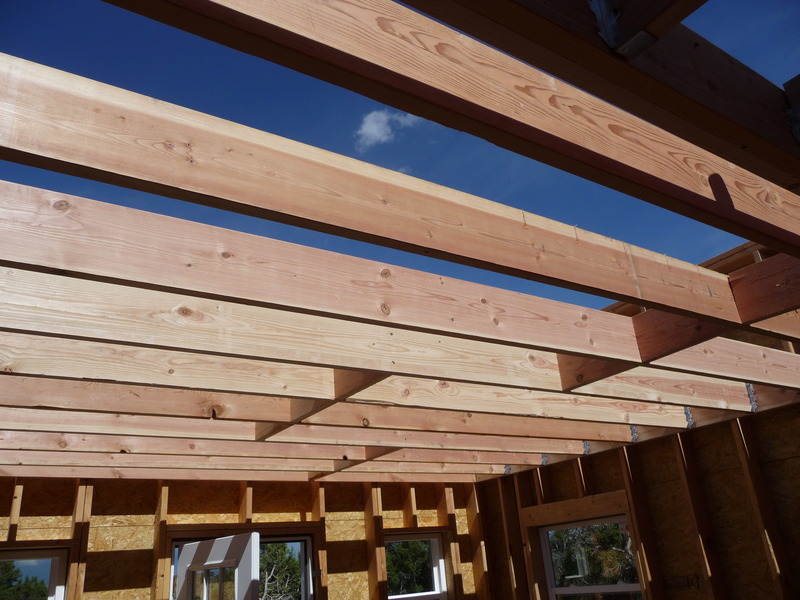
Cabin: Roof Framing and Sheathing
Tuesday, Sep 07, 2010
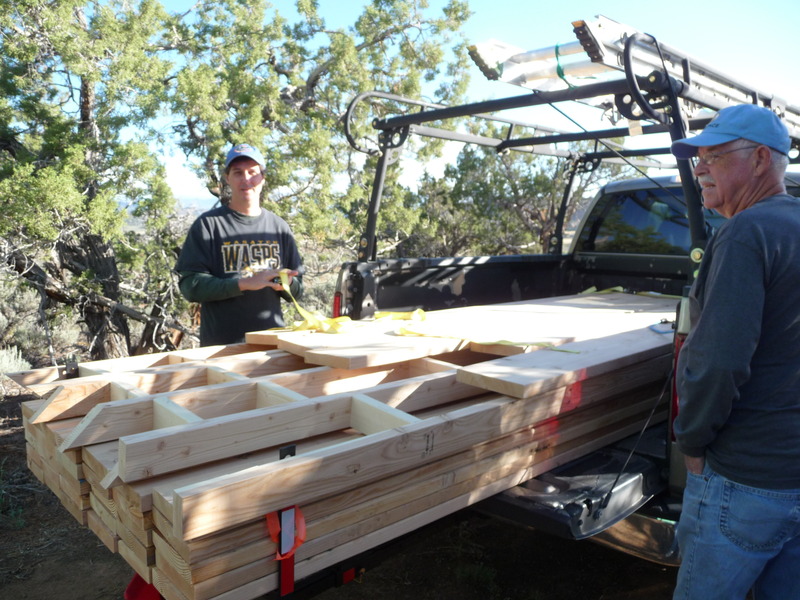
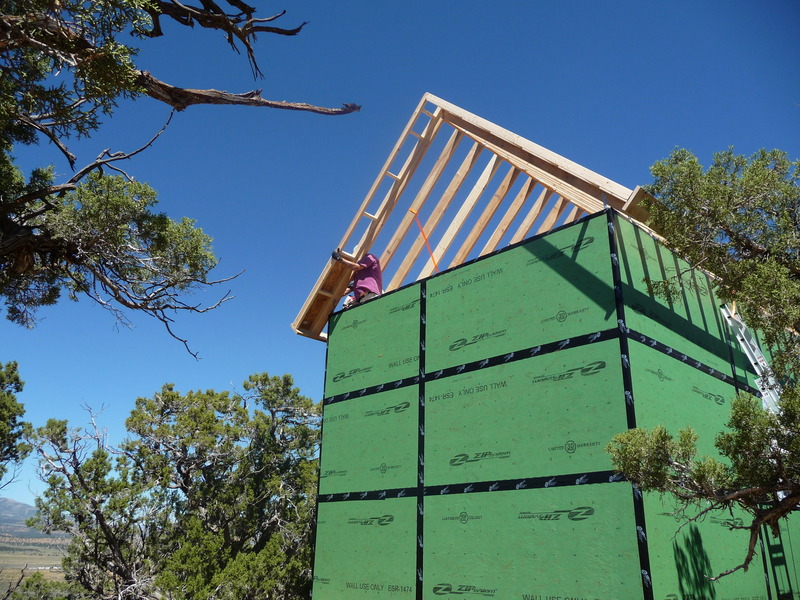
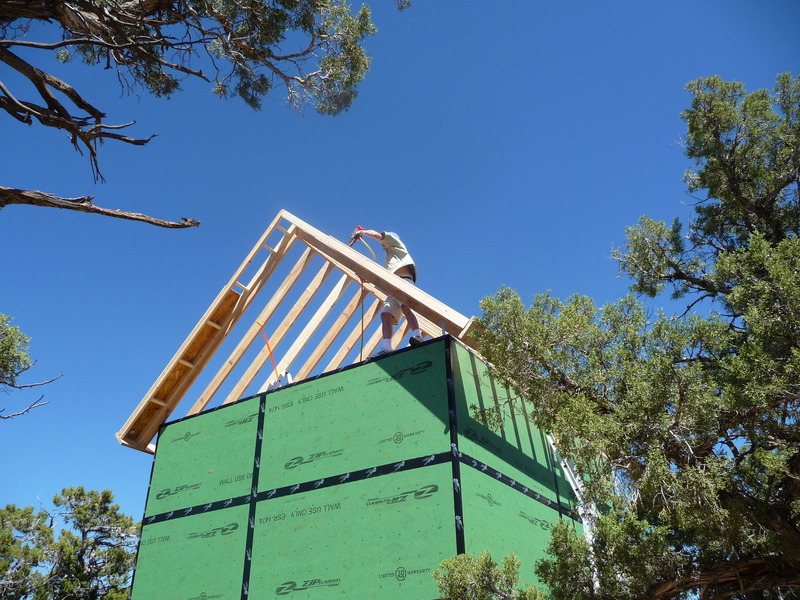
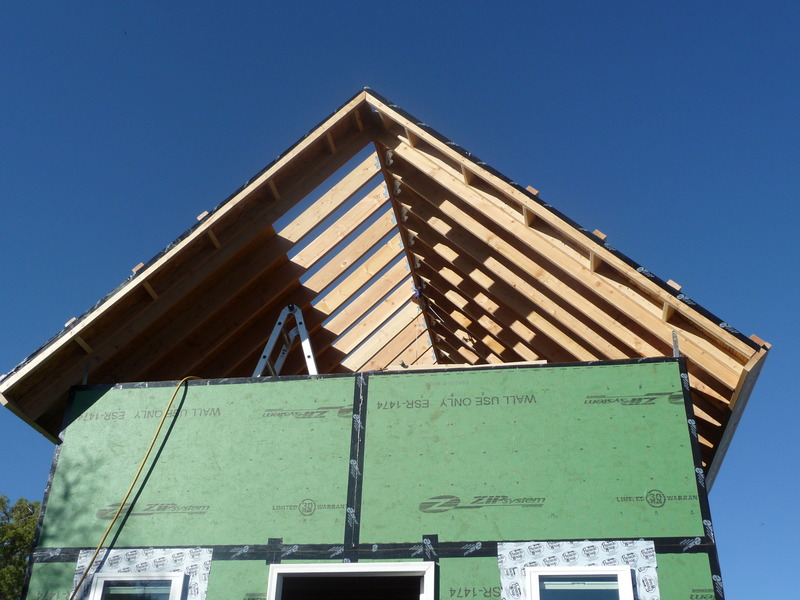
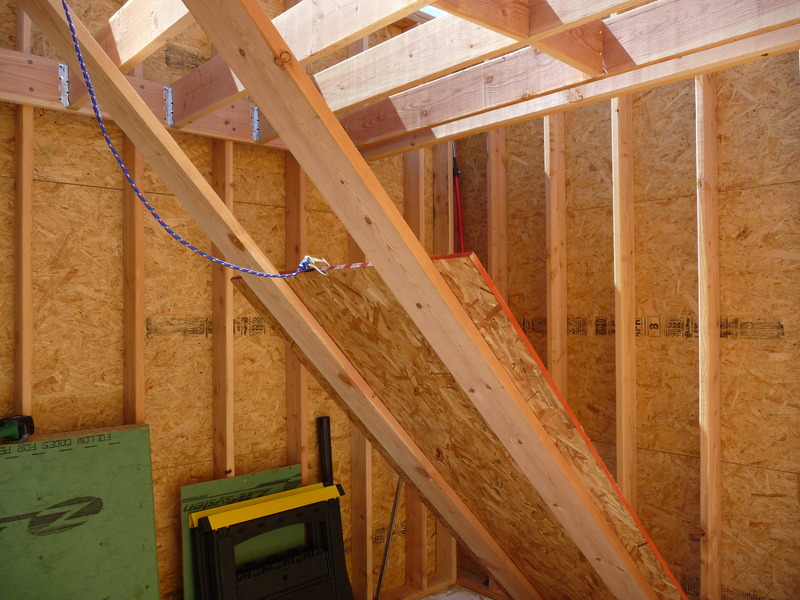
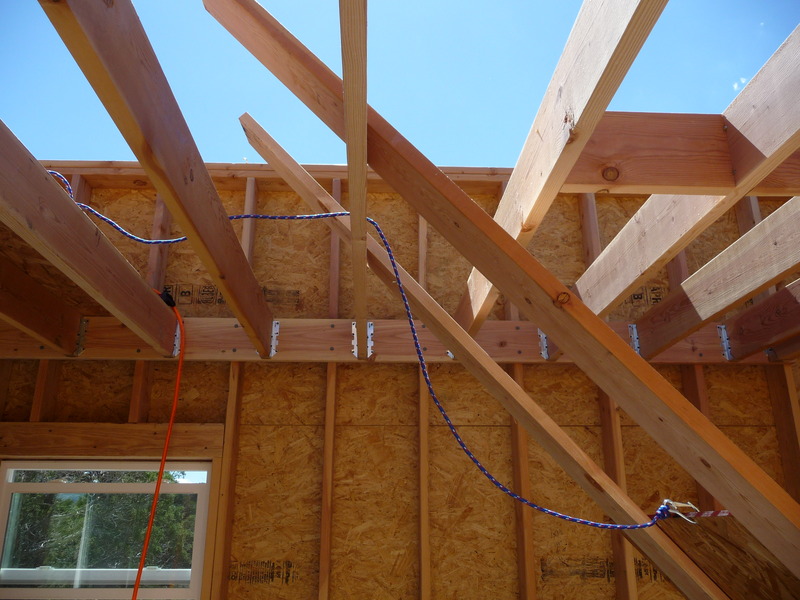
My mom and dad were visiting the past ten days so I enlisted their help in working on the cabin roof. We finished the framing and sheathing but weren’t able to install the actual steel roofing. Work was slowed considerably by prevalent high winds as well as the labor intensive nature of the work itself.
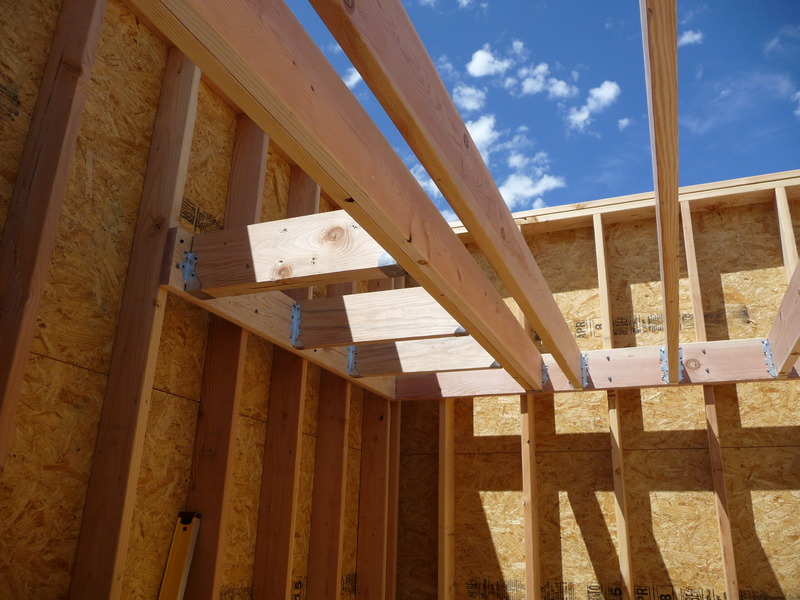
The roof has a pitch of 12/12 which provides 7’ x 16’ of full standing room in the loft area. The roof rafters were constructed using 12’ 2x8’s attached to a non-structural 2x10 ridge beam. Simpson connectors were used to attach the rafters to the ridge beam as well as the top plate of the walls instead of cutting a birds mouth (LS70 and VPA2 respectively). Could have used 2x6 rafters but wanted the added room for insulation that 2x8’s will provide.
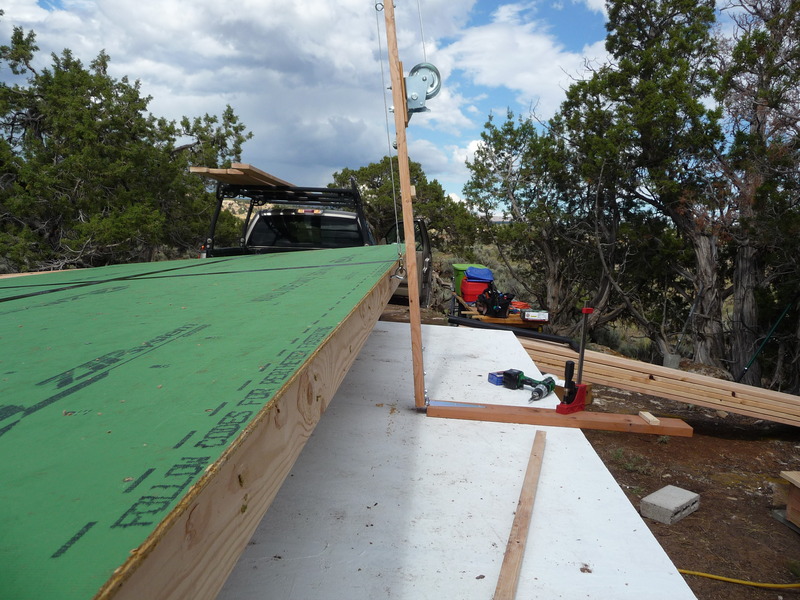
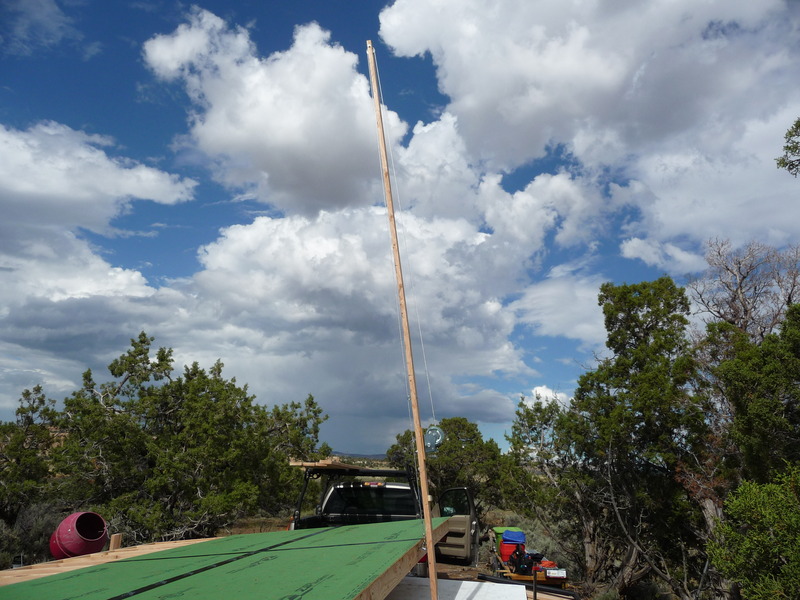
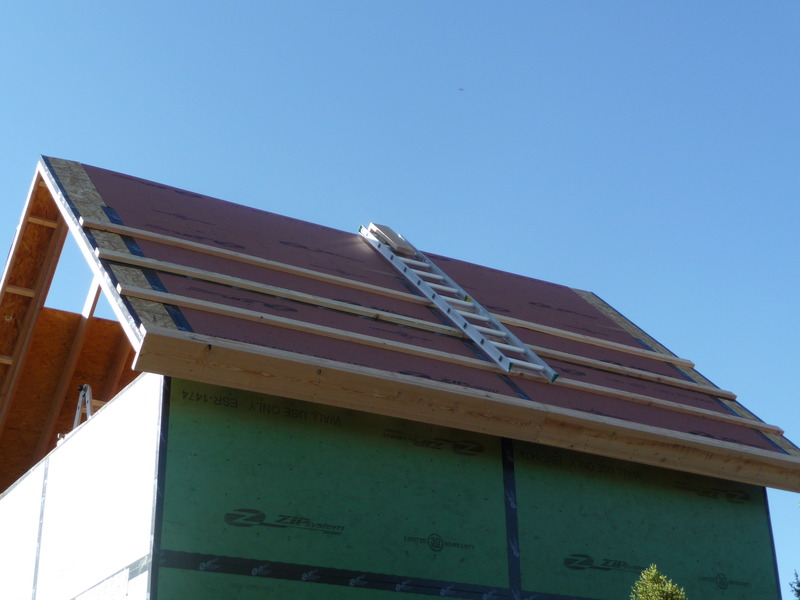
After the roof was framed, we installed and taped Zip Systems roof sheathing and 2x4 purlins. The purlins will give the steel roofing something to attach to as well as providing the ability to walk on the roof. We raised the sheathing (5/8”) on to the roof using a winch and a pulley attached to the ridge beam.


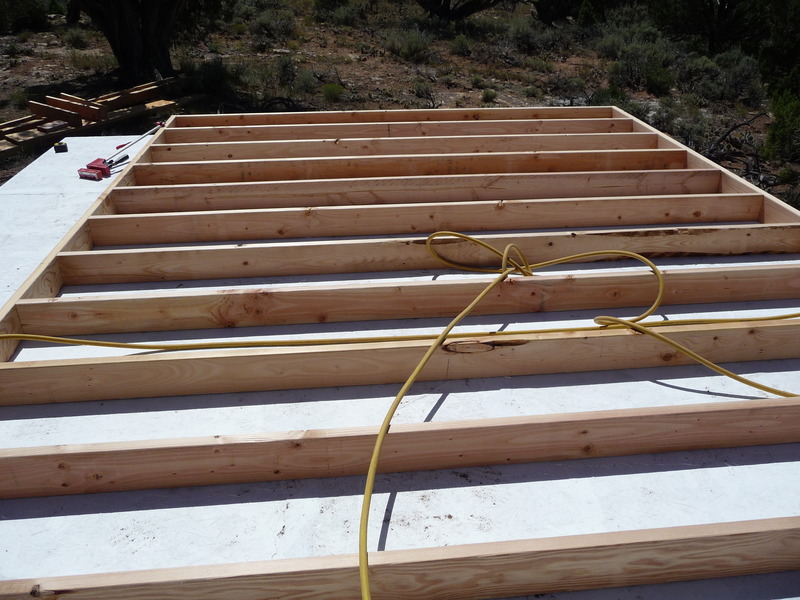
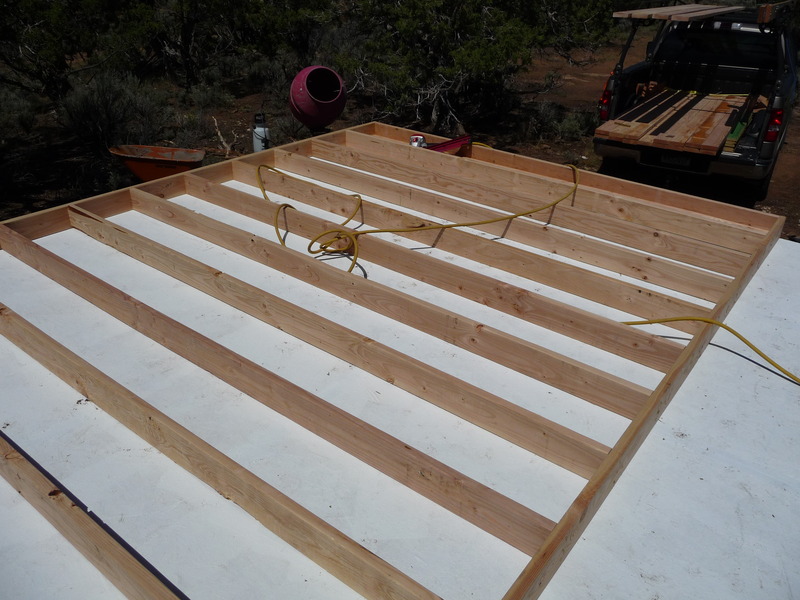
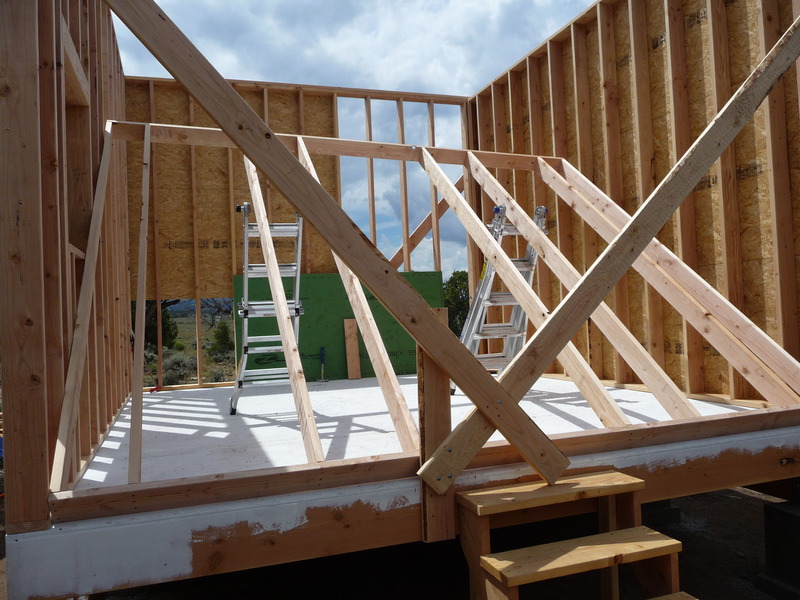
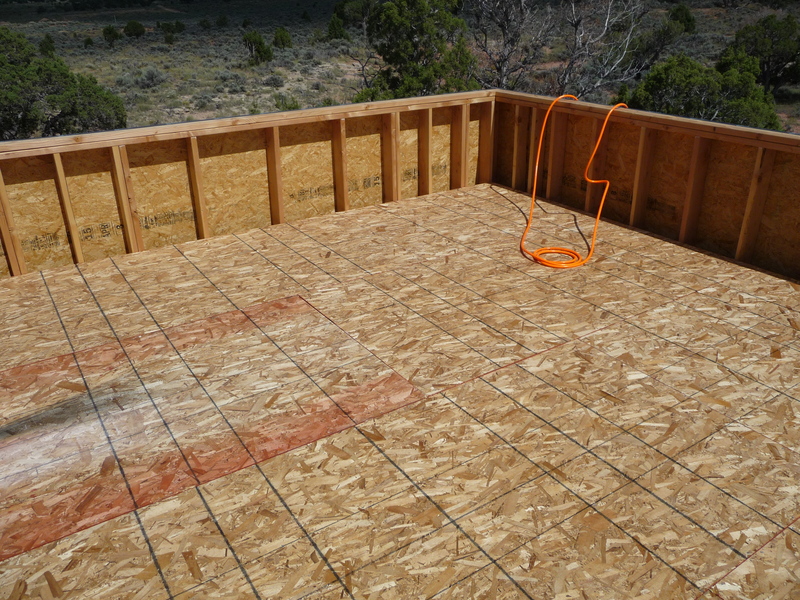
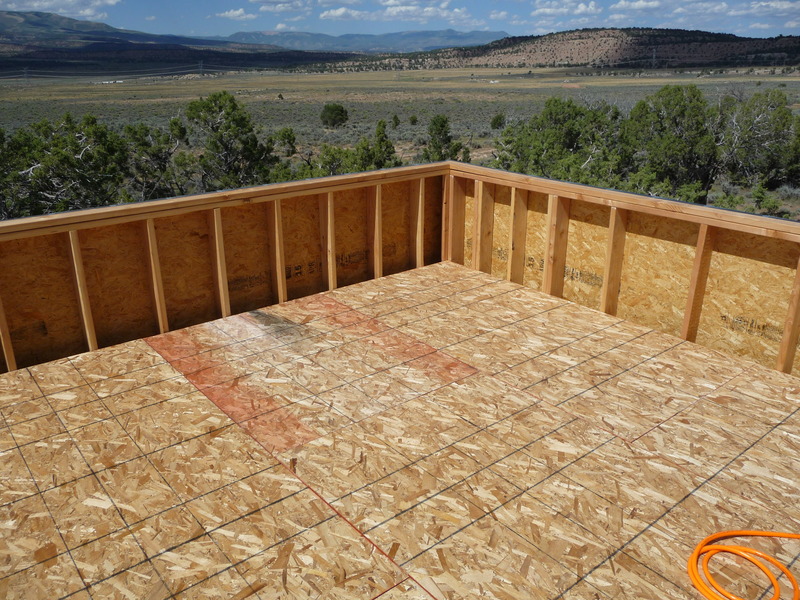
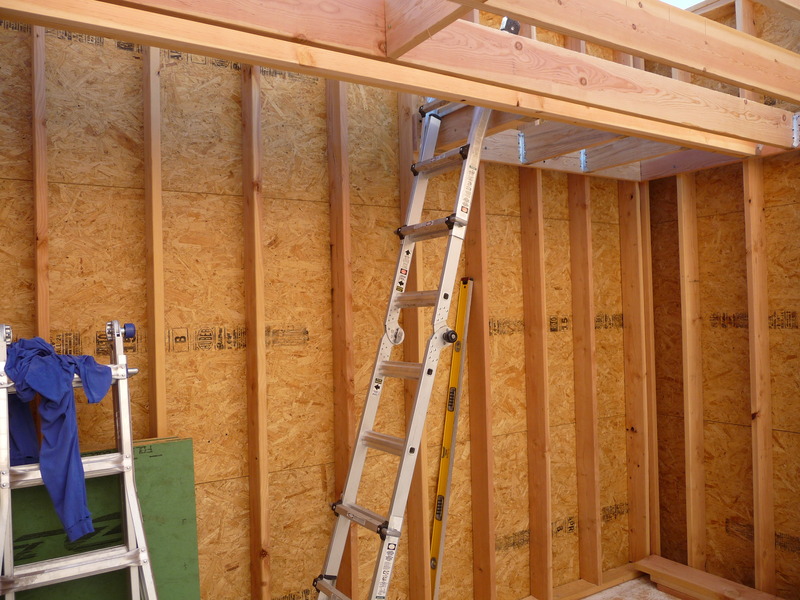
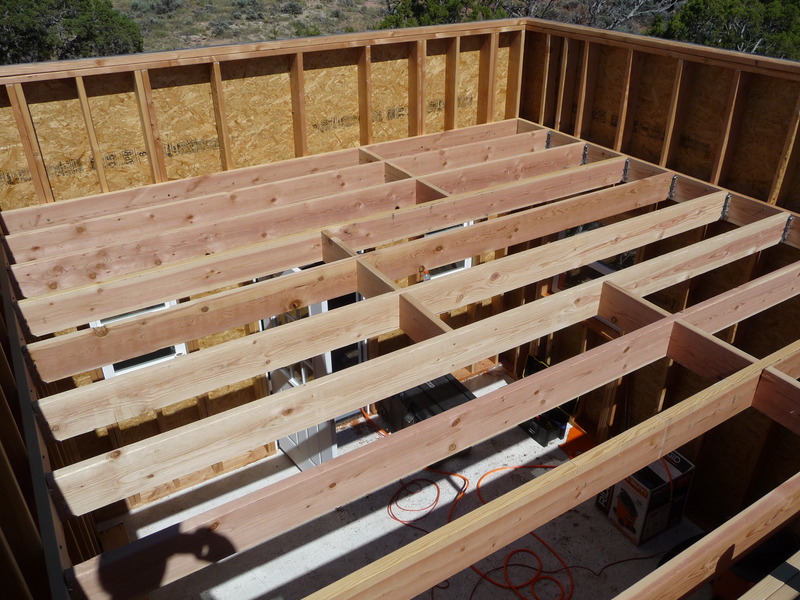
Cabin: Loft Subfloor
Monday, Aug 23, 2010
On Saturday I replaced one of the loft floor joists because it had too much crown and installed the subfloor. I used 3/4” OSB for the subfloor. Getting it upstairs by myself was a challenge but ultimately not too bad using a rope and ramp. I couldn’t detect any bounce in the floor, even using 2x8 joists. Next up, the roof.
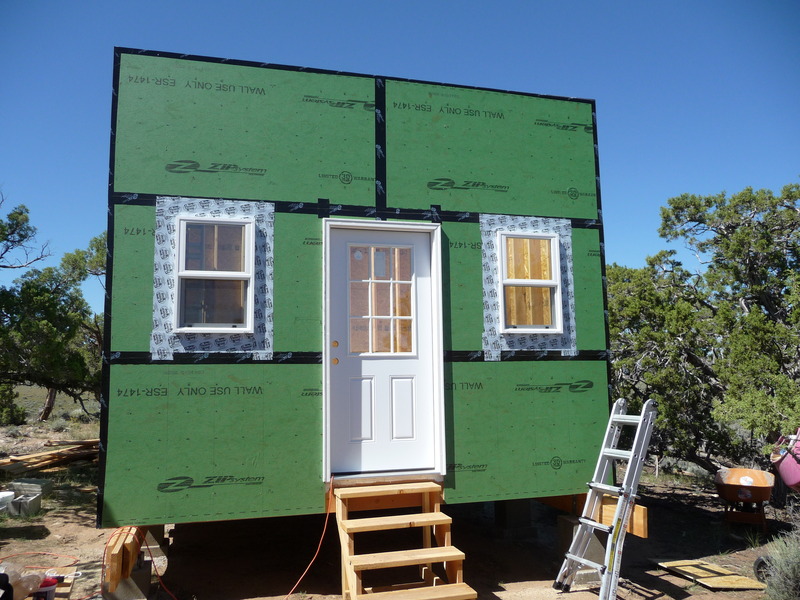
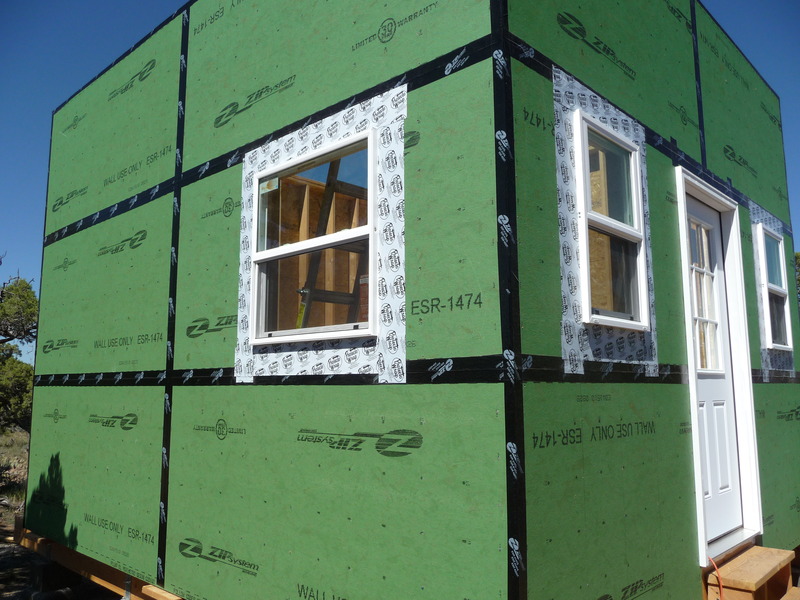
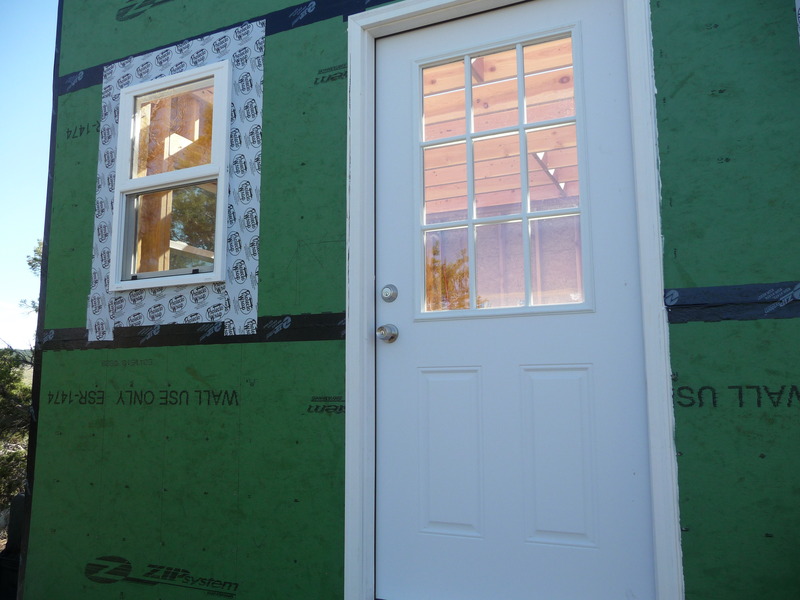
Cabin: Windows, Door, and Second Floor Framing
Tuesday, Aug 17, 2010
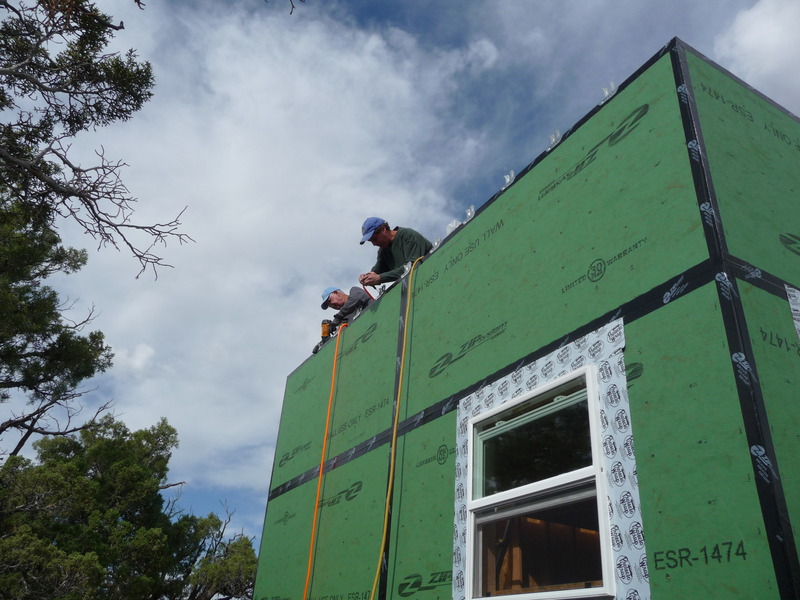
Last week I finished taping the seams on the Zip Systems wall sheathing and installed the front entry door. This past weekend I cut out and installed the first floor windows. There are three windows on the first floor, plus the window in the door. I limited the number of windows somewhat to provide more wall space for cabinets and storage.
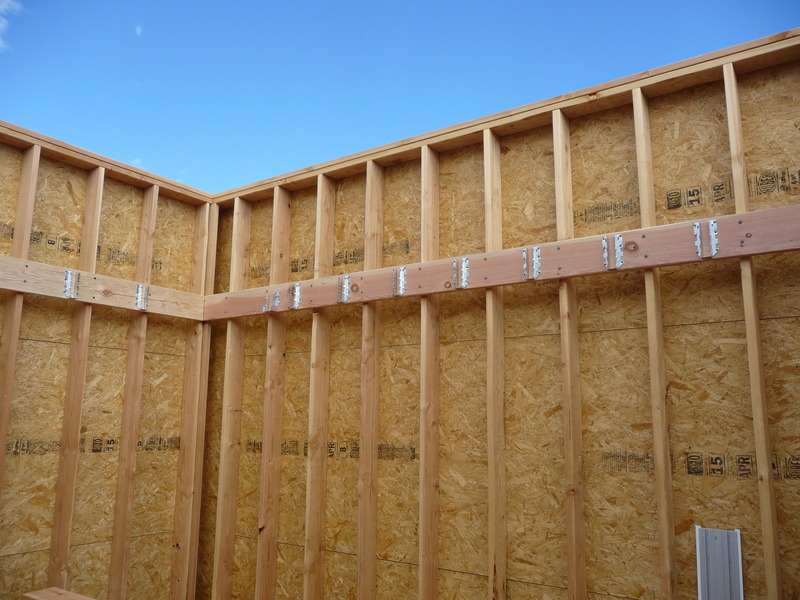
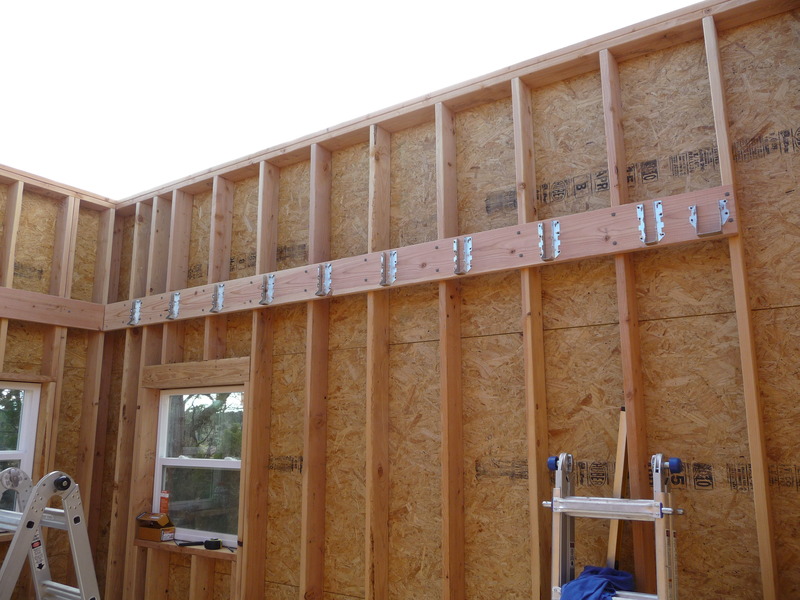
Yesterday I finished framing the loft floor. The first floor ceiling height is 8 ft. and the loft floor is framed with 2x8’s leaving a 2-1/2 ft. knee wall in the loft. I used 2x8’s for the loft floor rather than 2x10’s because there will be an interior wall running most of the length of the floor for support. The span tables indicate 2x8’s would be acceptable even without the support wall but would be at the limit of their span rating. The 8’ ceiling on the first floor provides enough height to avoid feeling cramped in such a small cabin.
Rather than weaken the wall studs by notching them for a let-in ledger to support the loft floor joists, I attached the ledgers directly to the studs using 5” “Ledger-Lok” screws which are supposed to have the same shear strength as 1/2” lag bolts. Calculations showed 1/2” lags would provide acceptable shear strength. The joists were attached to the ledger with standard joist hangers. The stairwell opening uses double joists.

Cabin: Wall Sheathing
Monday, Aug 09, 2010
Not much to report from this past weekend. I drafted some help in the form of my friend Troy and we installed the rest of the wall sheathing (14 panels) and managed to get a tarp over the entire structure. I tented the tarp up at the center using a board clamped to a ladder to hopefully shed any water.


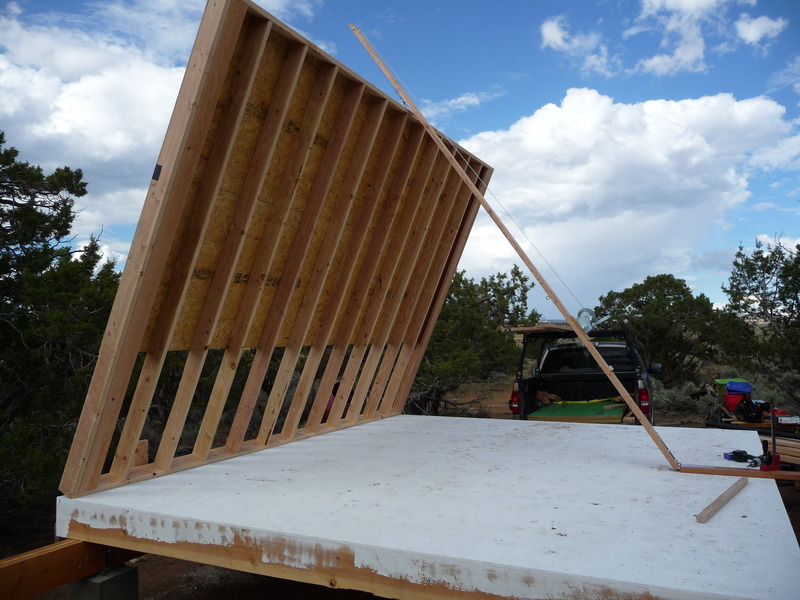
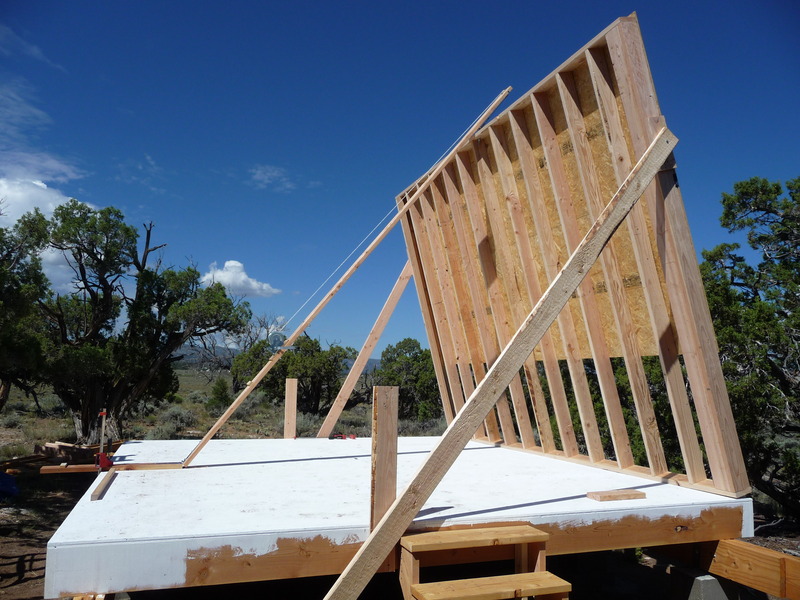
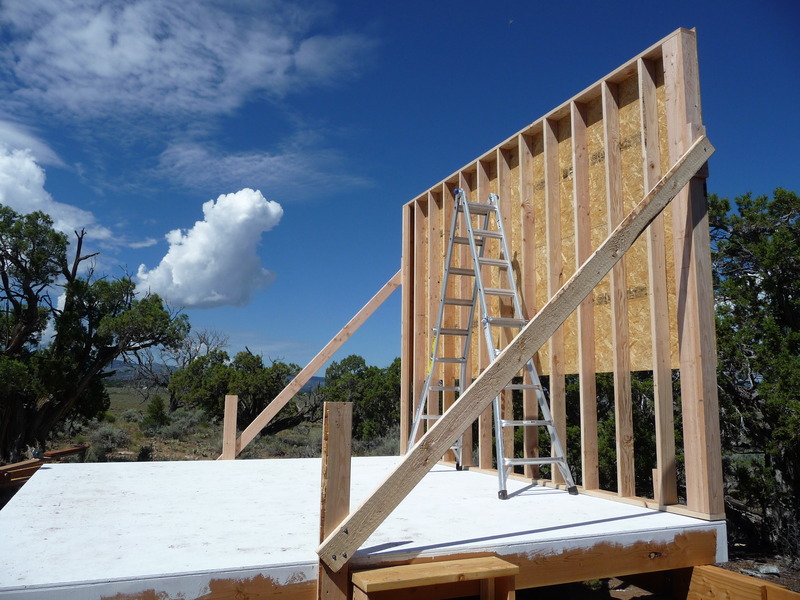
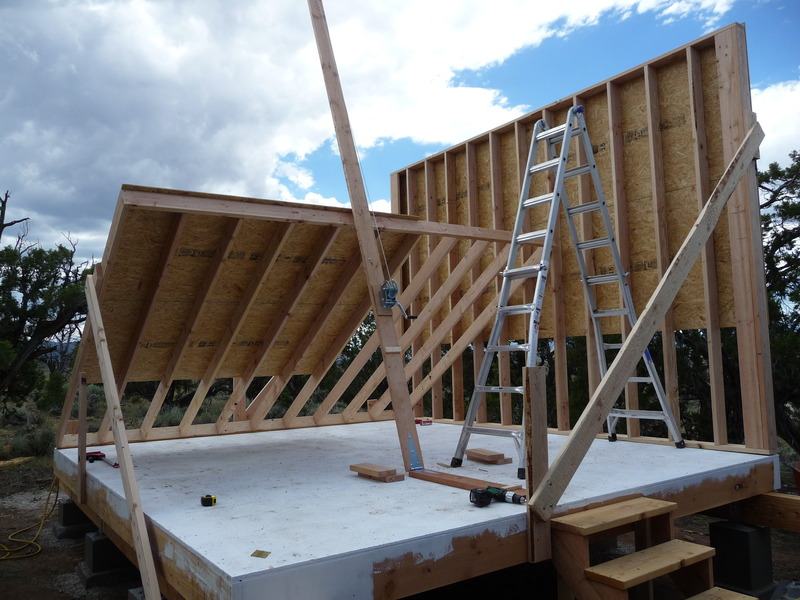
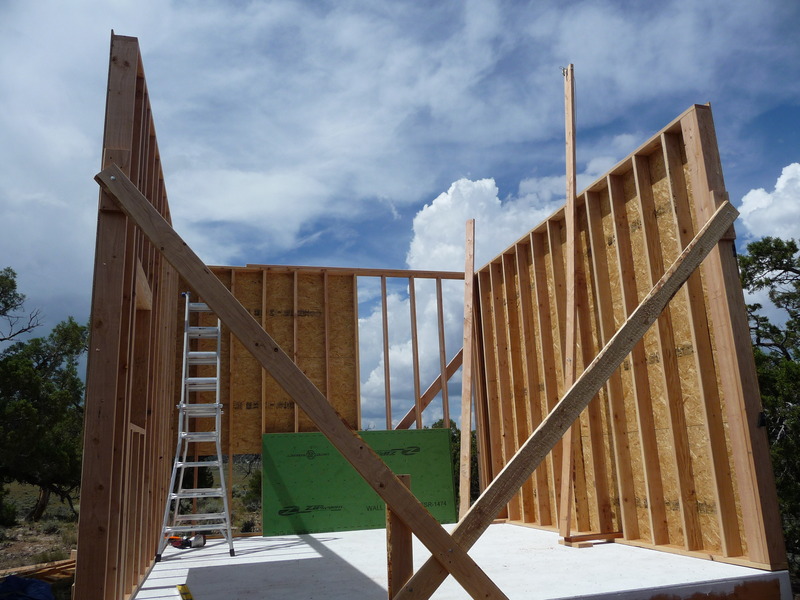
Cabin: How to raise walls in the most frightening way possible
Monday, Aug 02, 2010
How to raise walls in the most frightening way possible:
- Make sure you’re working totally alone.
- Make your walls 11 feet high with 2x6 studs 16” OC. Install some sheathing before raising for added weight.
- Build your own wall jack from a 16’ 2x6, a $12 hand winch, a gate hinge, and a garage door pulley.
- Try to pick a moderately windy day.
Building and raising the first wall went well until it was actually raised to about 45 degrees and the wind started to whip it around like a sail. I had to lower it back down and install some braces that would be raised with the wall and then immediately secured to the floor. The DIY wall jack actually worked fairly well at this point. Here are photos of building the first wall, the wall jack, and raising the first two walls (after braces added).
The excitement really started when raising the third wall. About halfway up, the gears on the hand winch stripped and it wouldn’t raise any further. Luckily they didn’t strip enough to send the wall crashing to the ground. Lesson learned: $12 hand winches aren’t very high quality. I eventually managed to finish raising the third wall using a long board on one end to push the end up a little at a time and a tie-down strap to incrementally push up on the existing brace on the other end. Took about an hour to get the third wall up the rest of the way.
For the fourth and final wall which has two windows and a door, lacking a wall jack, I just installed the top and bottom plates and the full studs, hoping it would be light enough to manage. It was still very heavy and I raised it a little at a time using two ladders and a long board to push it up. I then started framing out the doors and windows. Finished the door framing and most of one window when a thunderstorm rolled in and I didn’t want to be standing on an aluminum ladder with lightning in the area so I called it a day. All that’s left is some window framing, the top plates for the walls, and the rest of the sheathing (roughly 14 sheets). I’ll tackle that this coming weekend.