One man's struggle to take it easy
Category: Cabin
Cabin: Spring 2012 Update
Monday, Apr 23, 2012
I continued work on the cabin this past weekend. It was my first trip since early December of last year. I’m always anxious about what I will find after not visiting for several months, imagining the roof having blown off in a winter storm, a surly family of bears taken residence, or some backwoods types cooking meth in the living room.
Upon arrival and inspection, I found everything exactly as I had left it, as well as no evidence our recent, admittedly less than harsh, winter had caused any problems whatsoever. No indications of water leaks, roof damage, etc. About the only “damage” I could find were some droppings on the porch and in the utility room where birds had perched in the rafters.
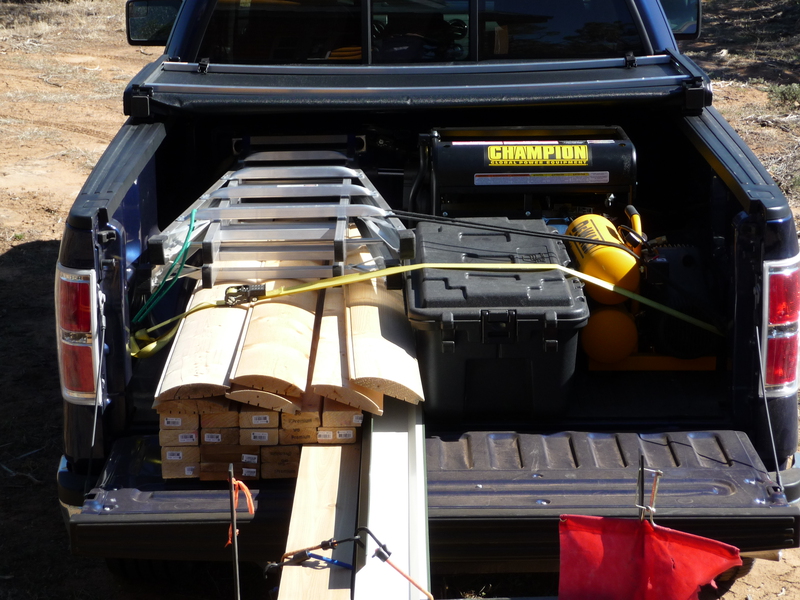
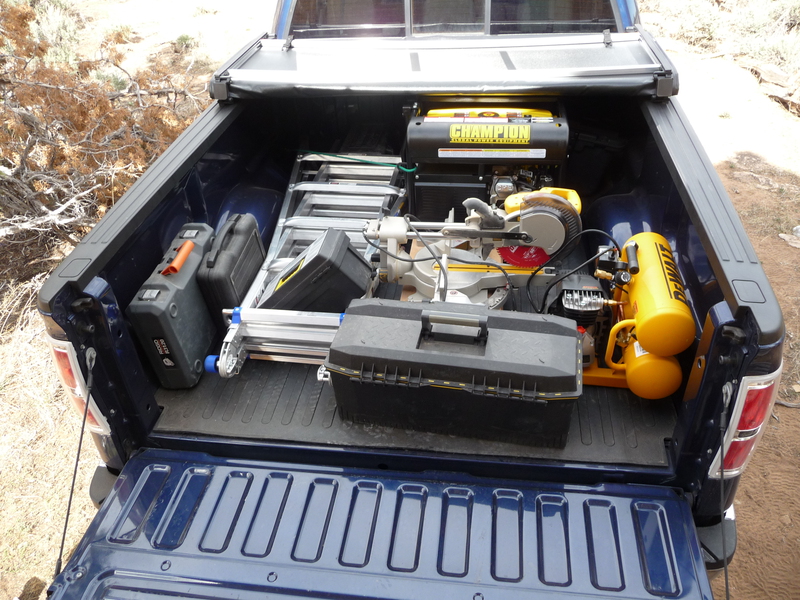
After having some equipment stolen last fall, I had removed everything of value for the winter, which necessitated having to take quite a bit of tools and materials with me this past weekend. Loading and unloading the truck alone probably took an hour each day and I can see will be a burden going forward. I’m not sure how I’m going to be able to transport both tools and materials for some of the jobs planned for this year, but I’ll figure it out.
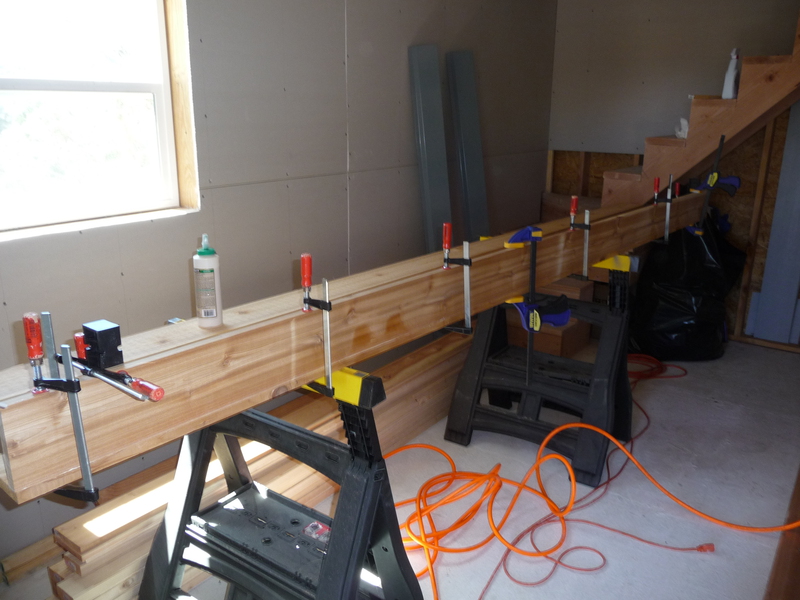
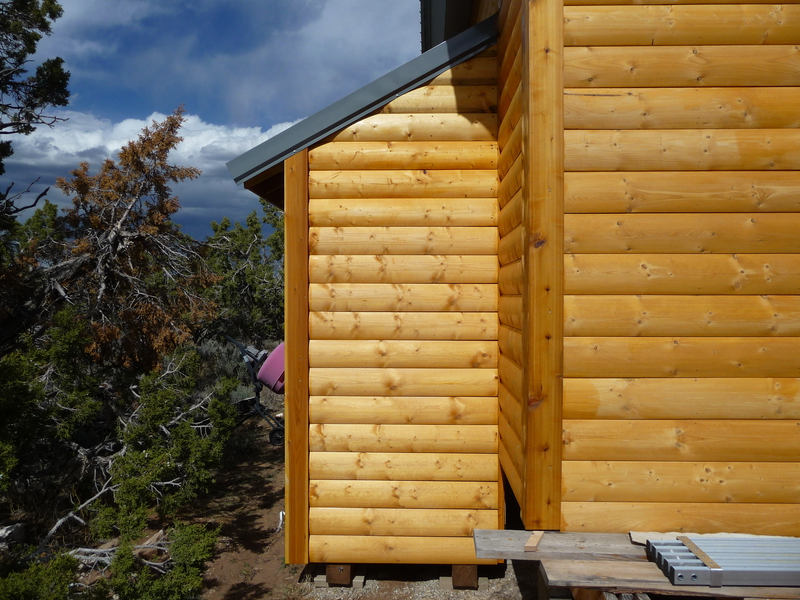
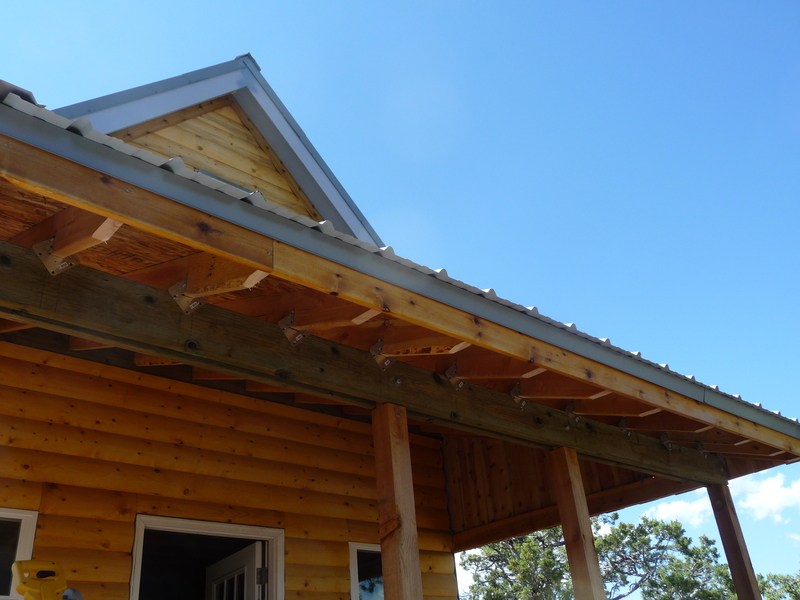
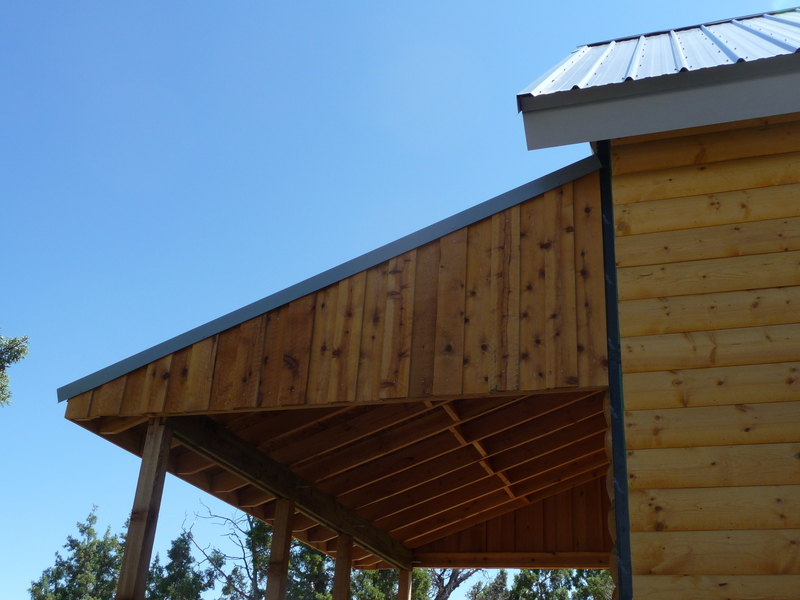
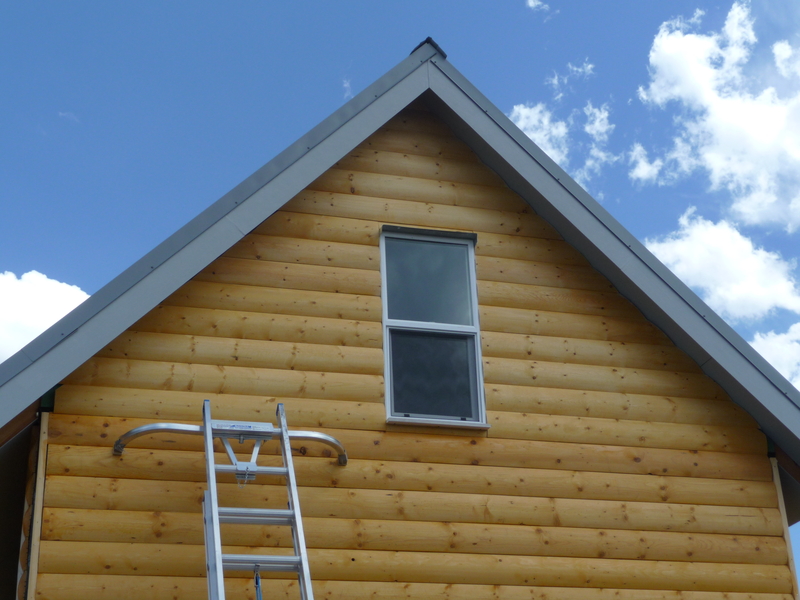
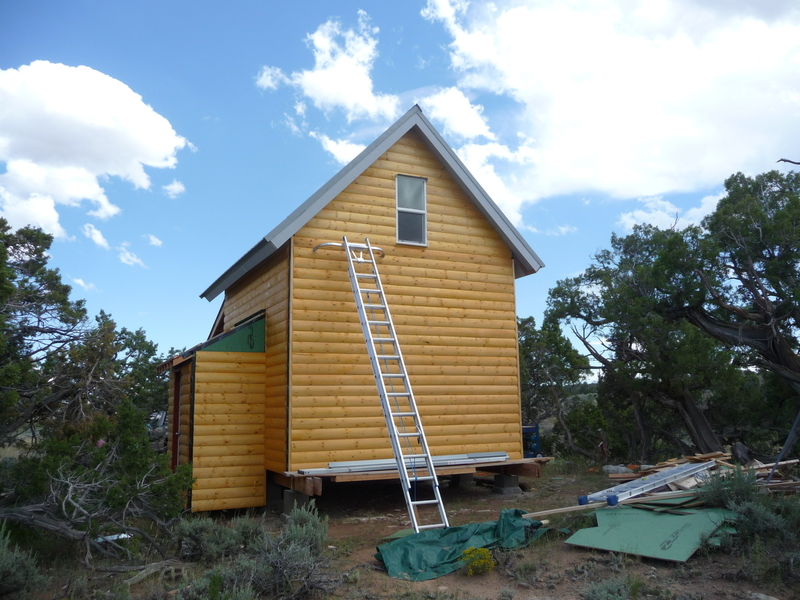
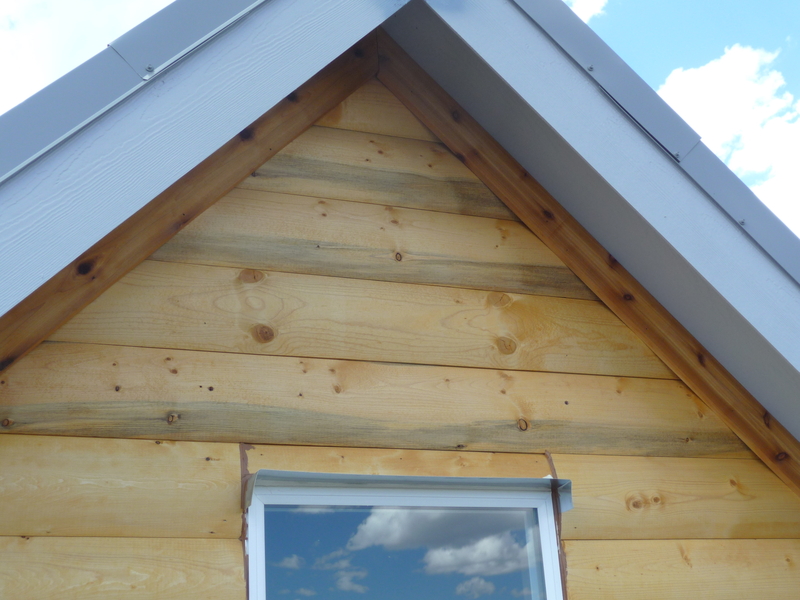
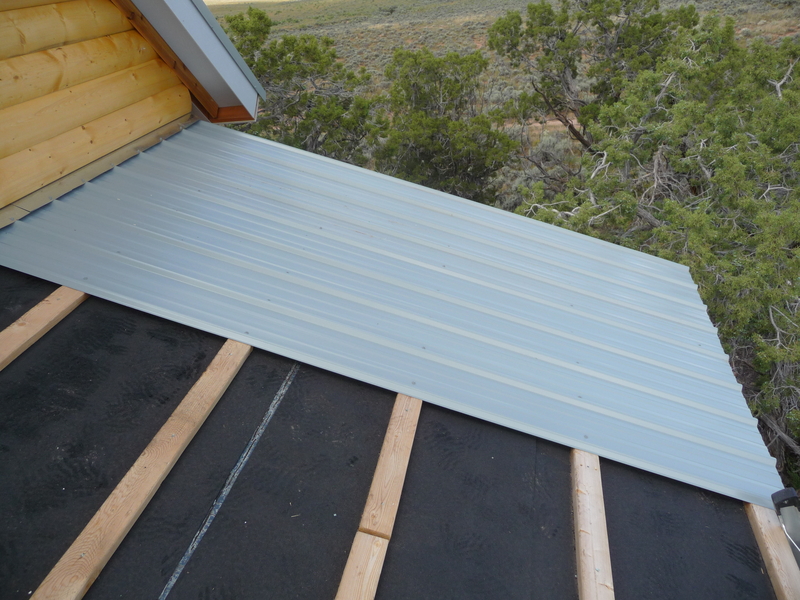
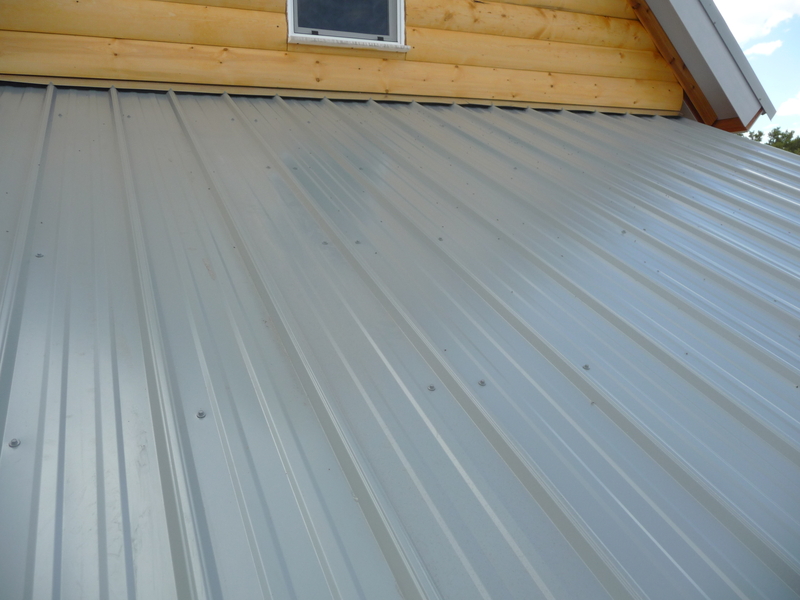
Even though it seemed like I spent all my time loading and unloading, I did manage to accomplish a few things. I finished the roof on the utility building, adding log siding pieces to the gable ends, adding the rake edge trim (which I had to paint to match the roofing) and the drip edge. I also installed and stained cedar trim on the outside edges of the utility building and the back wall of the cabin, as well as the trim pieces at the top of the gable on the rear.
About the pictures:
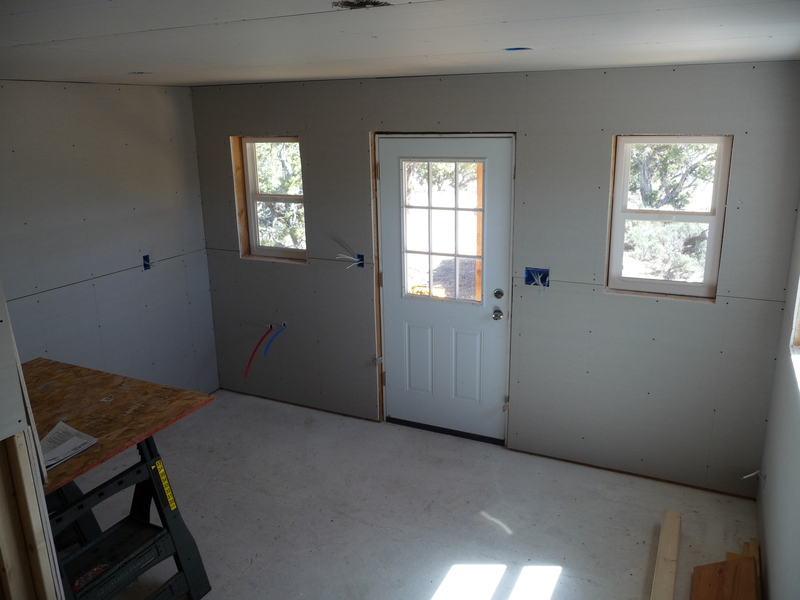
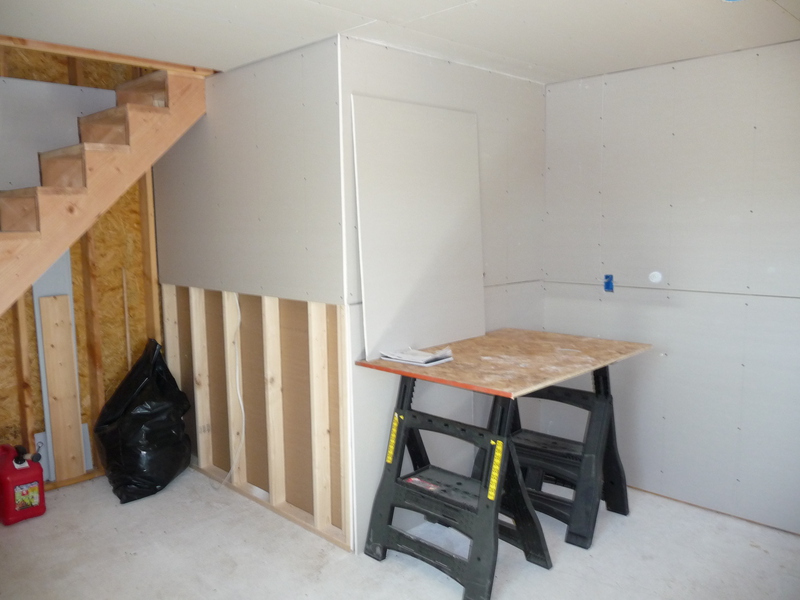
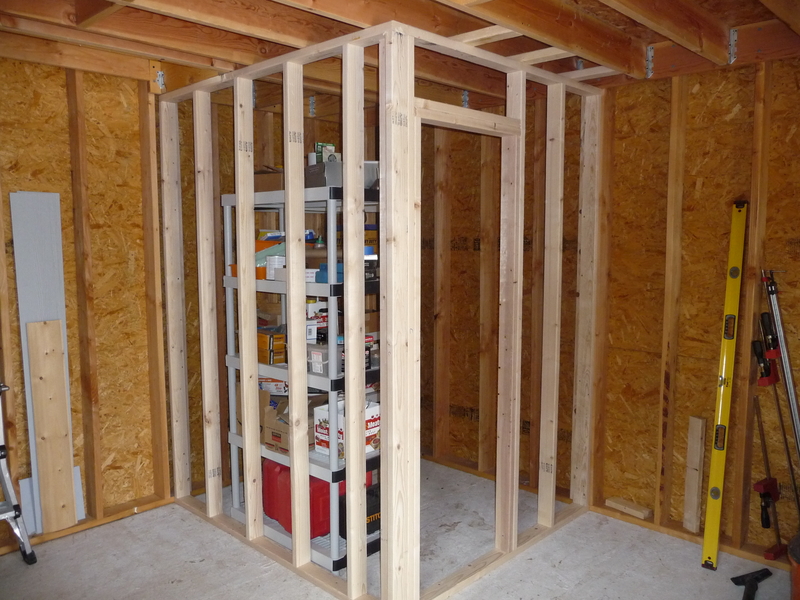
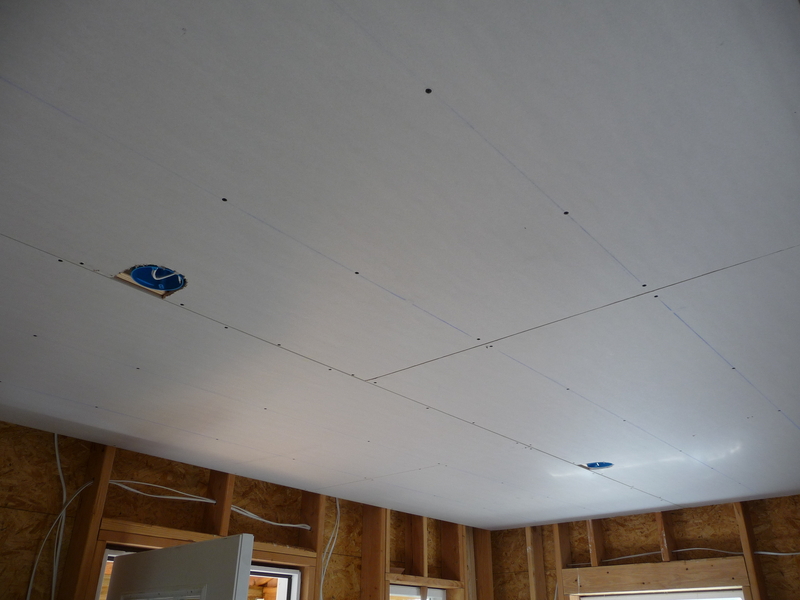
- I included some pictures of the interior with most of the sheet rock installed, which was done last year, but I didn’t have any up to date pictures.
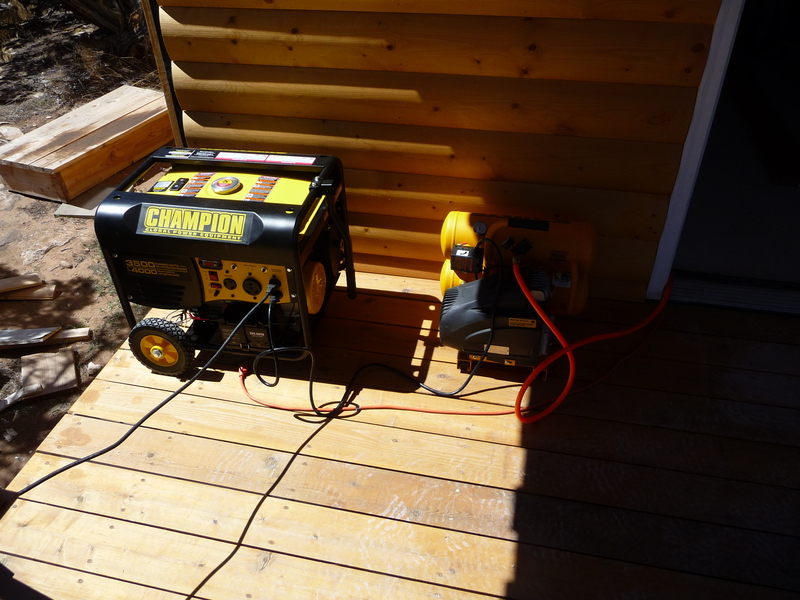
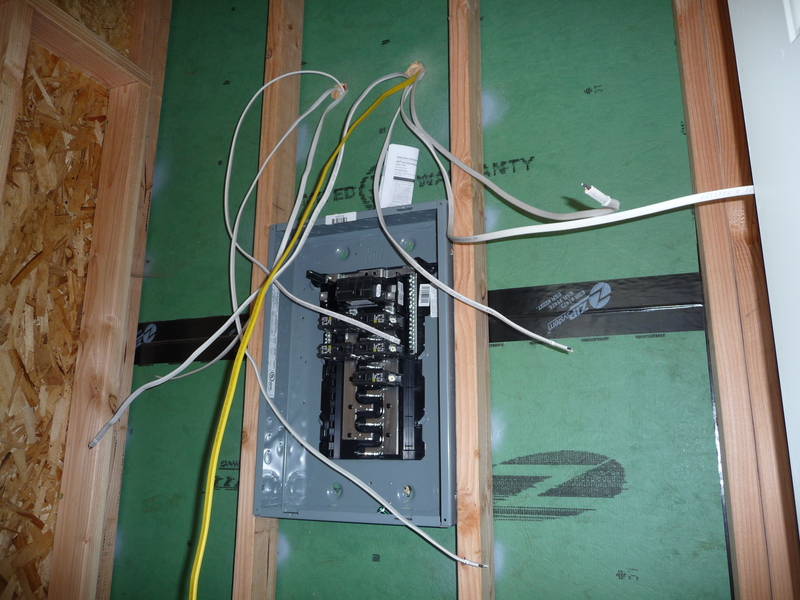
- One pic of the new generator (last one was stolen). The previous generator worked so well I was hesitant to buy a different model, but the new one has electric start and a remote key fob start/stop for about $50 more. So far it seems to work okay.


Cabin - Misc Exterior and Start Interior
Friday, Oct 07, 2011
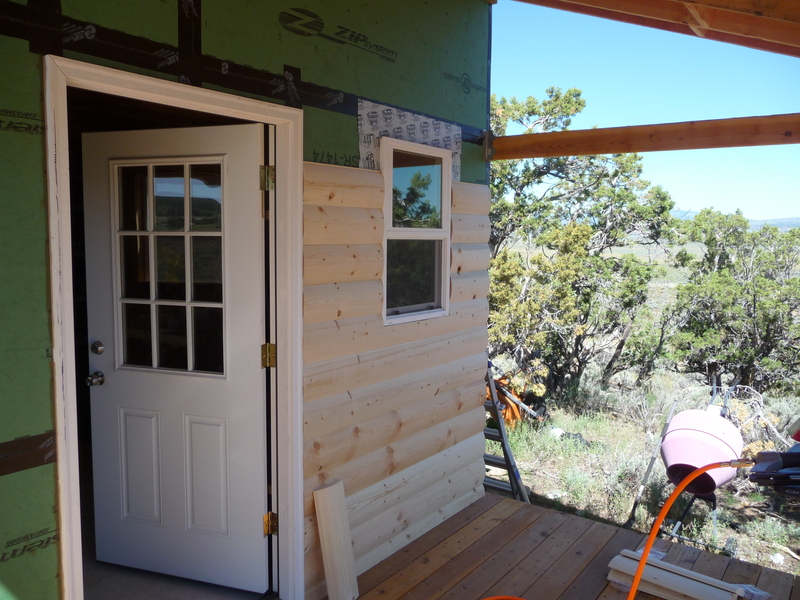
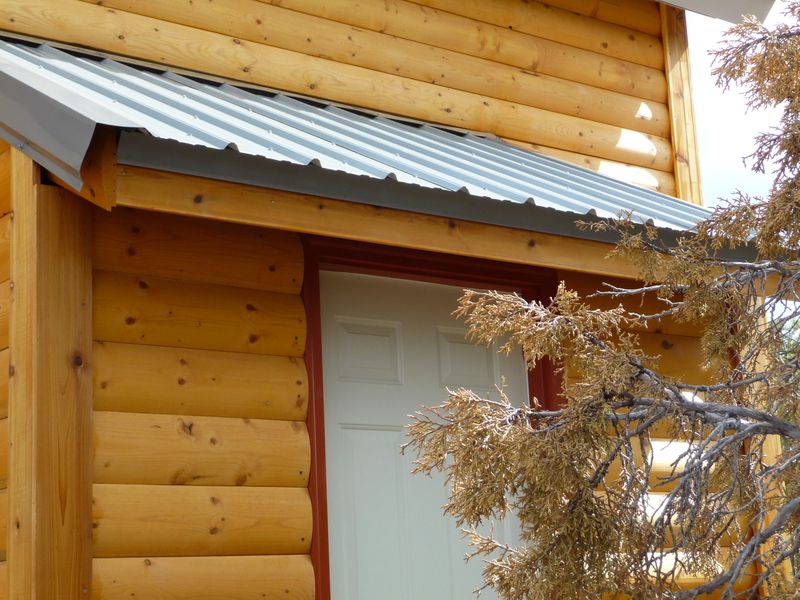
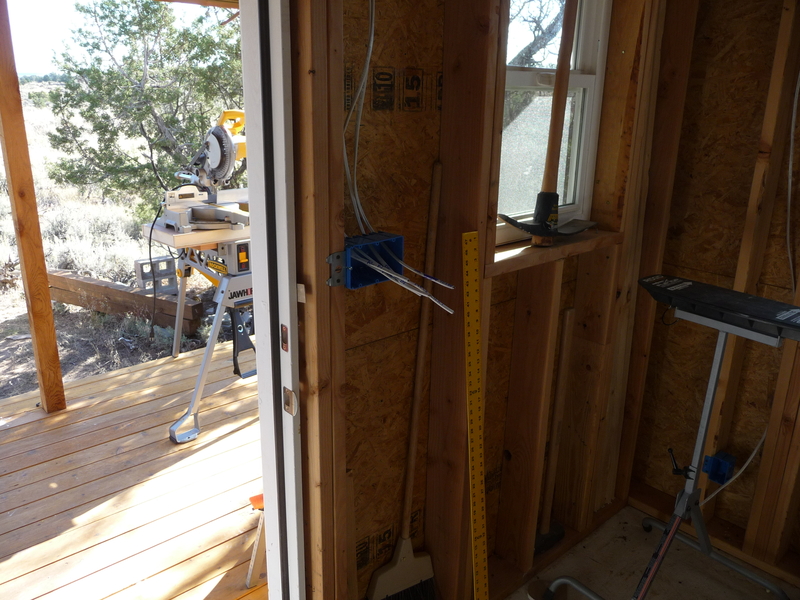
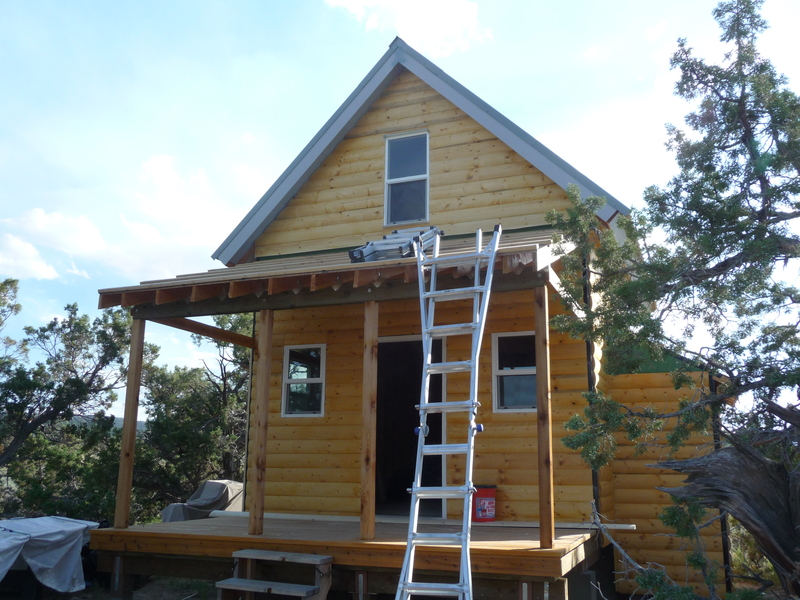
A few weeks ago I finished the porch roof, installed a fascia on the porch, and installed some cedar siding on the porch “gable” to block some of the sun/rain/snow. I also framed in the bathroom.
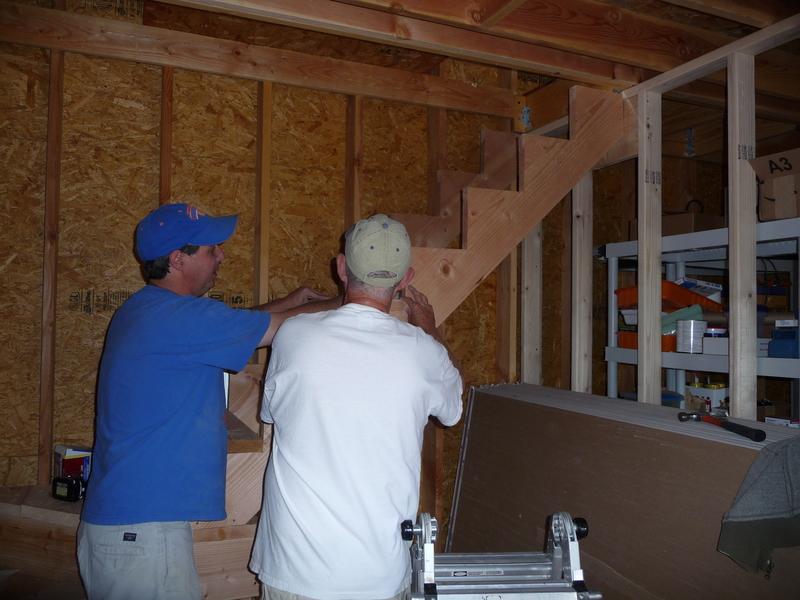
Last week, my parents were visiting and my Dad and I worked on the interior for a few days.
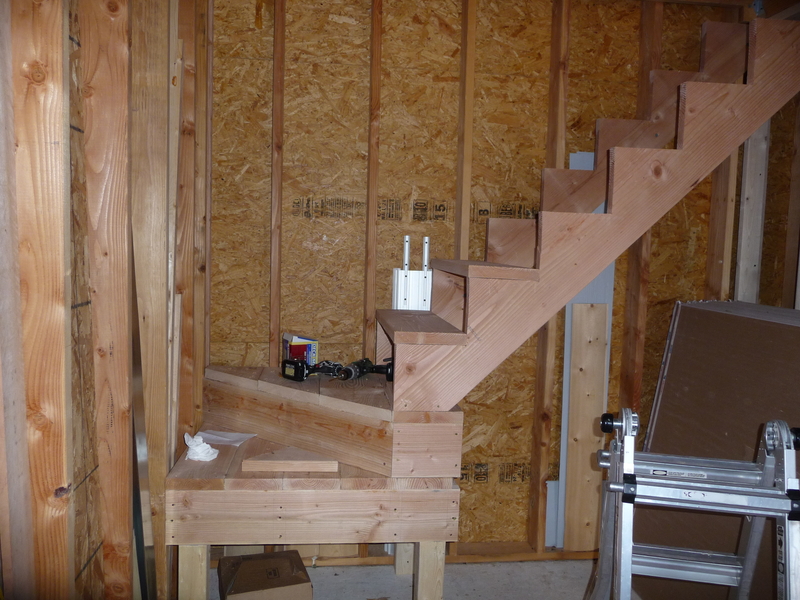
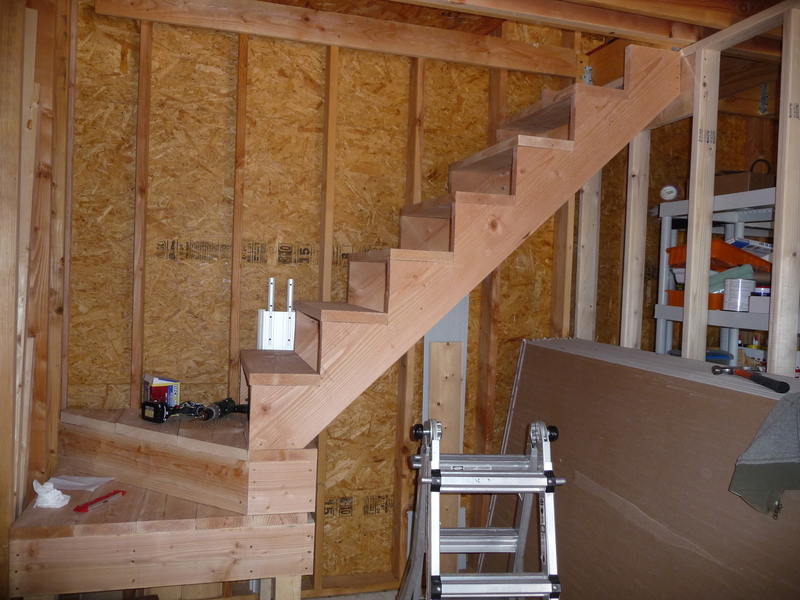
We started out by building the stairs up to the loft. The stairs are “winder” stairs and have one landing with a diagonal tread on the landing.
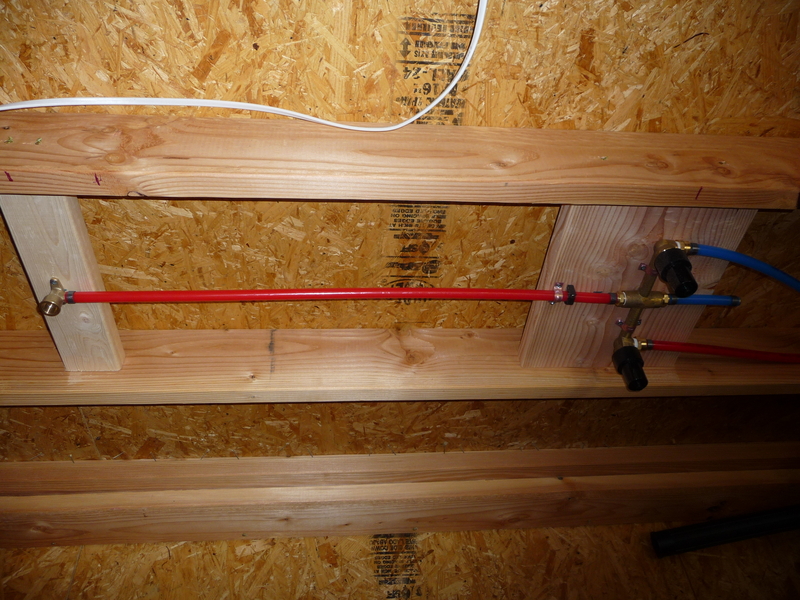
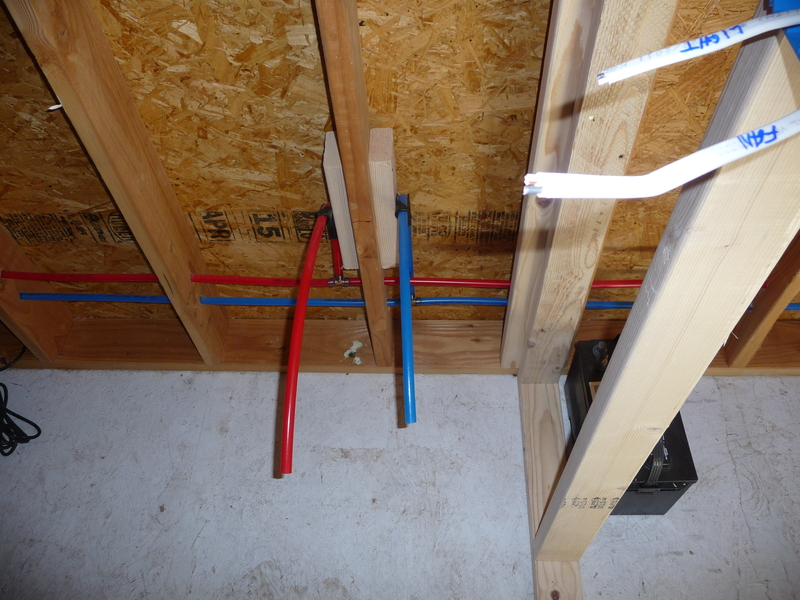
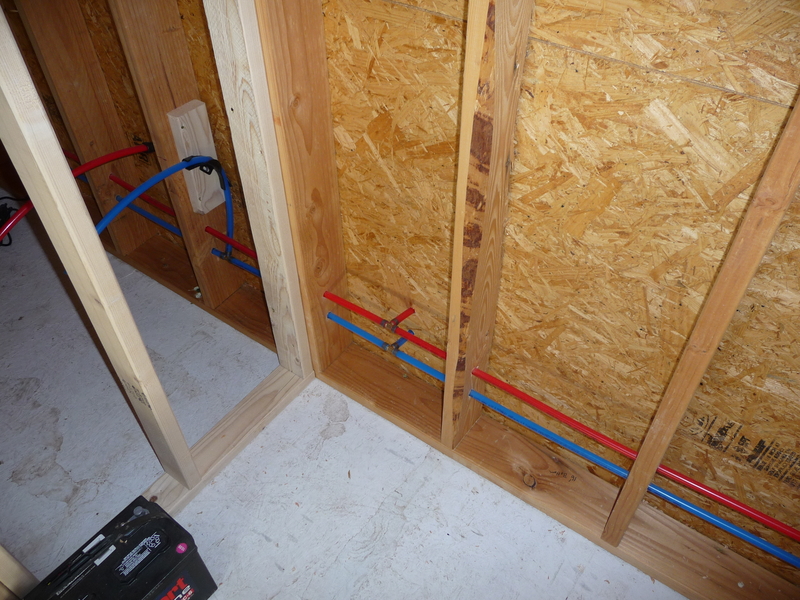
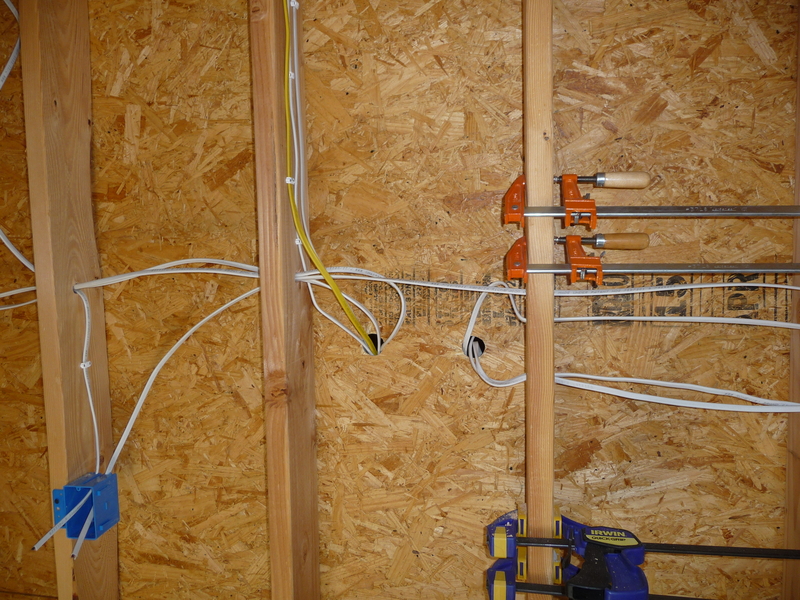
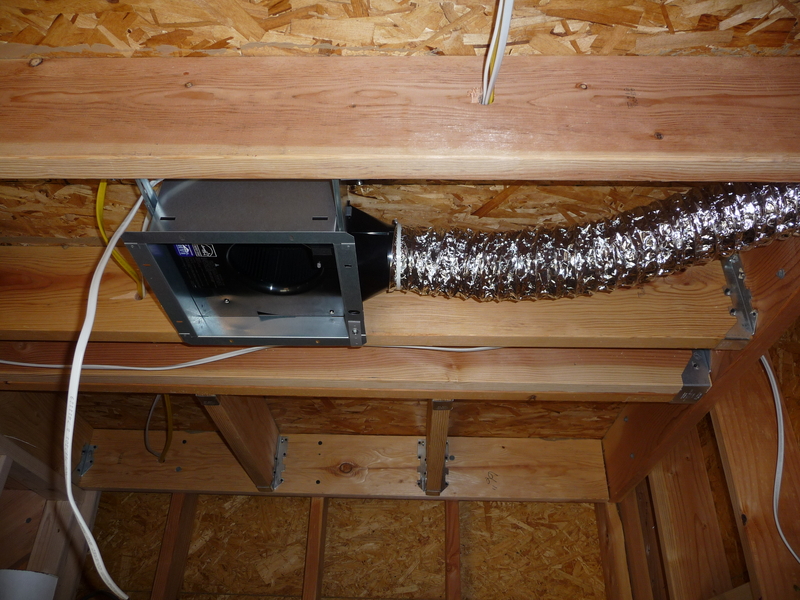
Next we roughed in the plumbing and electrical. The plumbing uses PEX and sources a shower, bathroom sink, and kitchen sink. The electrical runs provide for two DC ceiling fans, a bathroom exhaust fan, four lights, and about ten outlets. We ran 14 gauge romex from the panel in the utility room to the drops.
Finally we started hanging sheet rock on the first floor. We finished the ceiling and about half of the walls.


Cabin: Gable Siding, Gable Trim, Porch Roof
Monday, Aug 22, 2011
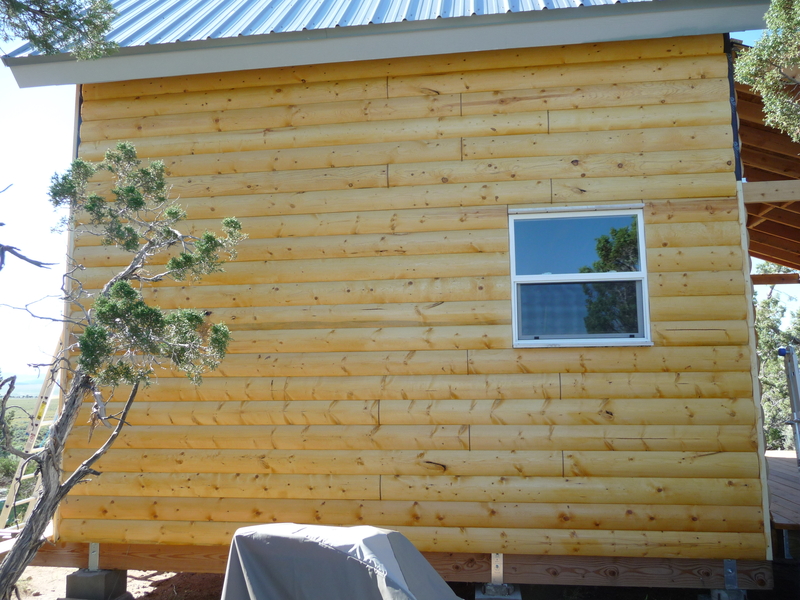
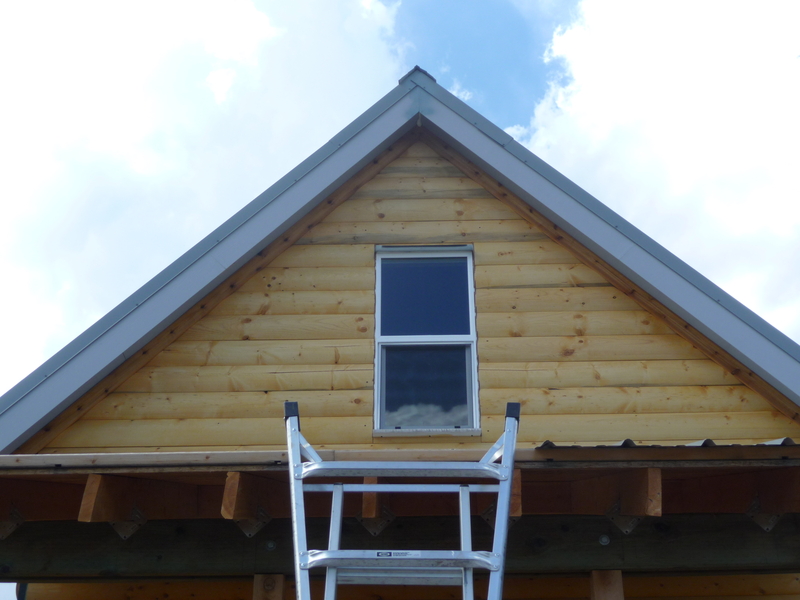
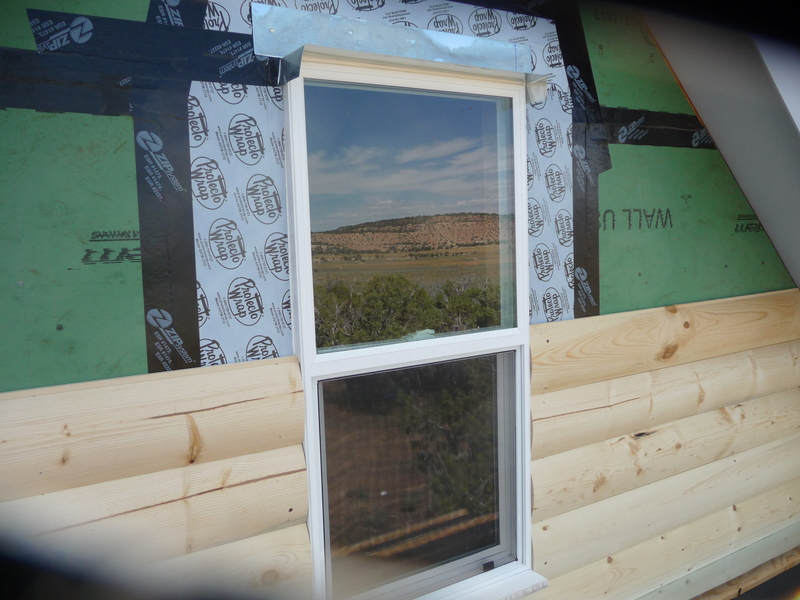
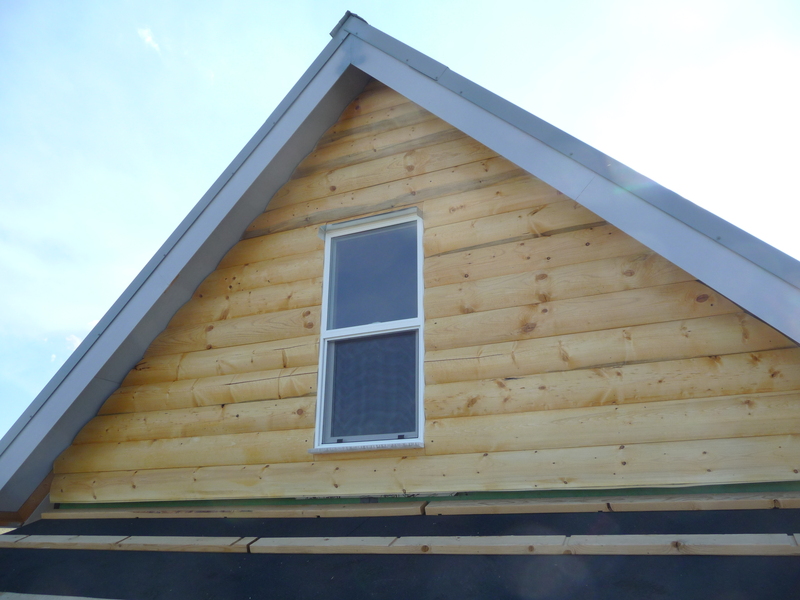
I finished the siding on the rear gable. The only siding I have left is a few small pieces to go on the utility building gables which I’m waiting to install until I get the roof on. I caulked the front gable window and installed some cedar trim on the front gable so I’d be done on the front gable and could start installing the porch roof.
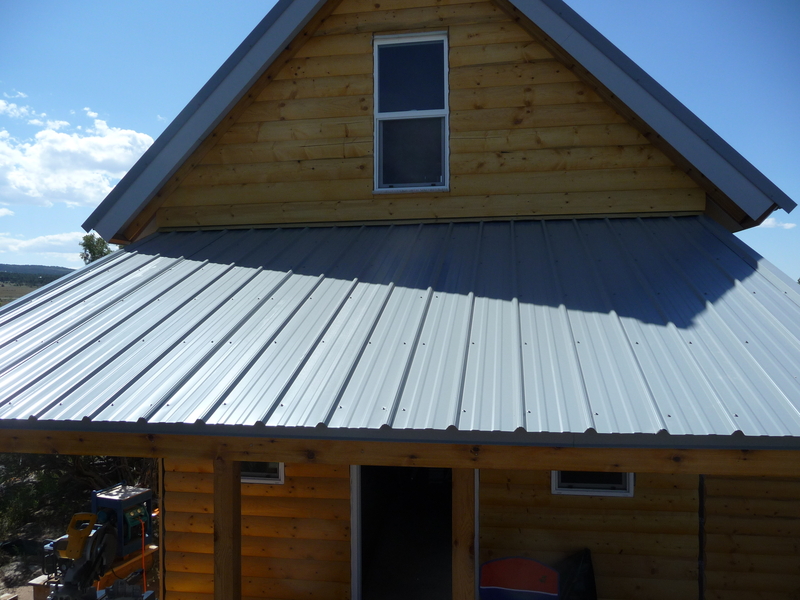
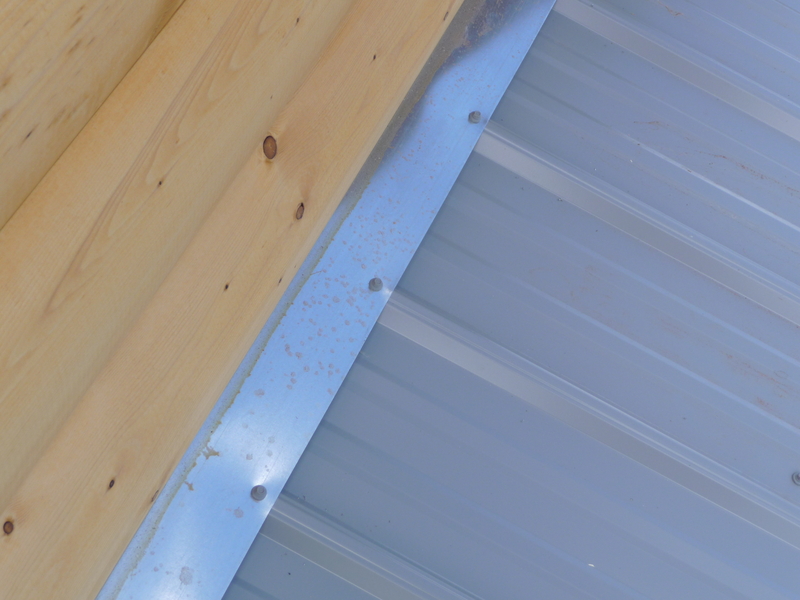
I installed four of the five steel panels on the porch roof and ran out of screws. The porch roof panels slide under the flashing where they meet the cabin wall and the flashing is screwed down to the panels after installing foam closures. The porch roof actually went up really quickly since I could stand on the roof and I had sized the roof with the length of the panels (10’) in mind.
Cabin: Soffit, Flashing, and Gable Siding
Monday, Aug 15, 2011
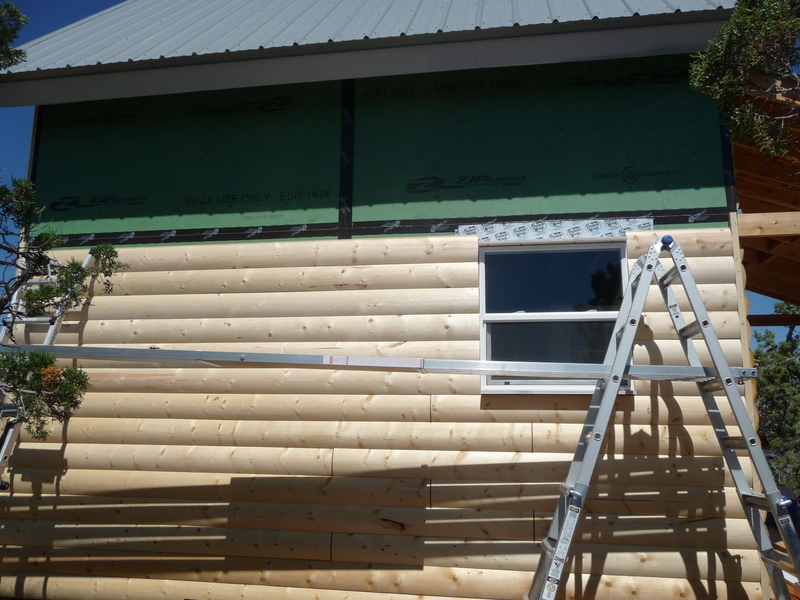
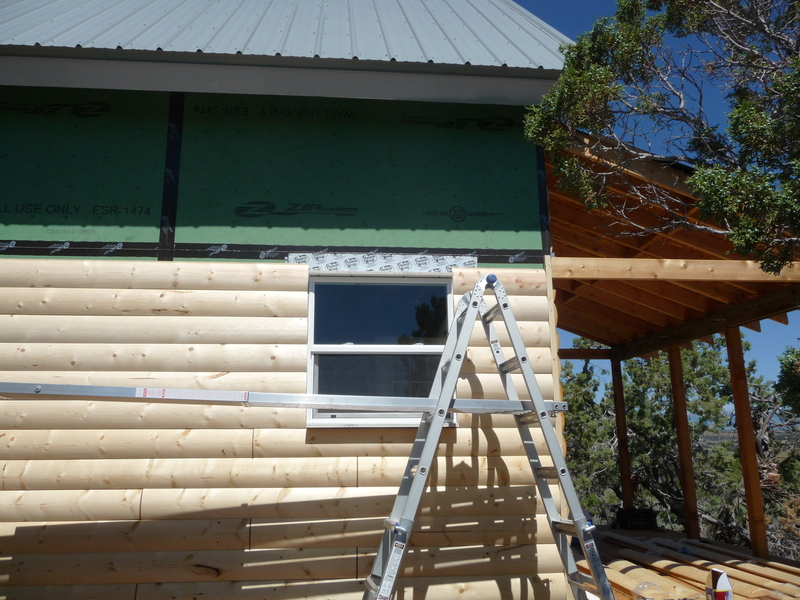
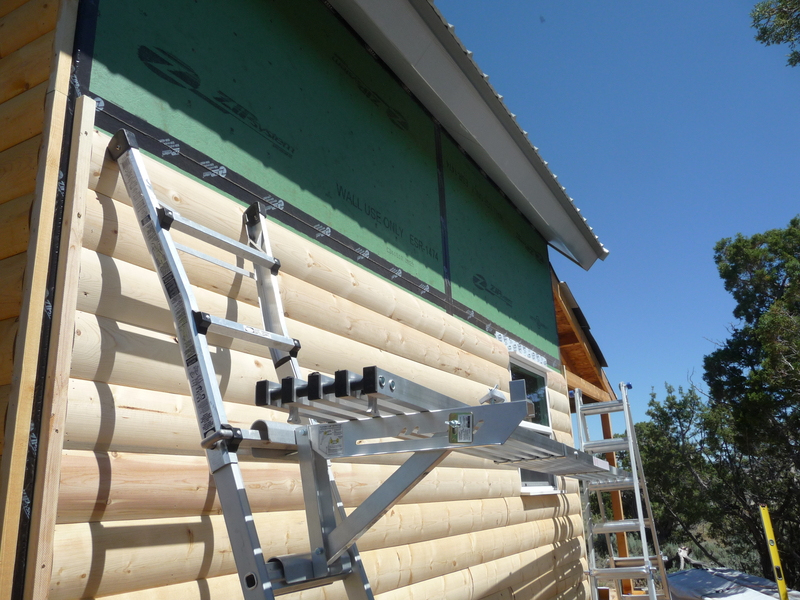
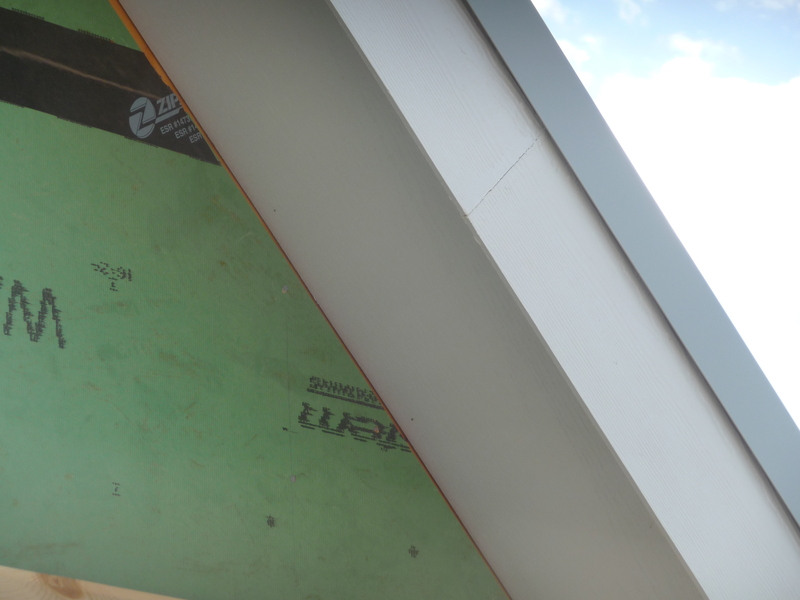
Saturday I started installing the gable siding. Before installing the actual siding I had to install the soffit on the gable ends of the roof overhang, add flashing and sills to the gable windows, and install flashing where the porch roof meets the wall.
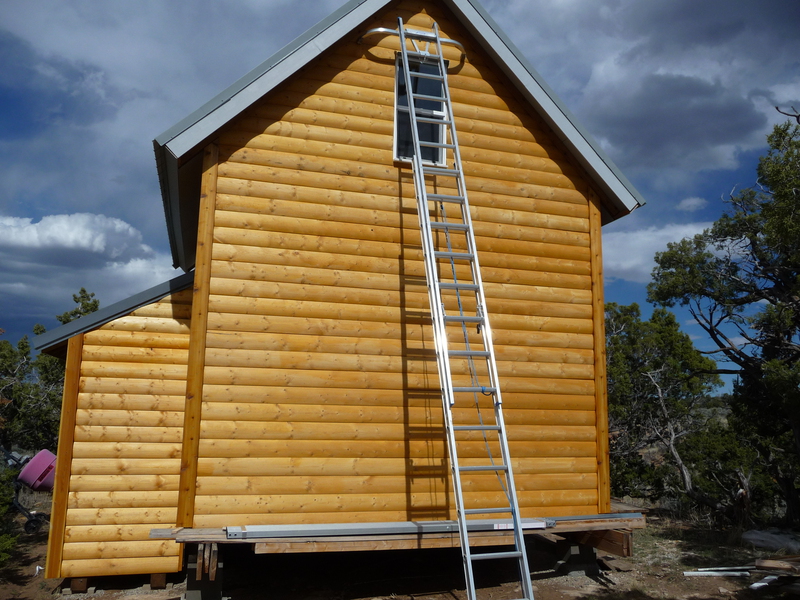
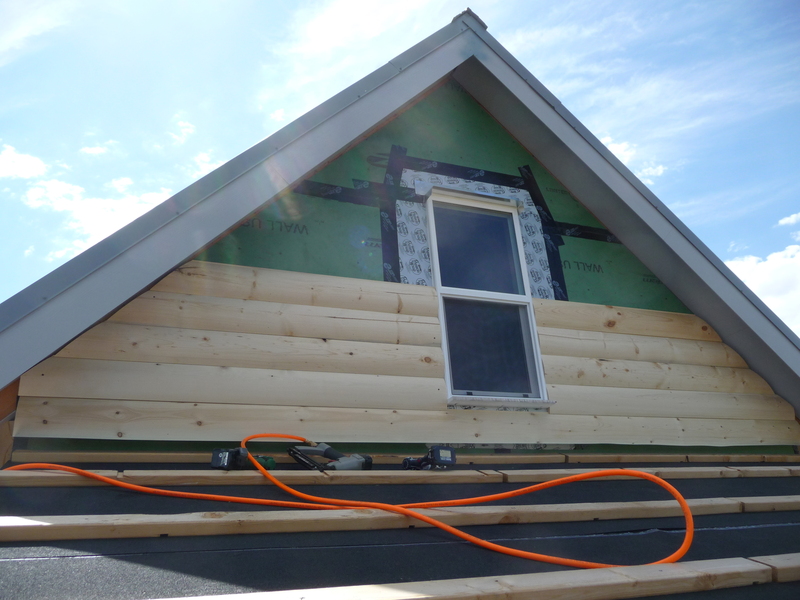
Installing the siding itself was time consuming because each piece of siding was cut to a different length and there were obviously a lot of angled cuts to match the roof profile. Also, having to continually climb up and down from the porch roof to measure, cut, and install took a lot of extra time. To get to the peak, I had to use one ladder to get on the roof and a second ladder placed on the roof to reach the peak.
It was also really hot on Saturday and I was tired after a long day so I took Sunday off, the result being that I finished siding the front gable end but not the rear. I did install the soffit and window flashing on the rear side so installing the siding shouldn’t be too bad other than all the ladder work.
Cabin: Getting Tired of Siding
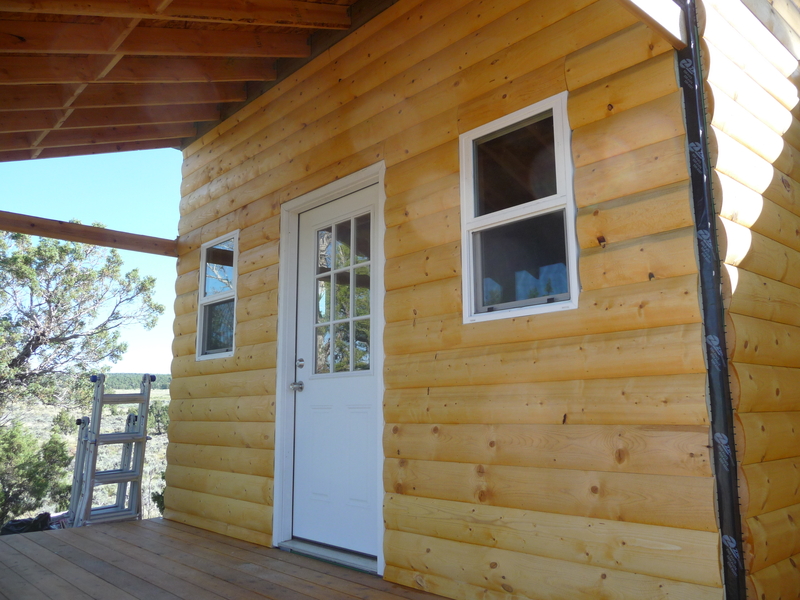
Monday, Aug 08, 2011
I’m really getting bored with nothing but siding. Luckily I’m almost finished with only the two end gables remaining. This weekend I sided the front and left sides of the cabin. The front went quickly once all the pieces were cut. The left side took a while though having the scaffold saved quite a bit of time. There were quite a few warped and twisted boards among the long pieces used on the left side but I found a good method of drawing them into alignment was to use long deck screws on the ends to pull them into place. I countersunk the screws and caulked the holes. I also caulked the butt joints where two pieces were joined. I only used two full 16’ pieces since they are difficult to transport. For the other 16’ courses I used a combination of two pieces in 12’/4’, 10’/6’, and 8’/8’ lengths. You can see where the joints are in the photos by the brown caulk lines.