One man's struggle to take it easy
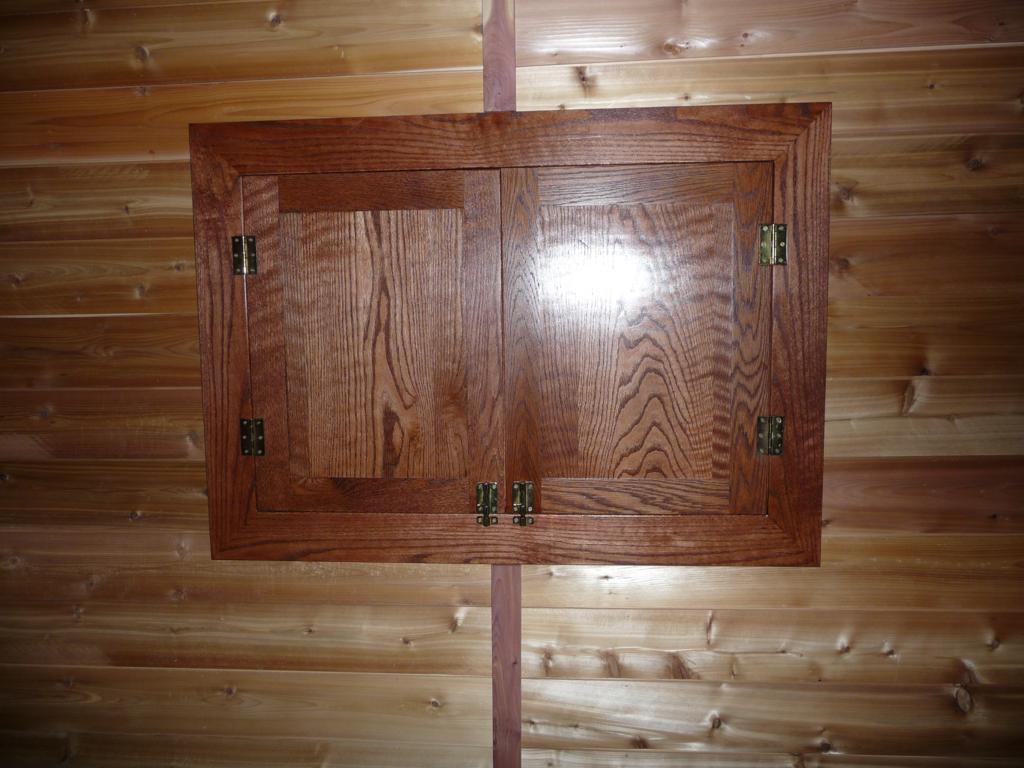
Building a Mini-Cabin: Part 9 Shutters
Sunday, Jan 03, 2010
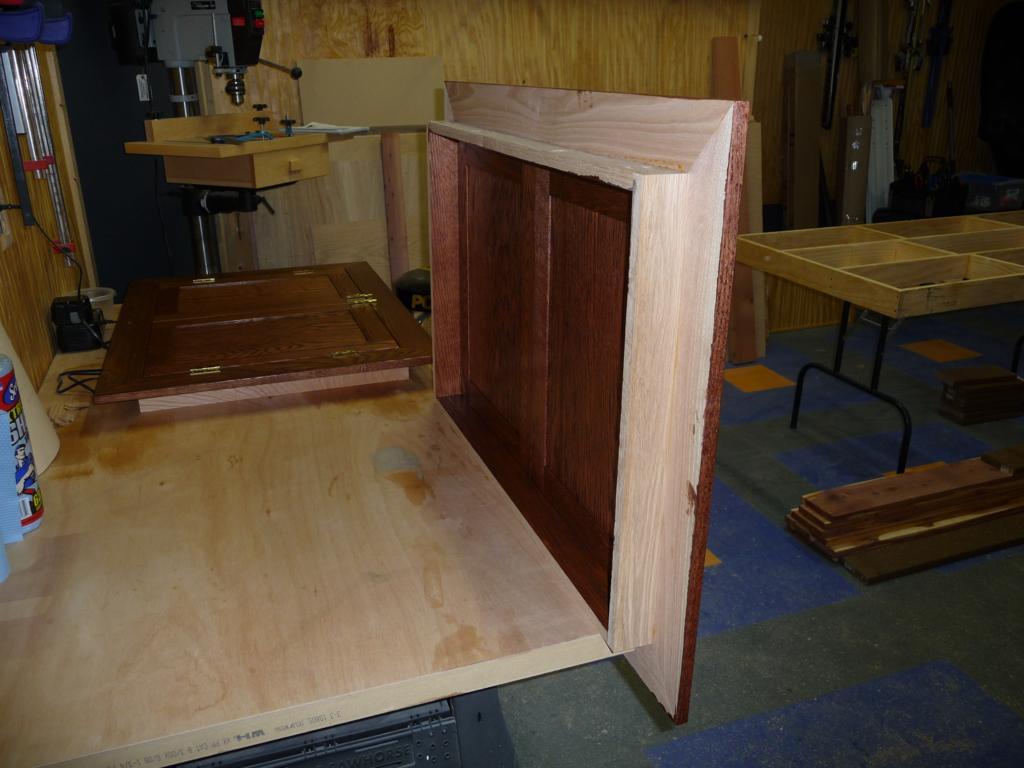
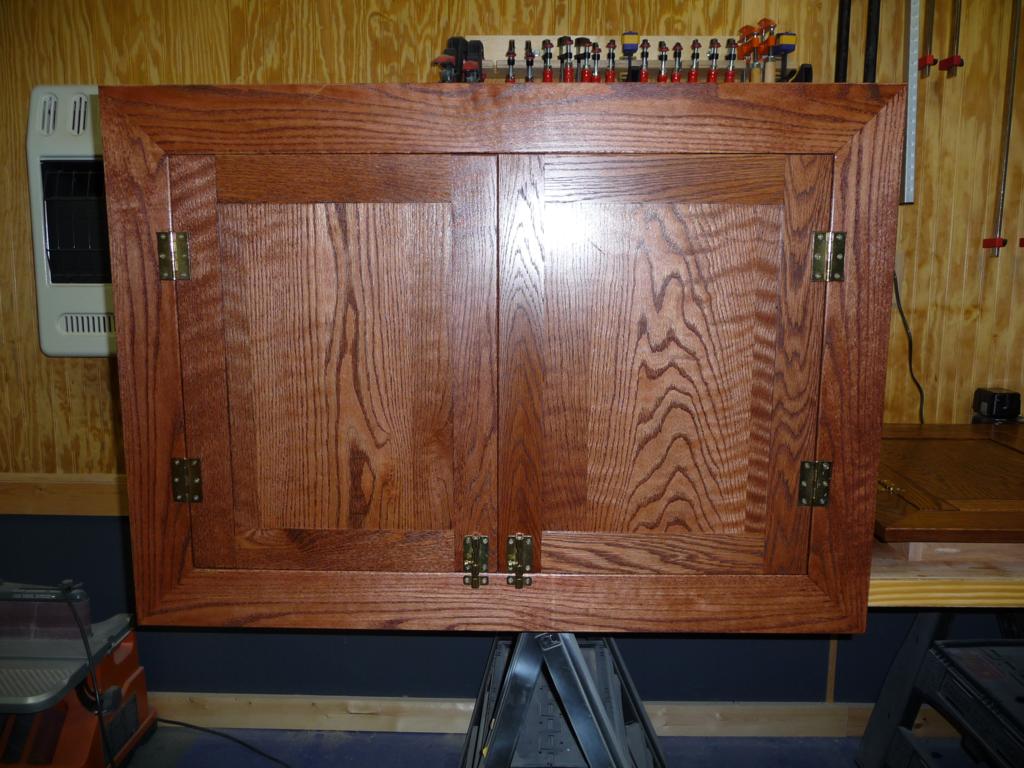
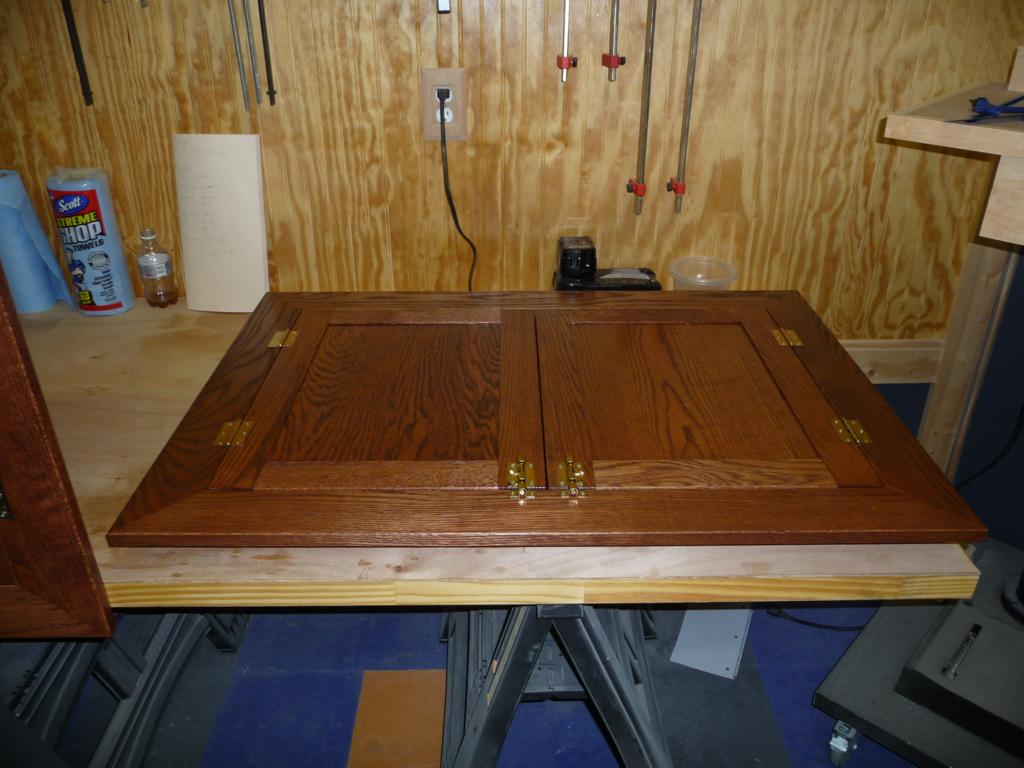
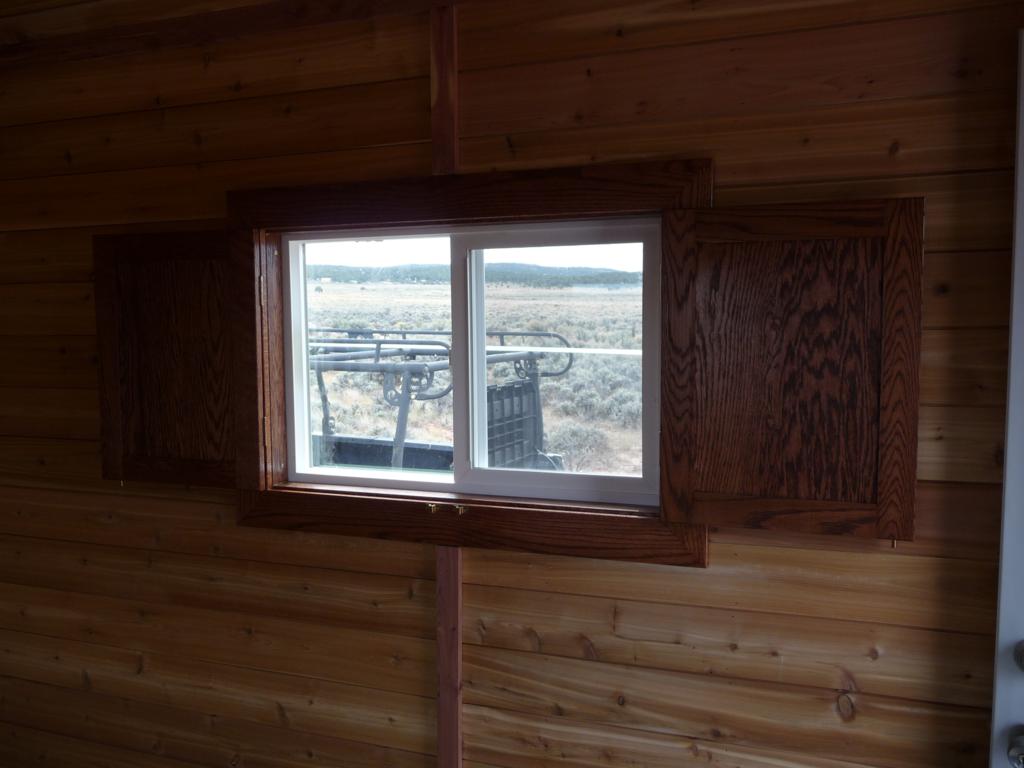
I wanted to make the mini-cabin as impervious to the casual thief or trespasser as possible so I built some wooden shutters for the interior windows. The shutters are fairly solid so will make gaining entry through the windows difficult as well as preventing inspection of the contents of the cabin by any would-be pilferers.
I made the shutters out of white oak just because that's what I had laying around. They don't really match the cedar but I just won't tell my interior designer.
You may be saying "those are some mighty fancy shutters for a glorified shed" and you'd be making a valid assessment.
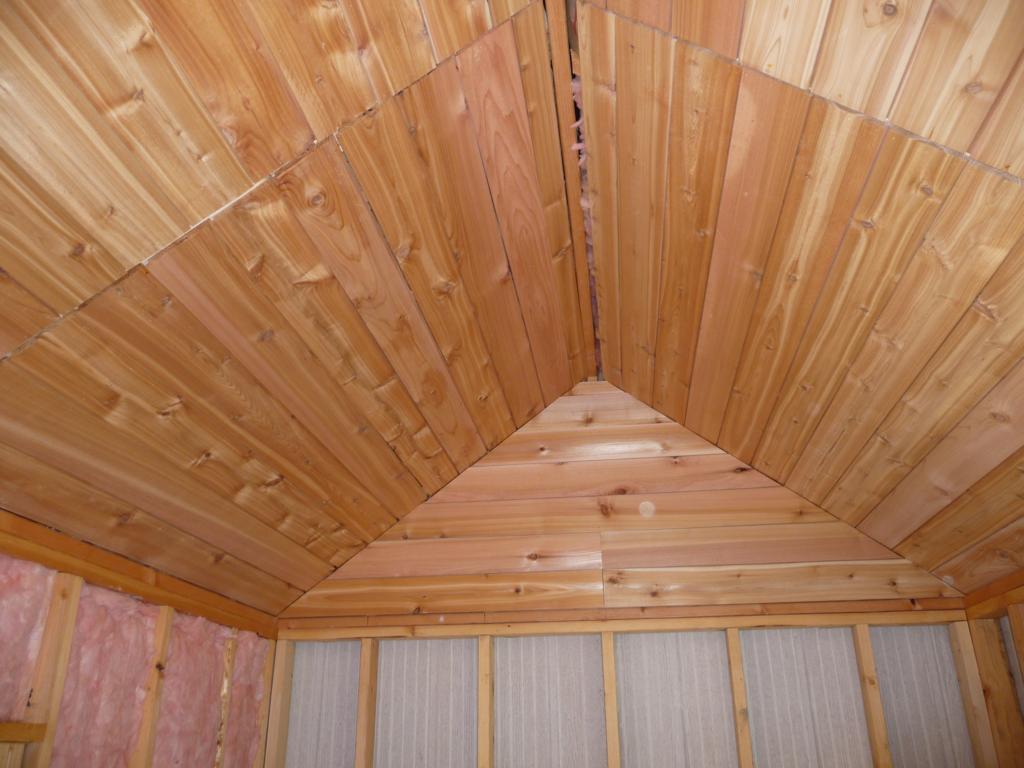
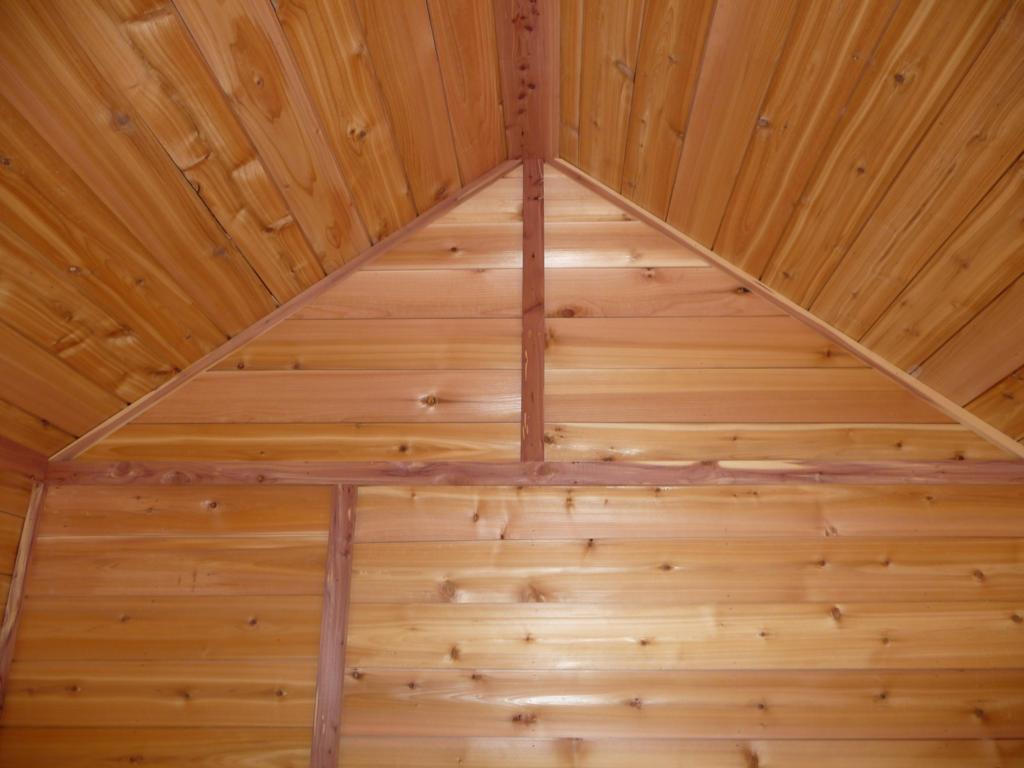
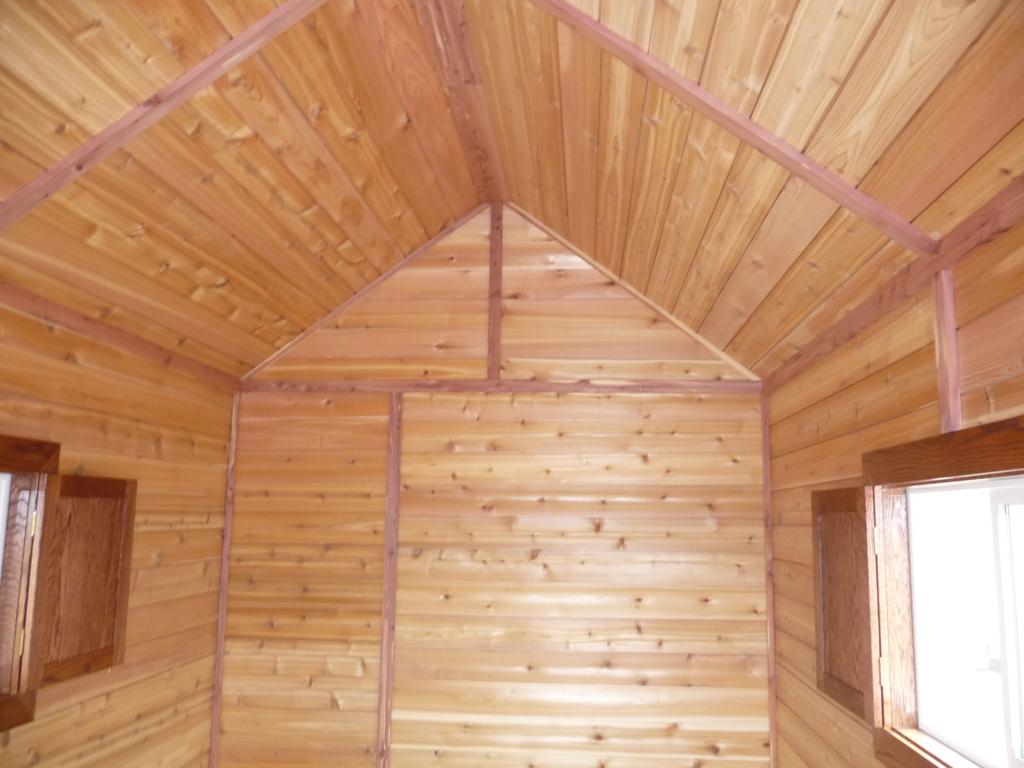
Building a Mini-Cabin: Part 8 Interior
Sunday, Jan 03, 2010
Here are some pictures of the interior as I was applying the siding and trim.
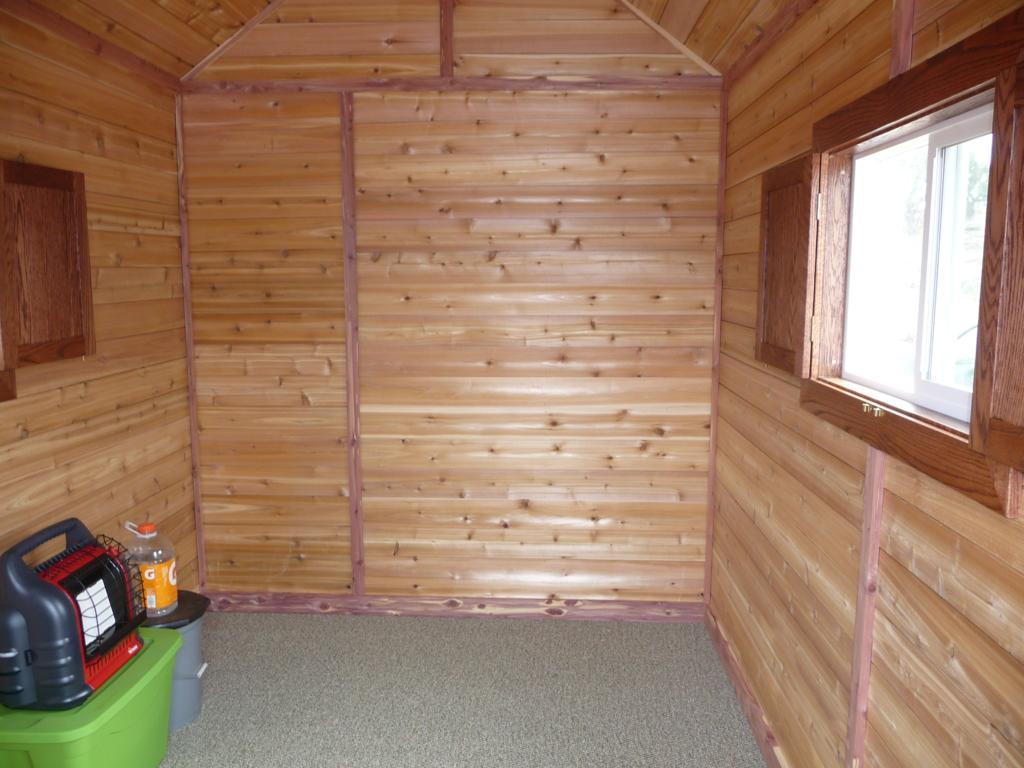
The siding went on all the walls and the ceiling and entire mini-cab is insulated with fiberglass insulation.
For the trim, I used red cedar from the local hardwoods dealer which I cut to the required sizes.
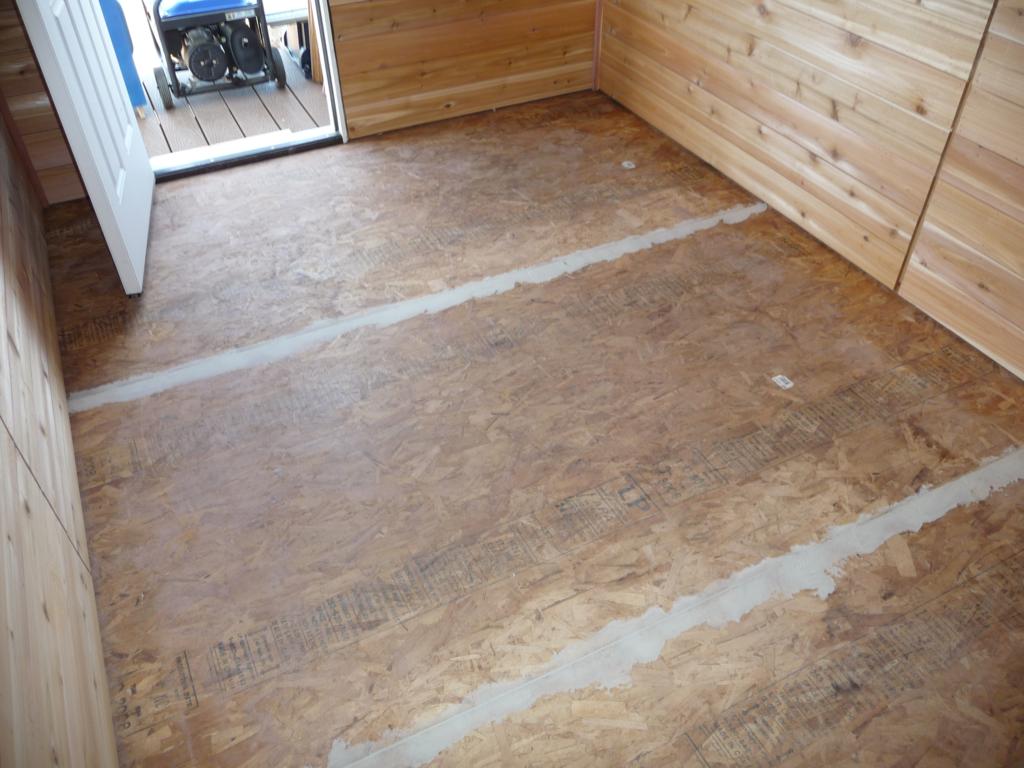
I used some floor patch to smooth out the gaps in the subfloor and laid some indoor-outdoor carpet on the floor. The carpet cost about $60 and it's glued down to the subfloor using a mastic-like glue spread with a notched trowel.
The trim work went fairly quickly. I cut a bunch pieces at home to the dimensions I wanted and just cut them to length on-site with the chop saw. I used a finish nailer to attach all the siding and trim. The red cedar trim was a lot more figured than the cedar siding and provided a nice contrast.

Building a Mini-Cabin: Part 7 Interior Siding
Sunday, Jan 03, 2010
With the exterior of the project largely done, I started to consider the interior. There are a few things I didn't detail in previous posts relating to the exterior so I'll summarize them briefly:
-
I installed two Jeld-Wen windows which are 24"x36" and purchased at Home Depot. The were attached directly to the framing and covered with the siding. I also used some sticky-backed window flashing type stuff they had to keep water out. I just followed the directions on the package.
-
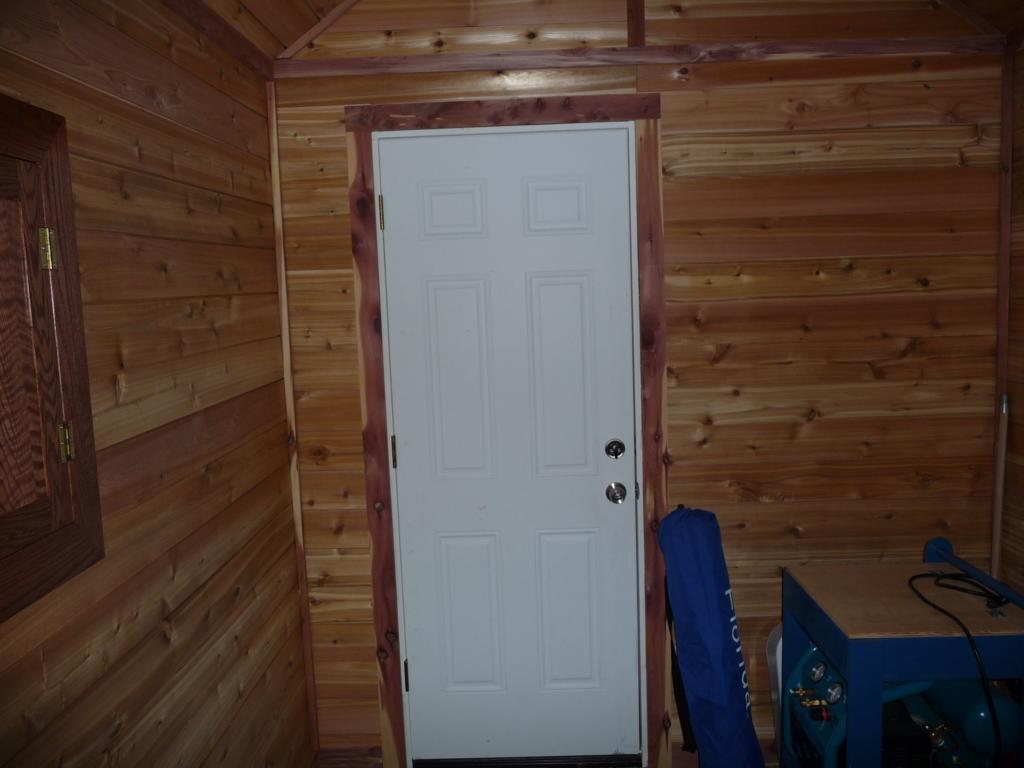
I installed a 30" pre-hung steel door and a lockset with a deadbolt.
-
I used sheet metal flashing on the roof where appropriate.
-
The exterior siding was caulked and painted.
-
I added some 2x4 strips under the roof overhang to form a kind of eave.
As for the interior siding, I considered using drywall. My issues with drywall were that it's difficult for one person to tote around and I'm a terrible drywall mudder. I can hang it okay and I understand the theory behind the mudding process but I'm just not good at it.
My next idea was to just use paneling like in my folks house in the '70's. I went to the local HD and found real wood paneling was kind of spendy so I bought the cheapest stuff they had for about $11 a sheet. For $11 what you get is basically cardboard with a pattern painted on one side that looks kind of like paneling. I wasn't that excited about it but wasn't wanting to spend a lot of money on the "shed."
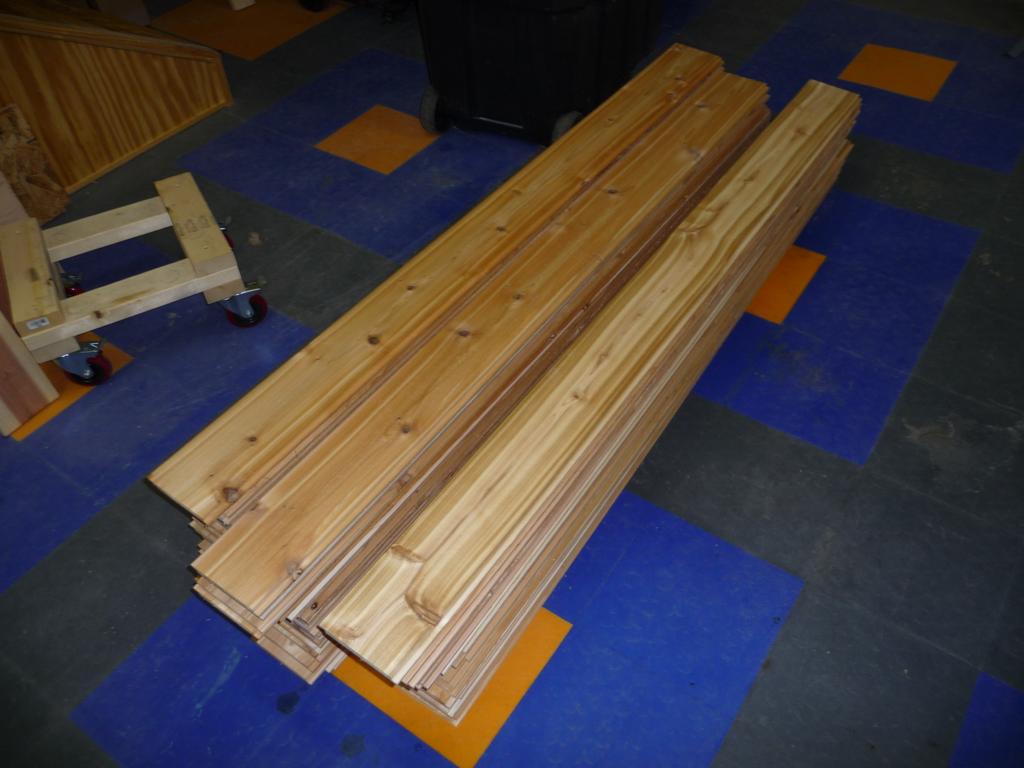
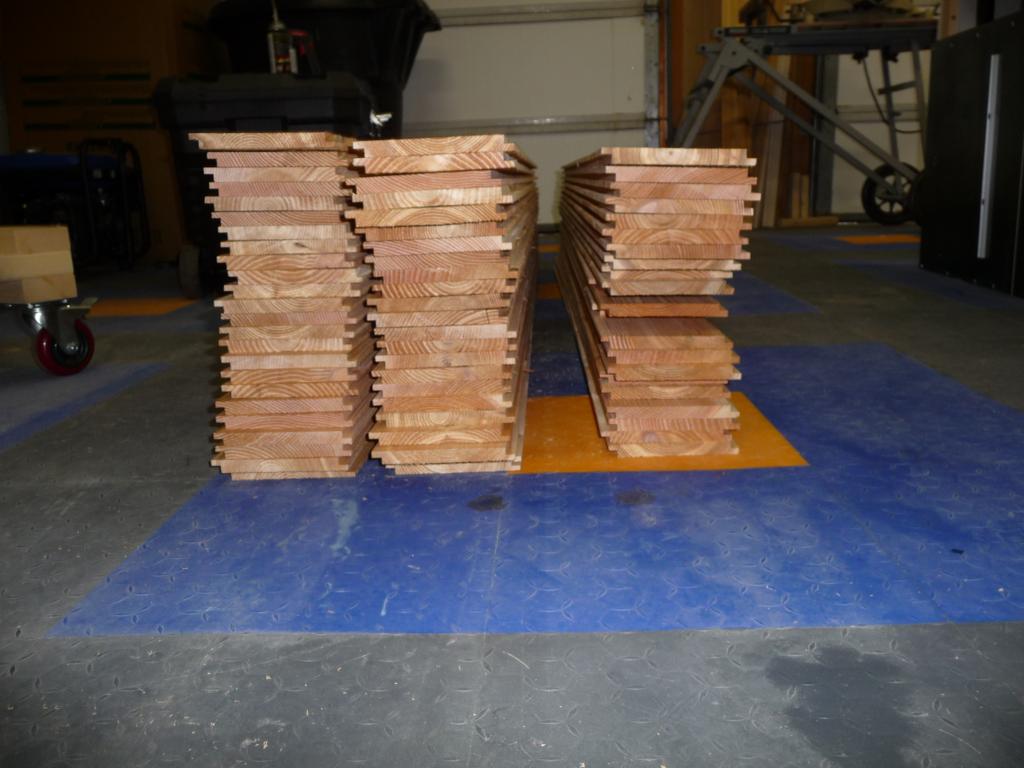
Before I actually installed the "cardboard" I had an idea. Home Depot sells these cedar fence boards which are 6' long by 5-1/2" wide for about $1.50 ea. on sale. I thought I could use them for the interior walls. The problem is they are very rough and the edges aren't very straight. I decided I could take care of that bought about 80 or so to test my theory.
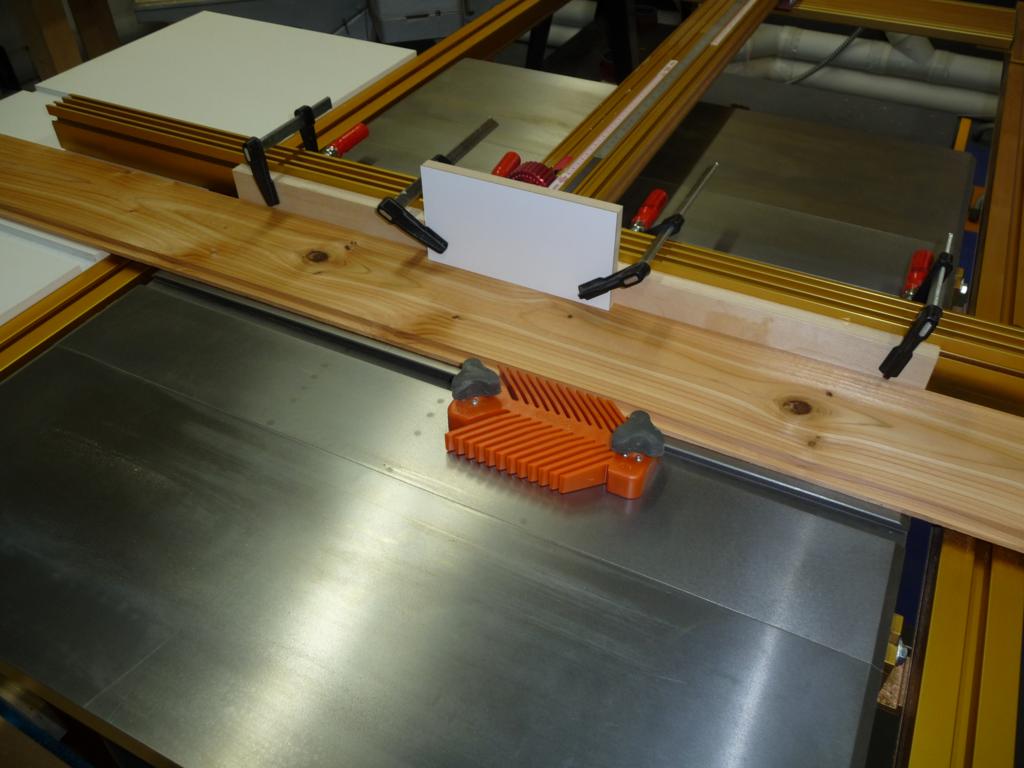
So I brought them home, ran one side through the planer to smooth them out, jointed one edge, trimmed the other edge on the table saw, and cut rabbits in both edges so I could overlap them during installation. I also cut off the top of each board because they were angled at the corners like a fence board.
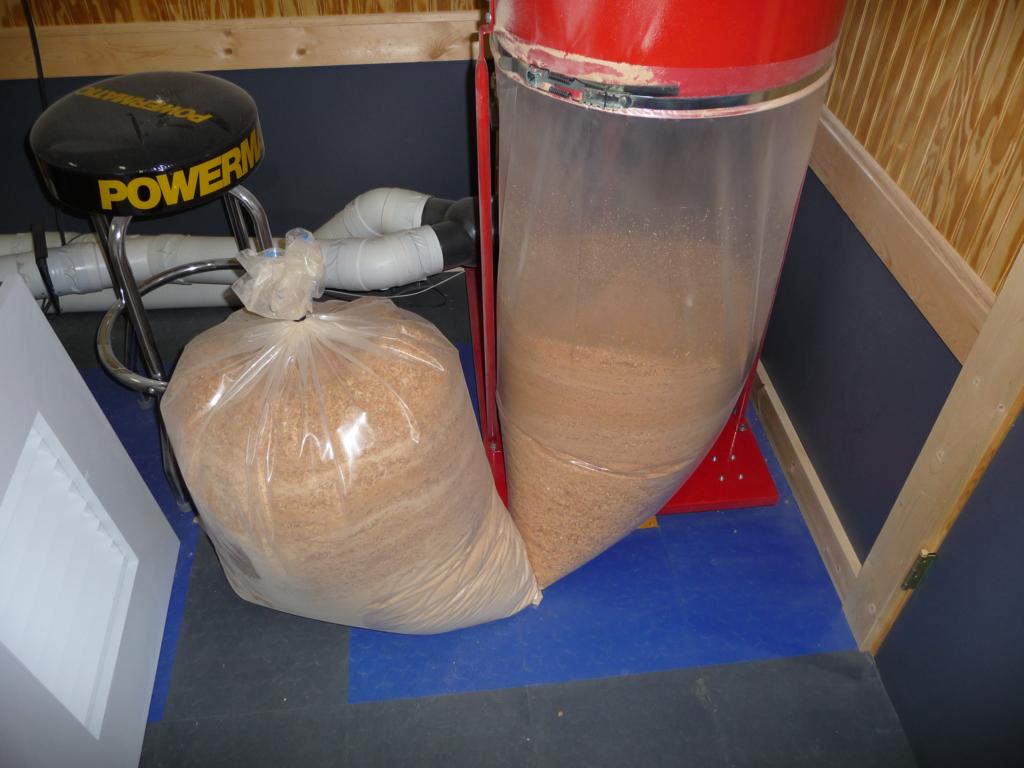
The results were good. I was impressed with my ingenuity. Over the next three weeks I purchased and prepared enough boards to finish the interior of the mini-cabin which was about 230 boards. It took forever to prepare them all and by the end I was wishing I had stuck to the cardboard paneling. I had to replace planer blades once and change my dust collector bag about four times. I considered getting a hamster as I would have had a lifetime supply of cedar shavings for his cage.
In the end, I'm glad I did it and it turned out well. Here are a few pictures of the first batch I prepared.
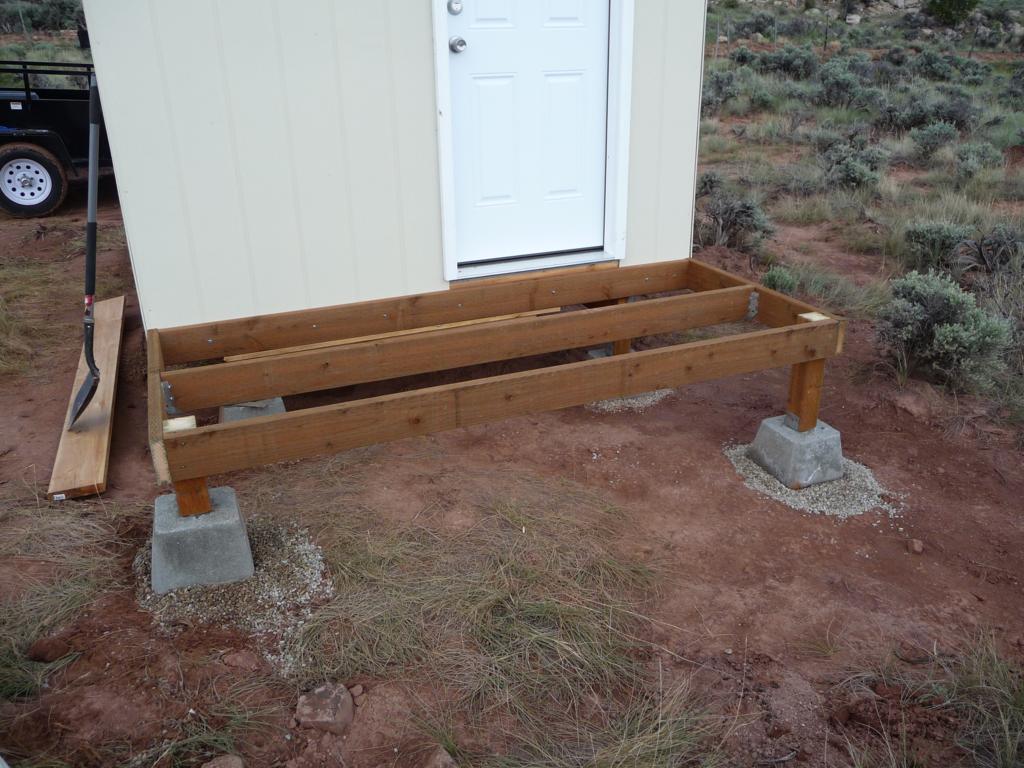
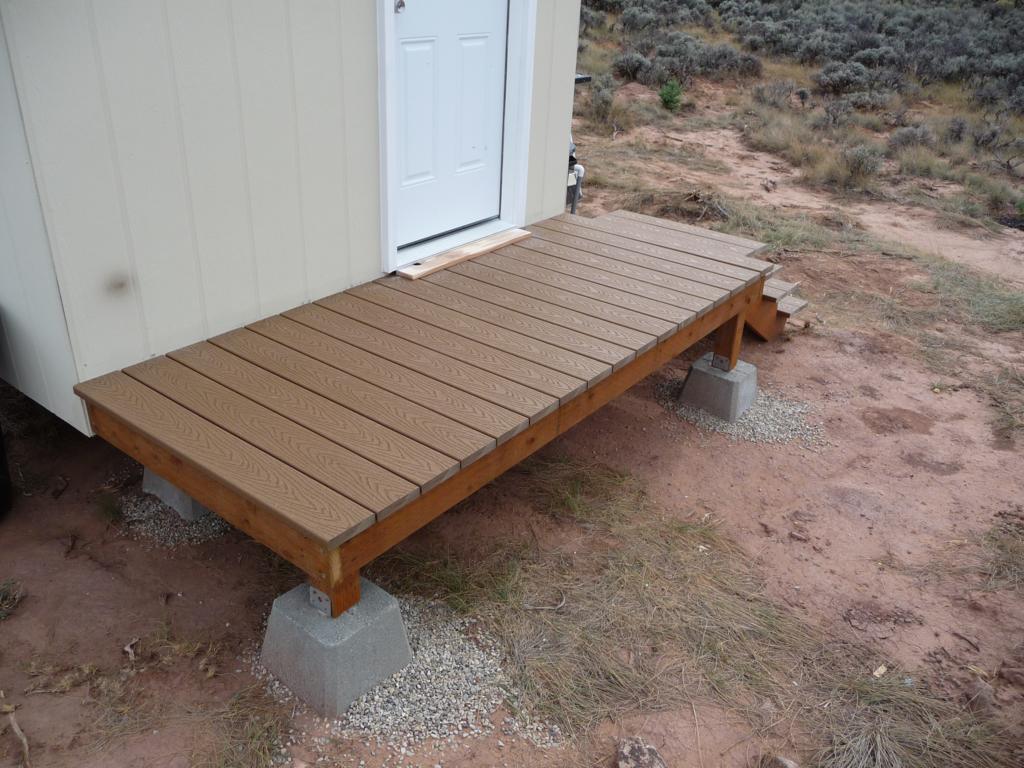
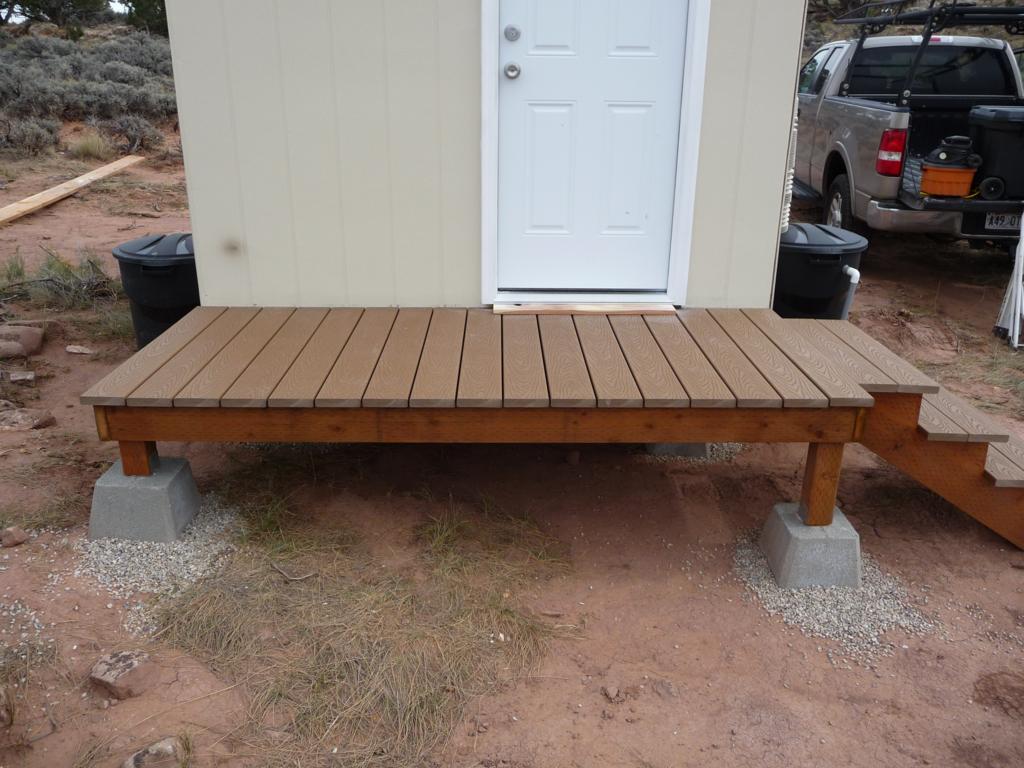
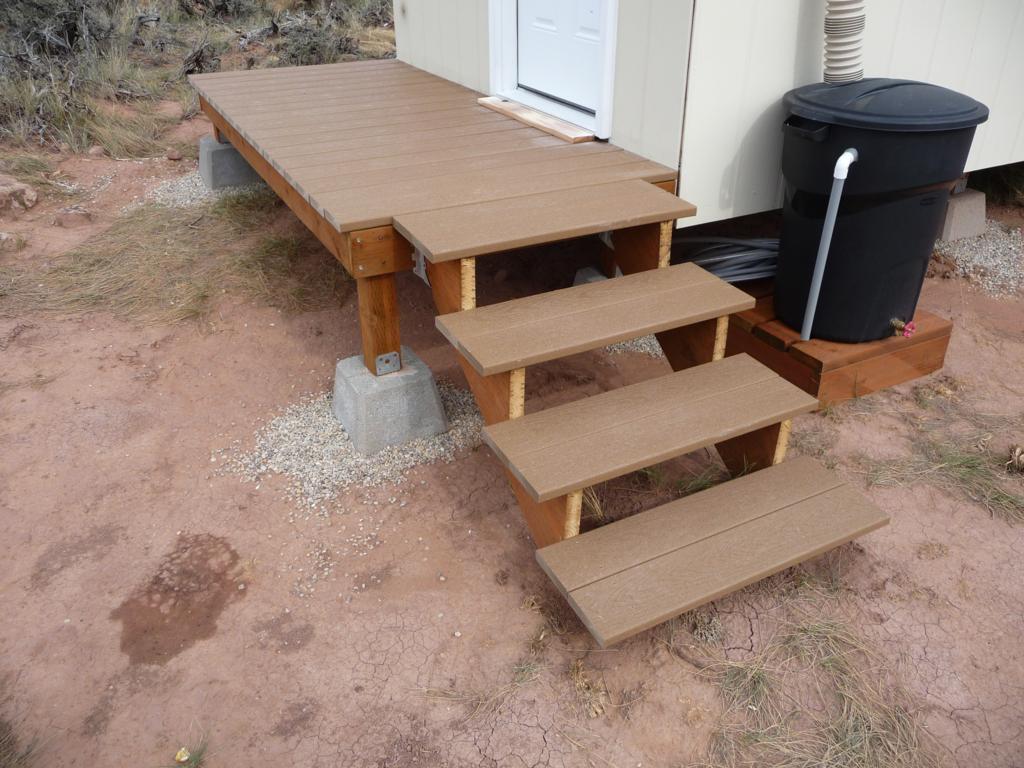
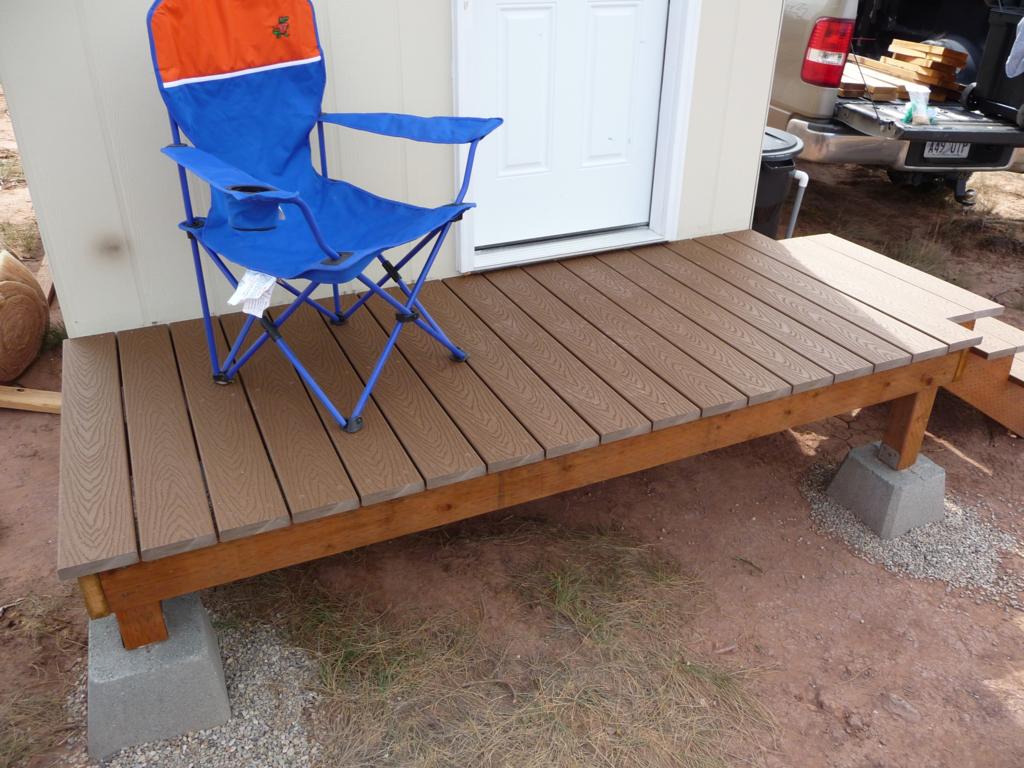
Building a Mini-Cabin: Part 6 - Porch
Sunday, Jan 03, 2010
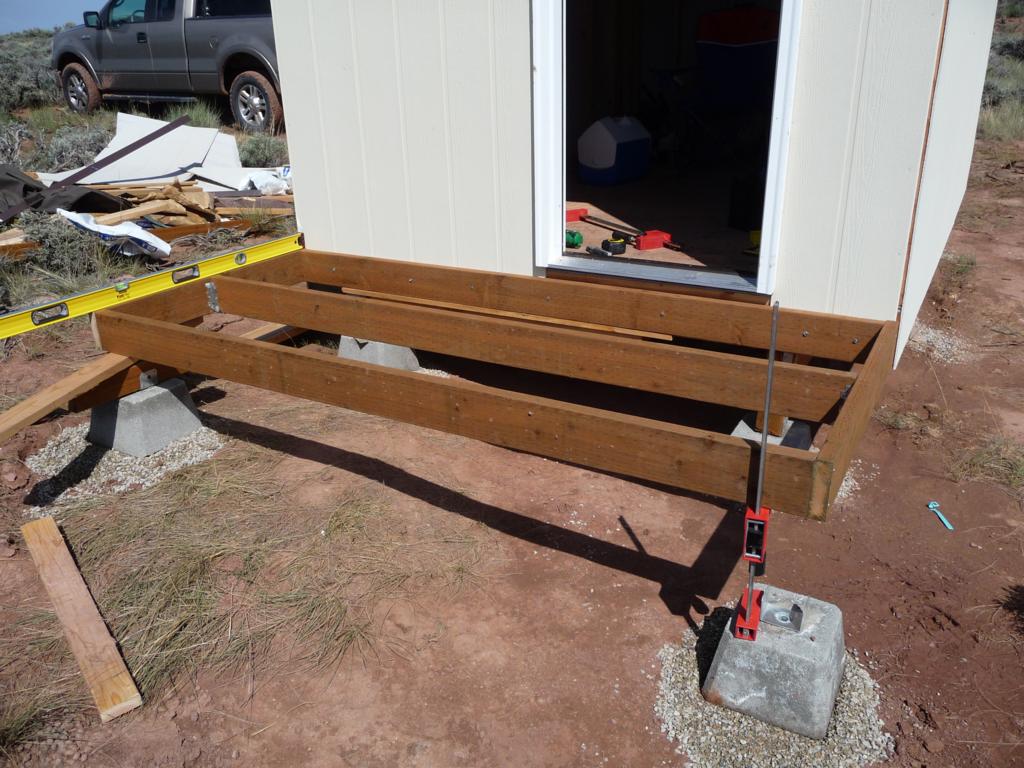
I added a "mini-porch" to the mini-cabin using two more deck piers and a frame made of treated 2x8's. The porch is 8 feet by 42". The frame is attached to the front of the cabin with lag bolts and the other side sits on the deck piers.
I used composite decking for the floor of the porch.
I also built some steps using 2x12's for the stringers. I found some instructions on the internets for cutting the 2x12's for a given rise/run and cut them out with a circular saw and jigsaw. The stringers attach to the porch frame using joist hangers.
The finished porch is very solid.
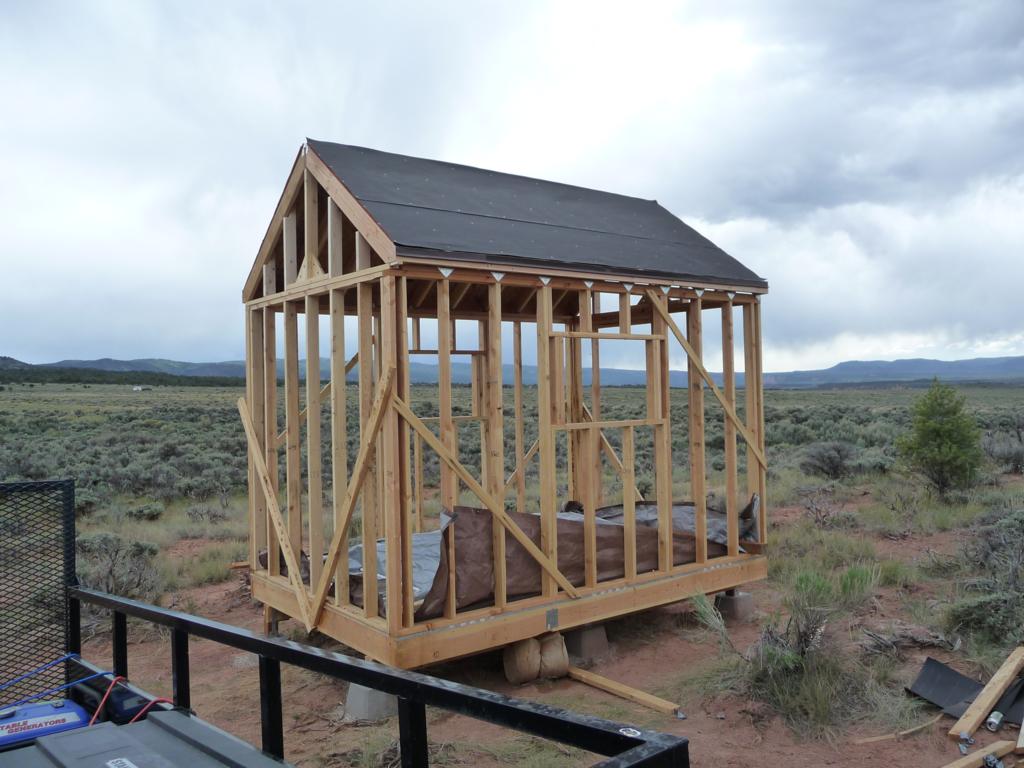
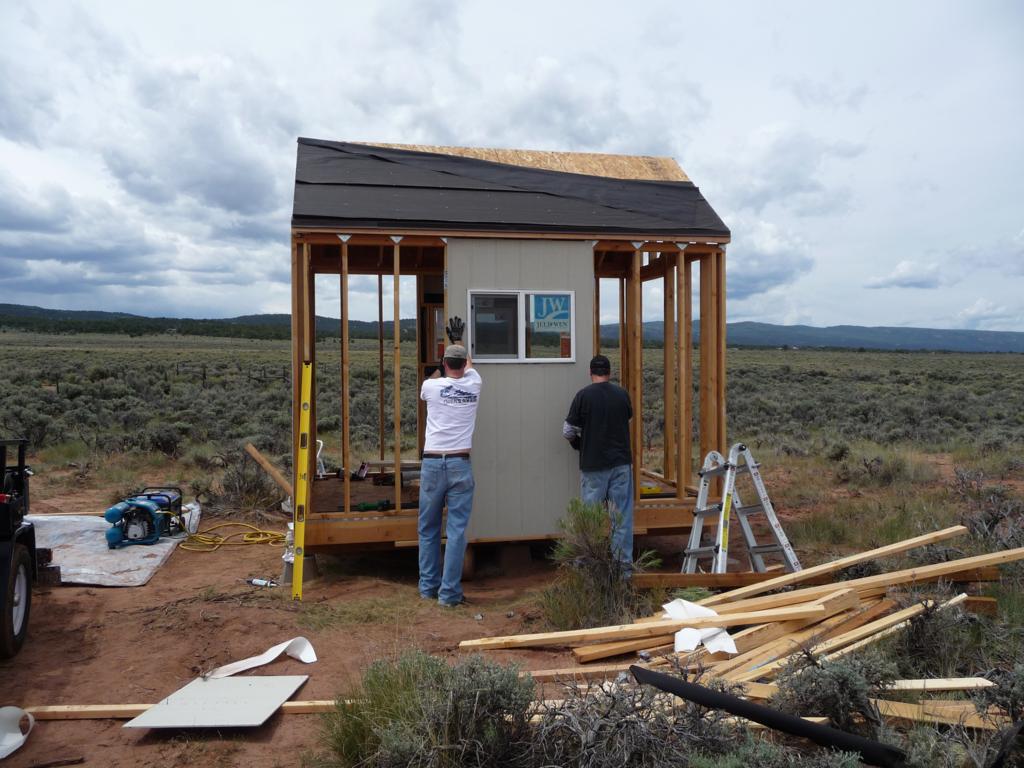
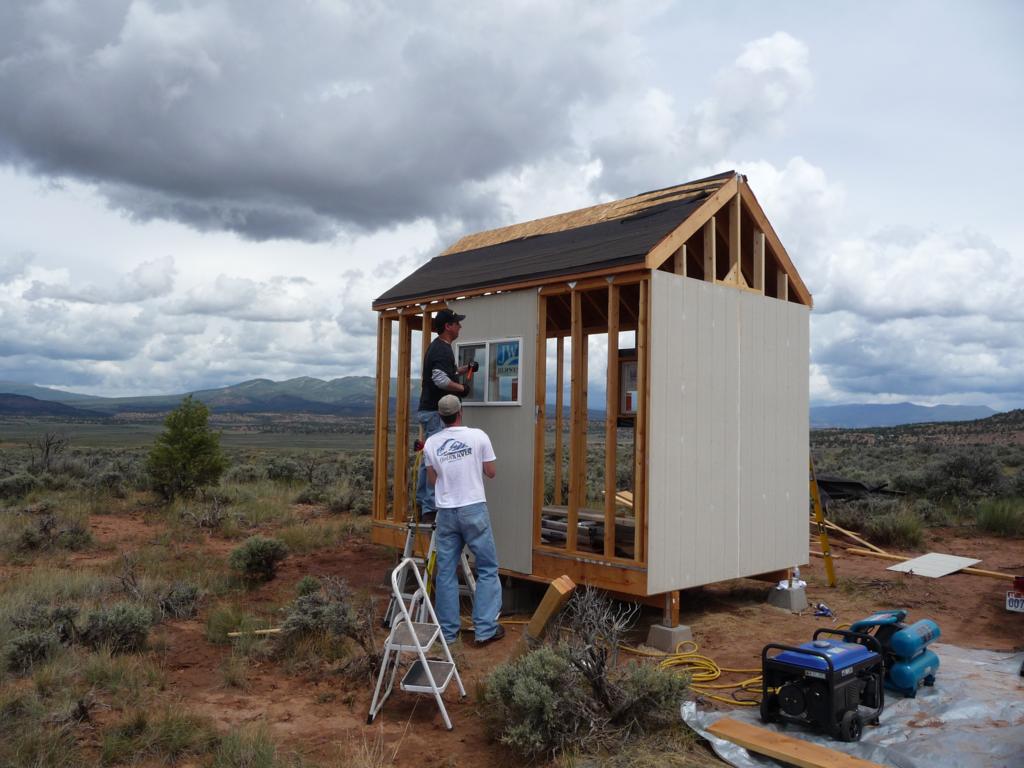
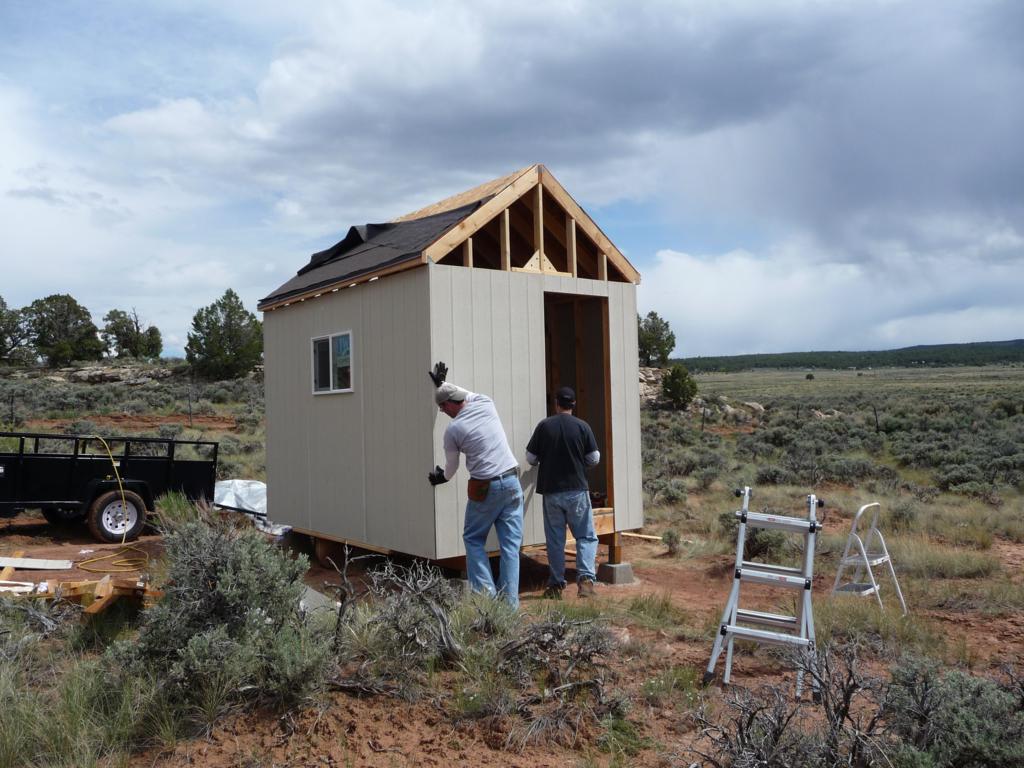
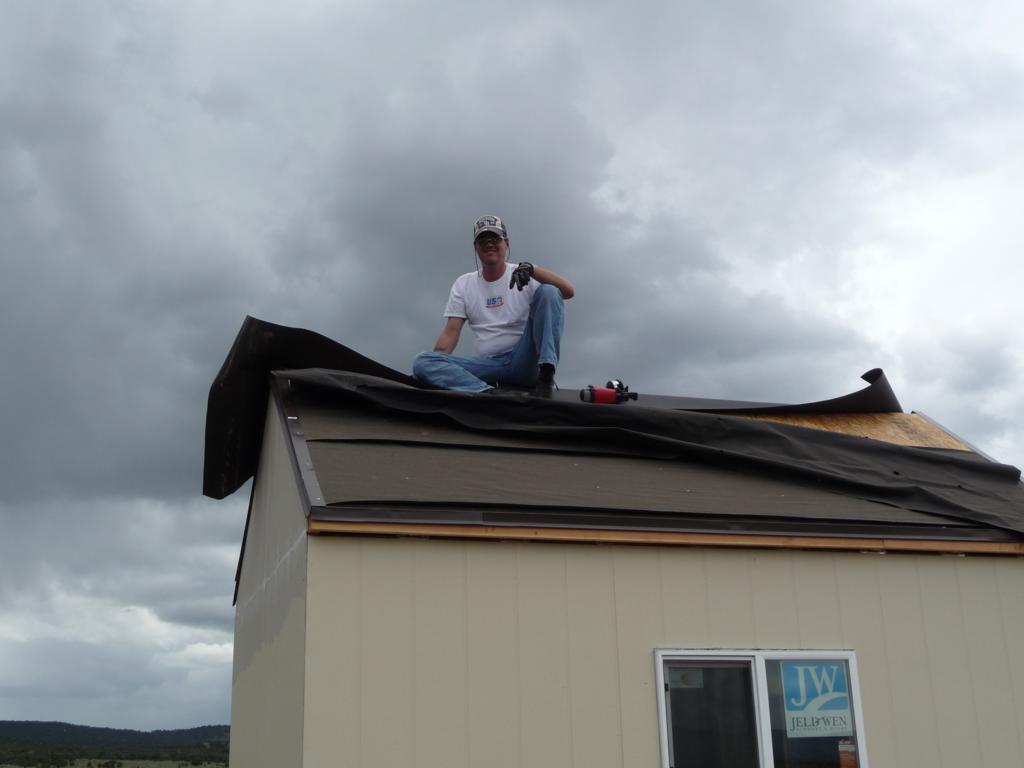
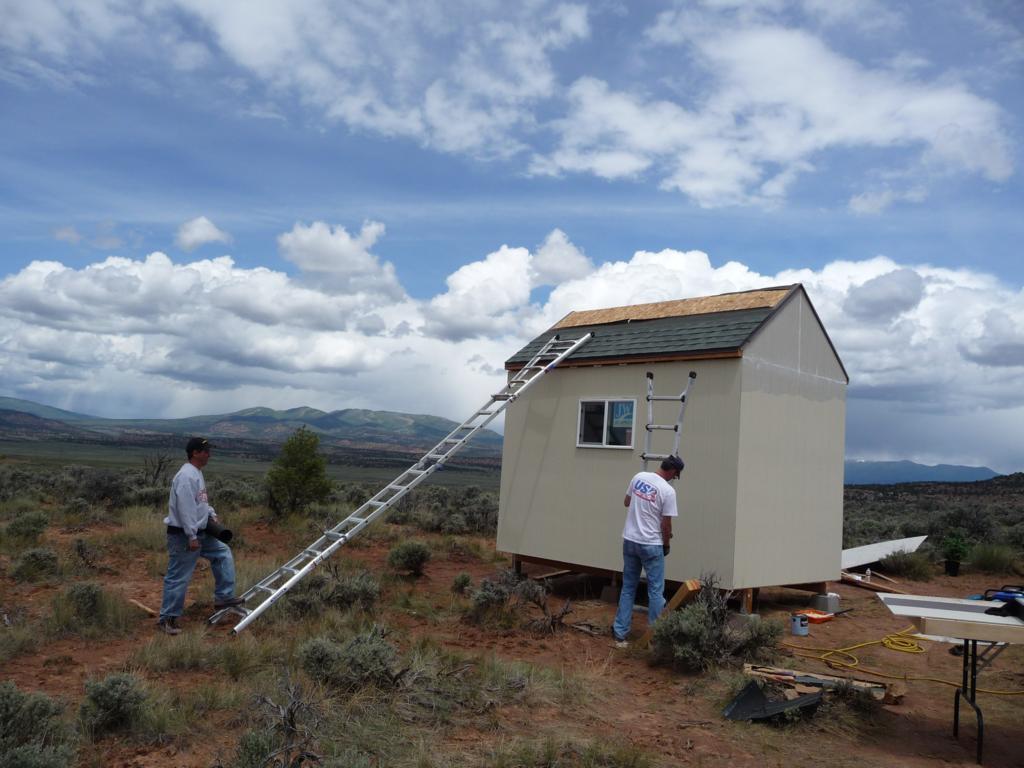
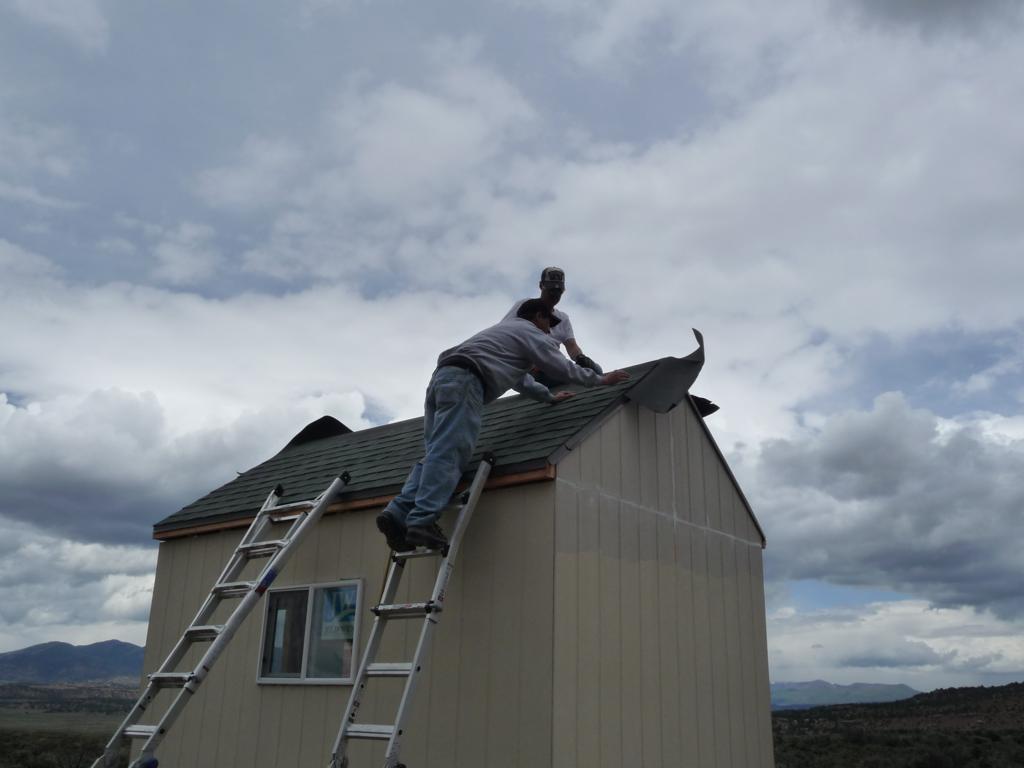
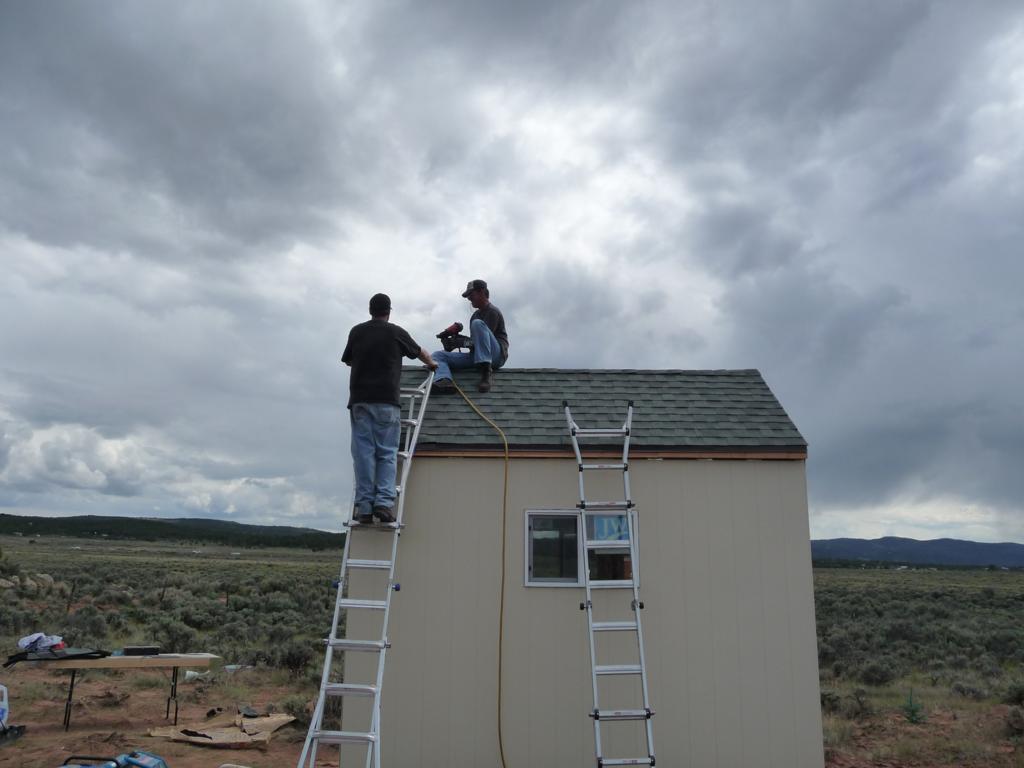
Building a Mini-Cabin: Part 5 Roof/Siding
Sunday, Jan 03, 2010
For the roofing, I used architectural shingles over asphalt felt. I bought the architectural shingles because I had read that because of their pattern I would have to make less cuts on the ends of the runs but I don't really think that was true. I used the felt because it was a lot cheaper than some type of synthetic underlayment. The roofing felt is easy to work with but does tear easily. I put the felt up one weekend and most of it had blown off by the next weekend when I returned to put the actual roof on.
Installing the shingles went quickly because it's a small roof, I had a friend helping me, and I had a roofing nailer.
For the exterior siding I used 4x8 sheets of Hardie Board because it requires little maintenance, paints and caulks easily, and should last virtually forever. The downside is that it's heavy, is messy to cut, and doesn't take fasteners well. Since I had help, the weight wasn't too big an issue but the fastening turned out to be a problem. I had used Hardie Board on a previous shed I had built and we had to pre-drill holes for nails when attaching the siding. This time, I tried using the framing nailer with shorter nails. It appeared initially that it was going to work but we eventually came to the conclusion that the nail depth wasn't consistent enough to avoid damaging the siding and ended up pre-drilling and driving standard nails.
I don't think I'll use cement fiber-board as siding again. The finished product is nice but it's just too much trouble to work with.