One man's struggle to take it easy
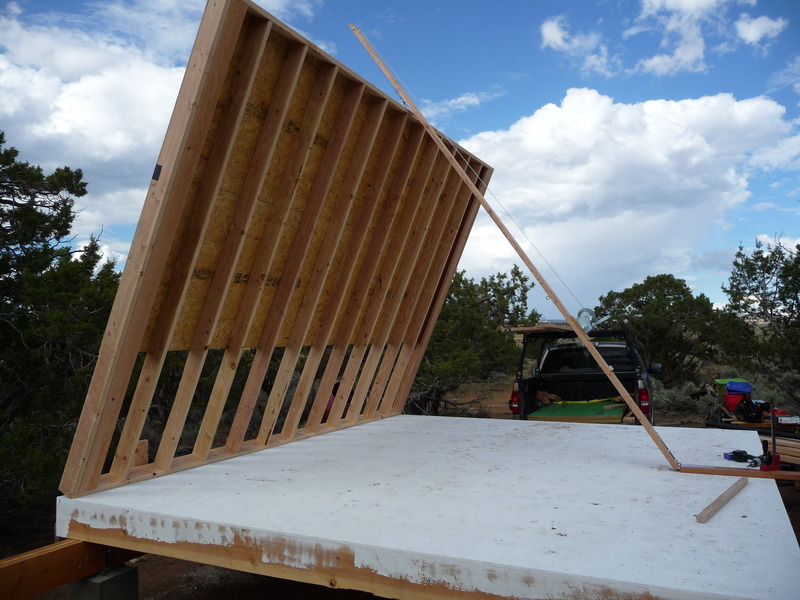
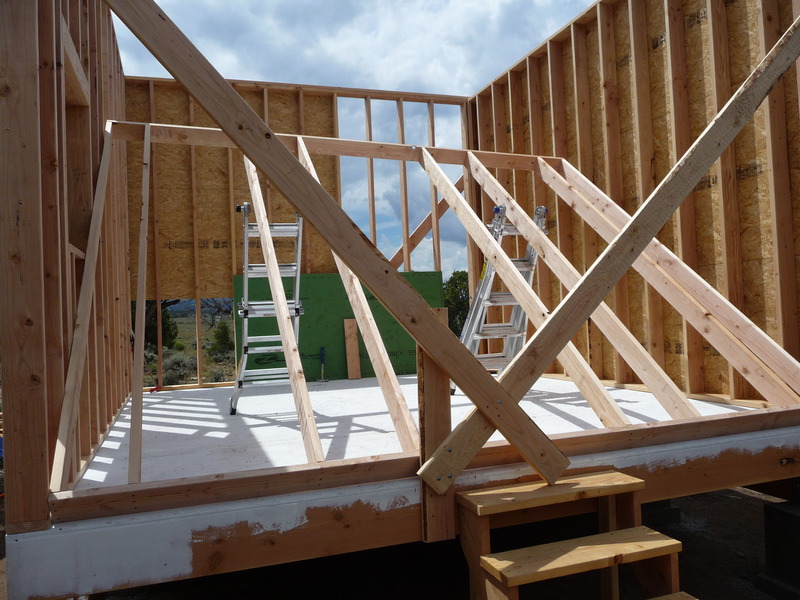
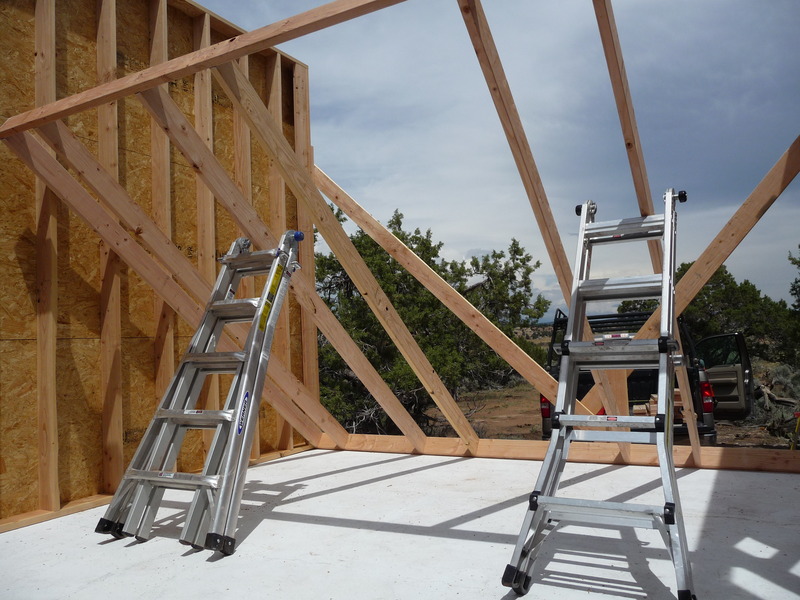
Cabin: How to raise walls in the most frightening way possible
Monday, Aug 02, 2010
How to raise walls in the most frightening way possible:
- Make sure you’re working totally alone.
- Make your walls 11 feet high with 2x6 studs 16” OC. Install some sheathing before raising for added weight.
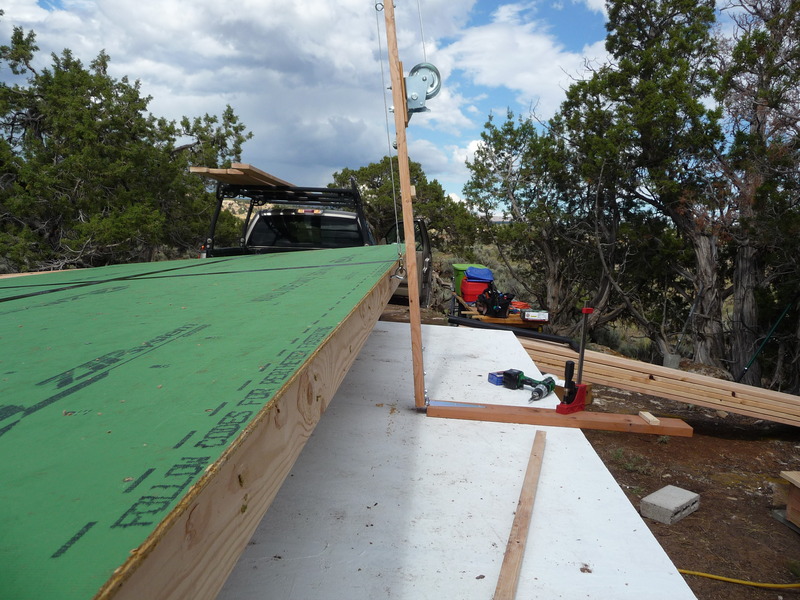
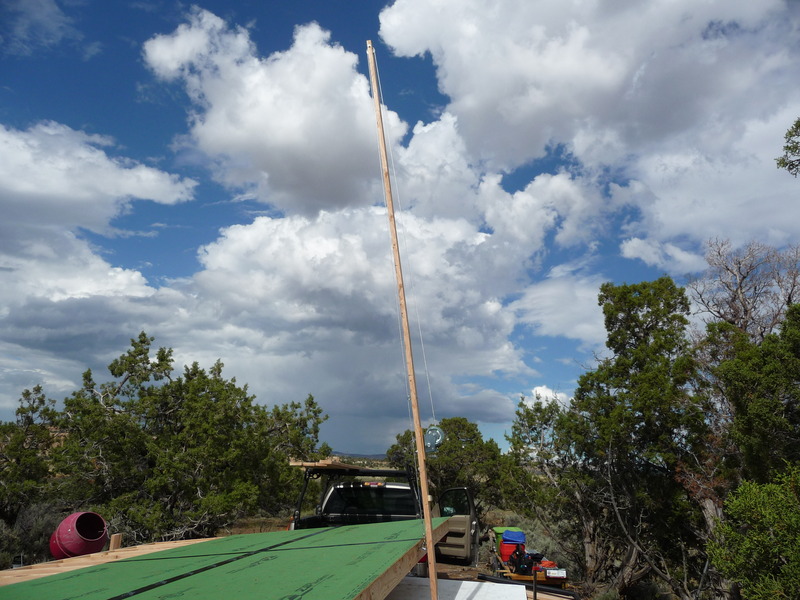
- Build your own wall jack from a 16’ 2x6, a $12 hand winch, a gate hinge, and a garage door pulley.
- Try to pick a moderately windy day.
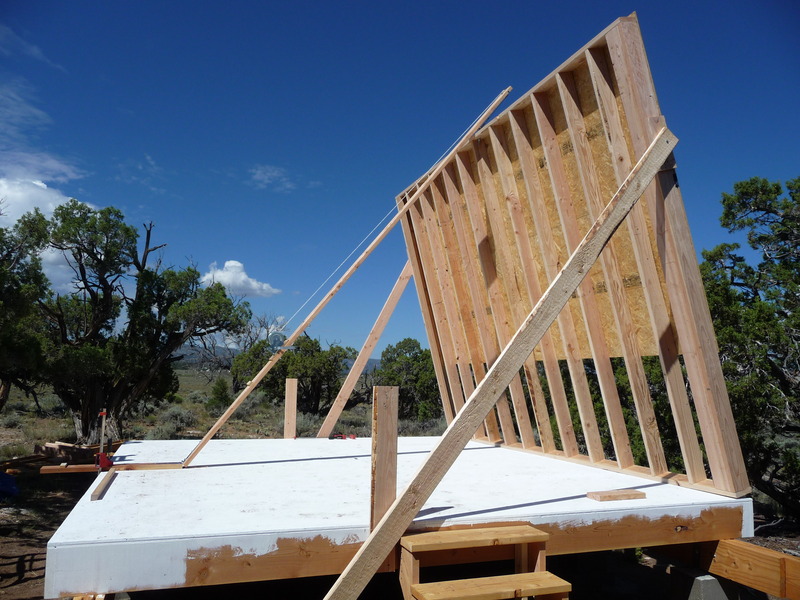
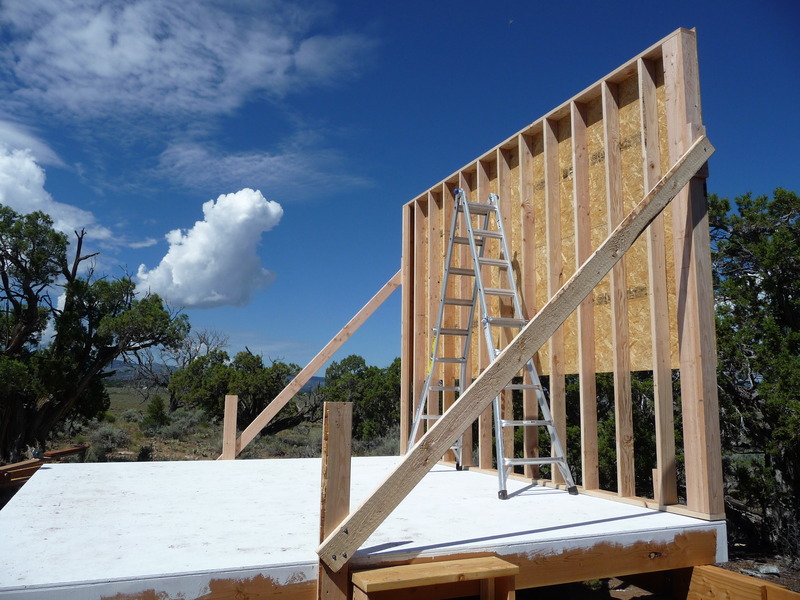
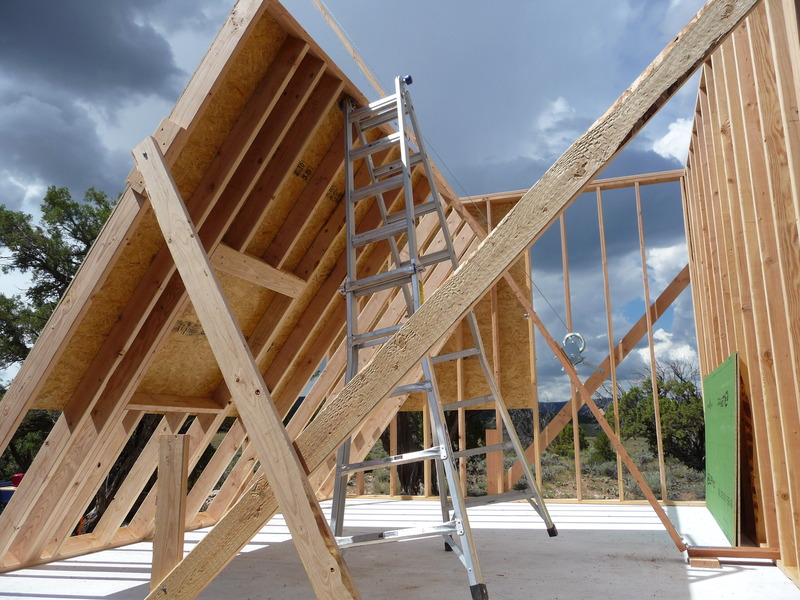
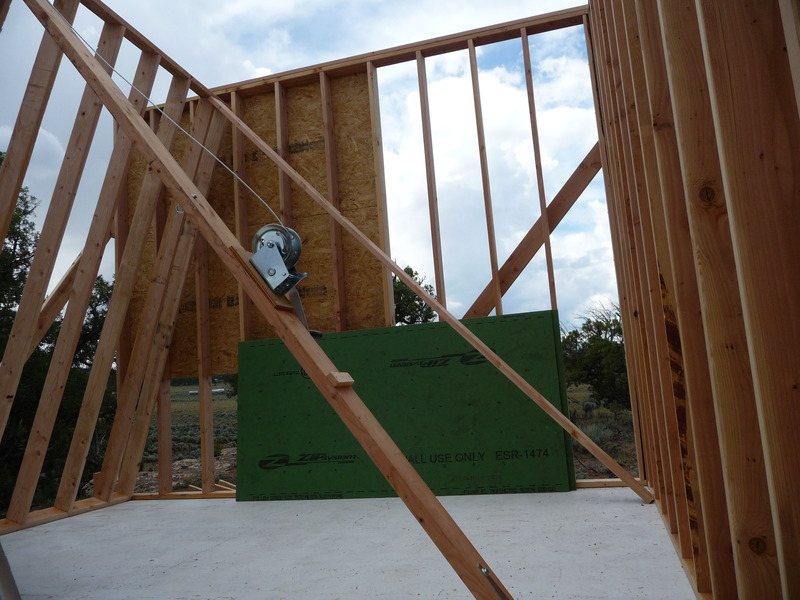
Building and raising the first wall went well until it was actually raised to about 45 degrees and the wind started to whip it around like a sail. I had to lower it back down and install some braces that would be raised with the wall and then immediately secured to the floor. The DIY wall jack actually worked fairly well at this point. Here are photos of building the first wall, the wall jack, and raising the first two walls (after braces added).
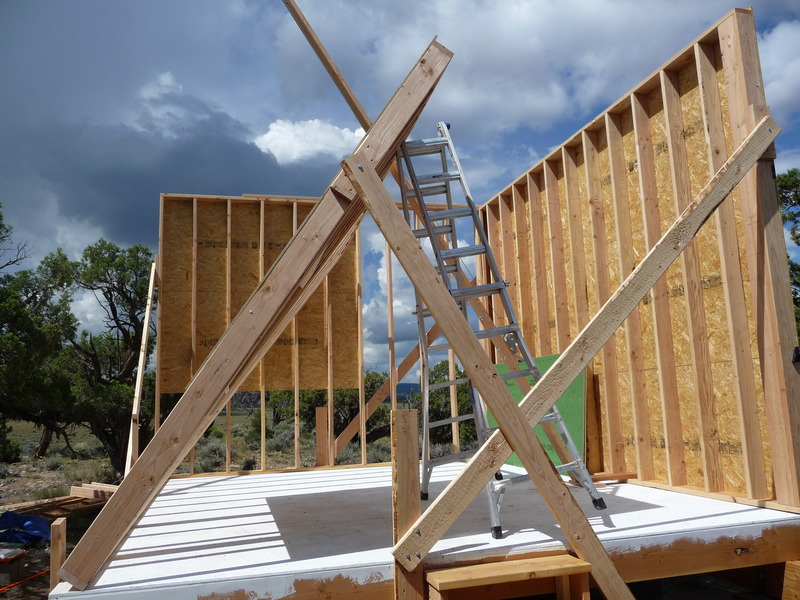
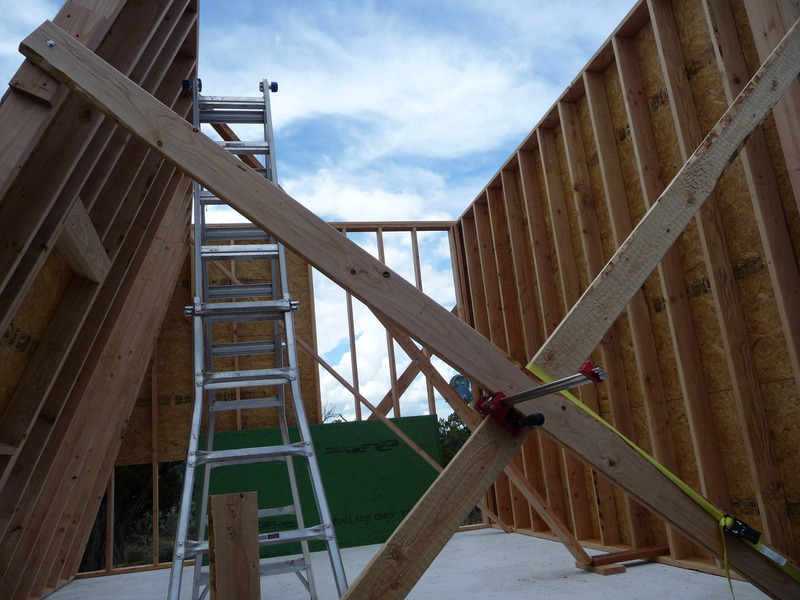
The excitement really started when raising the third wall. About halfway up, the gears on the hand winch stripped and it wouldn’t raise any further. Luckily they didn’t strip enough to send the wall crashing to the ground. Lesson learned: $12 hand winches aren’t very high quality. I eventually managed to finish raising the third wall using a long board on one end to push the end up a little at a time and a tie-down strap to incrementally push up on the existing brace on the other end. Took about an hour to get the third wall up the rest of the way.
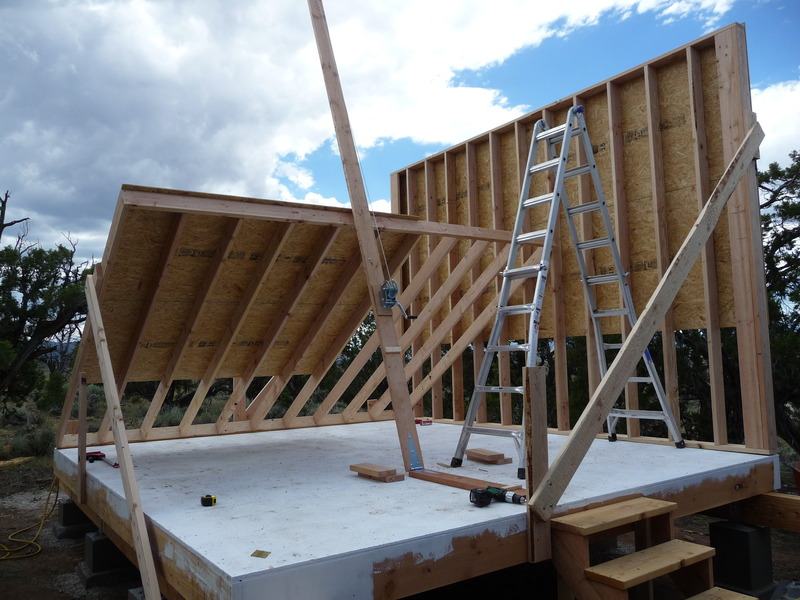
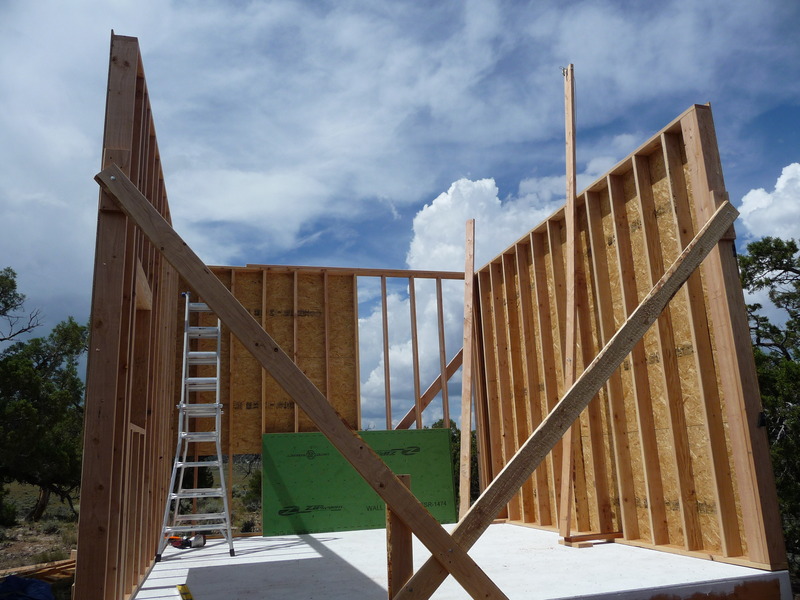
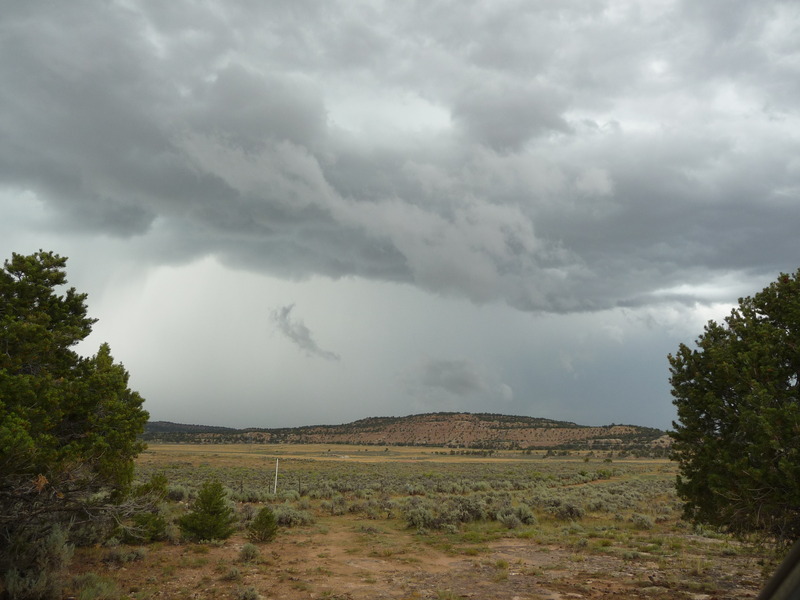
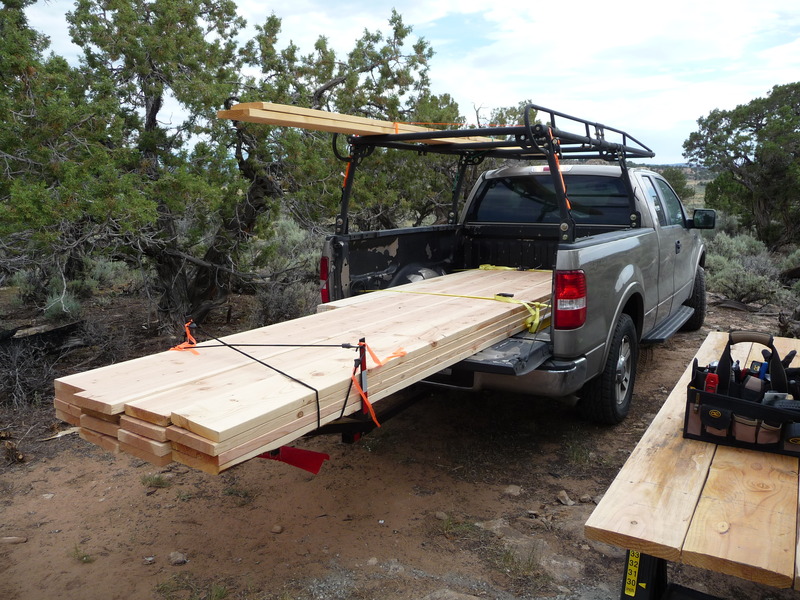
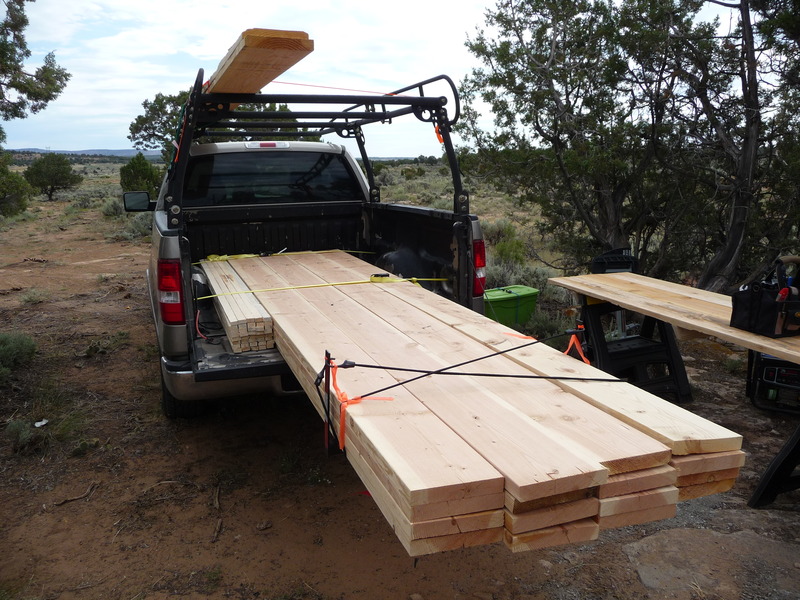
For the fourth and final wall which has two windows and a door, lacking a wall jack, I just installed the top and bottom plates and the full studs, hoping it would be light enough to manage. It was still very heavy and I raised it a little at a time using two ladders and a long board to push it up. I then started framing out the doors and windows. Finished the door framing and most of one window when a thunderstorm rolled in and I didn’t want to be standing on an aluminum ladder with lightning in the area so I called it a day. All that’s left is some window framing, the top plates for the walls, and the rest of the sheathing (roughly 14 sheets). I’ll tackle that this coming weekend.


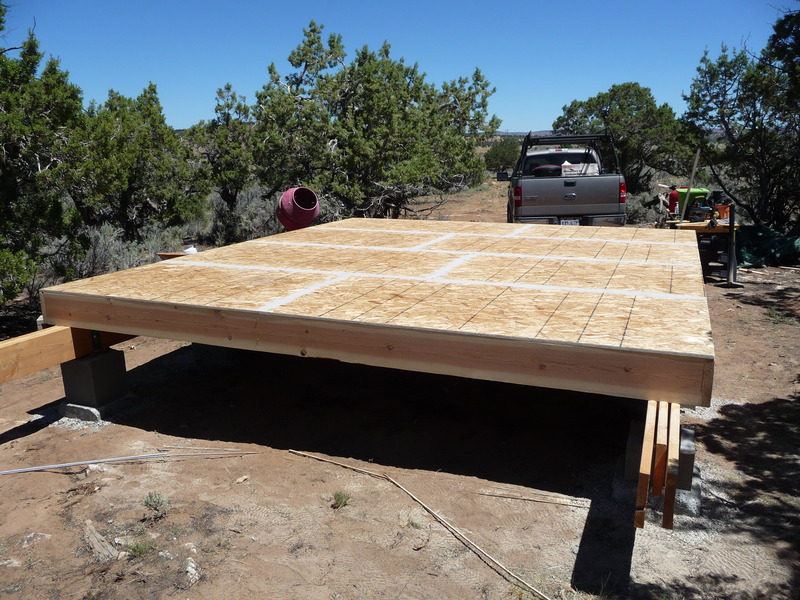
Cabin: Finish floor and miscellaneous
Monday, Jul 26, 2010
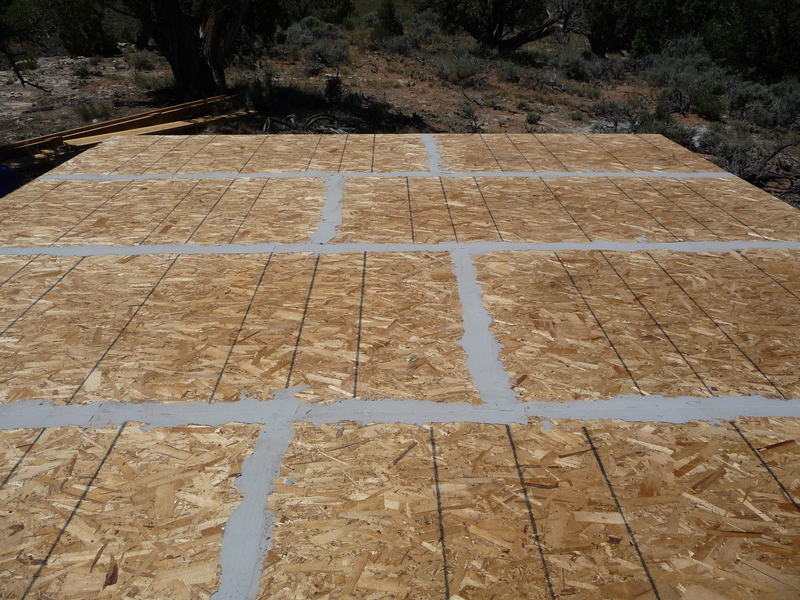
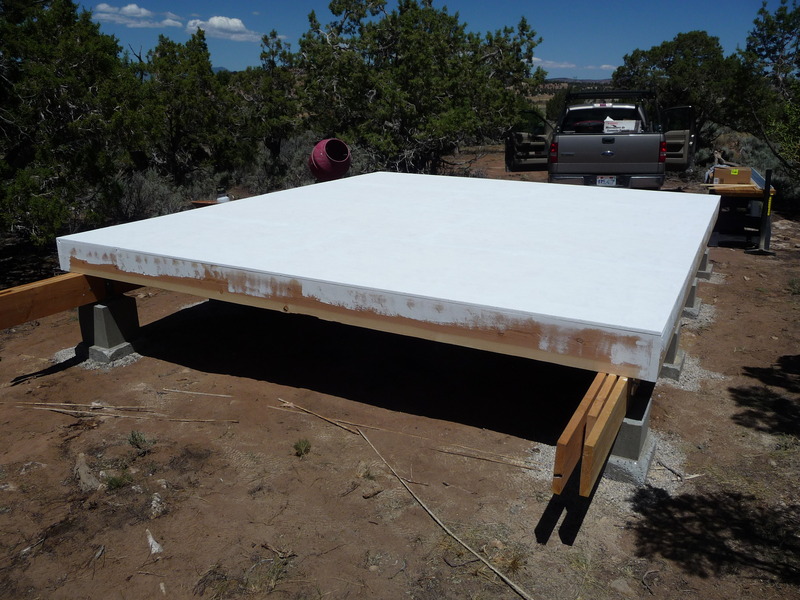
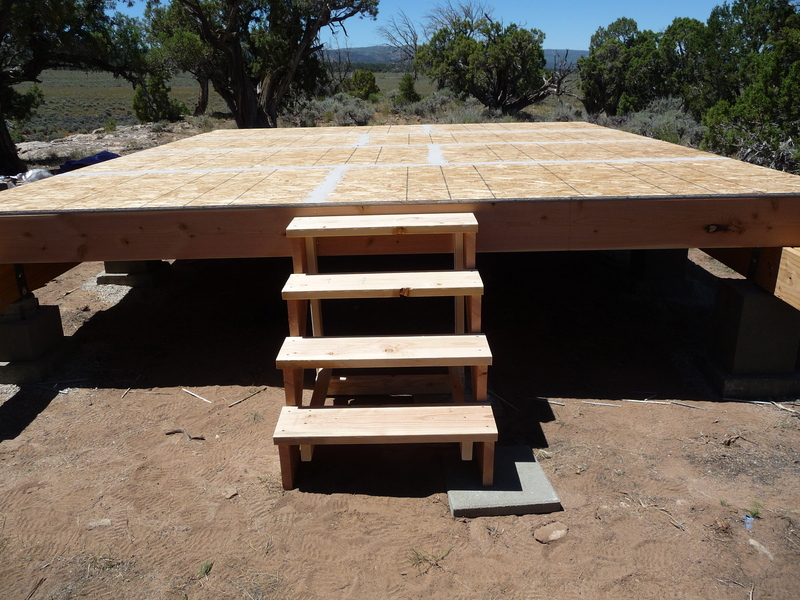
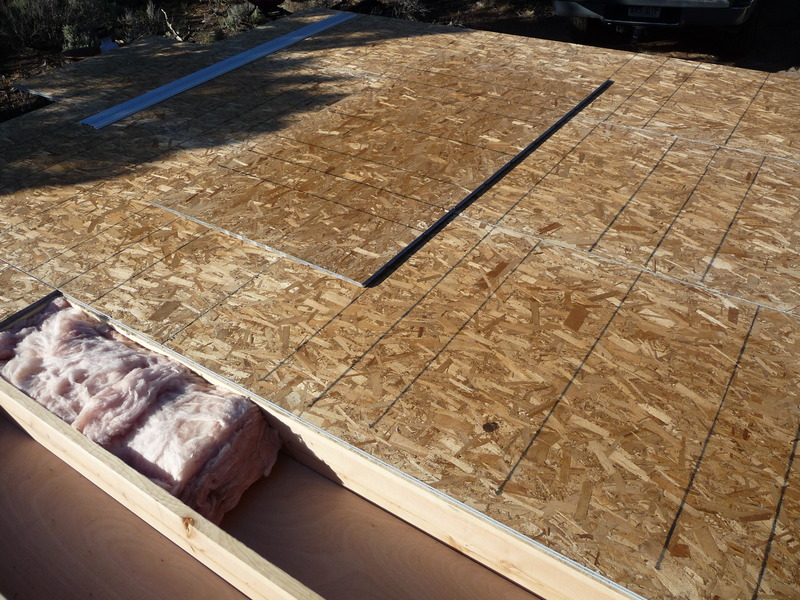
I only spent one day at the cabin site this weekend, mostly doing miscellaneous chores. I did finish the floor which involved adding the remaining bits of insulation, installing the last 4x8 sheet of subfloor, and trimming the subflooring. I also filled in the gaps between panels with floor patch and put on a coat of exterior latex primer to protect the floor from weather so I wouldn’t have to keep wrestling with a 20’x30’ tarp in the wind. Here’s the finished floor:
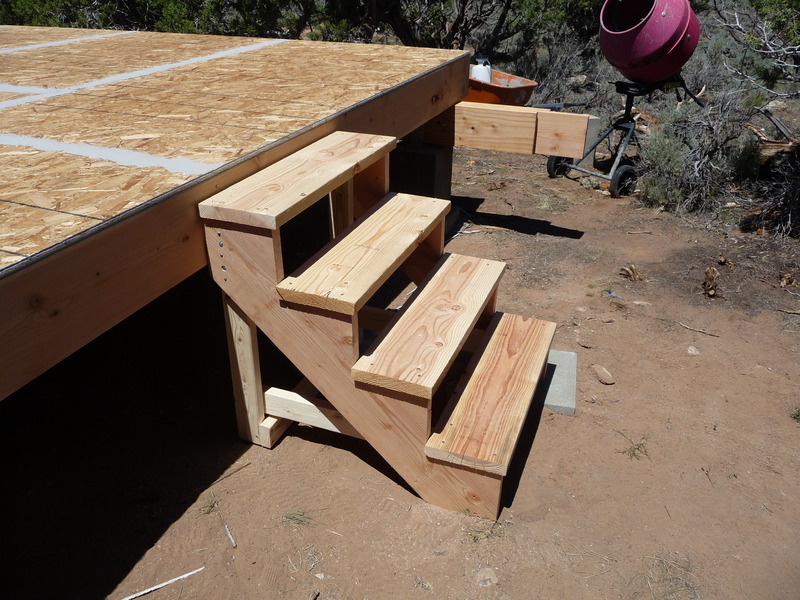
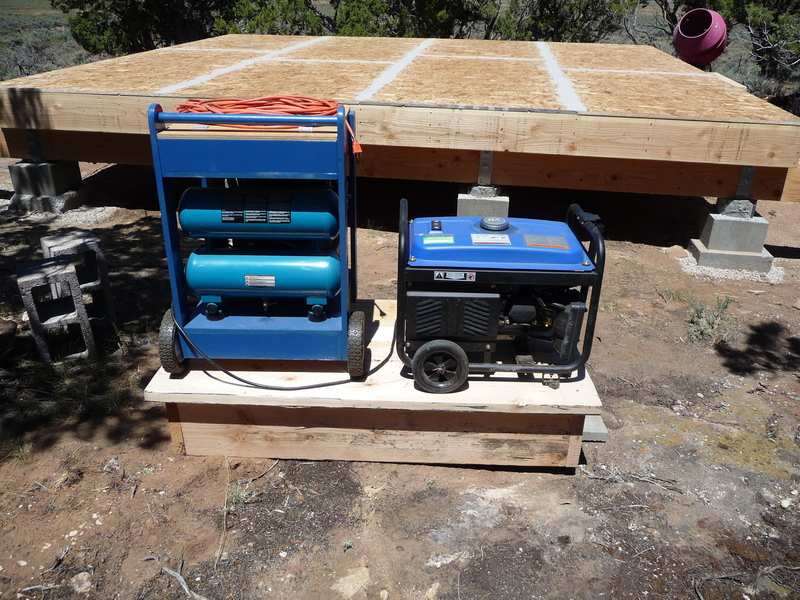
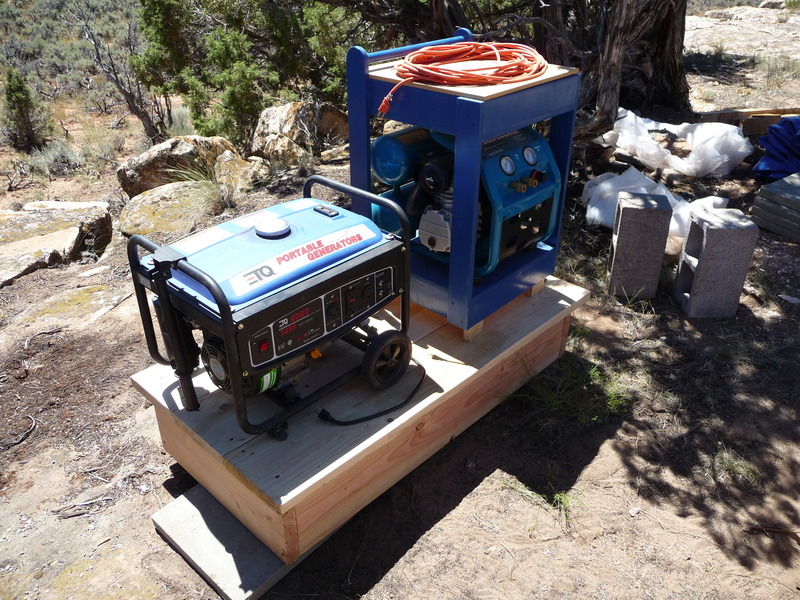
The rest of the day was spent cleaning up all the trash that had accumulated so far, adding some steps to make it easier to get up to the floor, and setting the generator and compressor on a stand I made to get them out of the dirt.
Cabin: Floor - Two days in the sun.
Monday, Jul 19, 2010
Day 1: Saturday (High temperature 95 degrees)
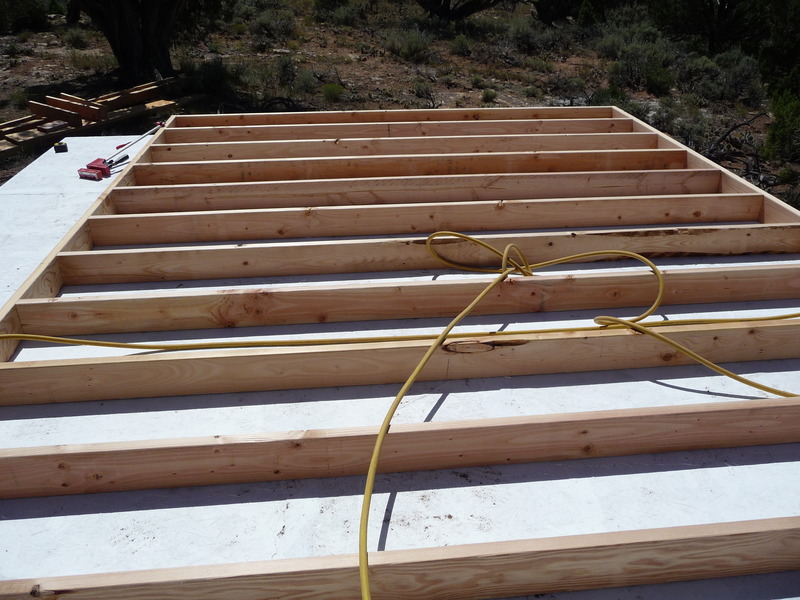
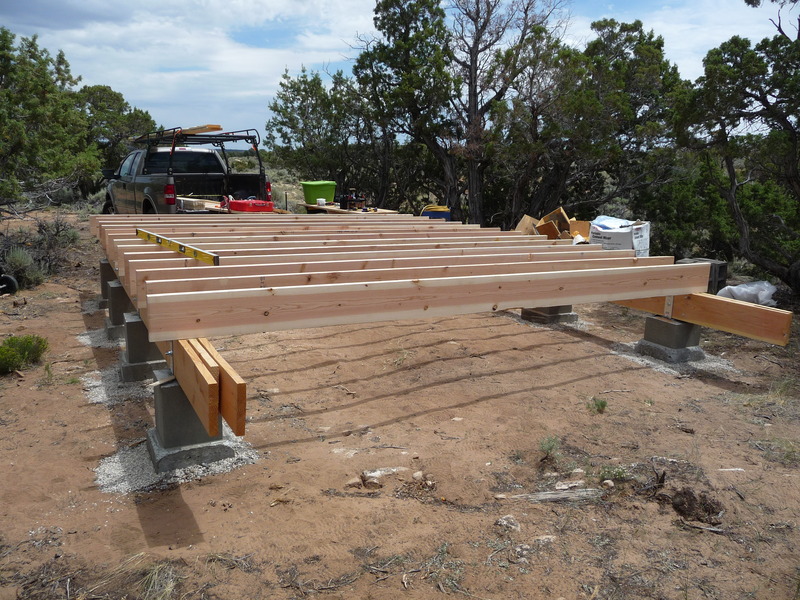
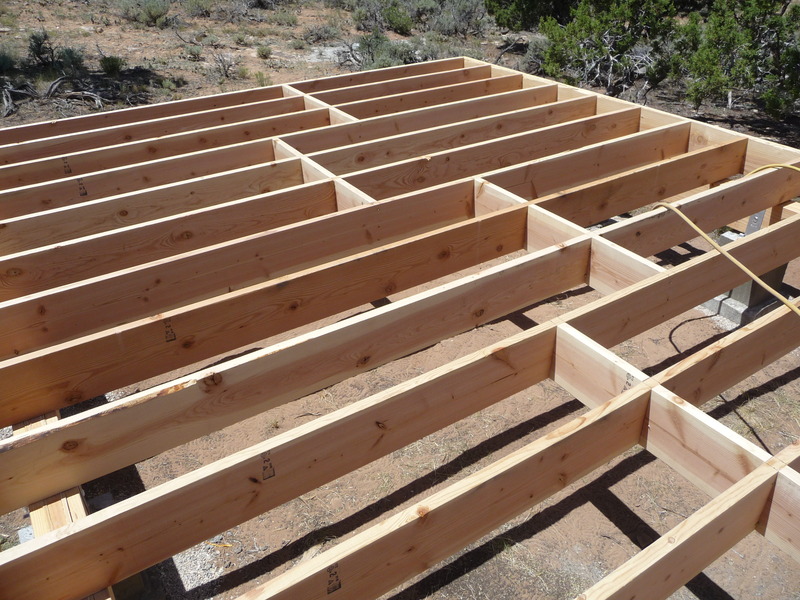
On Saturday I installed the floor joists:
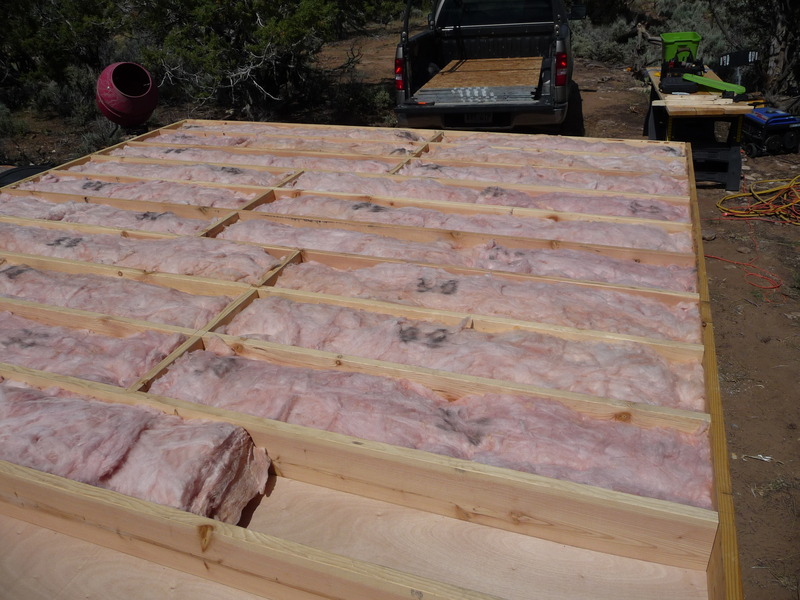
Day 2: Sunday (High temperature 96 degrees)
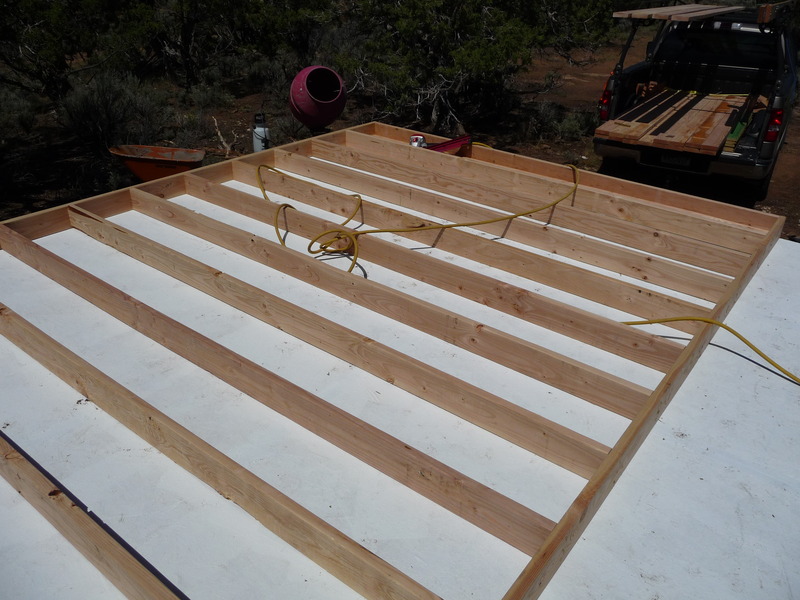
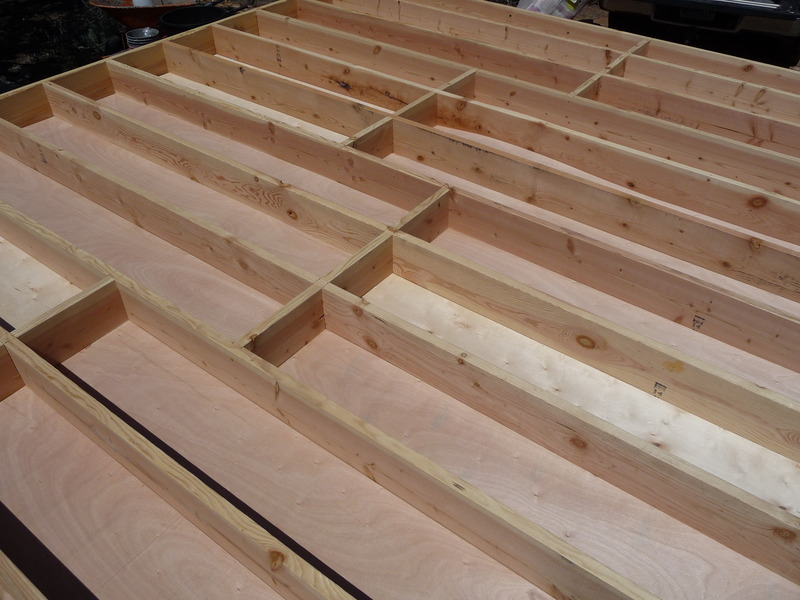
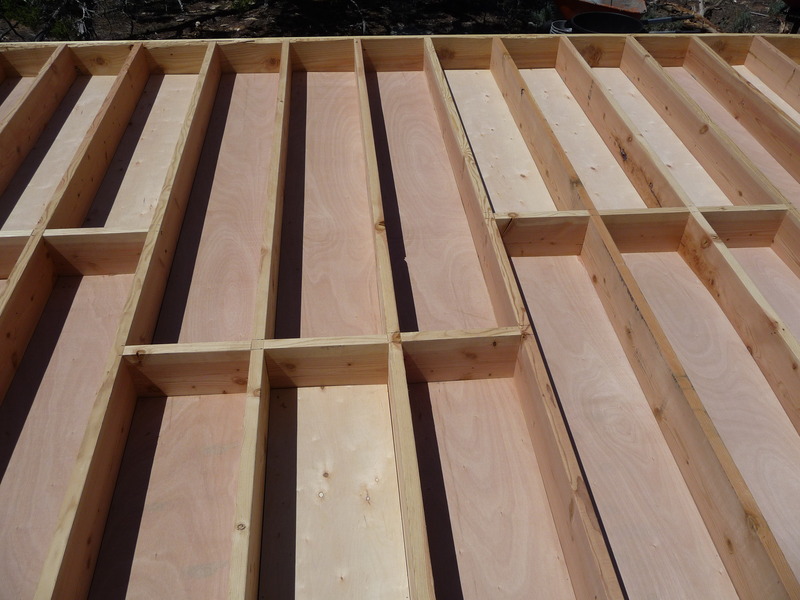
On Sunday I added plywood strips in the bottom of the joist bays, held in place with 1x2 strips to form a bed for the insulation. I then added the insulation, followed by 3/4” OSB T&G sheathing. I miscalculated slightly on the amount of insulation needed so I still have one piece of sheathing left to install. My generator ran out of gas toward the end also so I wasn’t able to trim the sheathing where an 8’ foot piece went in a 6’ space (14’ wide floor).
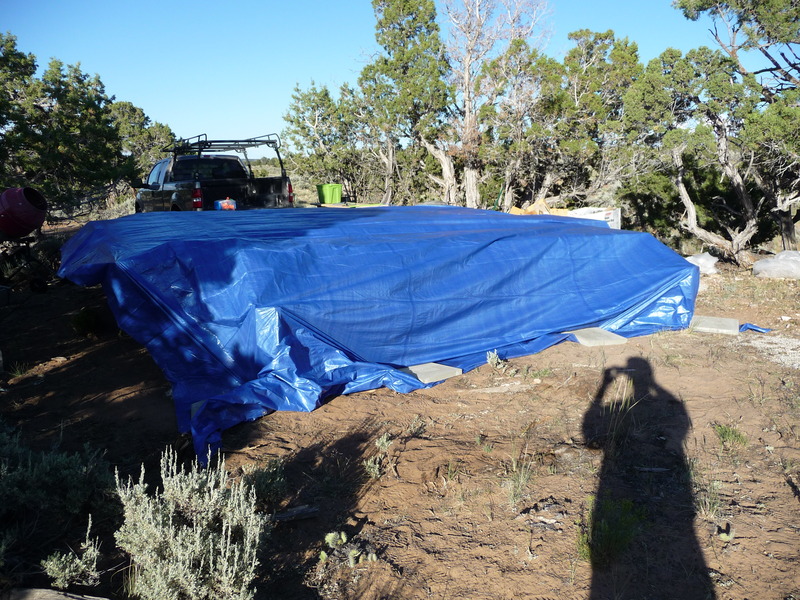
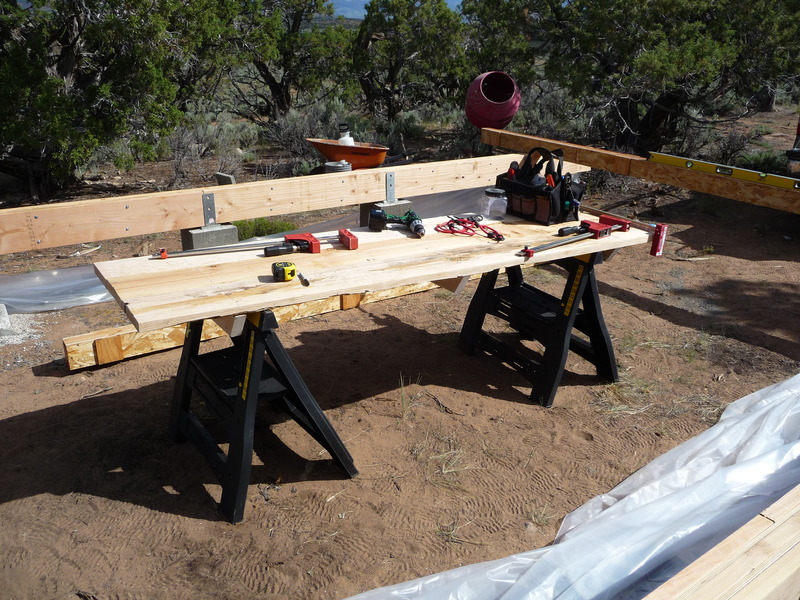
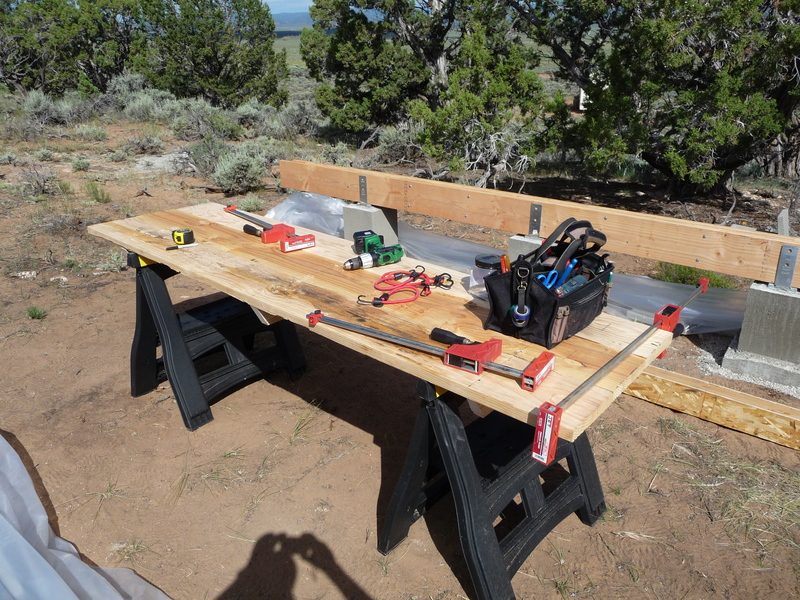
Here are pics of a makeshift workbench I built and the tarp I put over the structure.
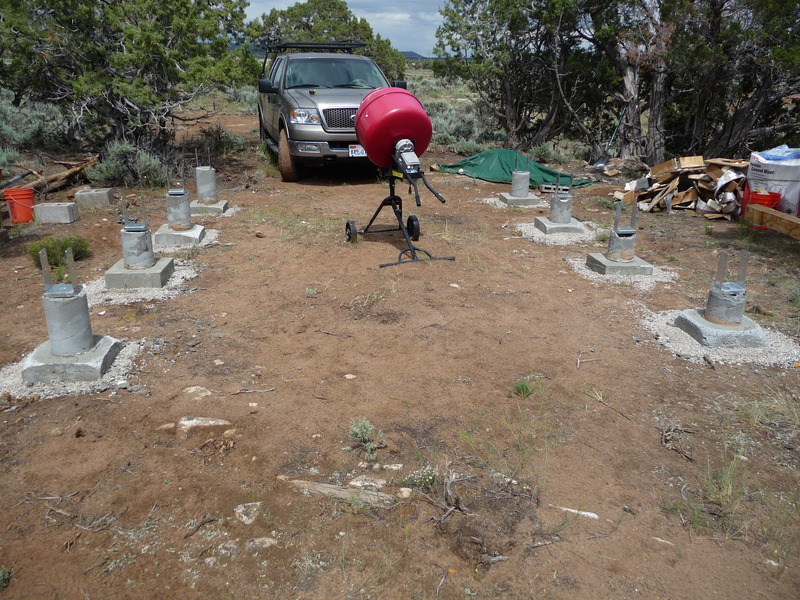
Cabin: Foundation Attempt #2 - If at first you don''t succeed...
Wednesday, Jul 07, 2010
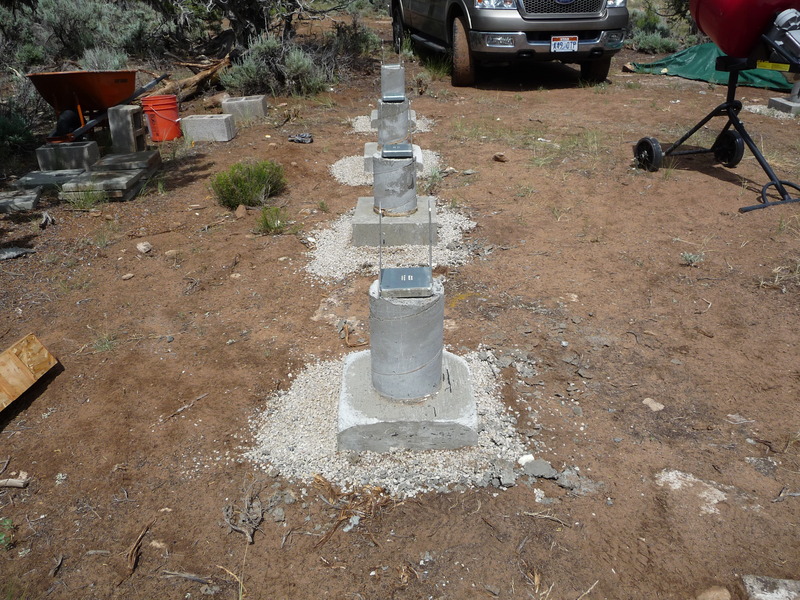
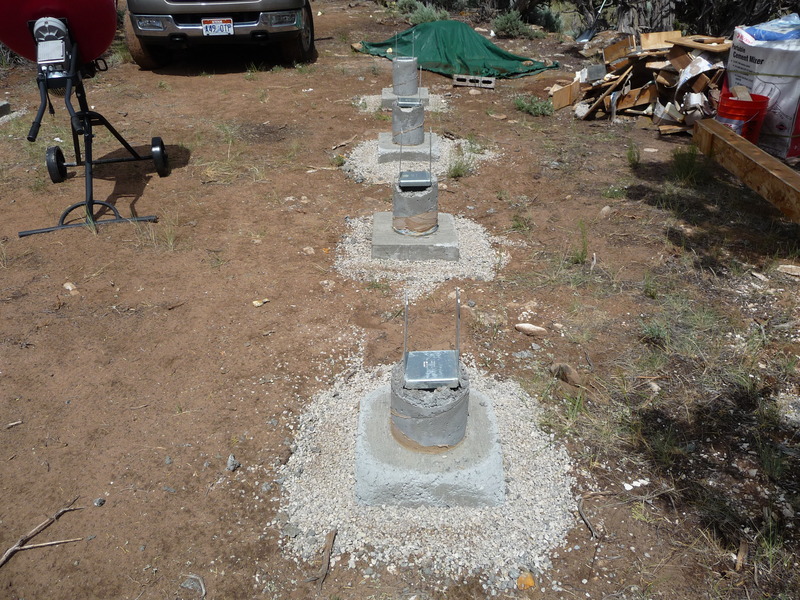
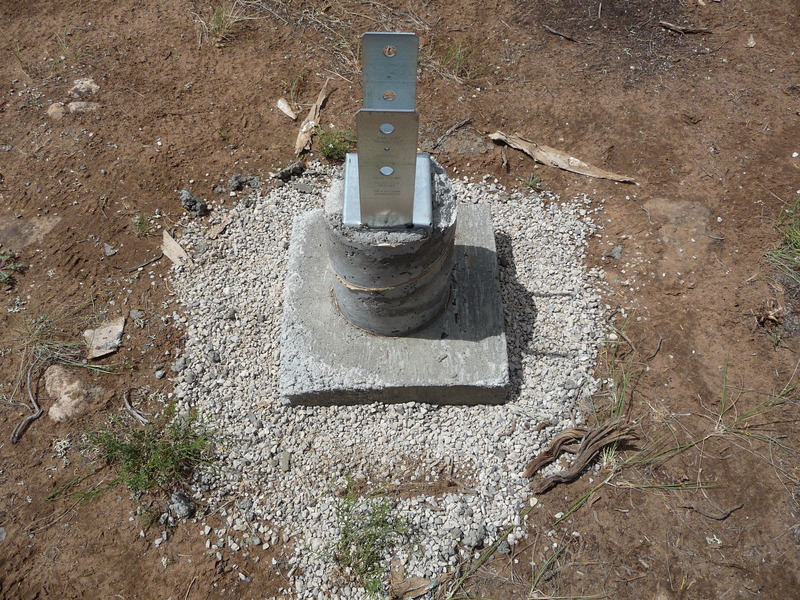
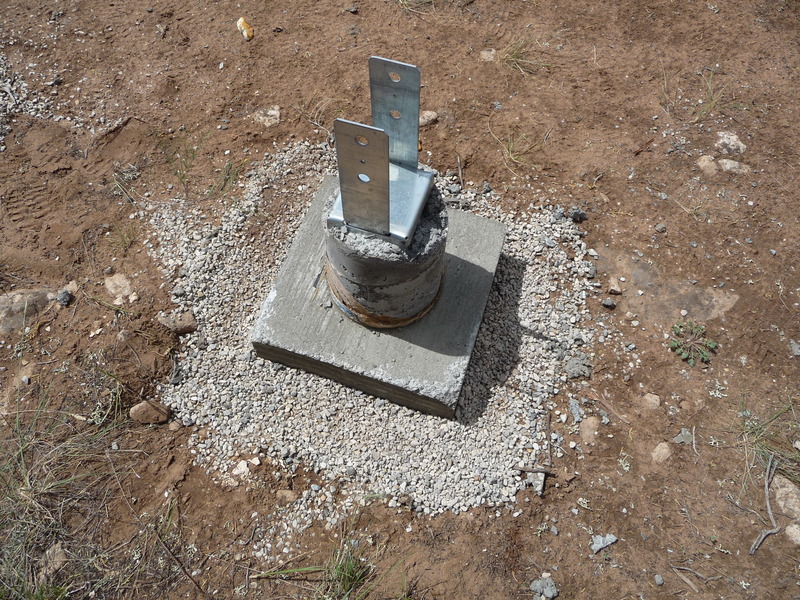
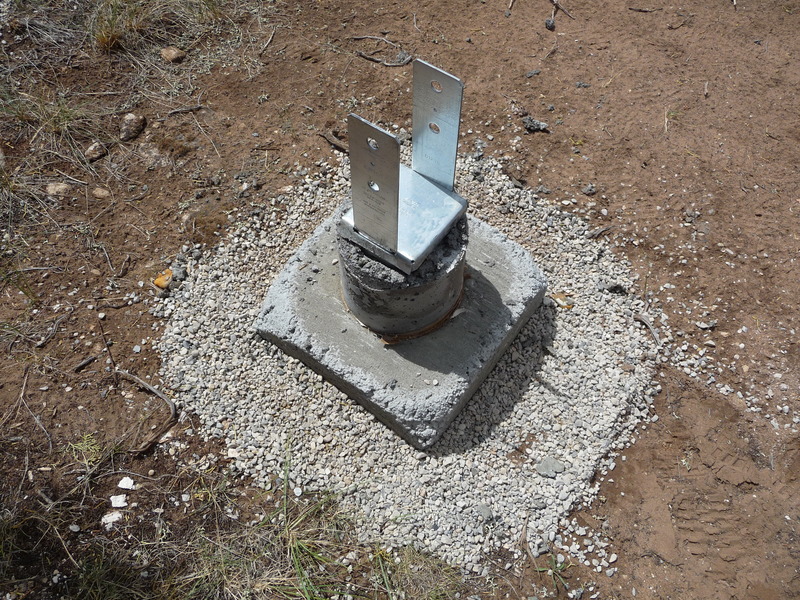
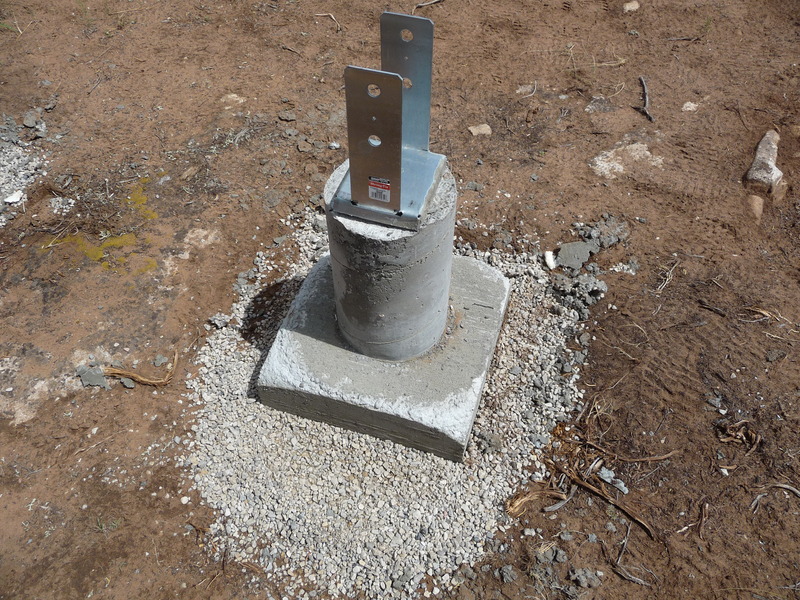
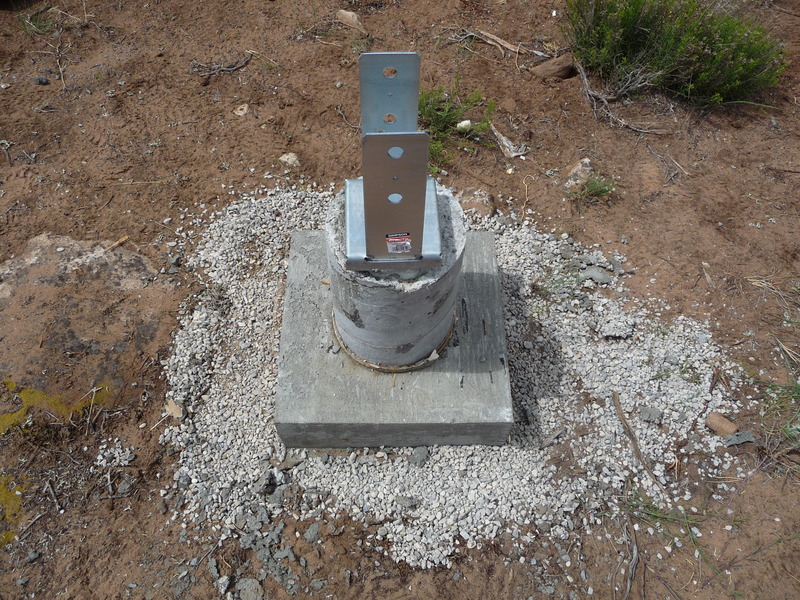
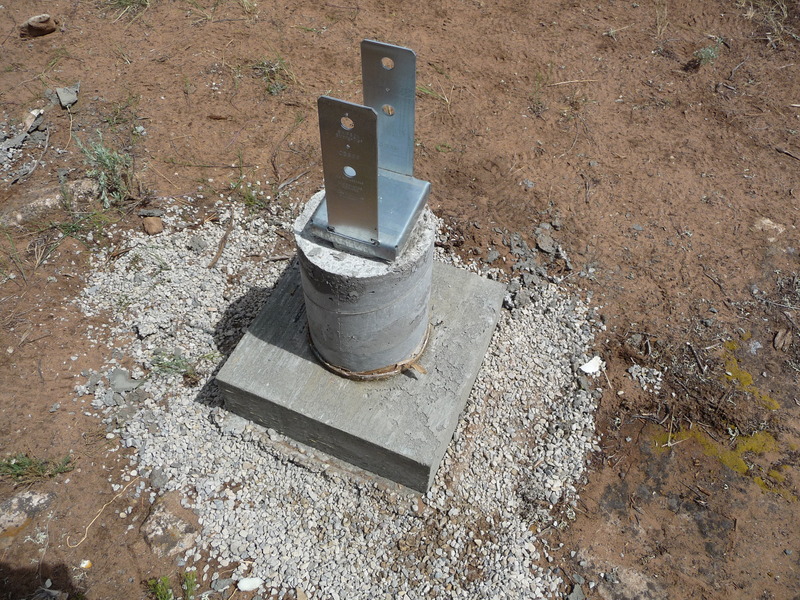
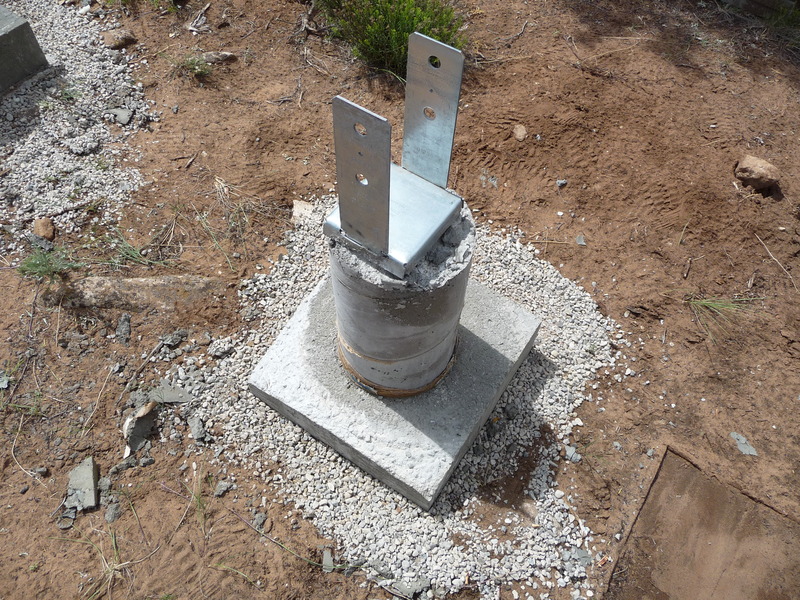
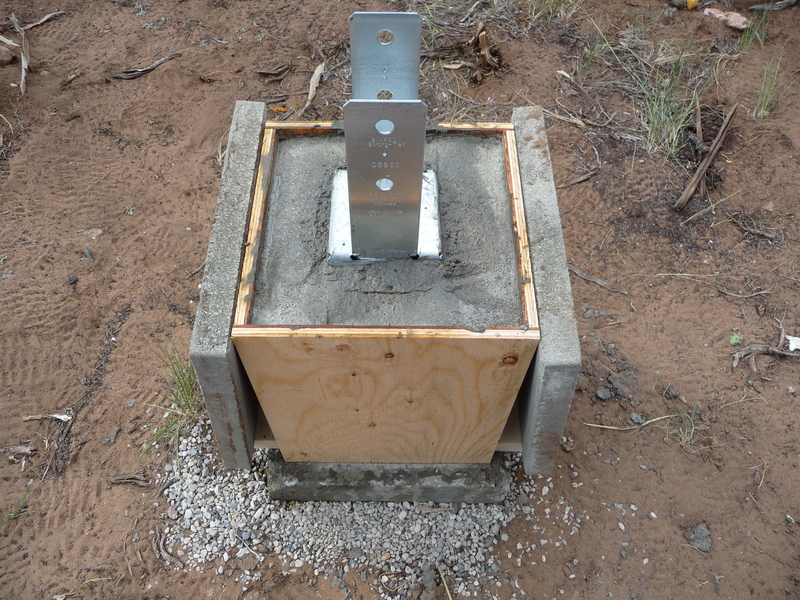
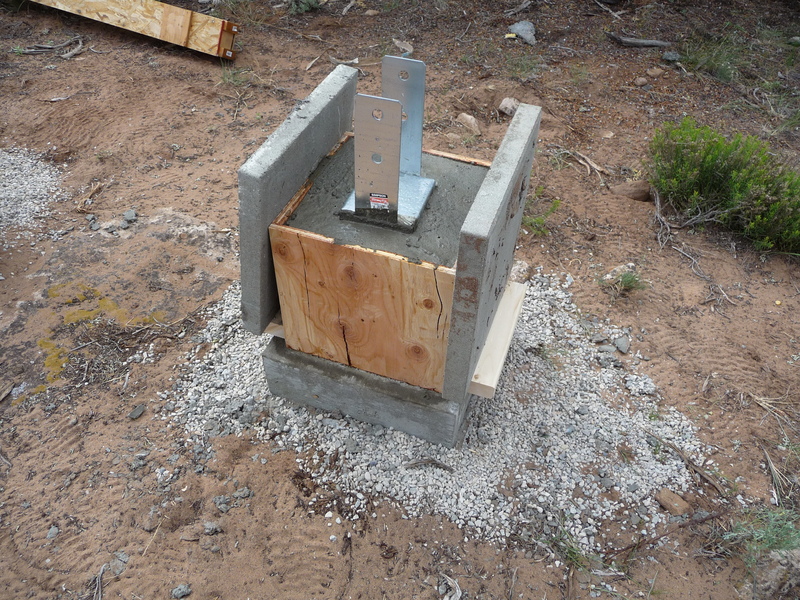
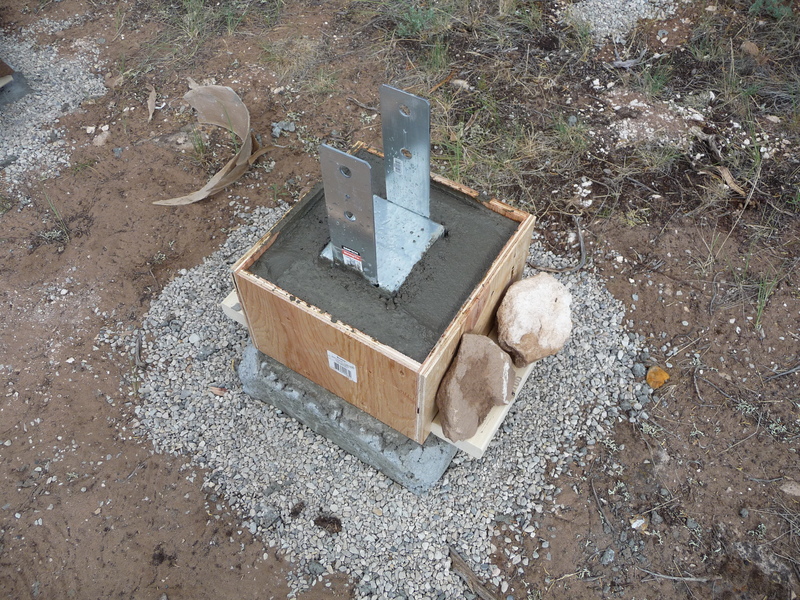
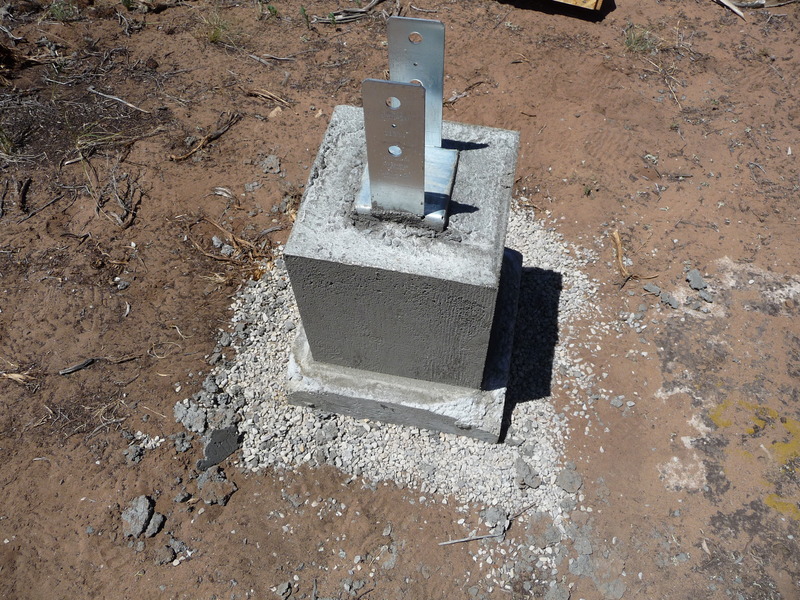
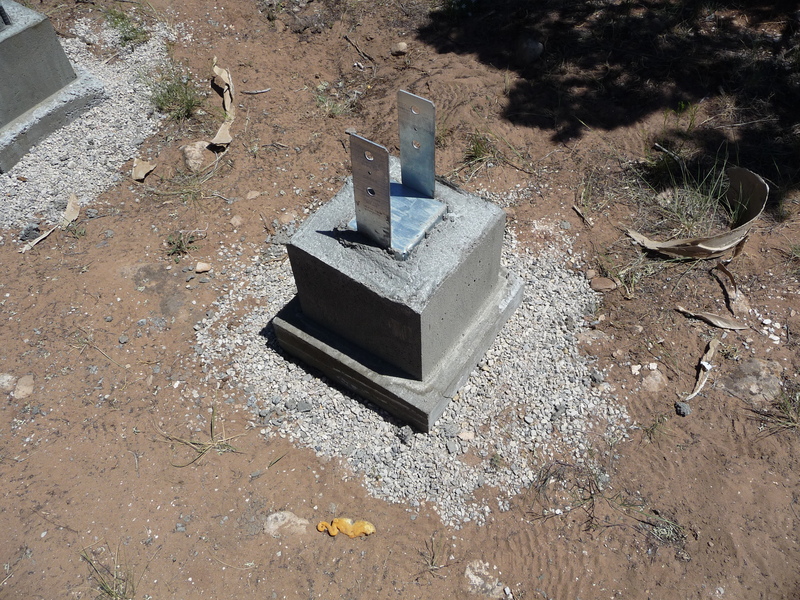
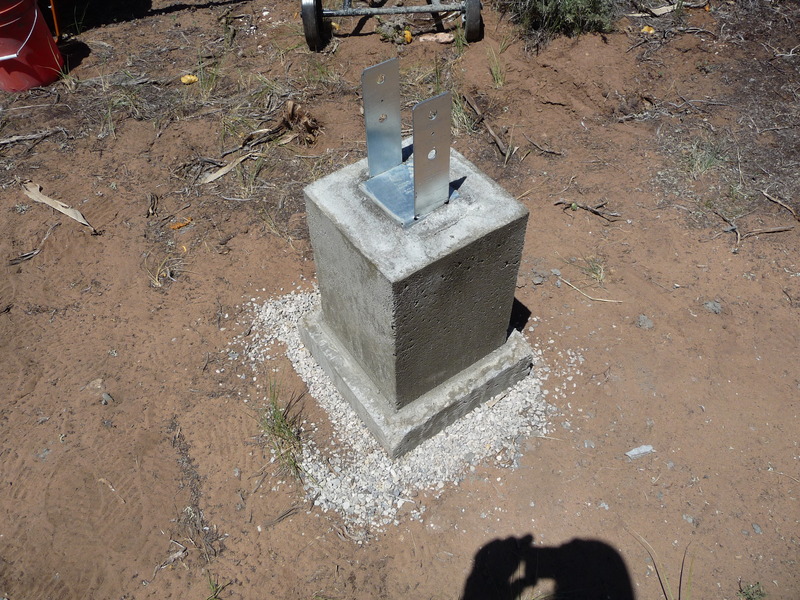
Unhappy with the first attempt at pouring piers for the foundation, yet not wanting to start over from scratch, I decided to reinforce the existing piers by pouring a concrete “shell” around them. The shell is 12”x12” square and reinforced with four pieces of 1/2” rebar placed vertically near the corners. I also made sure to pour to the height of the bottom of the beam brackets so in most cases the new pour covered the top of the existing piers. For the new pour, I again built plywood forms and attached 2x4 “wings” to allow the forms to be held in place with weights stacked on the wings. Here are the piers with forms after the new pour:
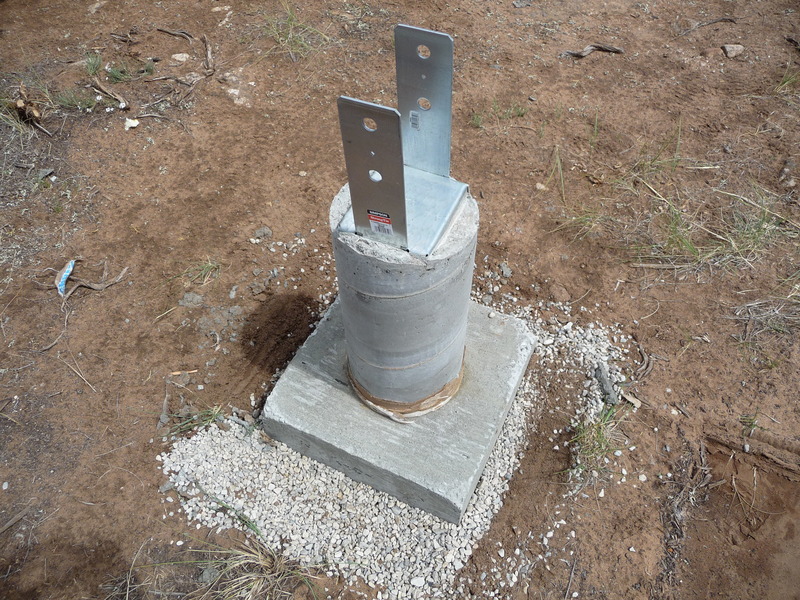
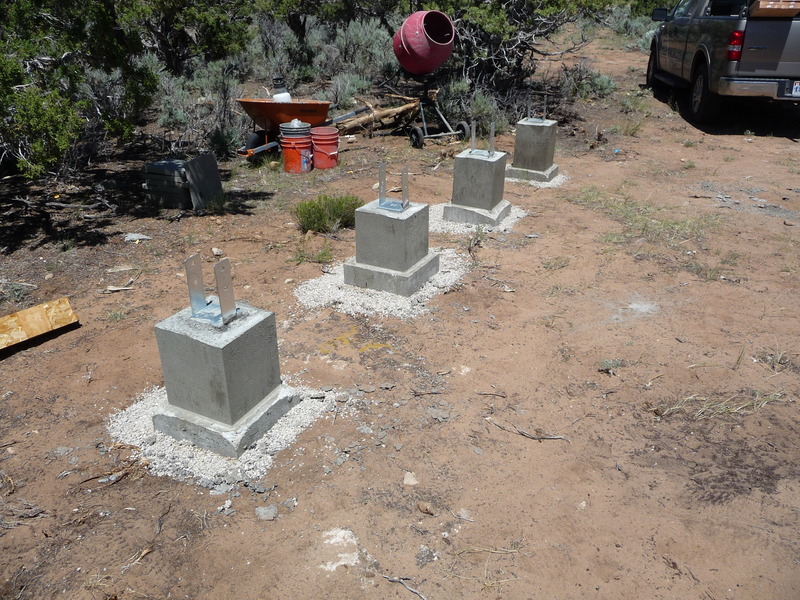
And here are the completed piers with the forms removed:
Obviously, the reinforced piers are much beefier than the original design and I believe will be more than adequate.
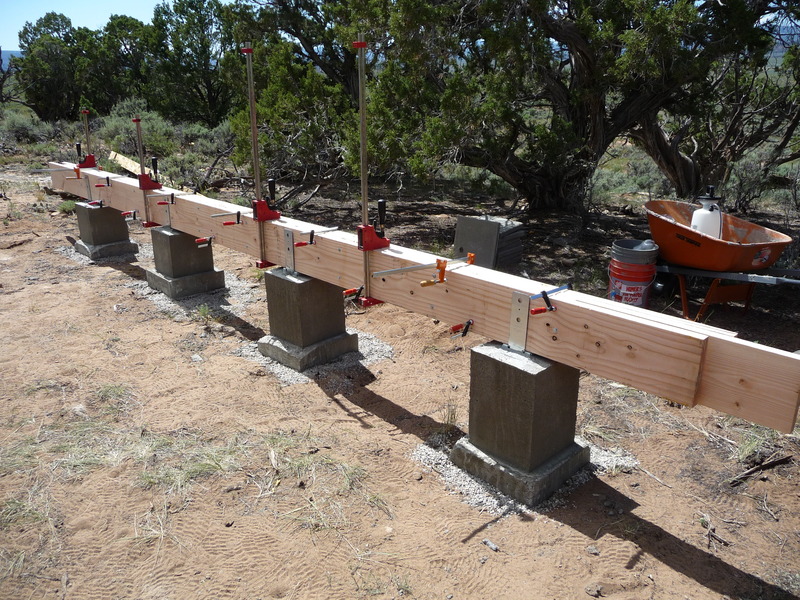
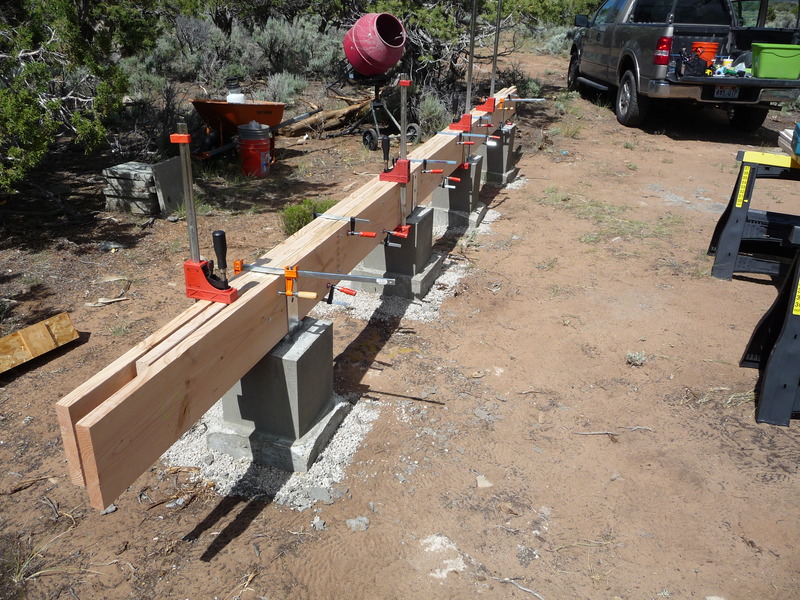
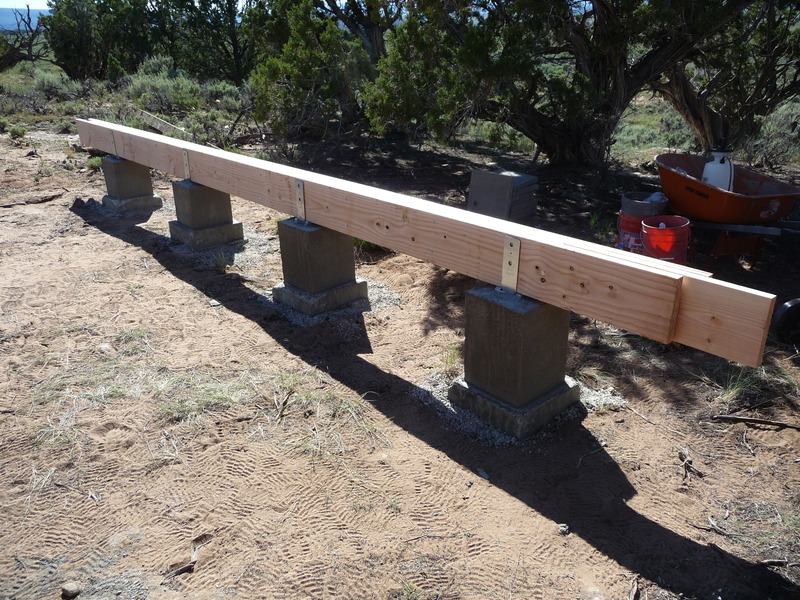
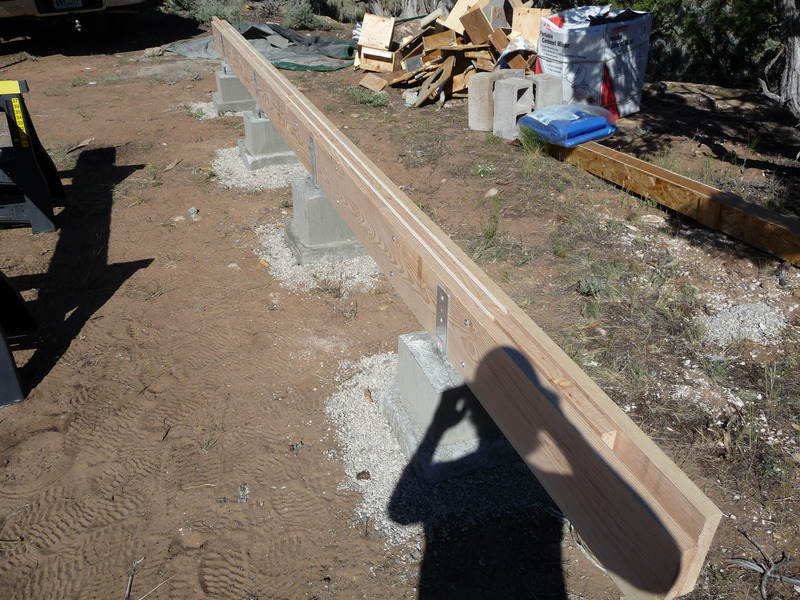
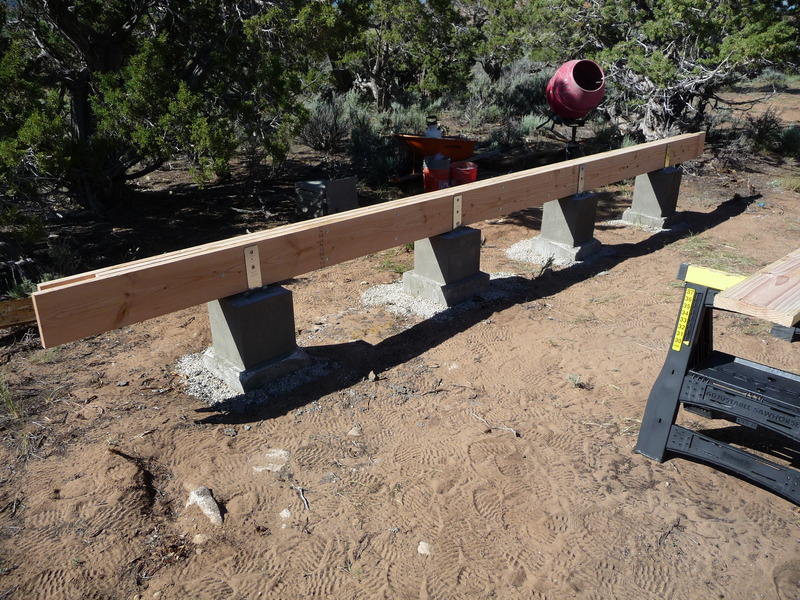
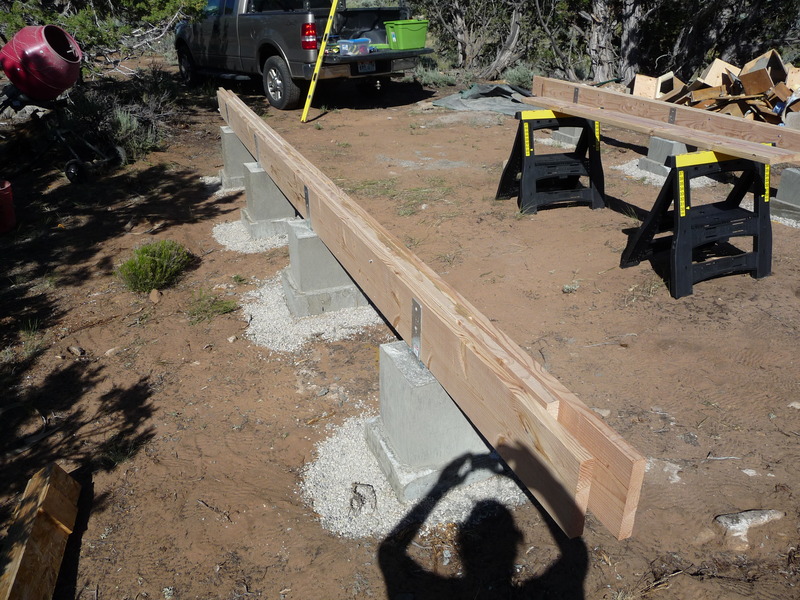
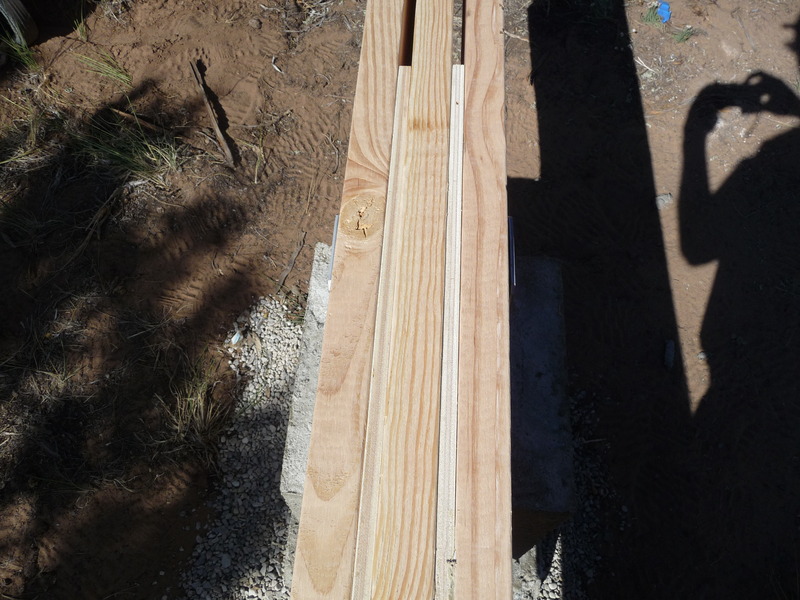
With the piers finished, I began the process of building the beams which will support the floor joists. The beams are “built-up” beams and consist of three 2x10’s sandwiching two sheets of 1/2” plywood, resulting in a beam with a nominal 6”x10” cross section. The beam pieces are glued with construction adhesive and screwed with lag bolts. Once final adjustments are done, they will also be secured to the beam brackets with two 1/2” bolts per pier. I left the beams long so I could trim them to exact length once the floor is in place and squared up.
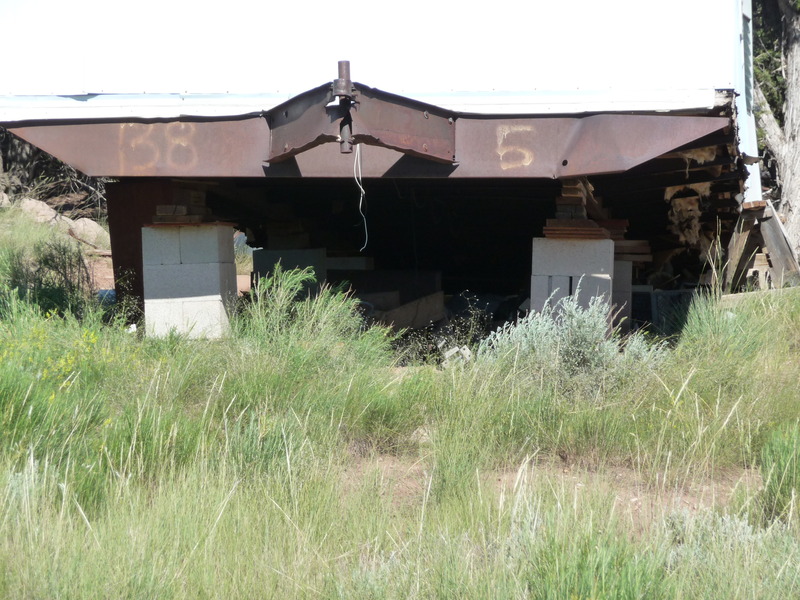
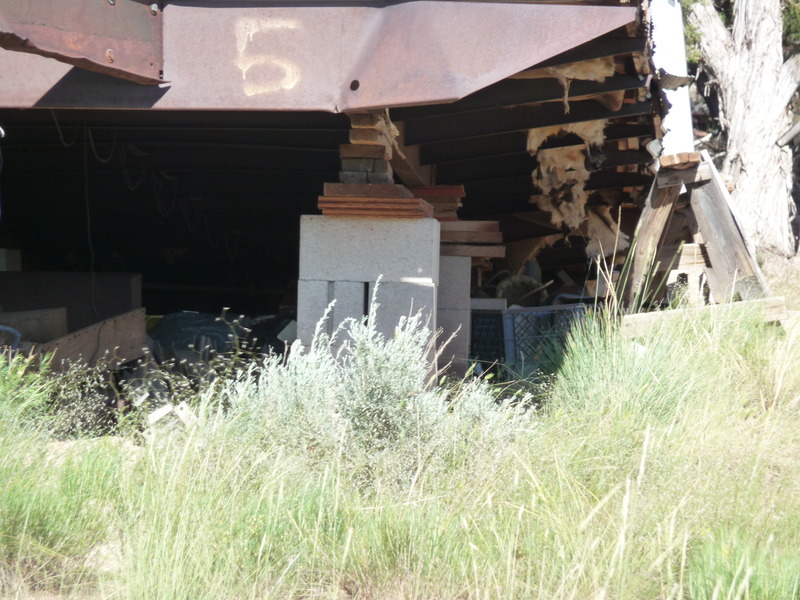
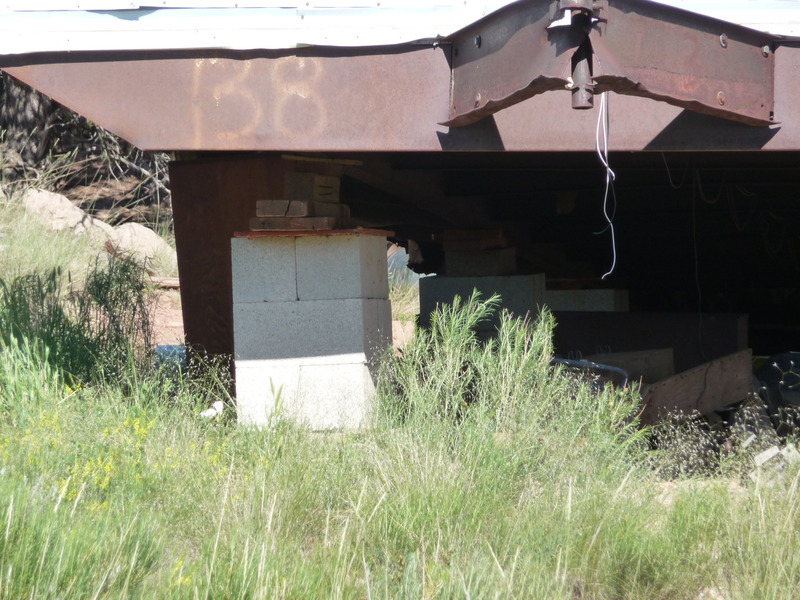
Although I now feel pretty good about my foundation, I was feeling less than confident after my first attempt until I noticed this foundation supporting an old mobile home on the lot next to mine. By comparison, my foundation is an engineering marvel:

Cabin: Foundation Attempt #1 - Results
Friday, Jul 02, 2010
Here are some photos of the results of the foundation attempt. These are the piers with the forms removed. Since I am unhappy with the results I had planned on starting over from scratch but am now considering a less drastic option. Stay tuned…