One man's struggle to take it easy
Steps and Cabinets
Wednesday, Sep 04, 2013
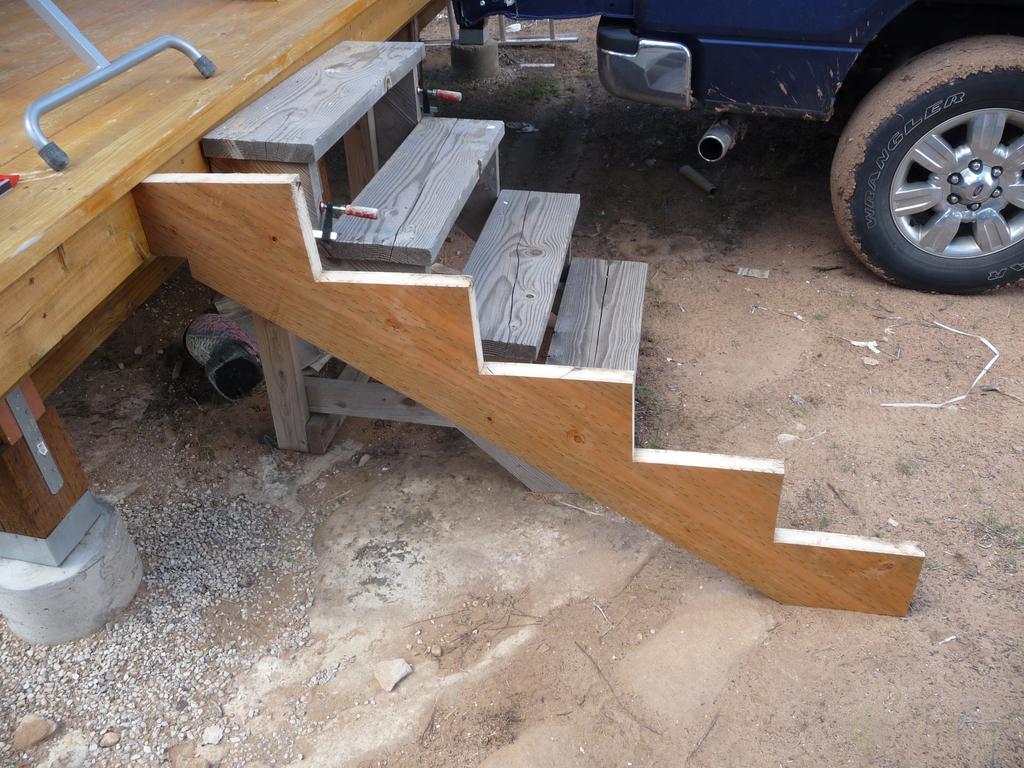
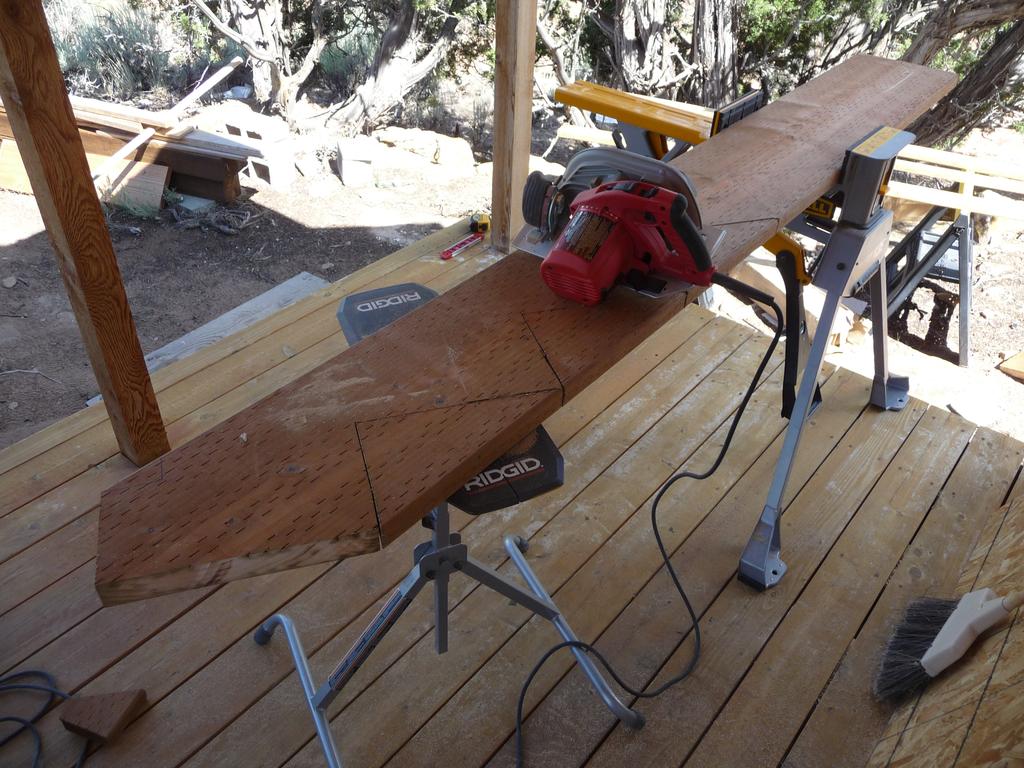
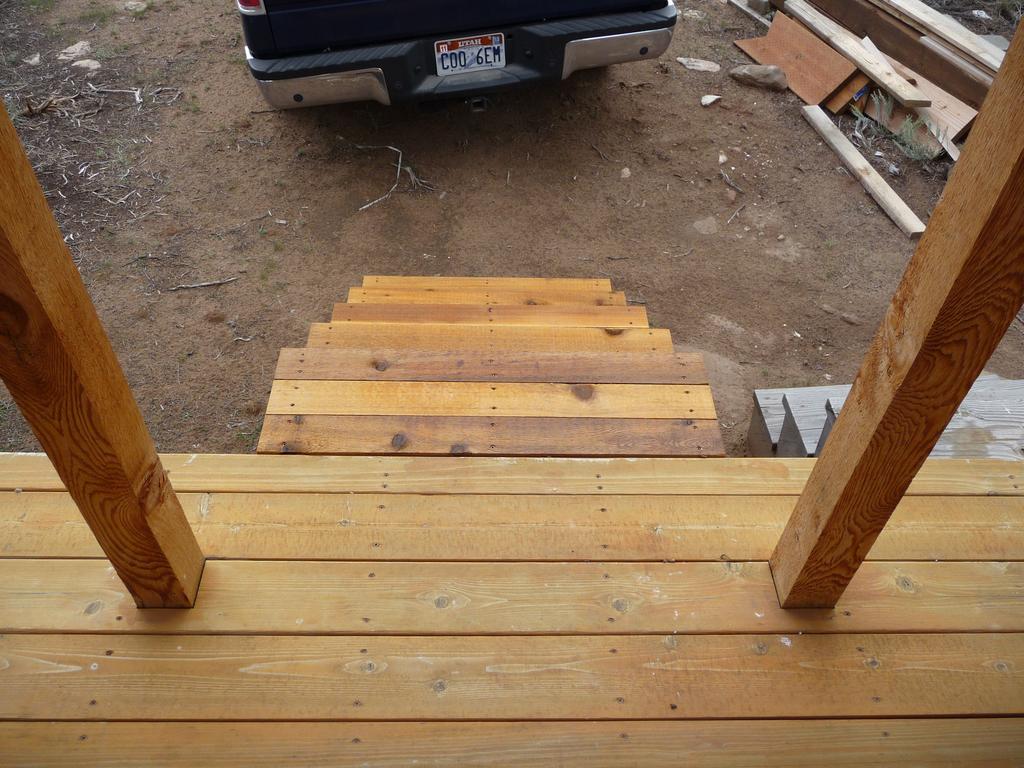
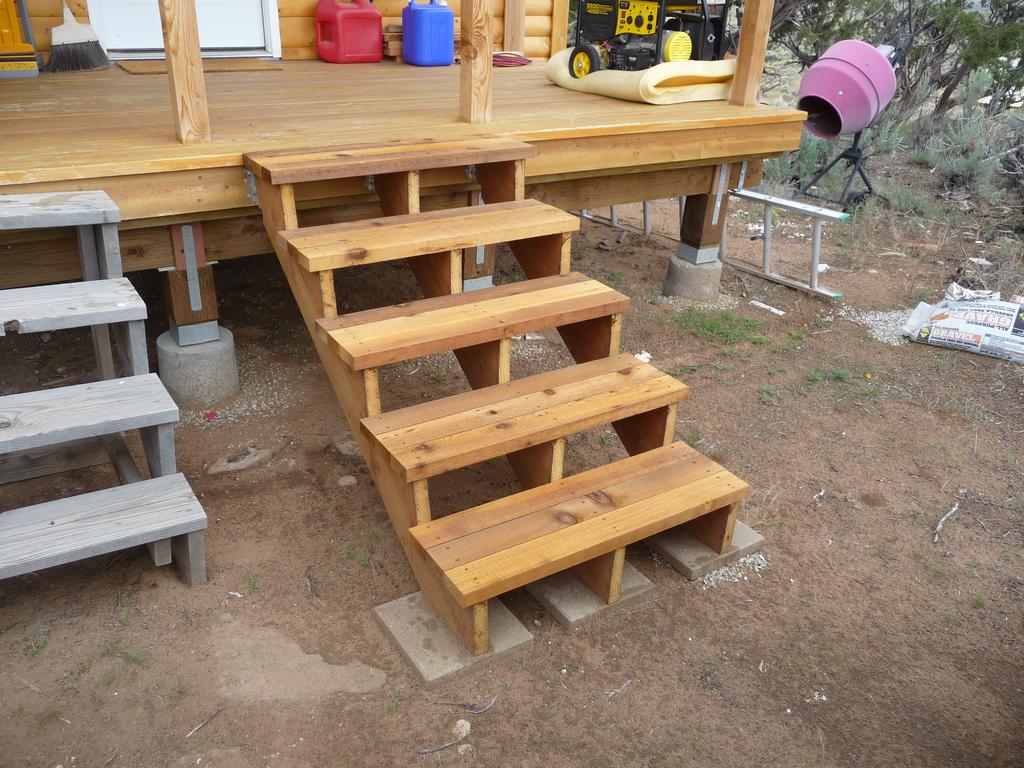
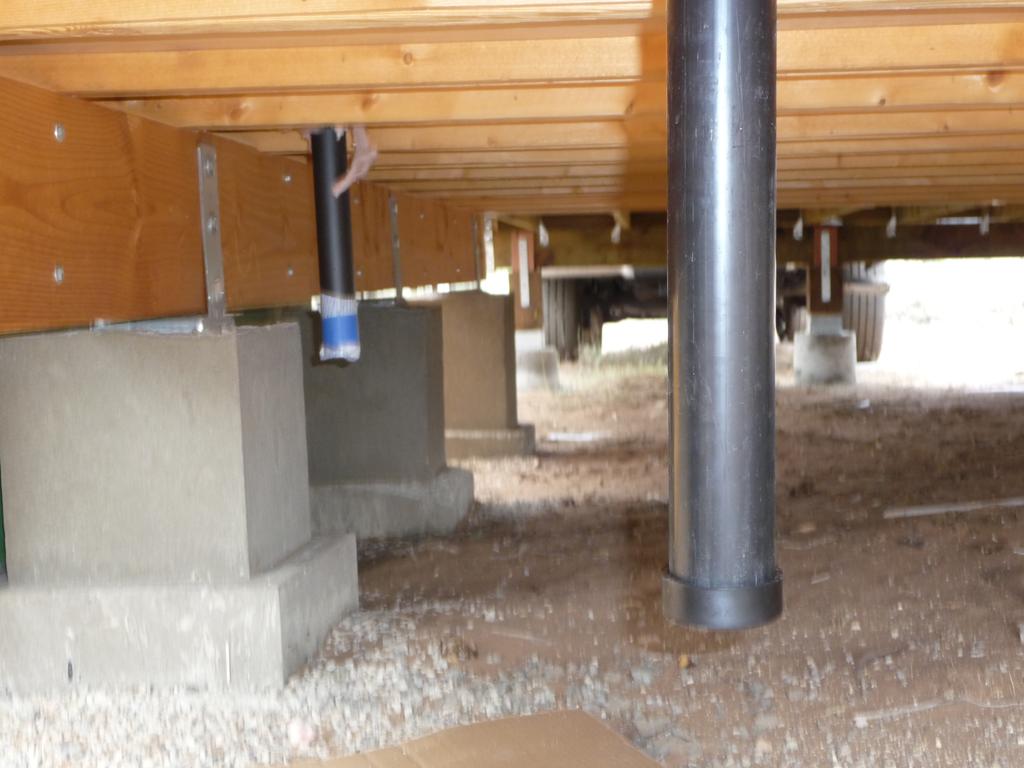
A couple of weeks ago I built some steps for the front porch to replace the temporary steps that I’ve been using the past few years. The steps are 36” wide and consist of three stringers cut from treated 2x12’s and cedar 2x4’s for the treads. I’ll probably add some railings at some point.
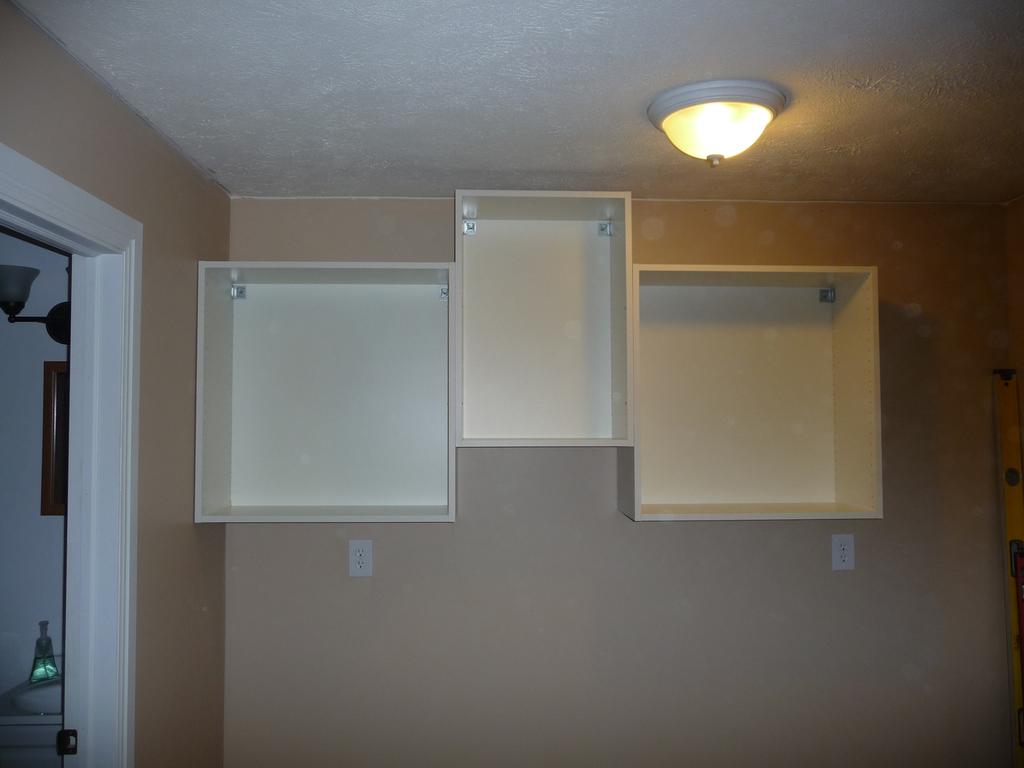
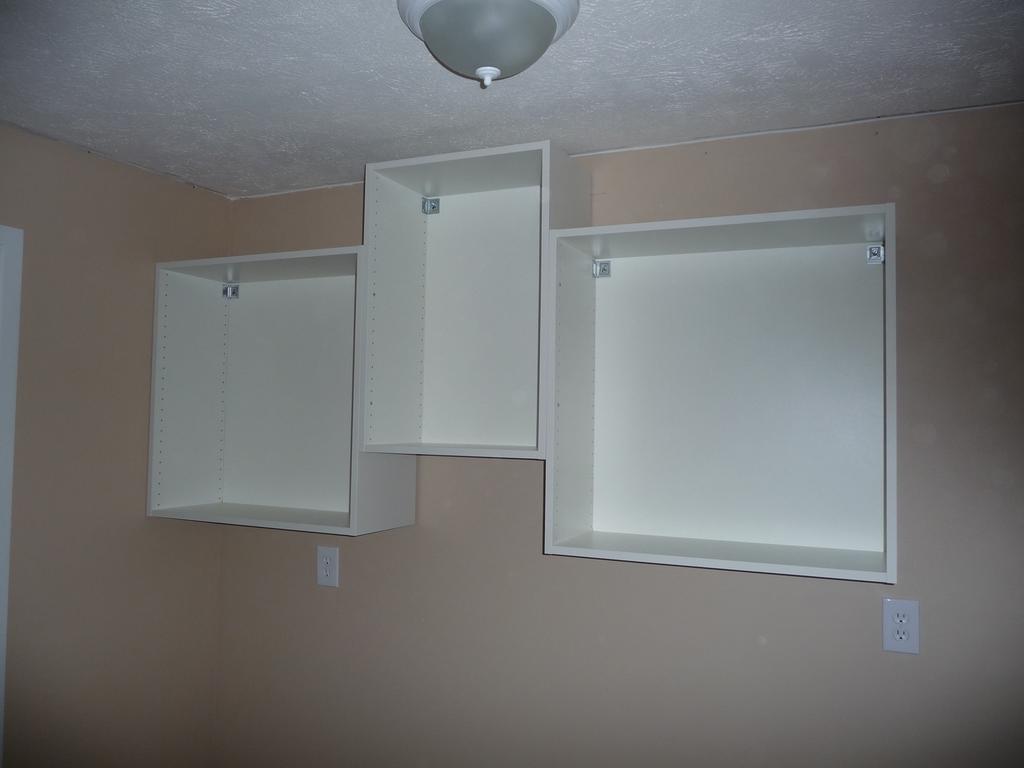
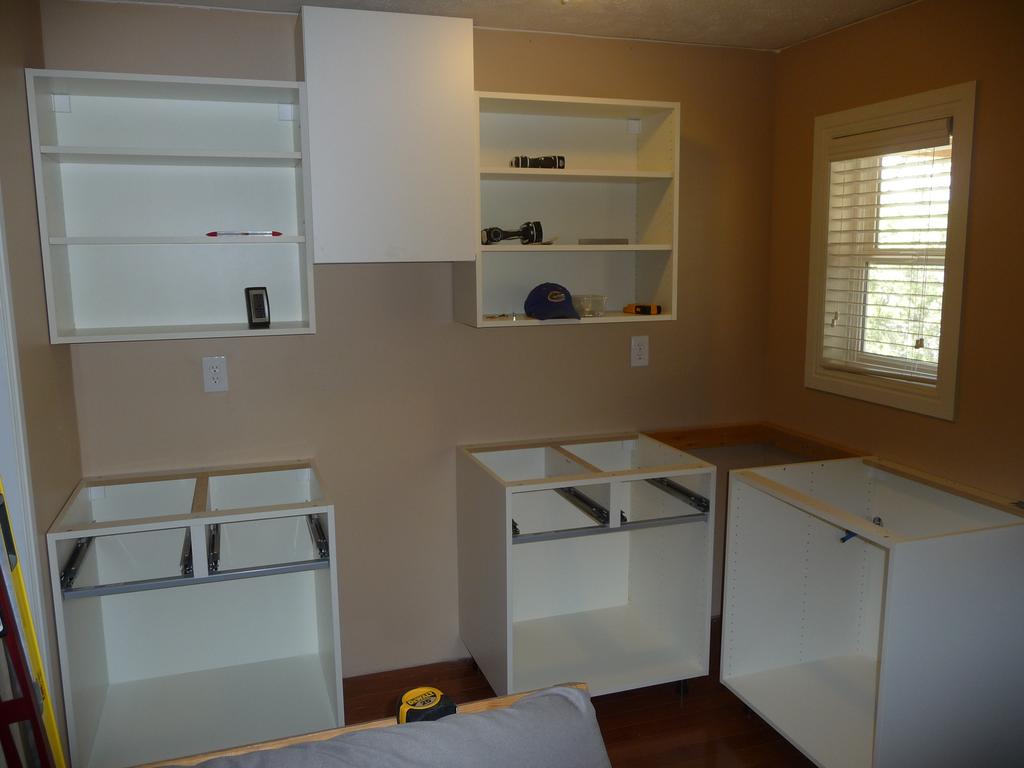
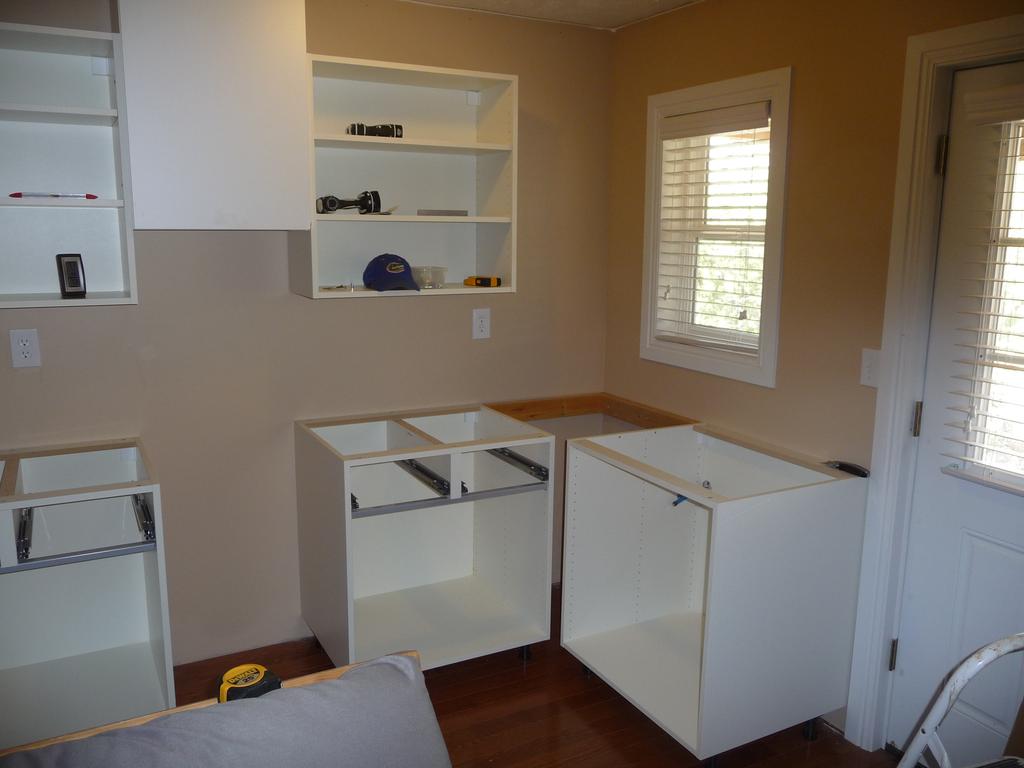
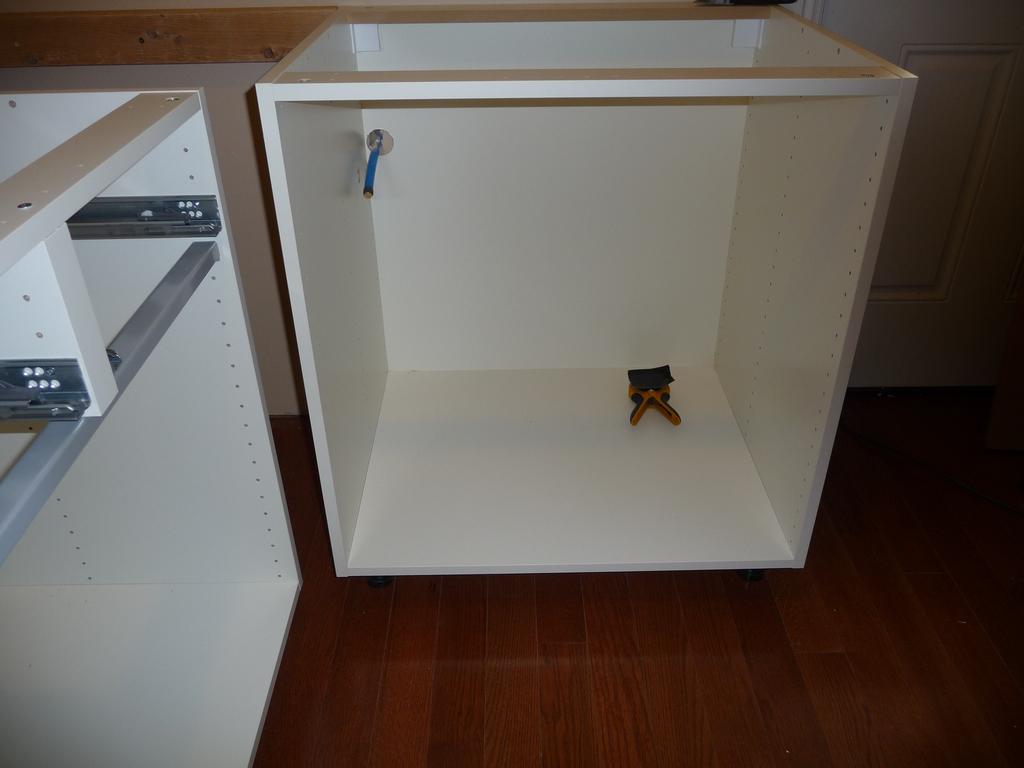
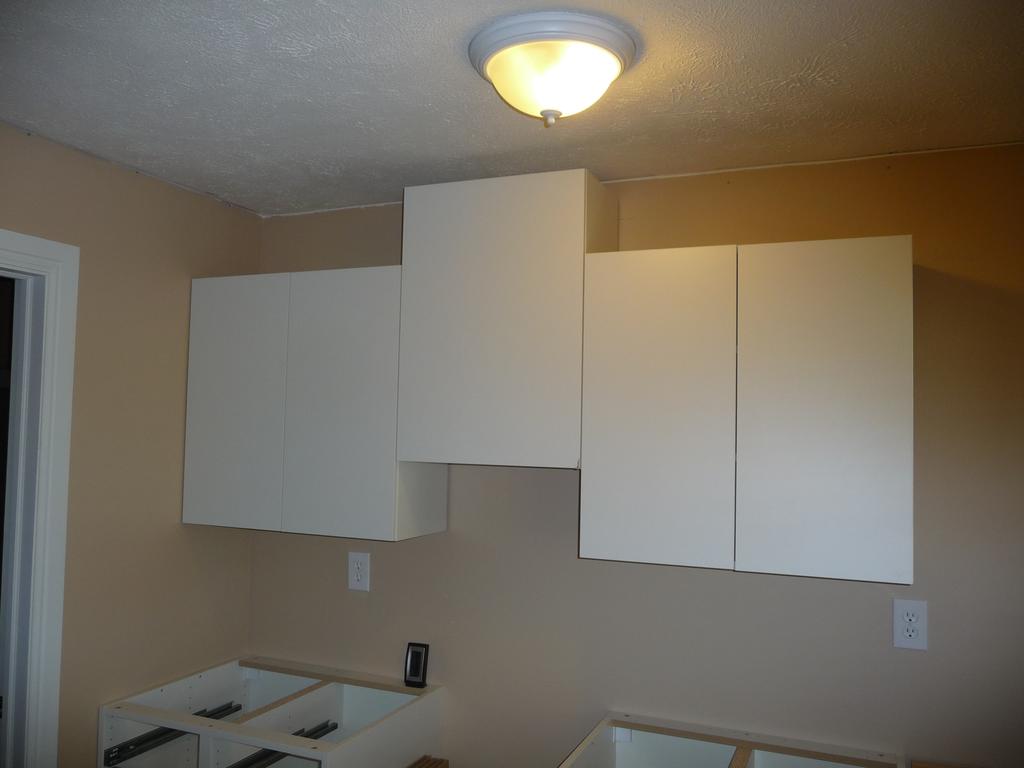
This weekend I spent three days at the cabin and installed kitchen cabinets. The plain white (cheap) doors make them look like laundry room cabinets but the carcasses and hardware are actually fairly well built and I can replace the doors as finances permit. I didn’t install the doors/drawers in the base cabinets yet to make it easier to install the countertop. The sink will go in the cabinet under the window and the gap in the base cabinets is for the range.
Overnight Visit
Tuesday, Jul 30, 2013
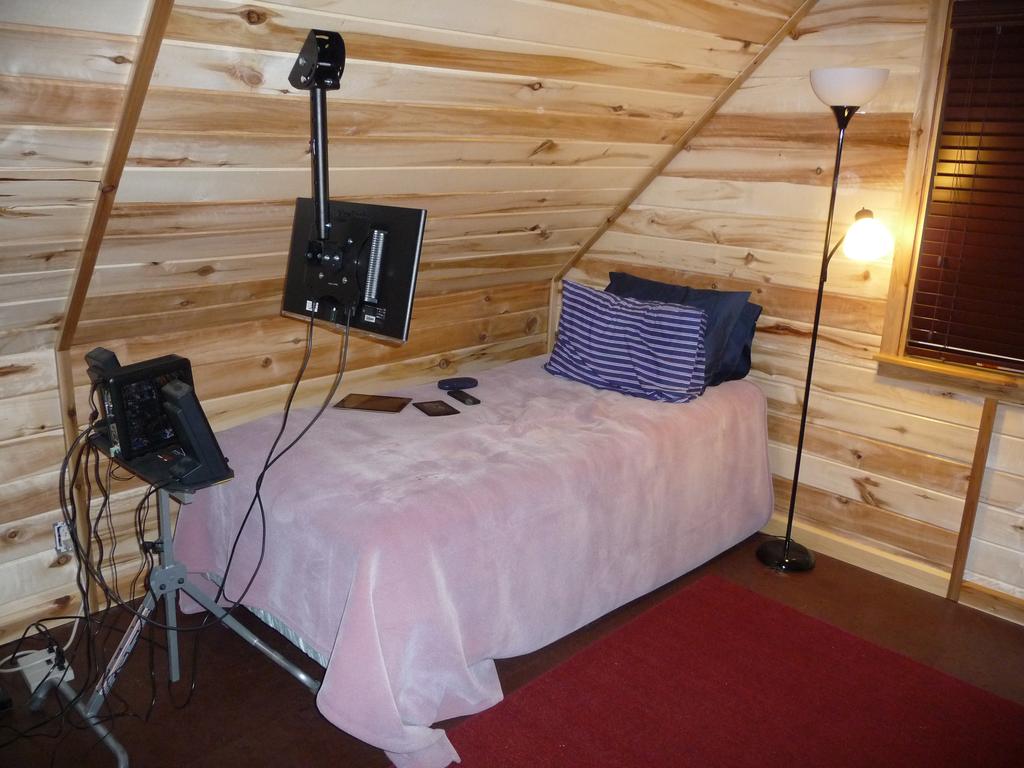
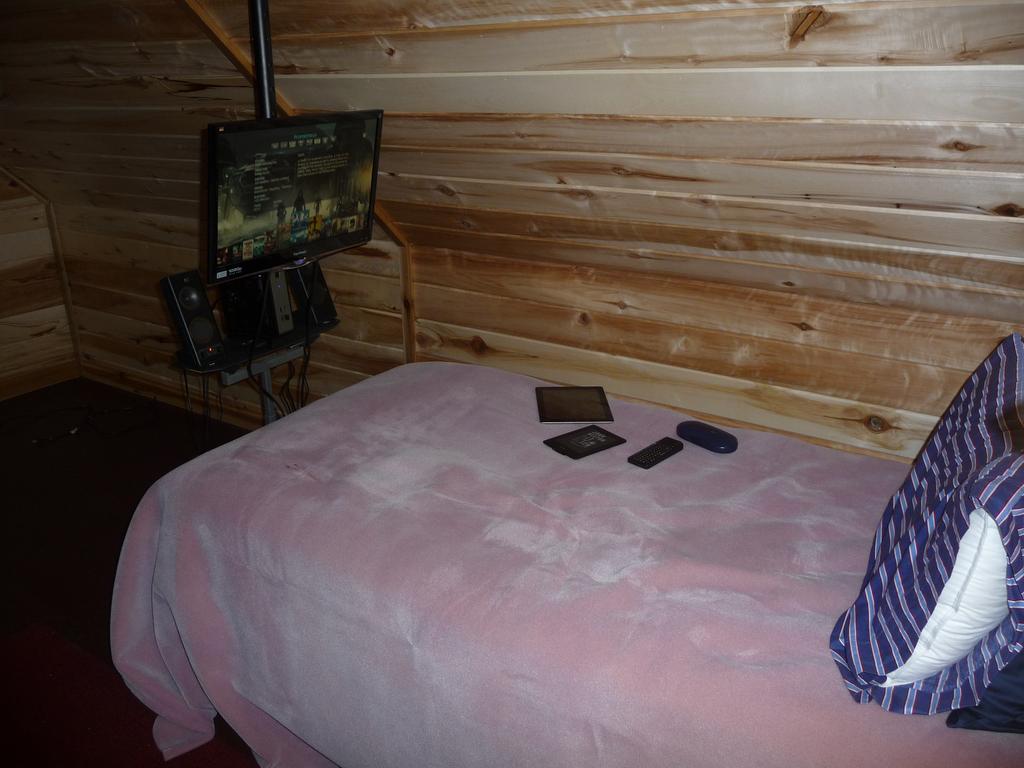
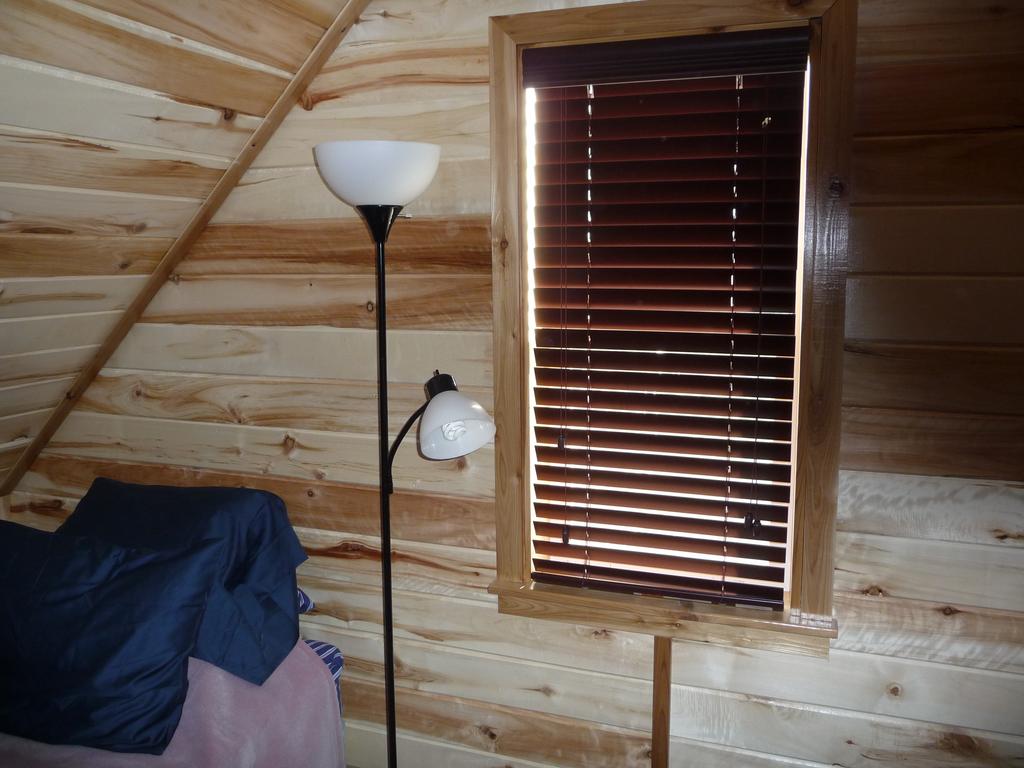
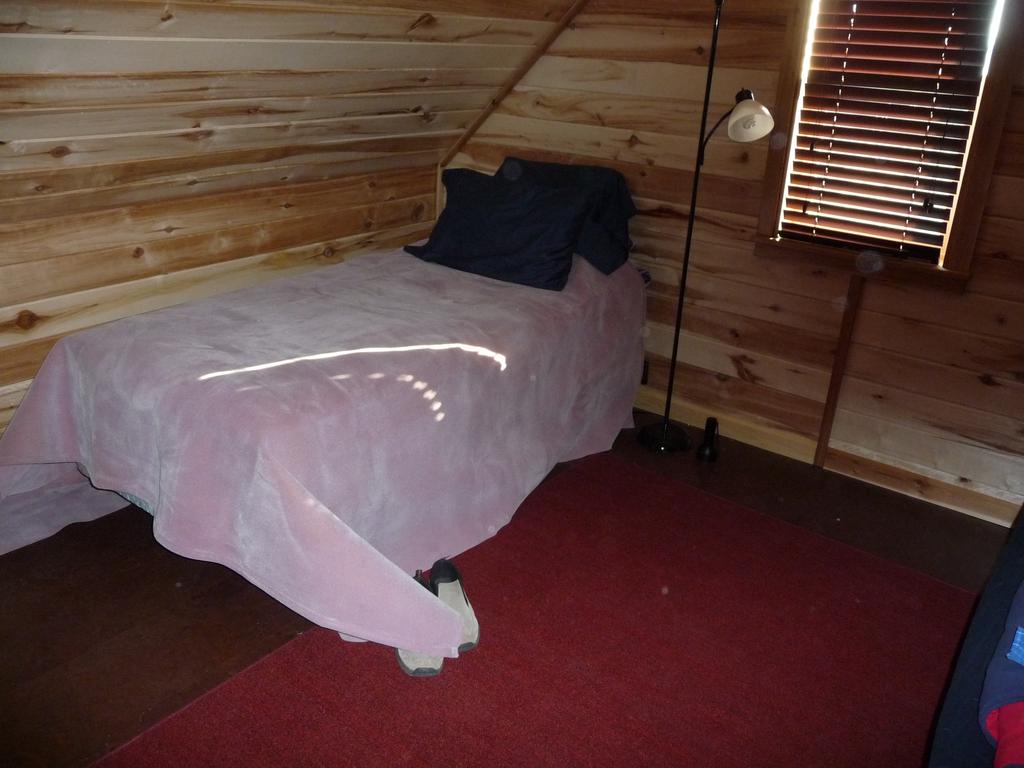
I stayed overnight at the cabin this weekend. Didn’t do too much work but got a few things done. Installed blinds in the loft windows, moved the twin XL bed over from the mini-cabin (the futon a friend gave me was very uncomfortable), and did some cleaning.
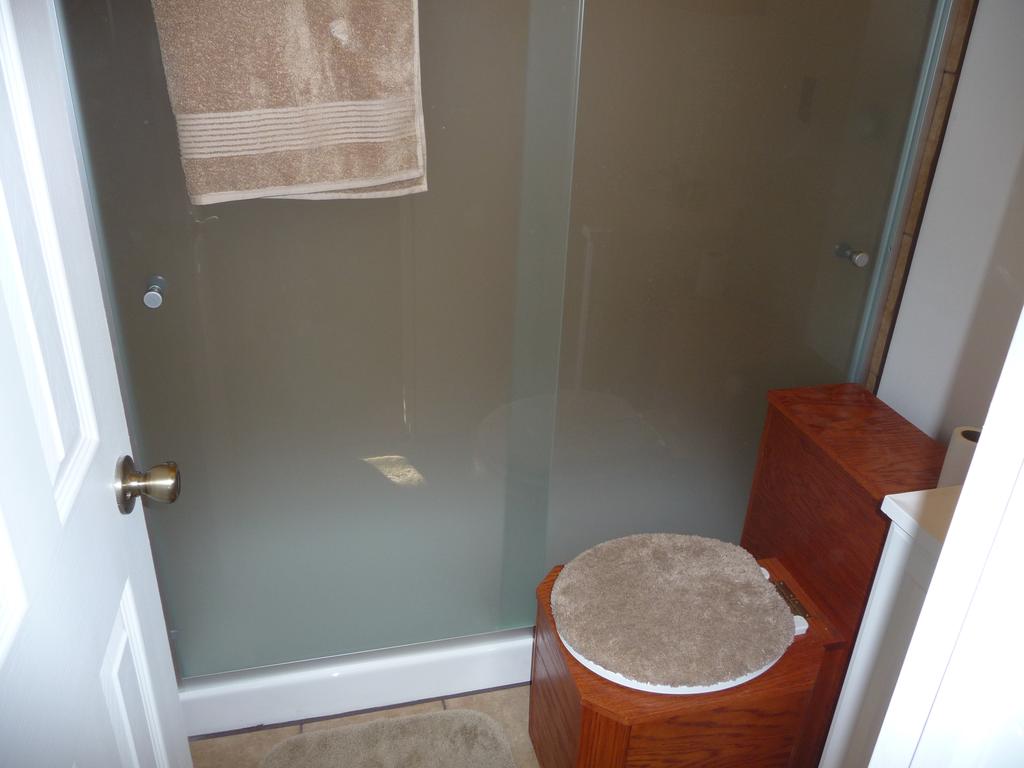
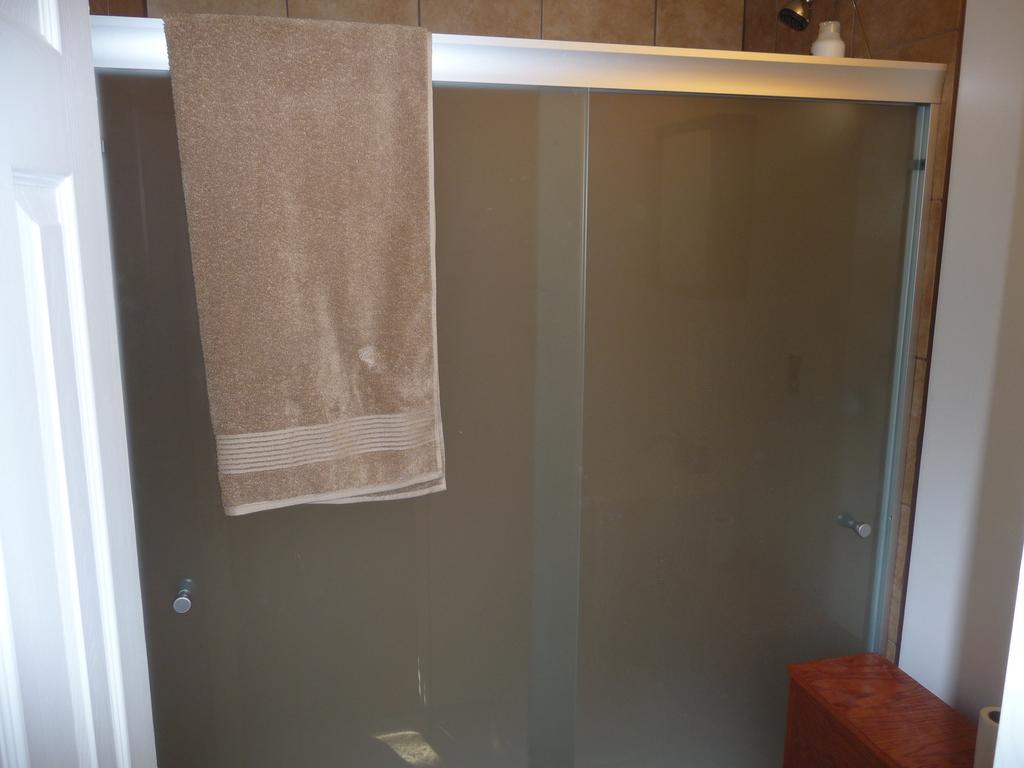
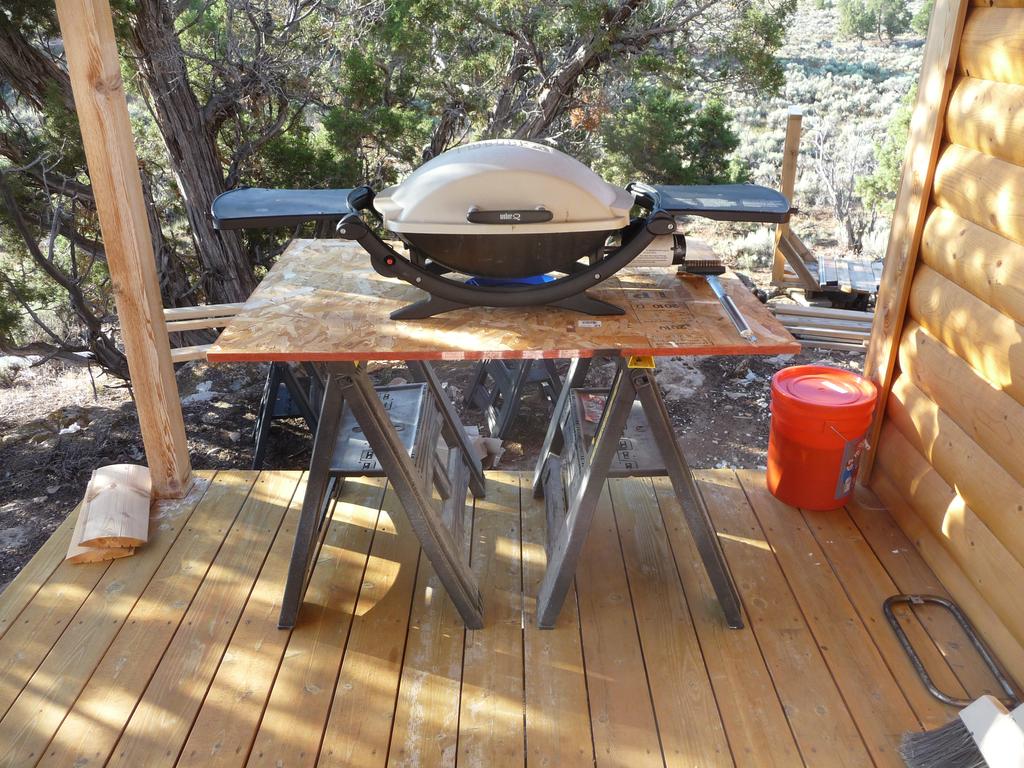
I used the shower for the first time and it was great. Plenty of water pressure and plenty of hot water after running the generator for about 25 min. Took a small grill out and grilled some brats for dinner.
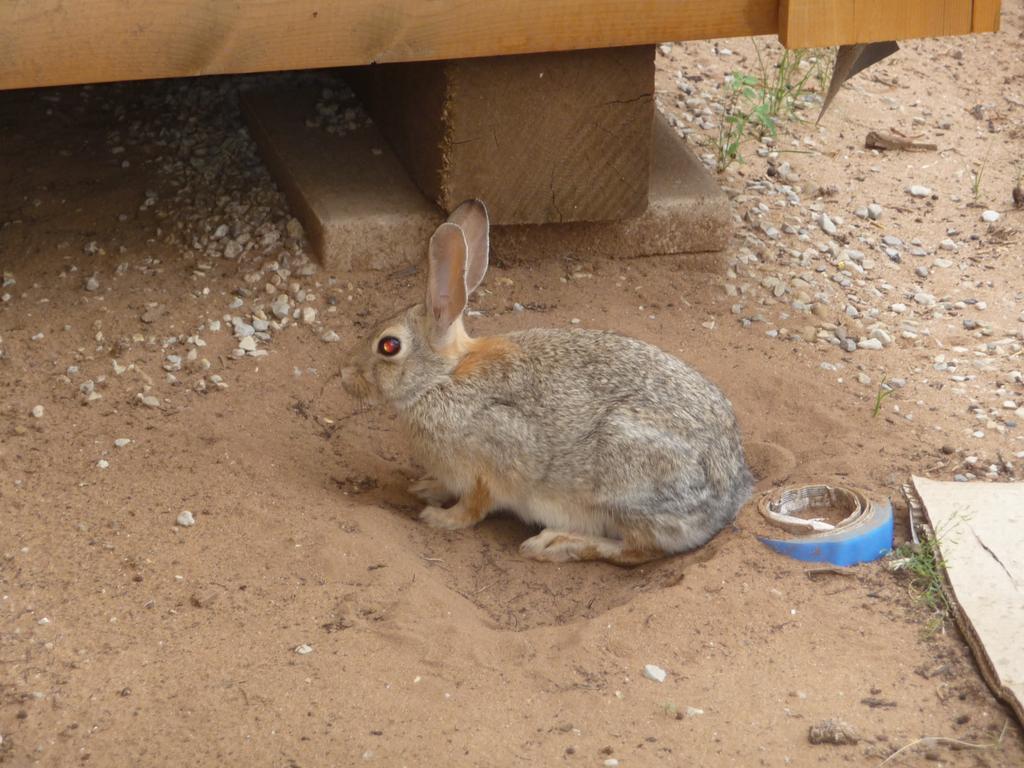
Pics show the shower door I installed a couple of weeks ago and a rabbit.
Finish Shower/Vanity and Plumbing
Monday, Jul 01, 2013
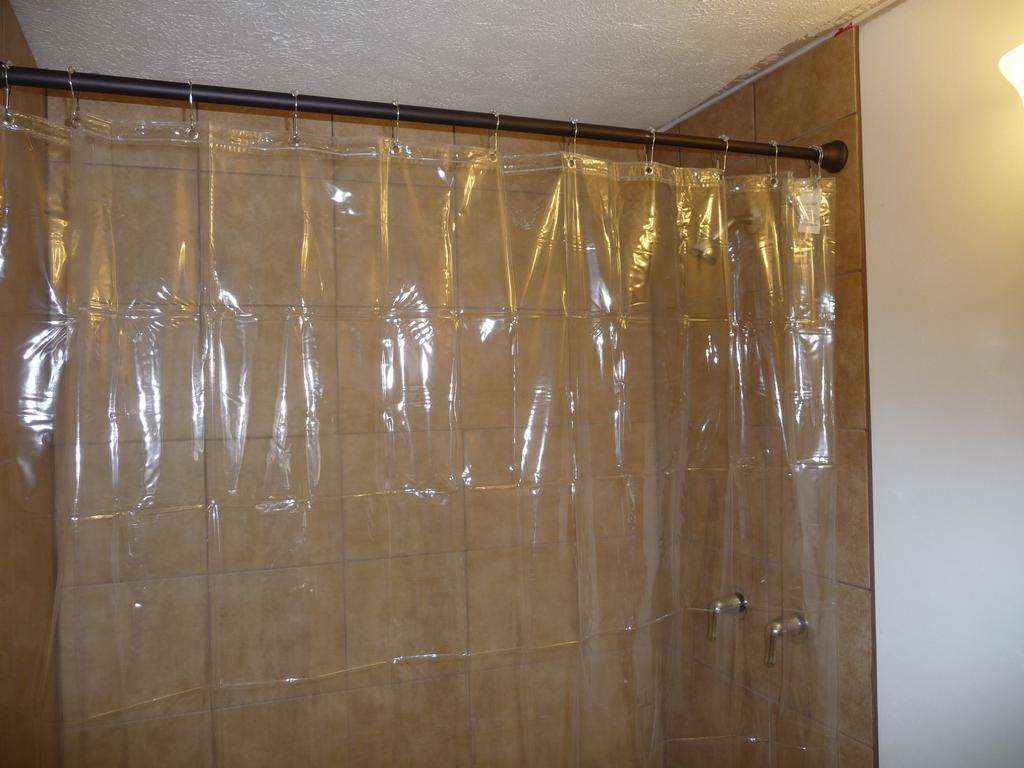
This week I finished the shower by caulking the corners and base with grout colored caulk. I also caulked around the vanity and installed a shower curtain.
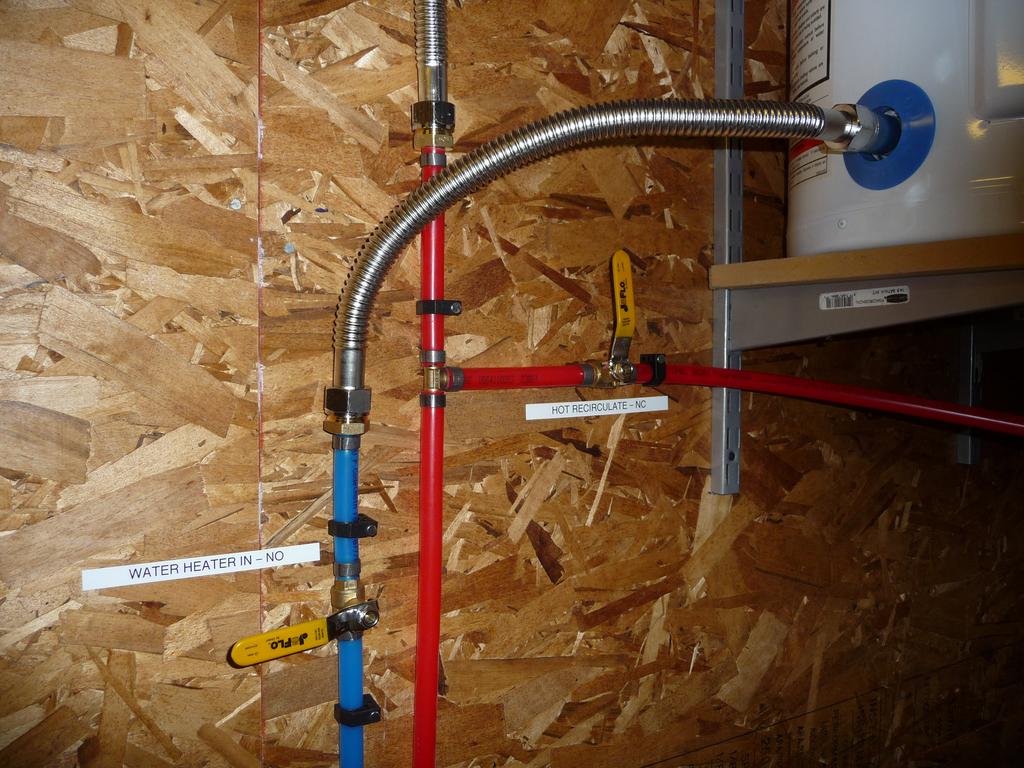
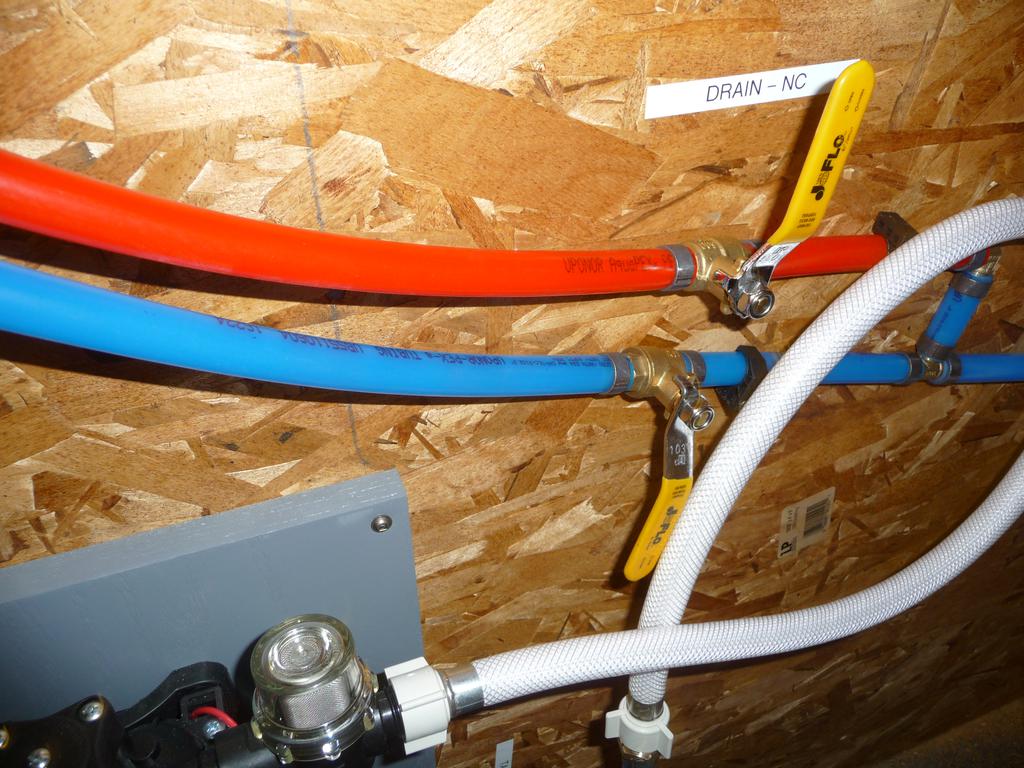
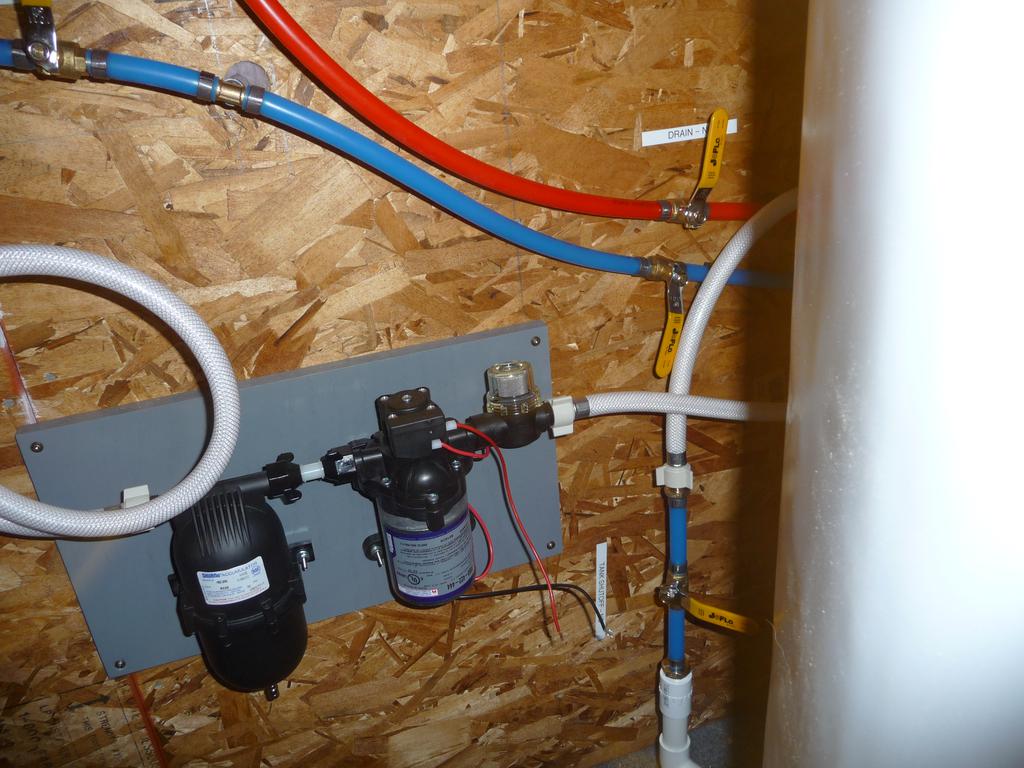
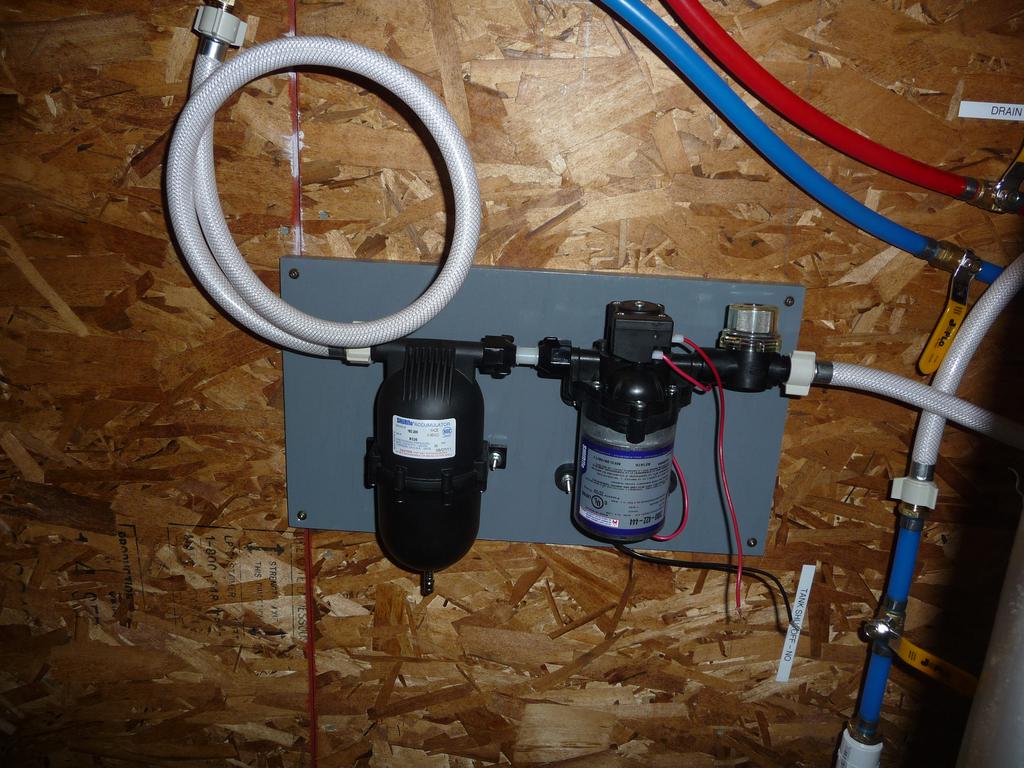
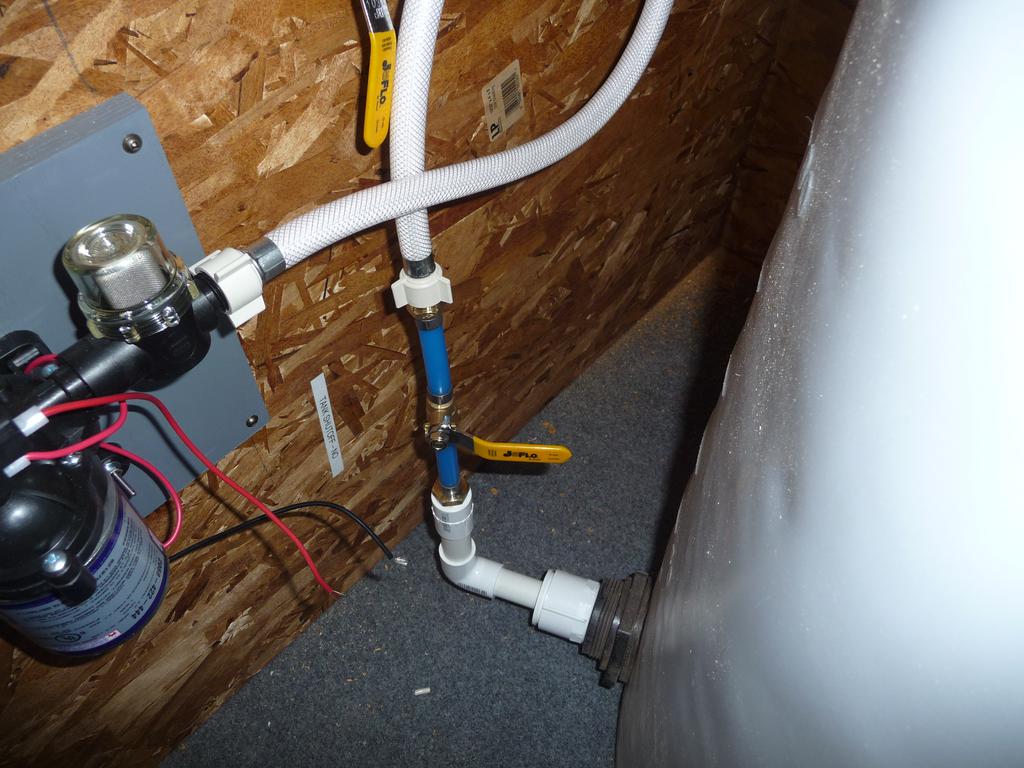
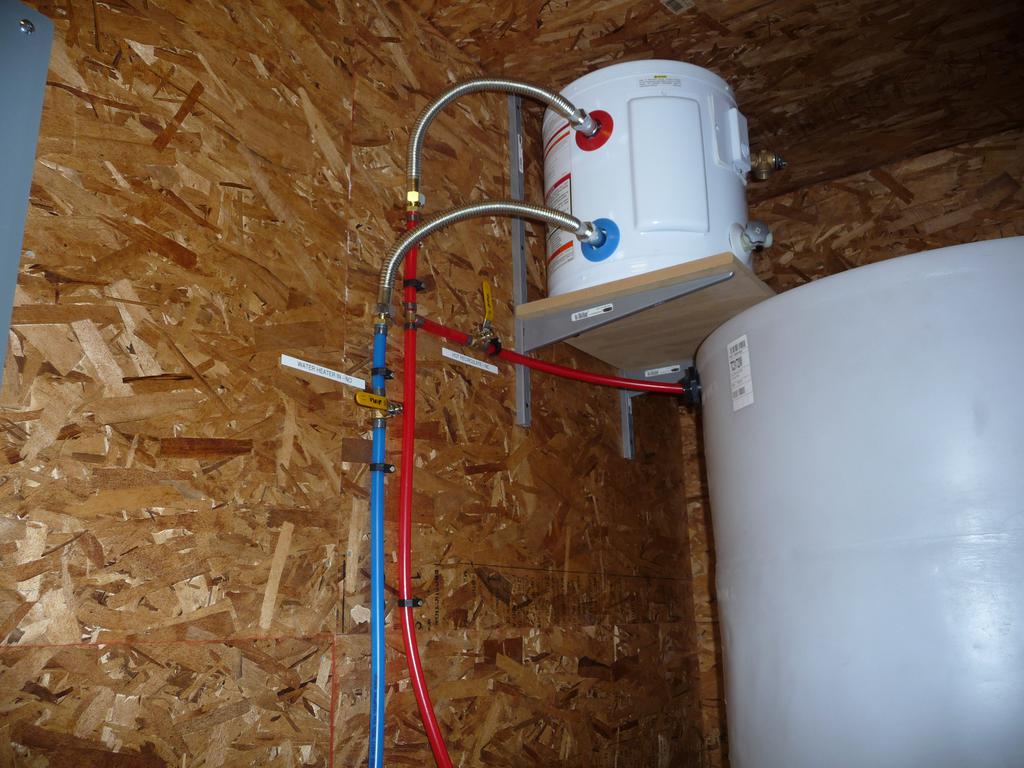
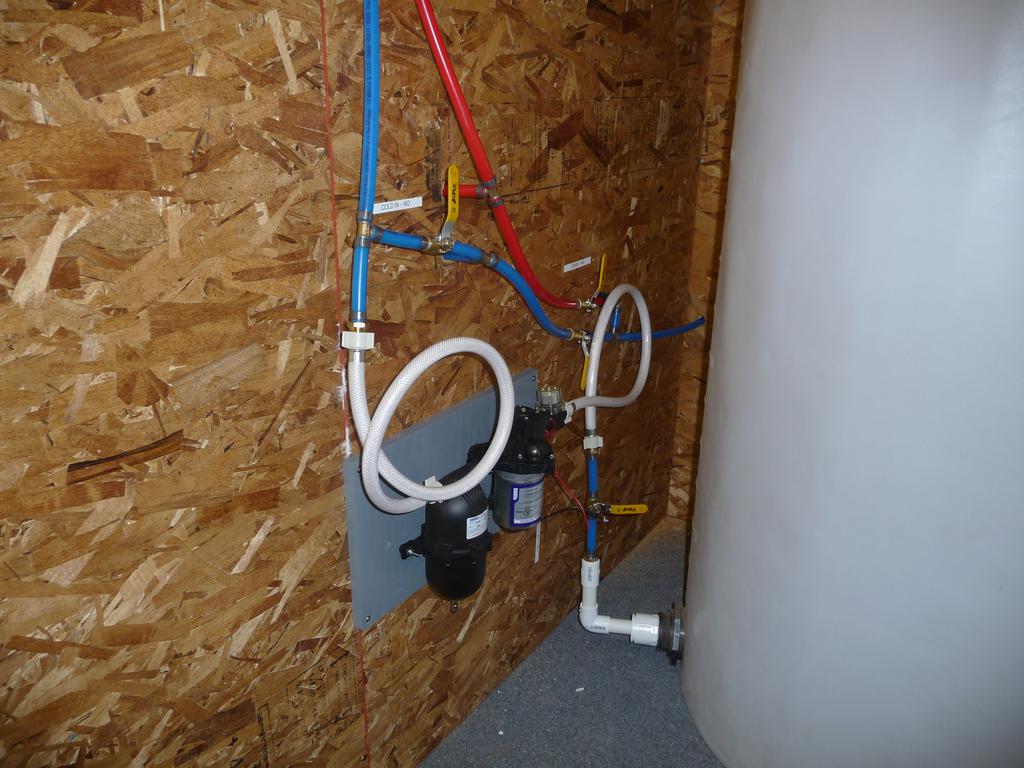
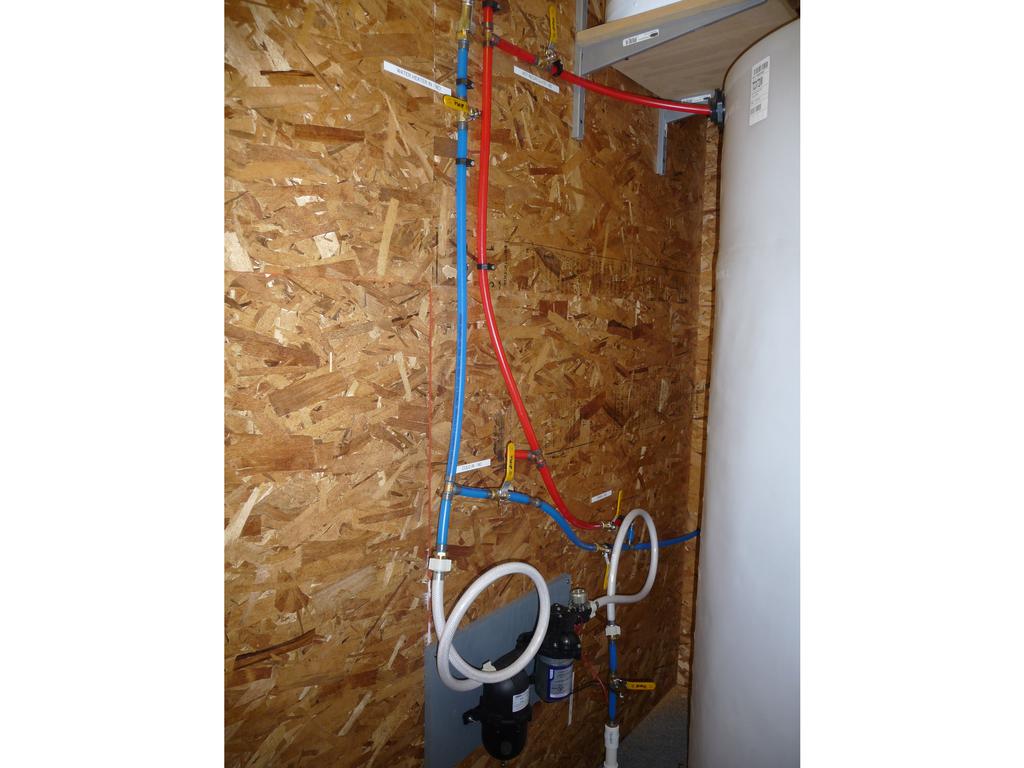
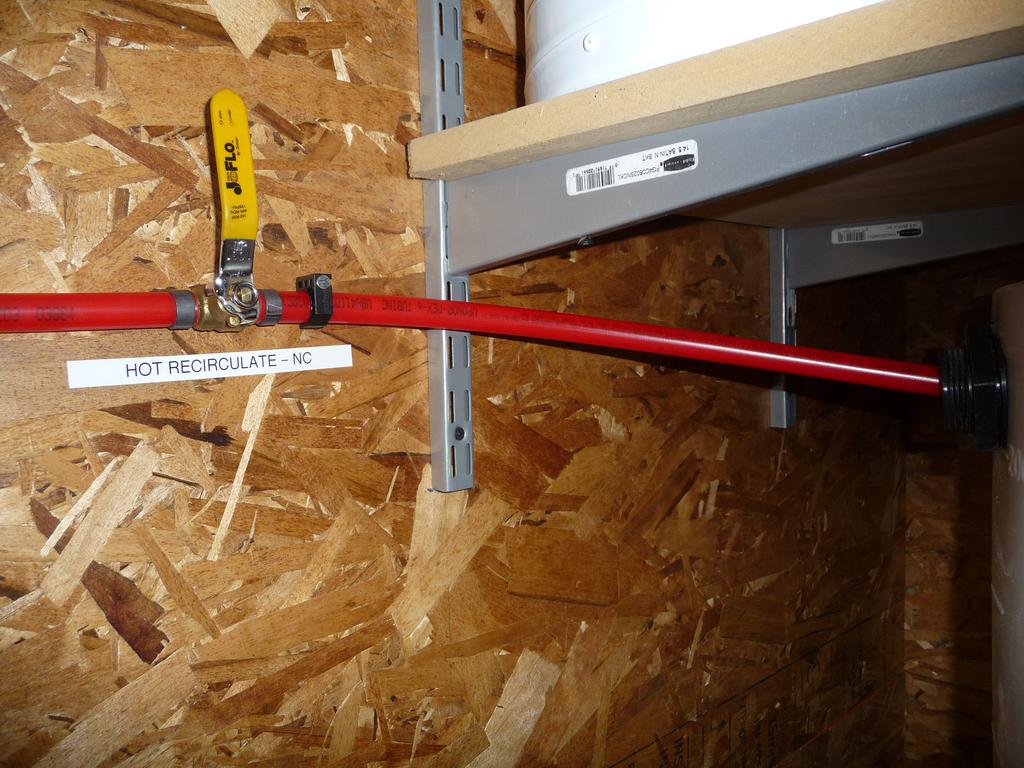
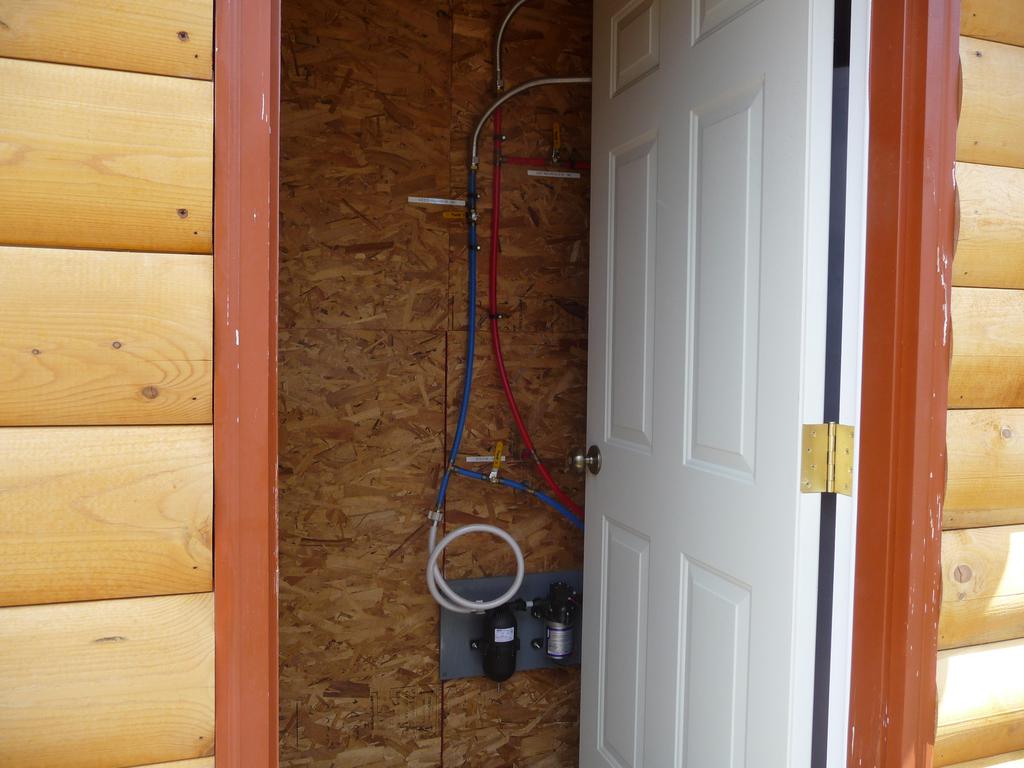
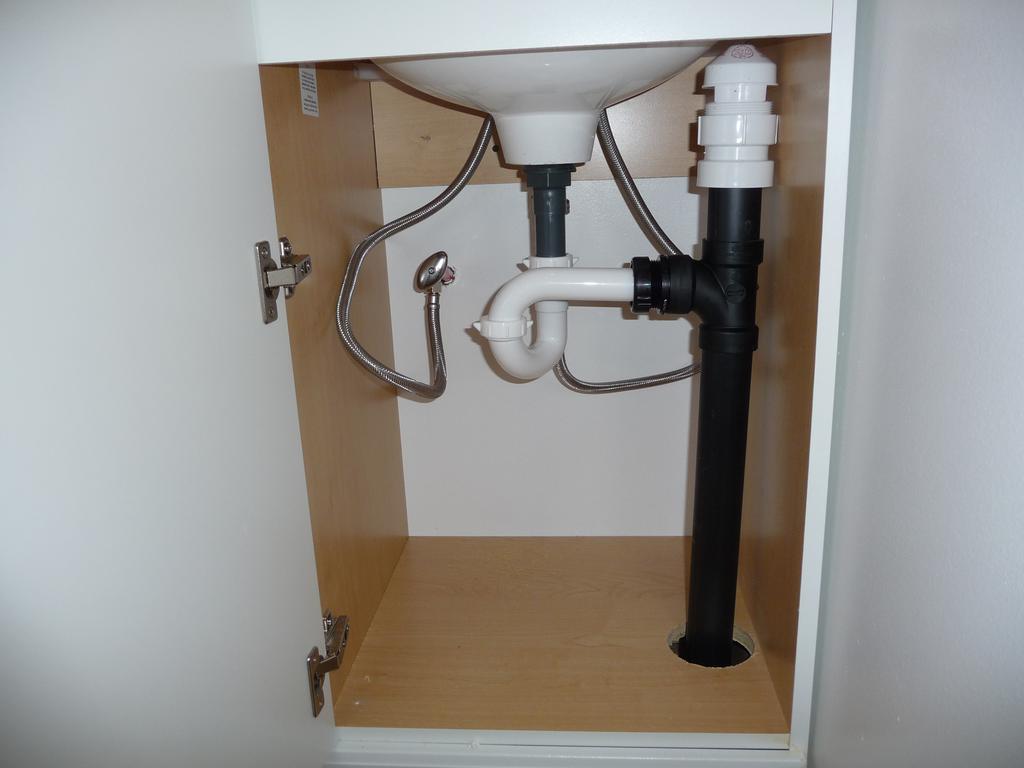
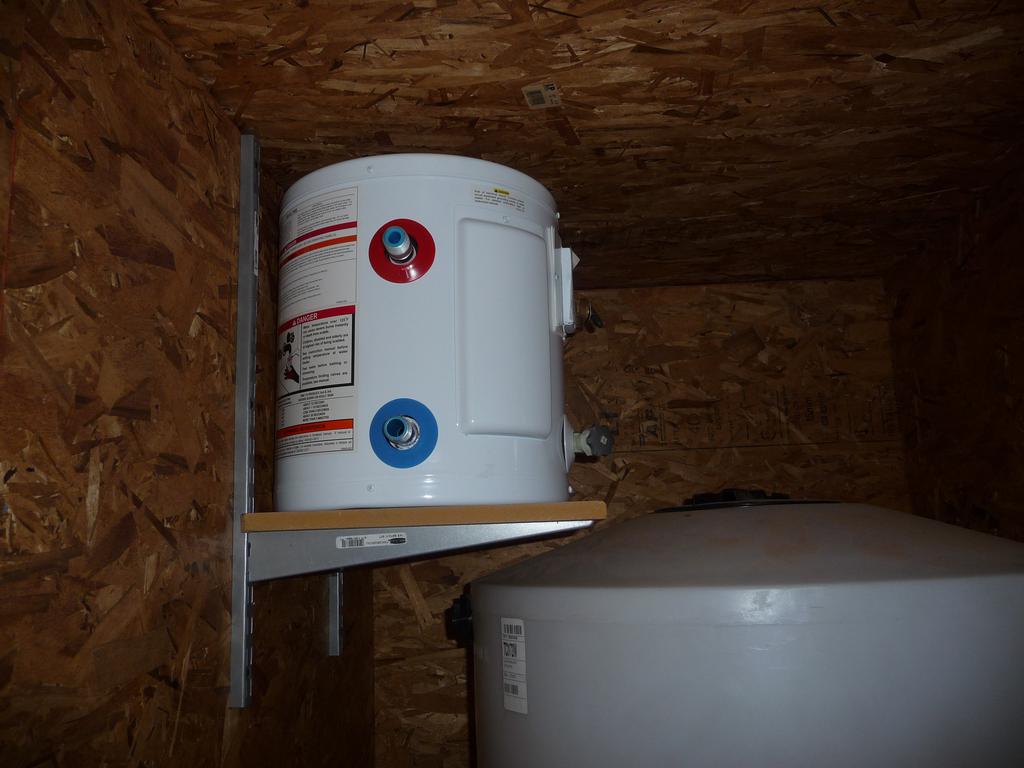
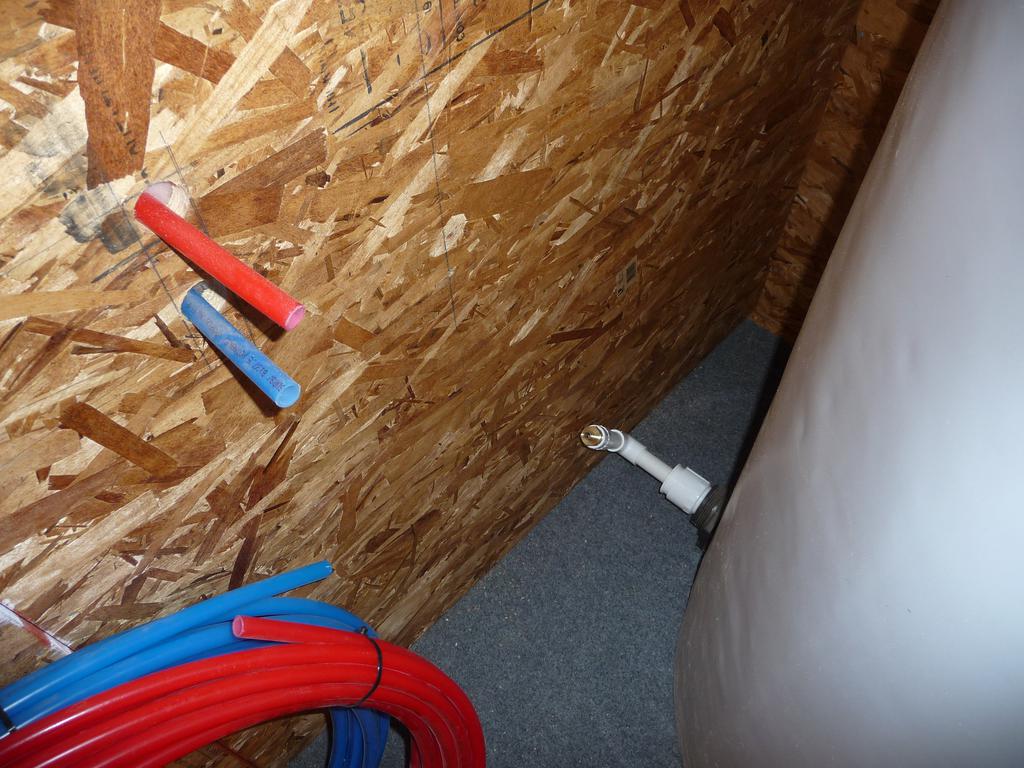
I finished all the plumbing in the utility room. The piping may look overdone but the system allows everything to be easily drained, shutoffs for individual segments, and water flowing through the water heater to be output back into the tank so I can fully fill the water heater without wasting any water.
Bathroom/Plumbing
Monday, Jun 24, 2013
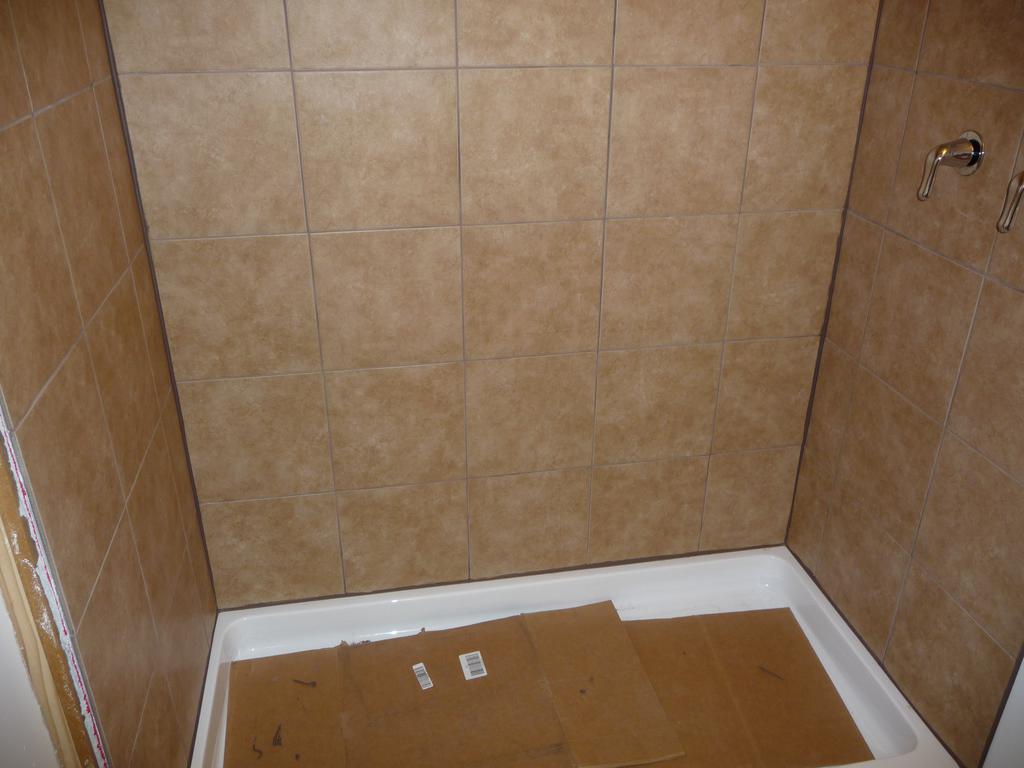
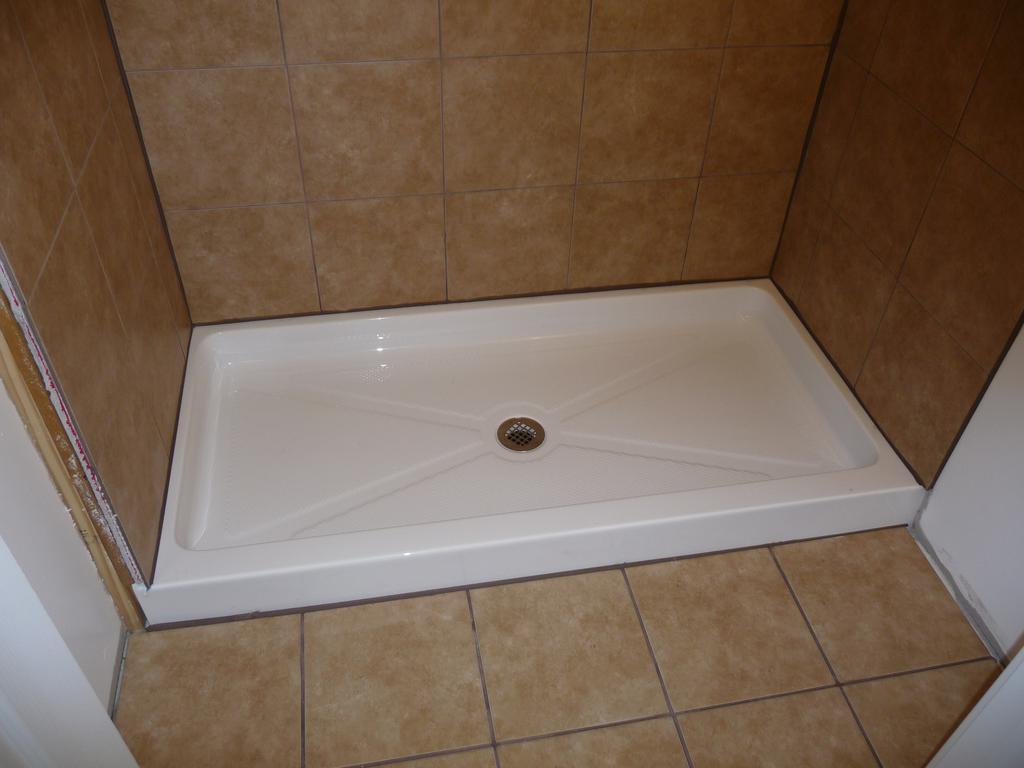
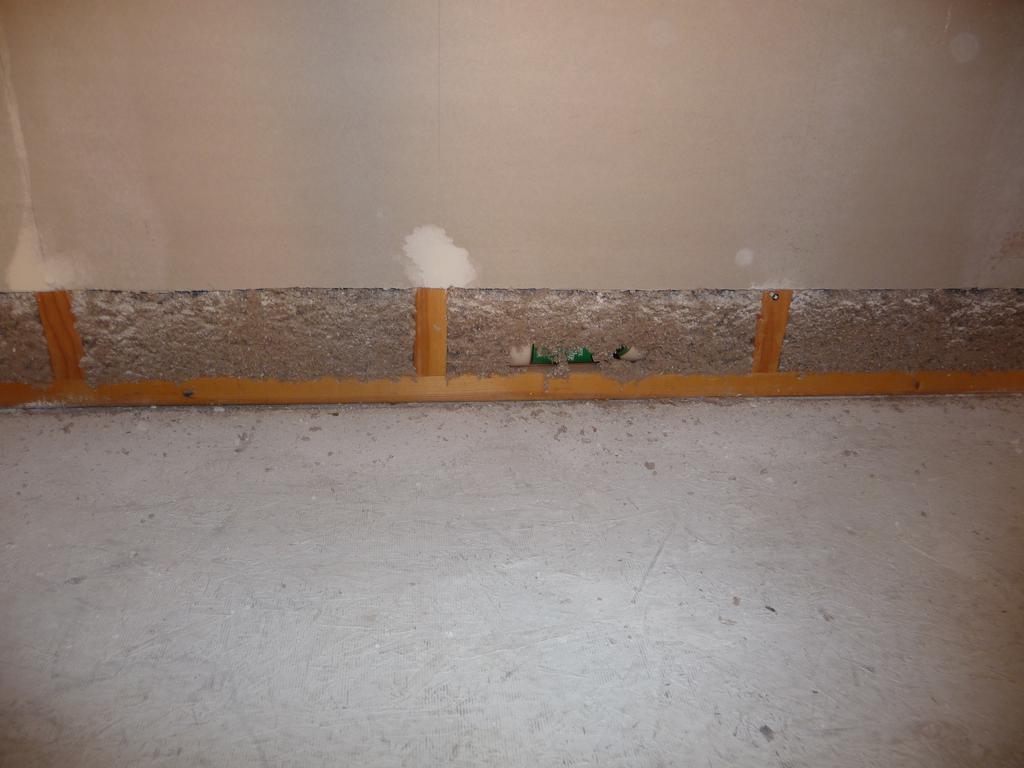
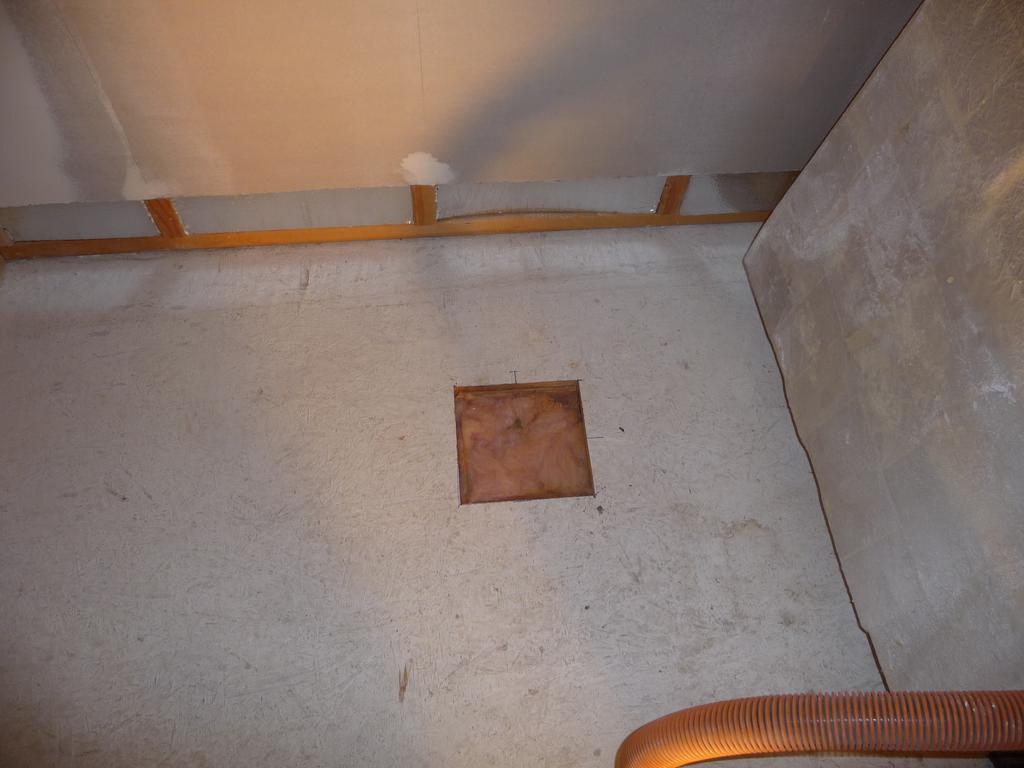
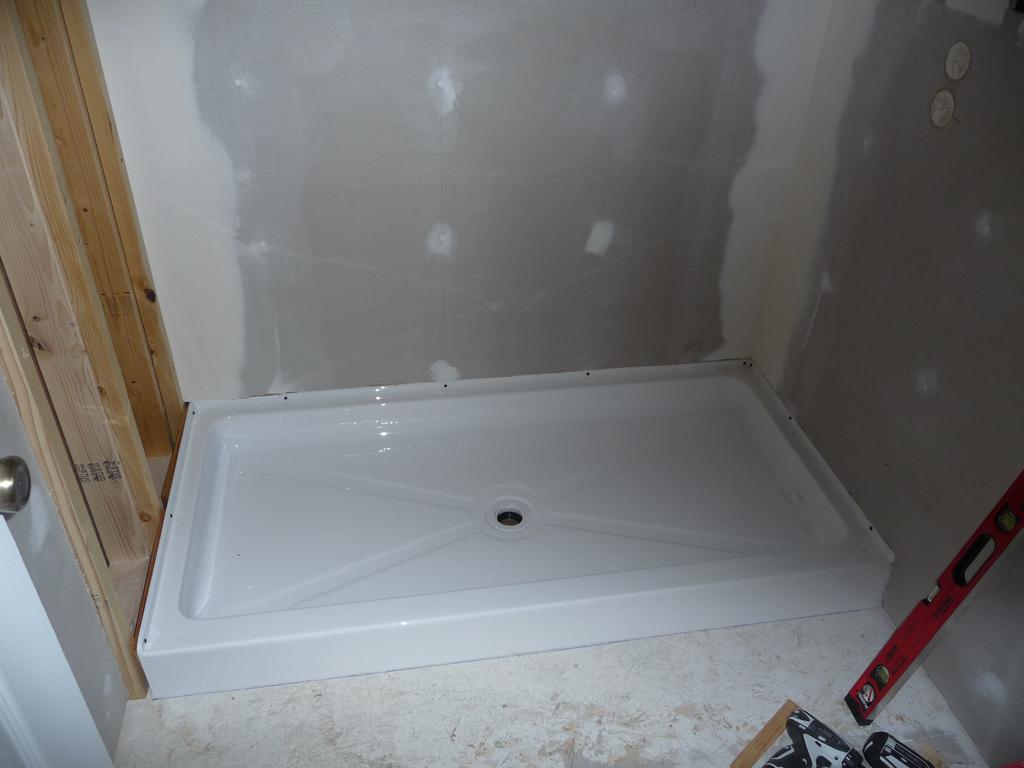
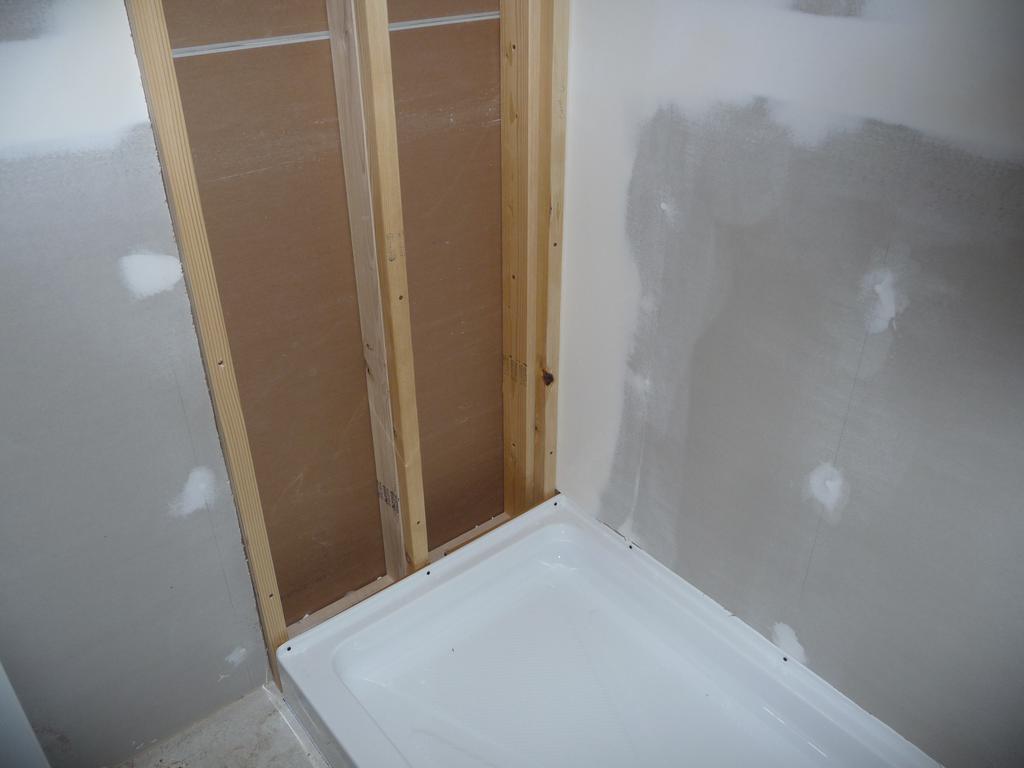
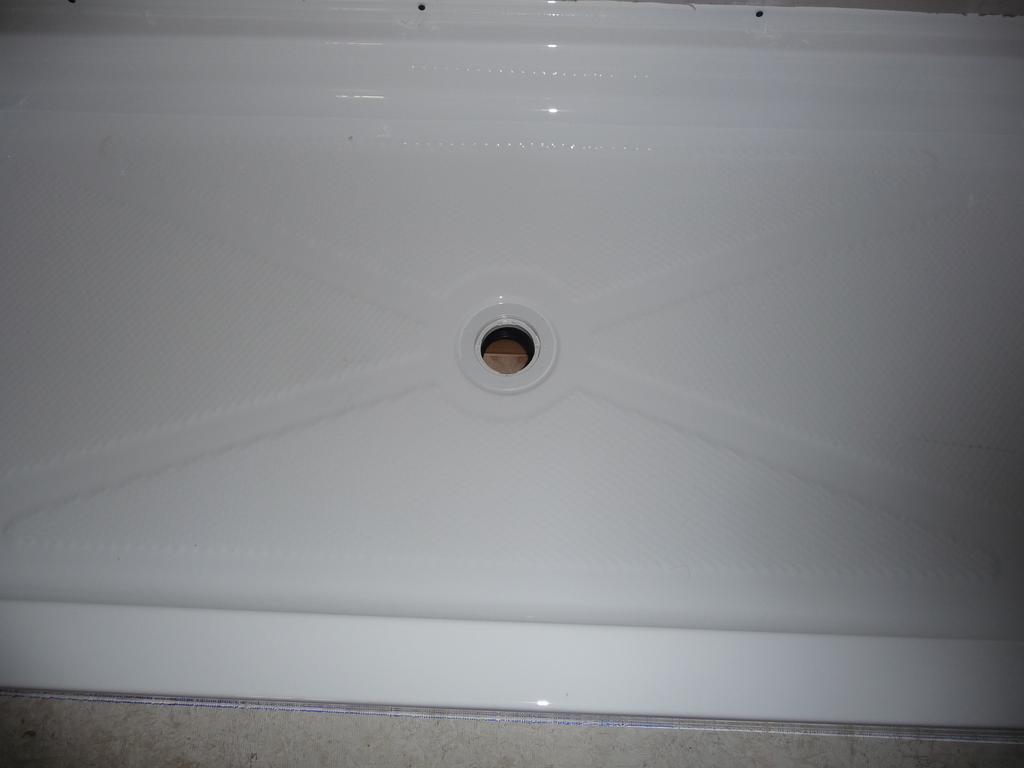
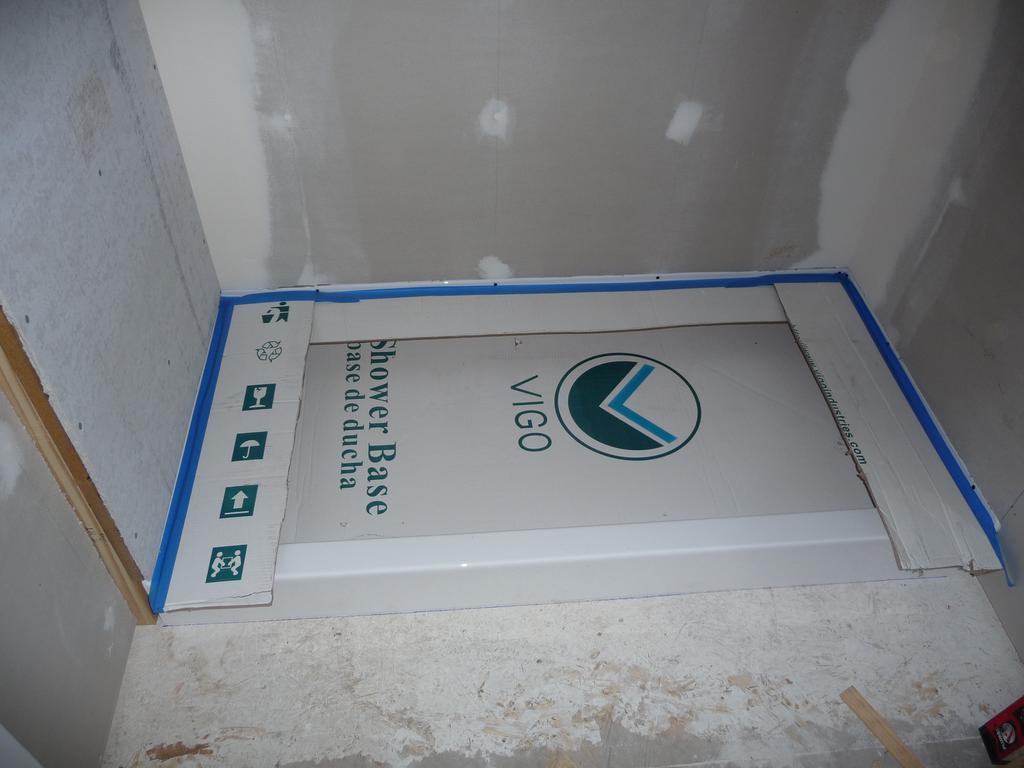
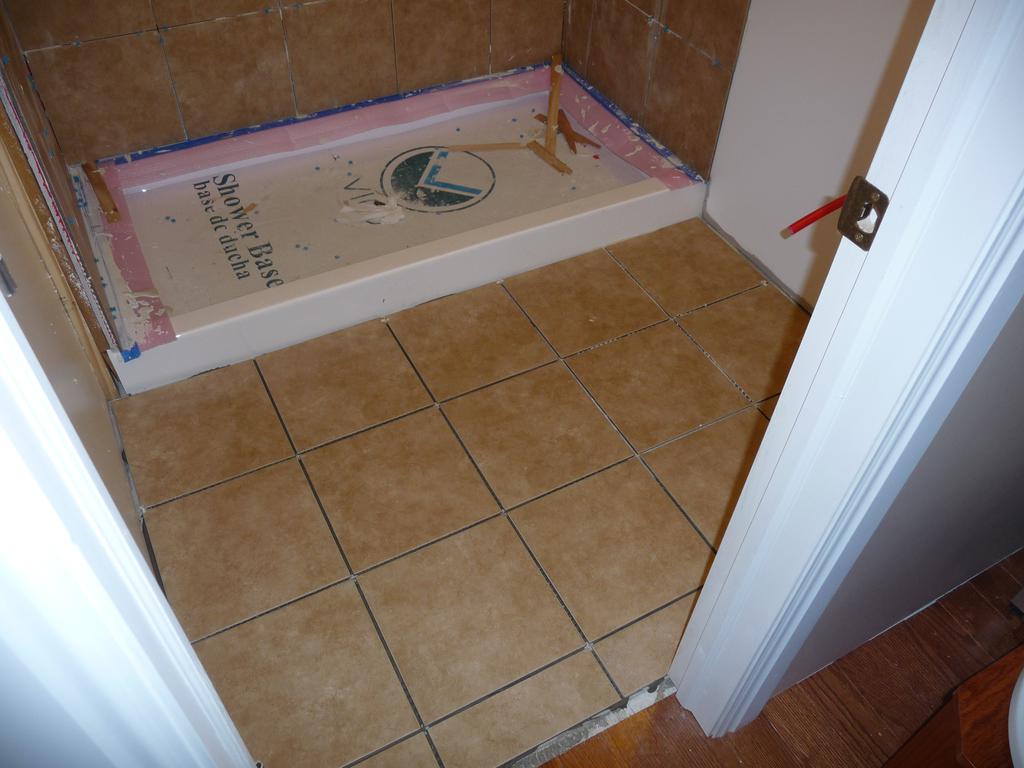
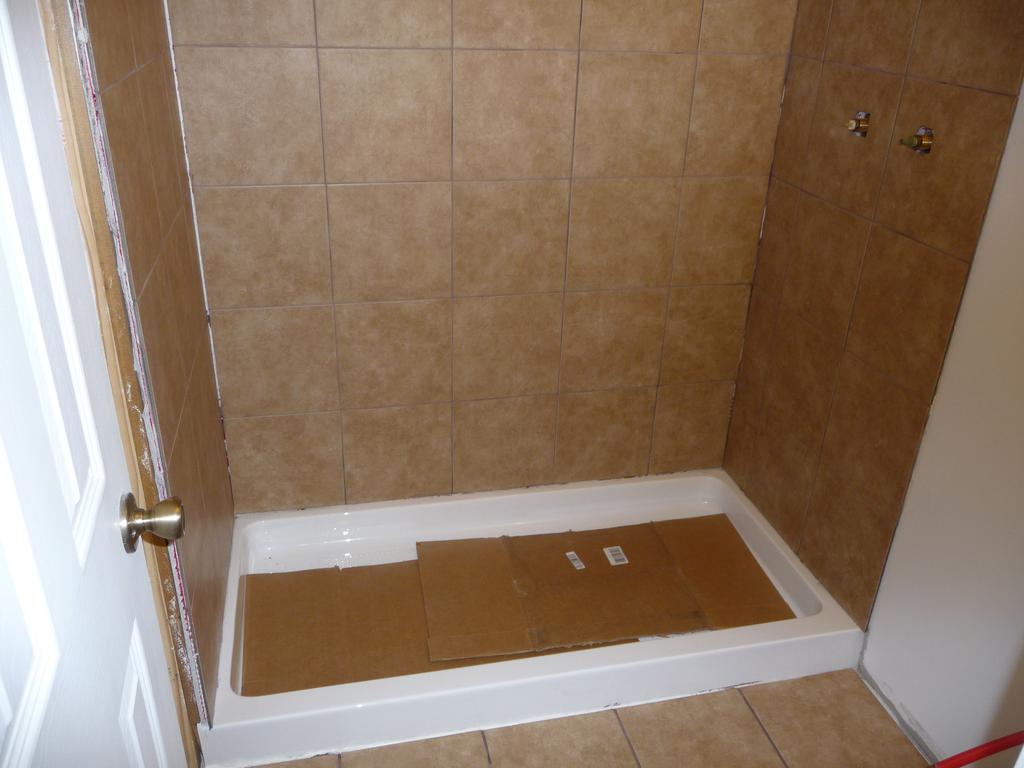
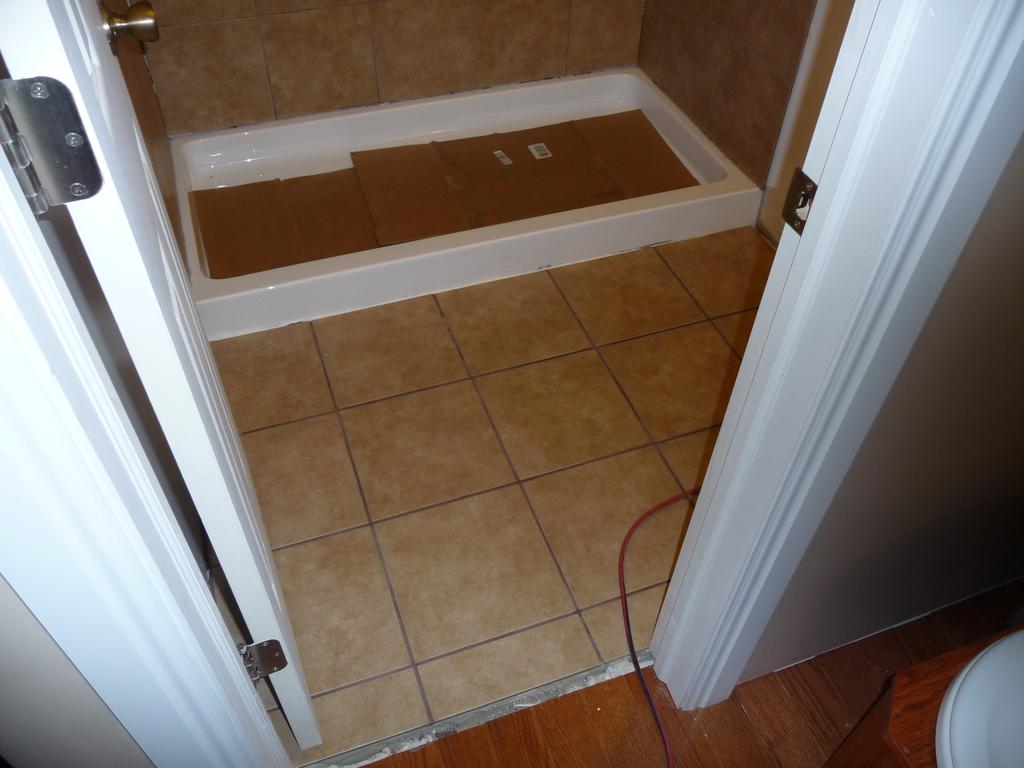
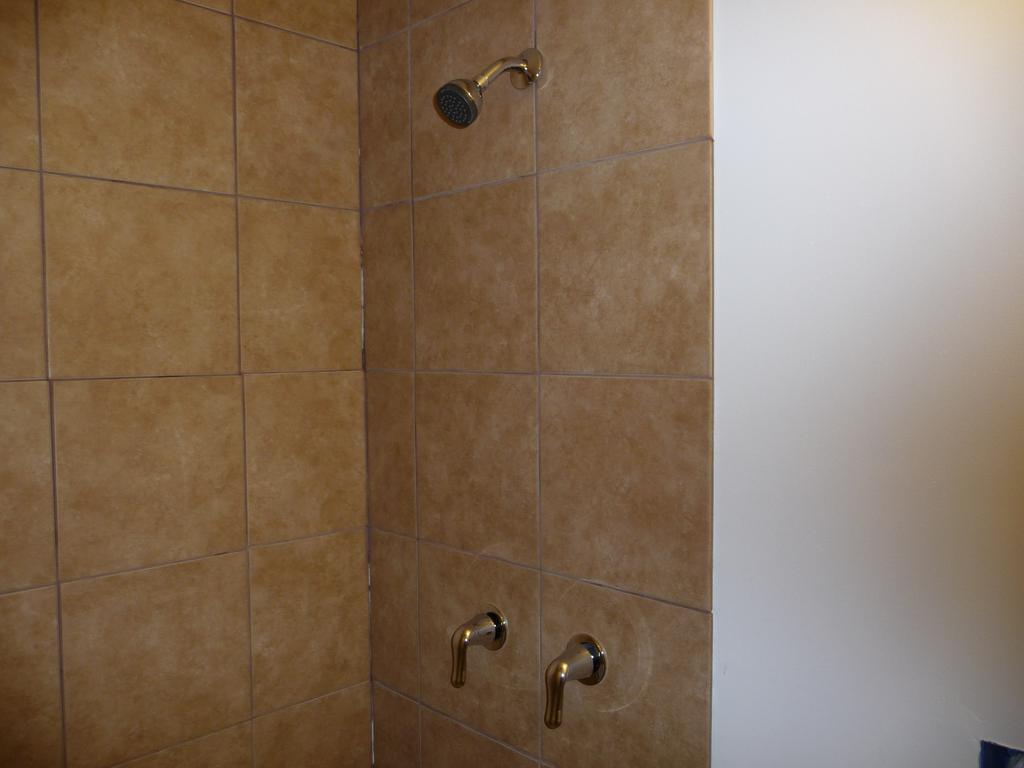
It’s been a while since my last post but I have been doing some work at the cabin, primarily in the bathroom. The plan has always been to install a neo-angle shower in the back corner of the bathroom but after researching options, I discovered that good quality corner showers are very expensive (i.e. $1400+). I opted to go with a less expensive option, installing a 30x60 shower pan and tiling the shower walls. The pan was about $200 and the tile another $150. Eventually I’ll install a shower door but a curtain will work for now.
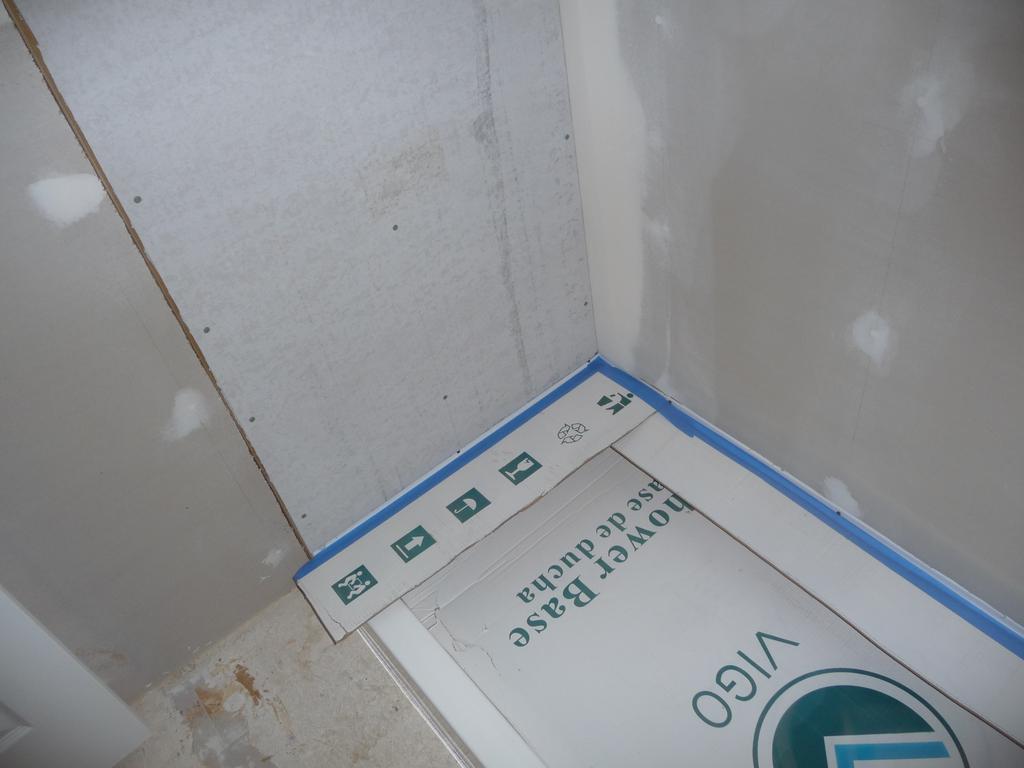
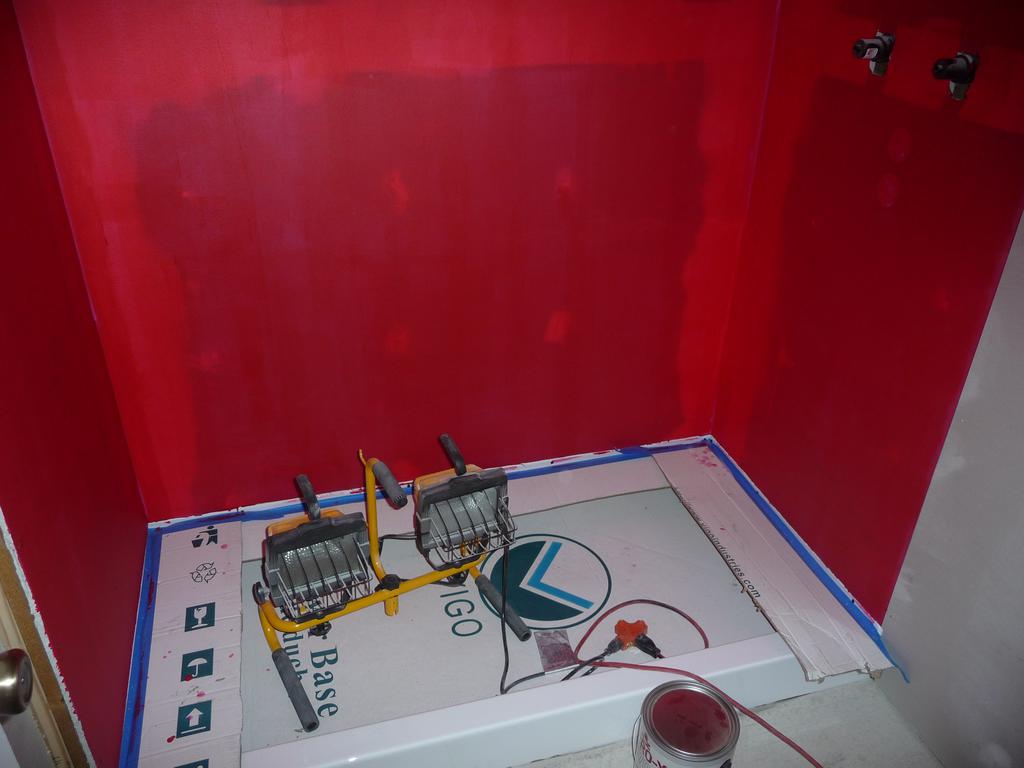
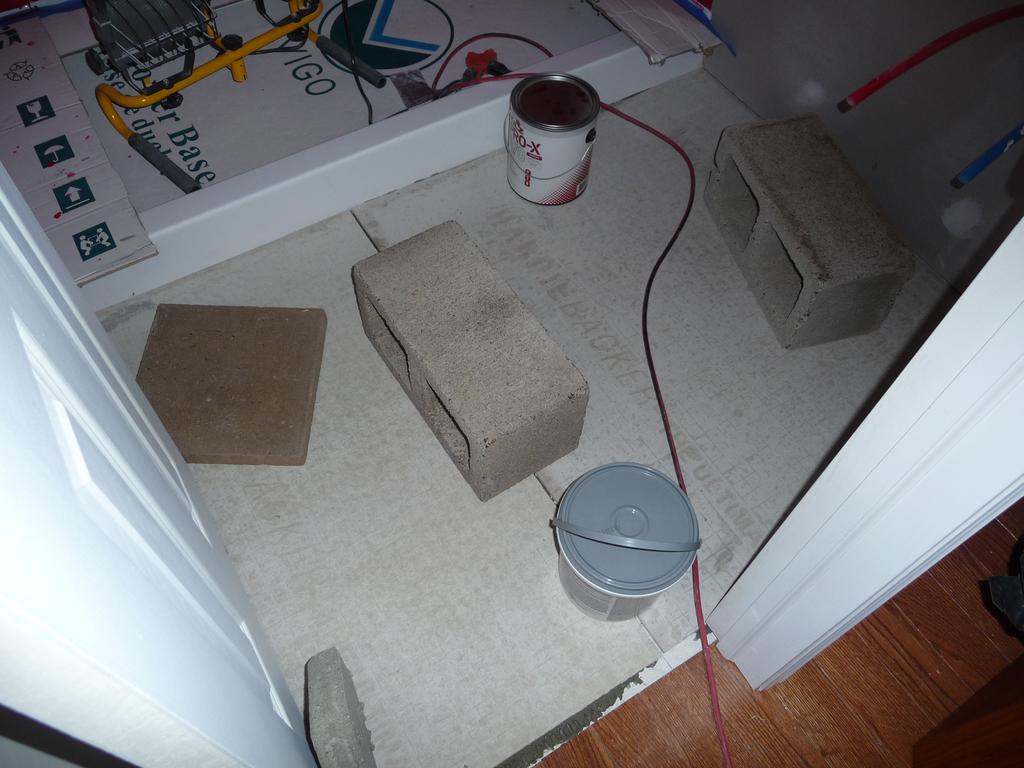
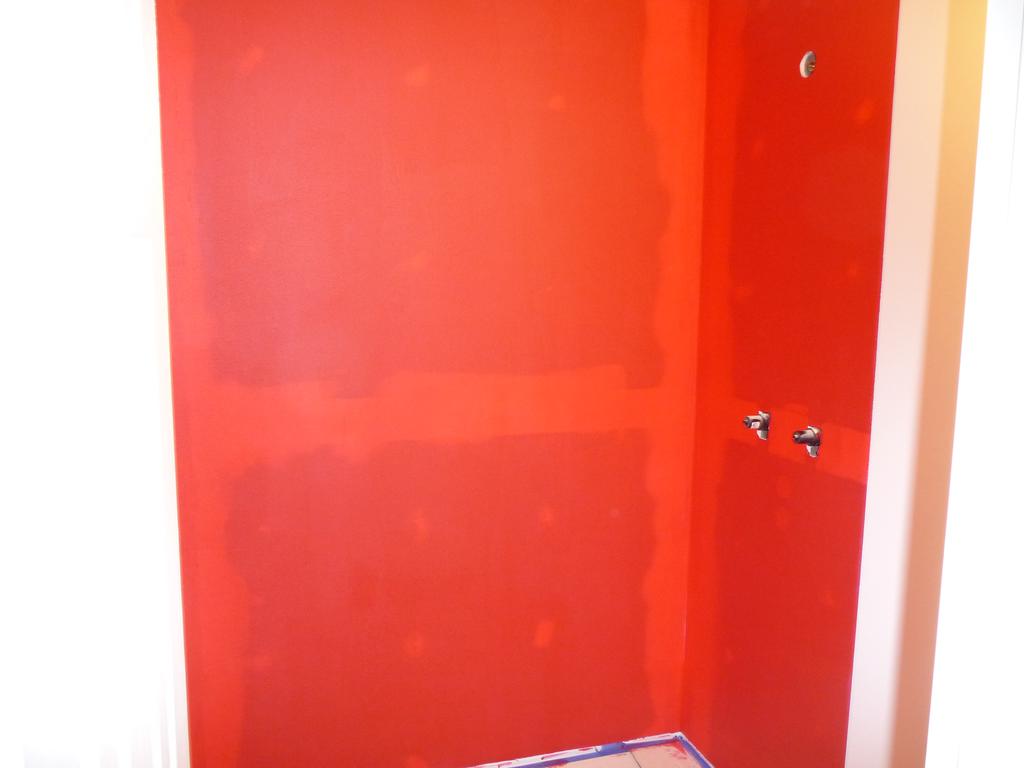
Unfortunately, since I had planned on a corner shower, the width of the bathroom was about 1.5” wider than the dimensions of the tub-sized shower so I had to build out one wall a bit. After cutting a drain hole and installing the pan, I installed five coats of Redguard waterproofing compound on the walls and a layer of mortar and backerboard on the floor.
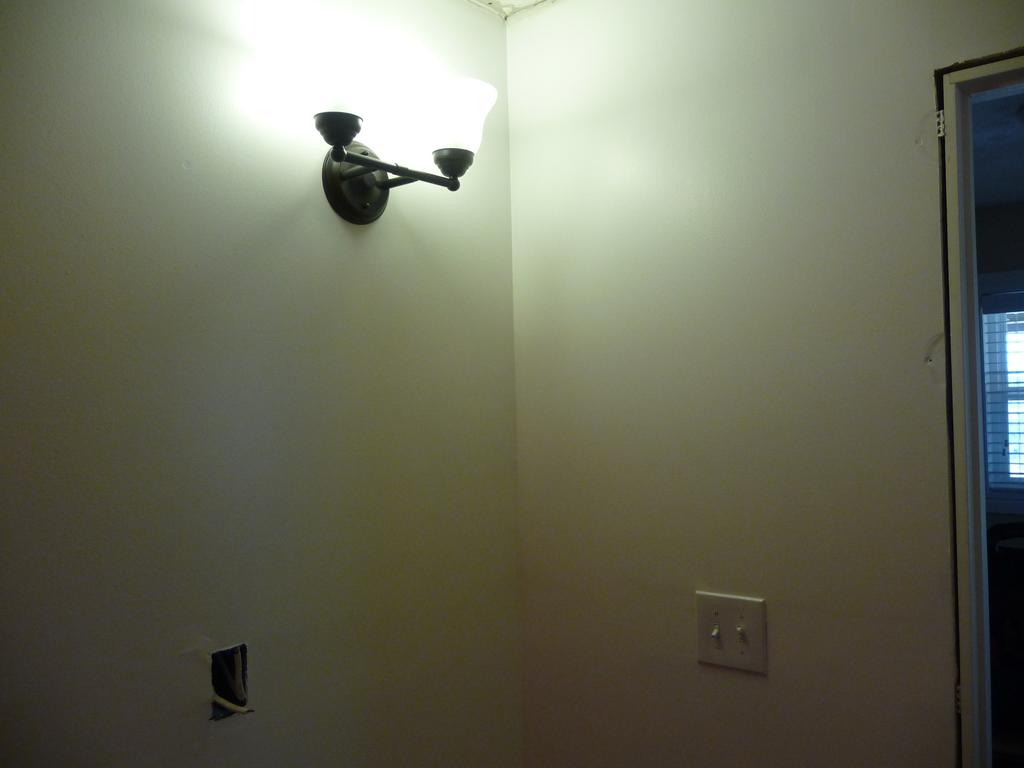
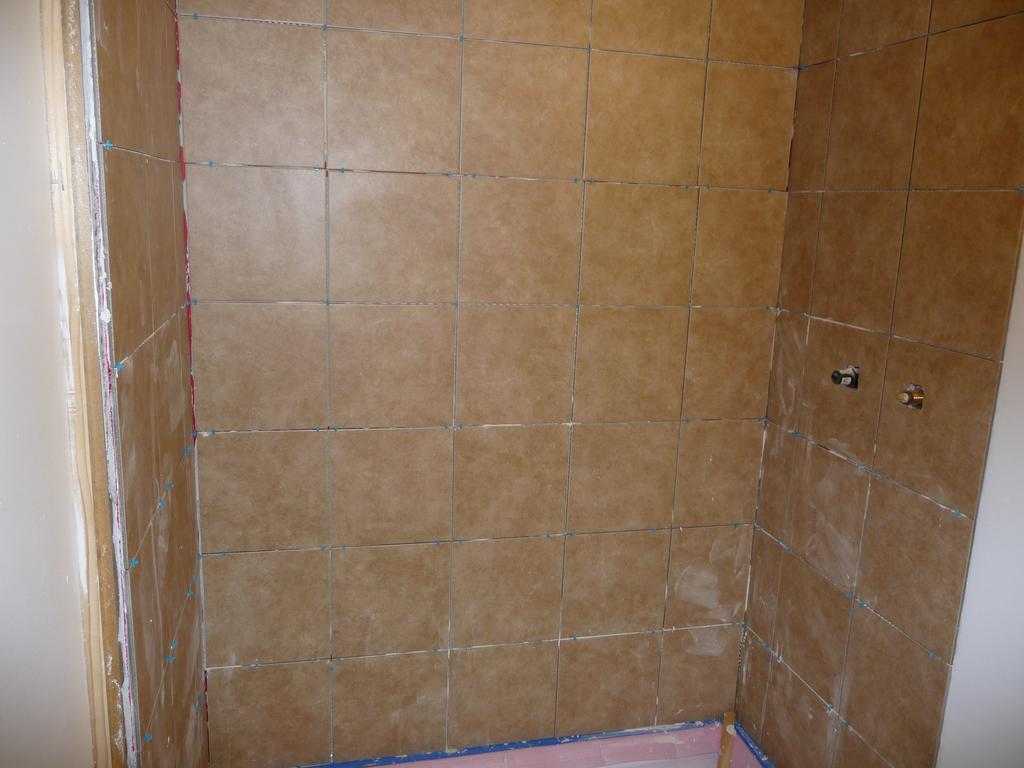
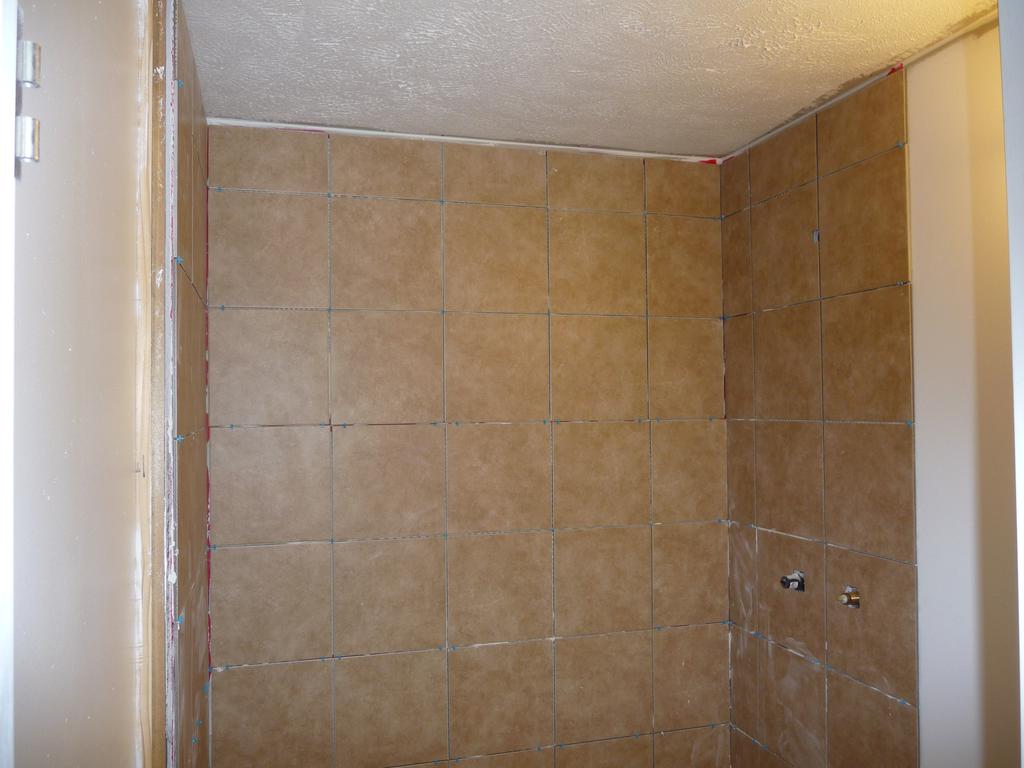
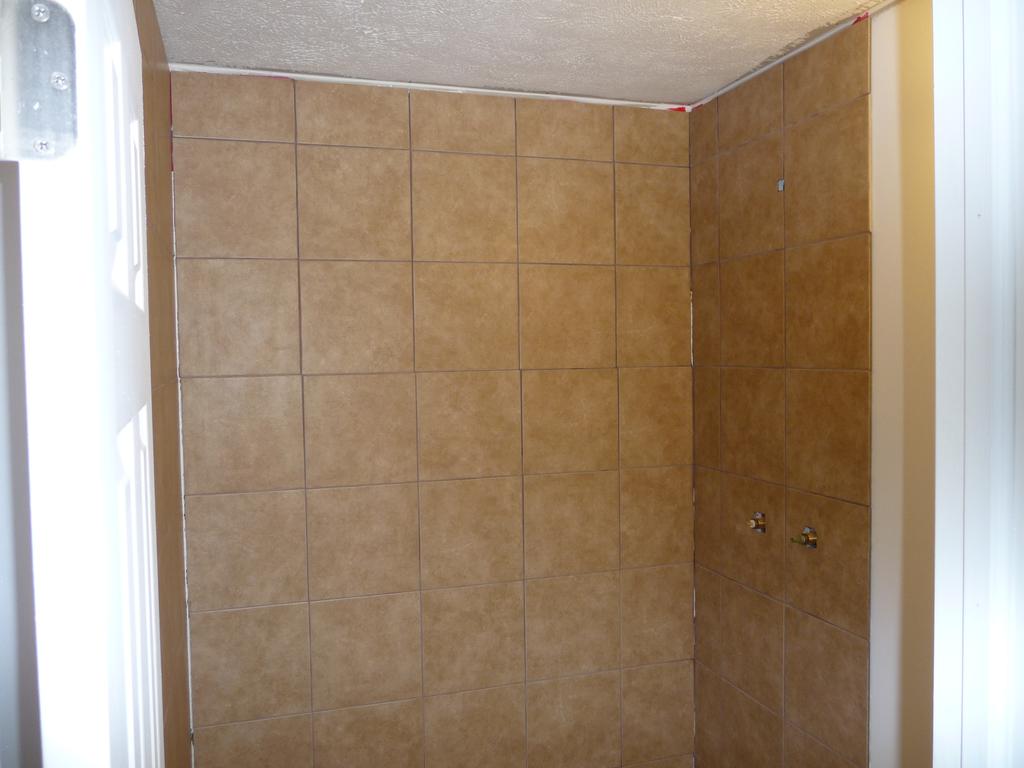
I went ahead and painted the bathroom walls and installed the light fixture so there would be light in the room. My parents were visiting the week we put up the tile so my dad helped considerably but tiling the vertical shower walls was still a challenge. We did a fair job and I’m glad it’s done. The floor was much easier.
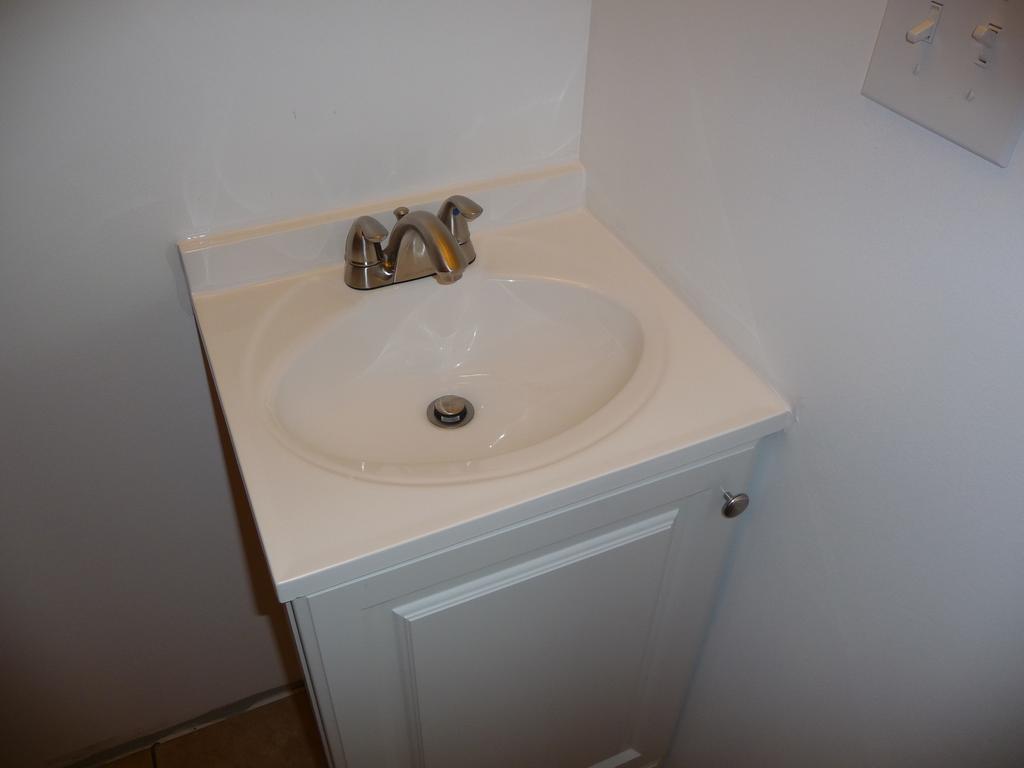
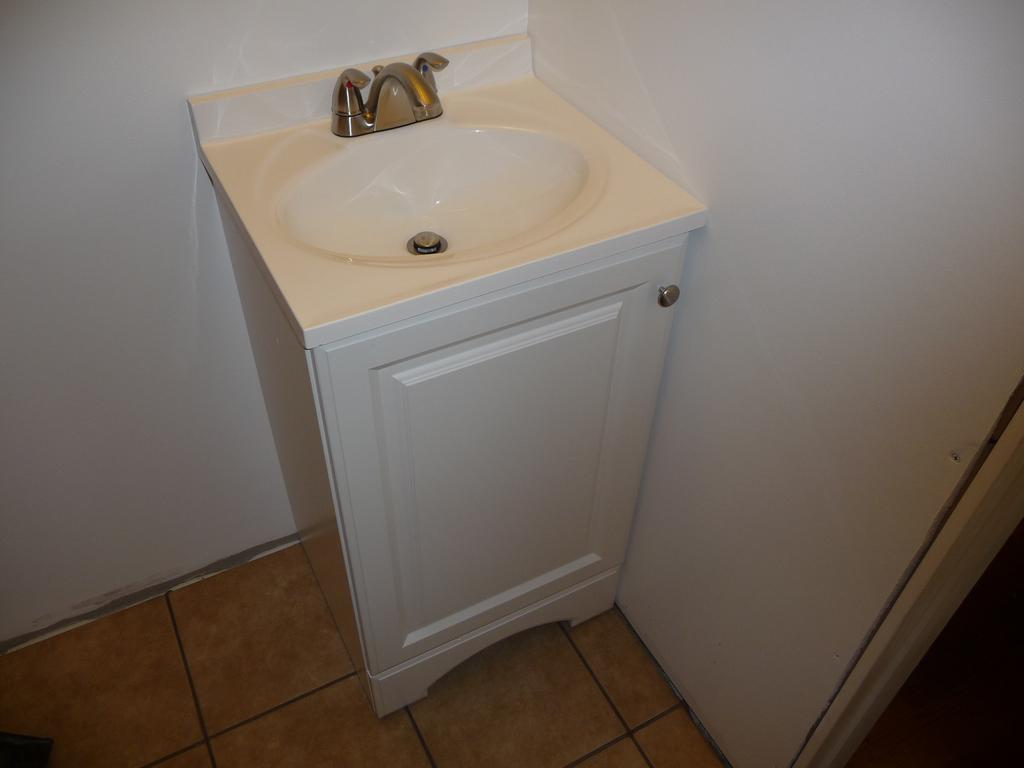
This week I installed an 18” vanity in the bathroom and started on the plumbing in the utility room. I’m going to use a six gallon electric water heater as long as the cabin is for occasional use. It should heat a tank of water in about 30 minutes using the generator.

Spring 2013
Monday, Apr 22, 2013
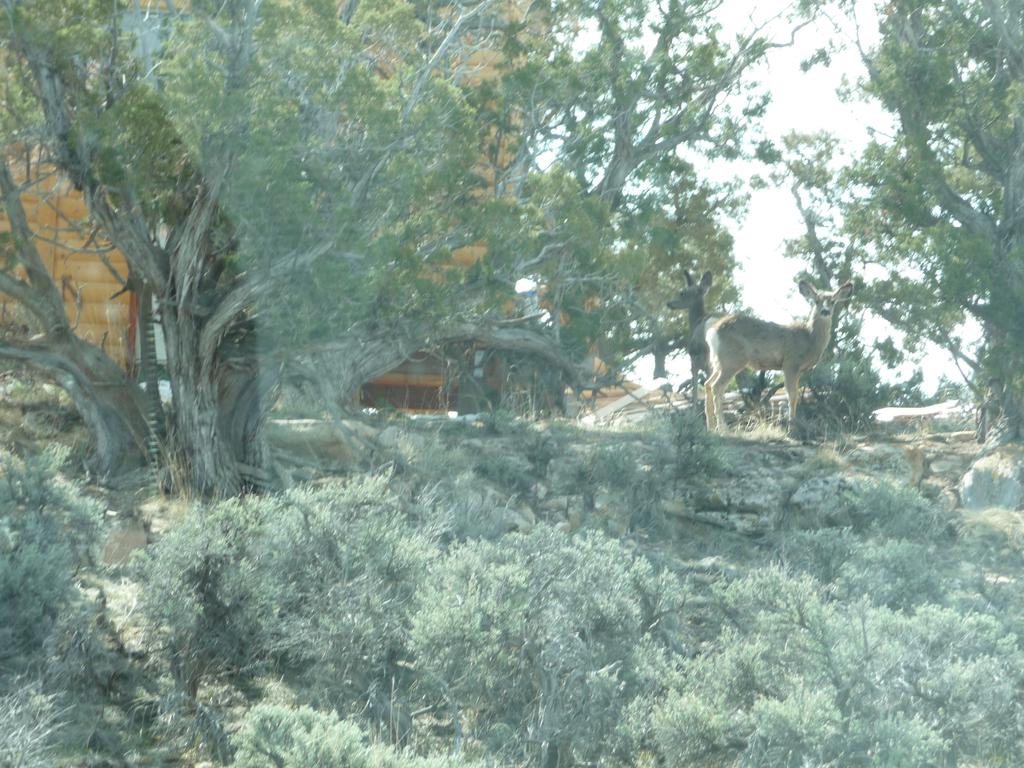
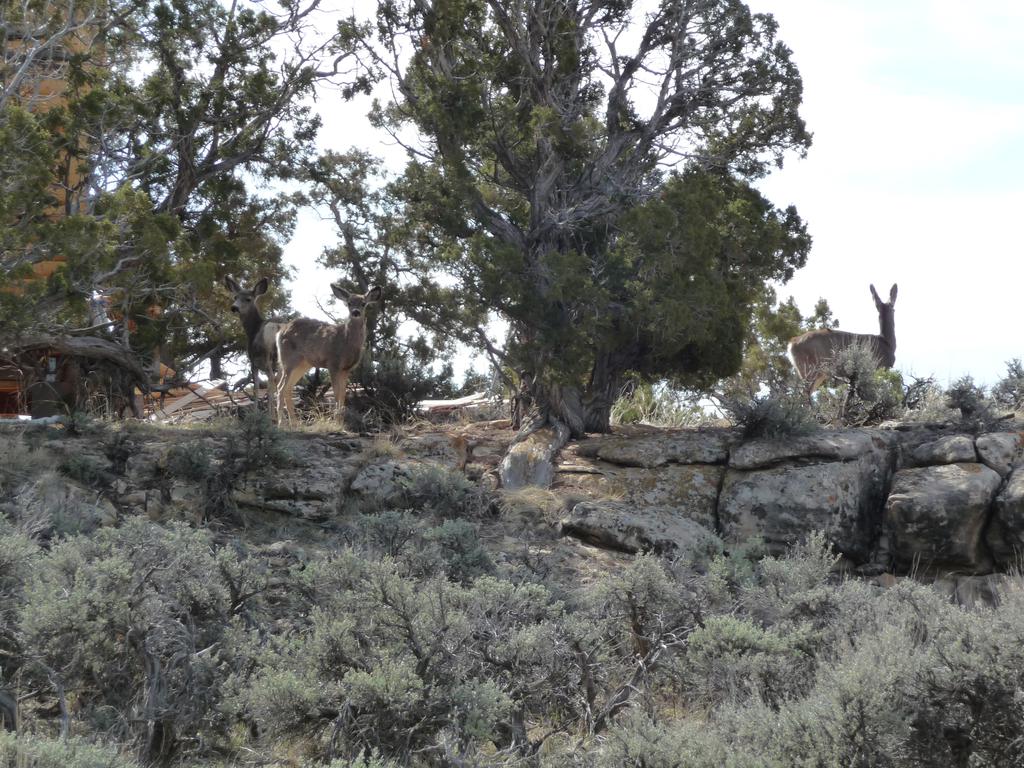
I went out to the cabin yesterday for the first time since January. Everything was as I had left it. There was still some snow in a few places that don’t see much sun.
The solar array was working great. The batteries were fully charged and the controller in float mode.
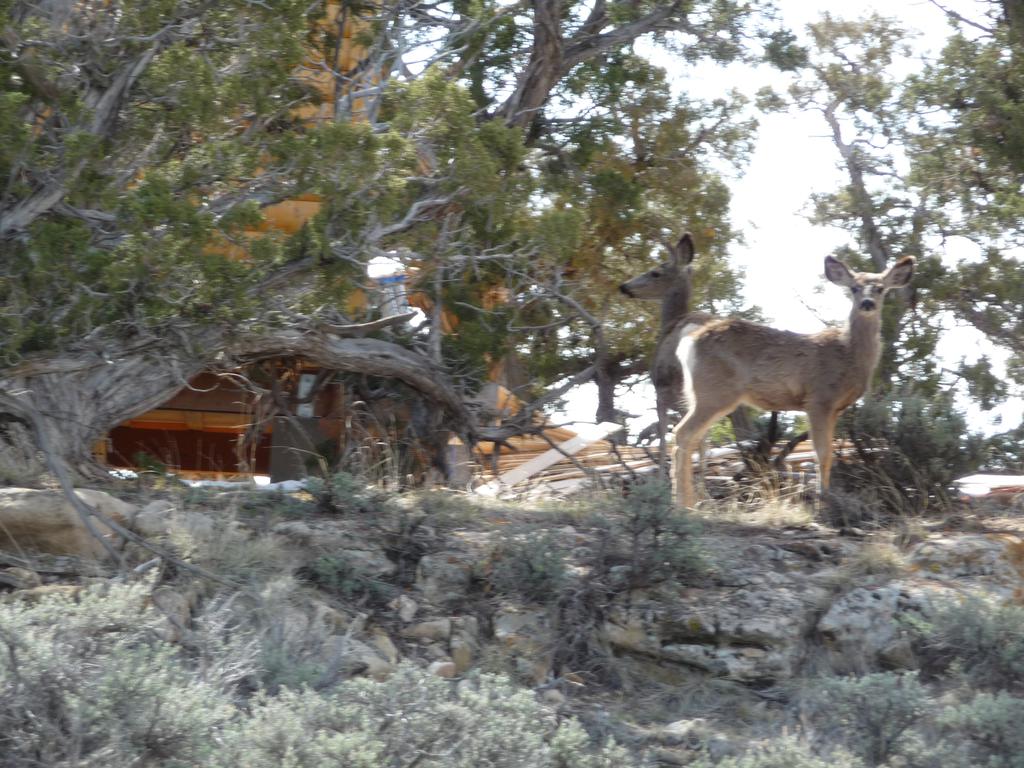
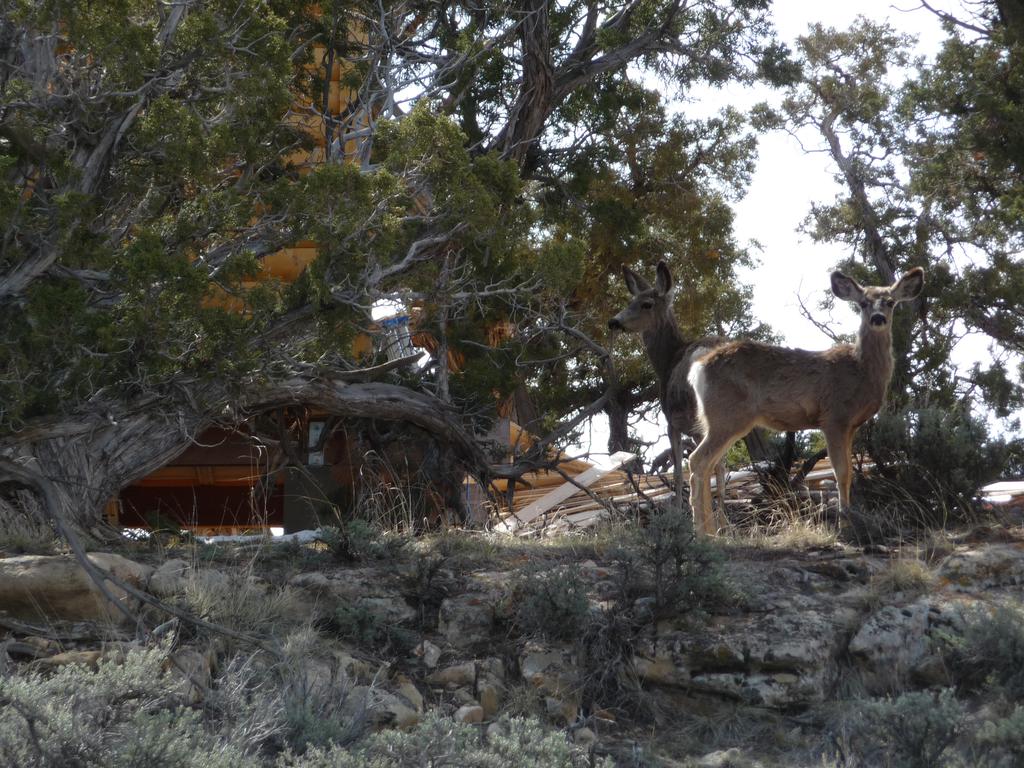
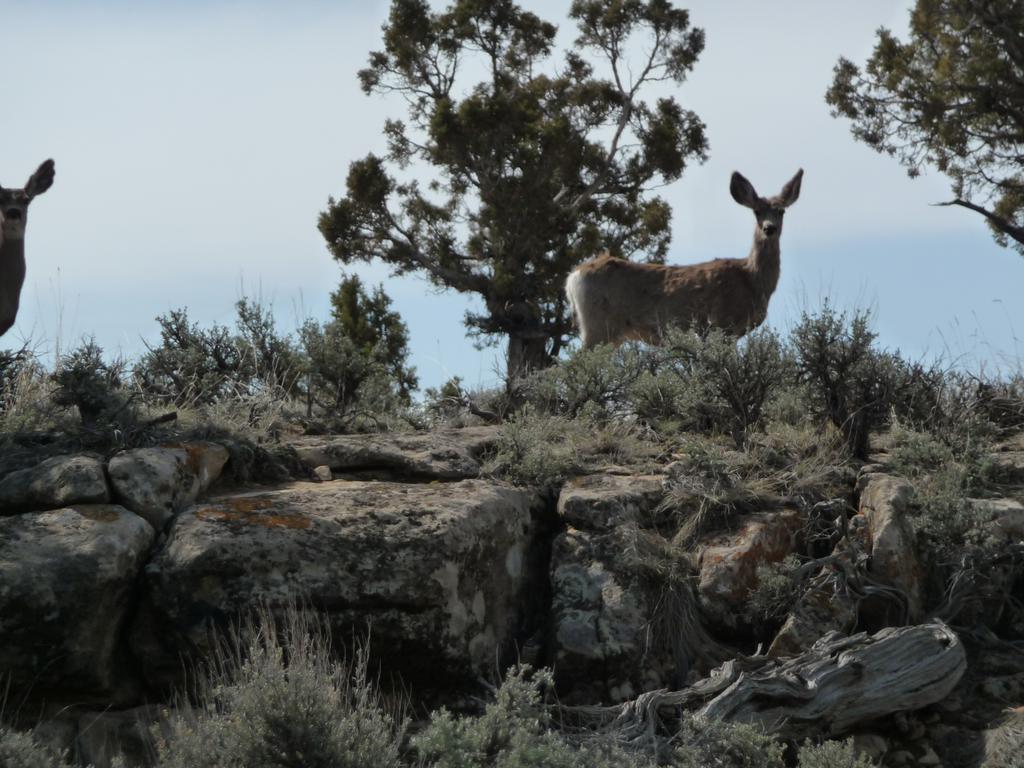
When I arrived, there were a few deer standing around the cabin.
I didn’t do too much work, just some minor things to ready the cabin for overnight stays:
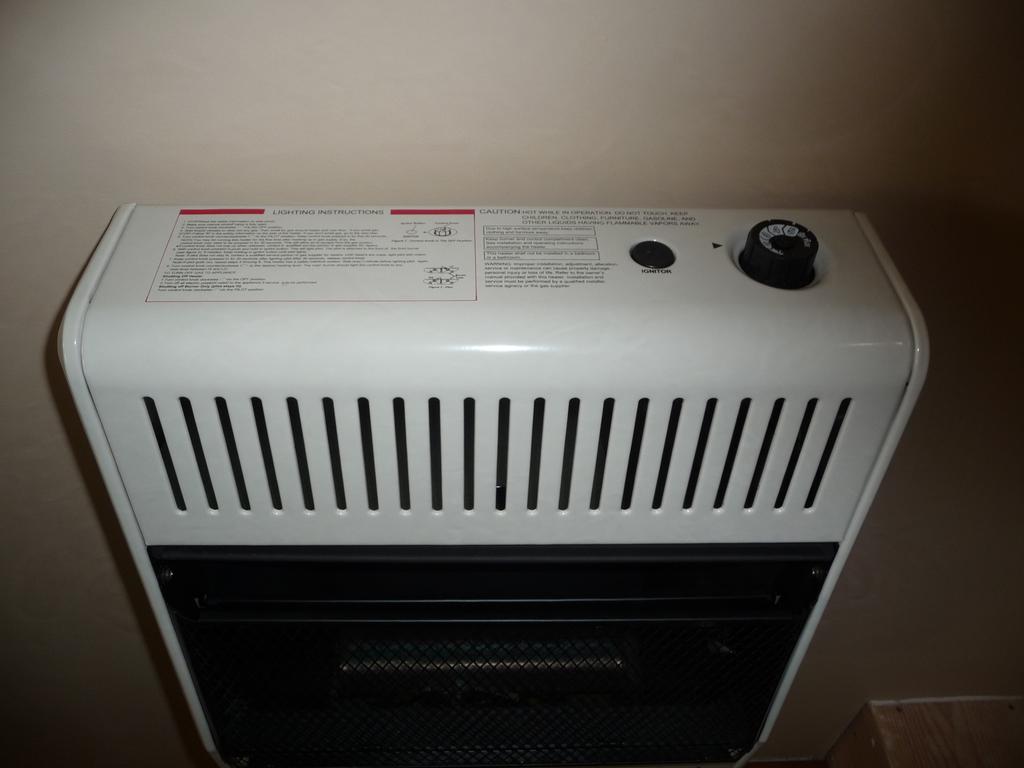
- Replaced the piezo igniter on the heater. The one it came with only worked about 2% of the time.
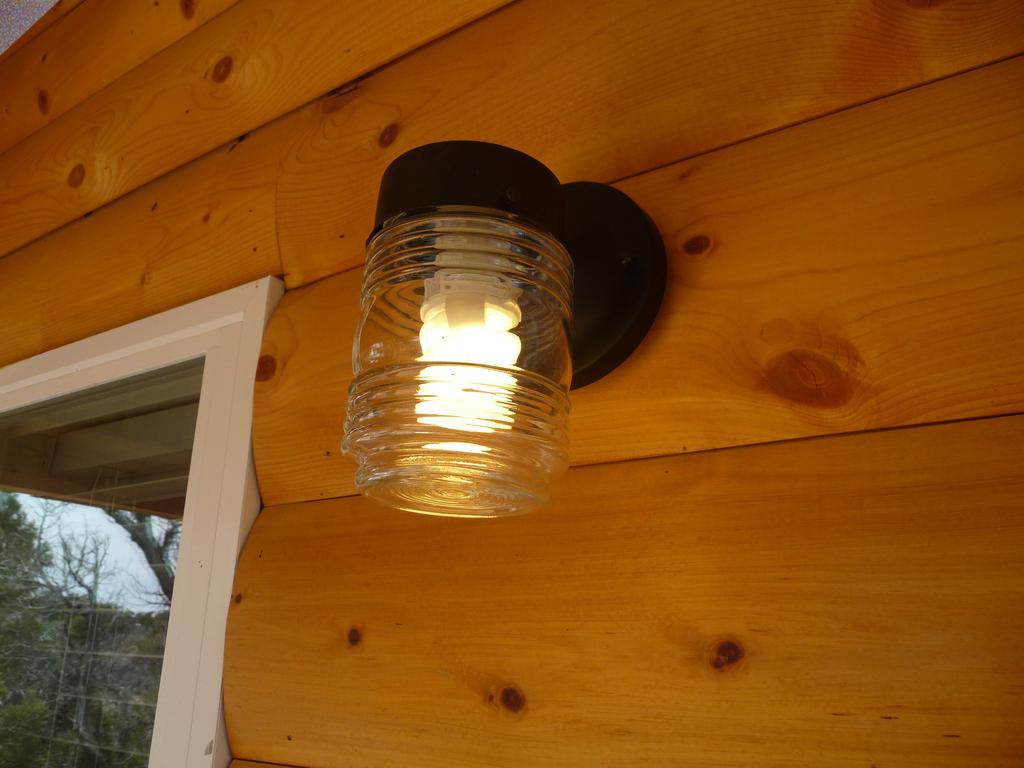
- Installed a porch light. I found out there are a lot of fancy porch lights, some of them expensive. I couldn’t decide on one so I just used a $5 model for now.
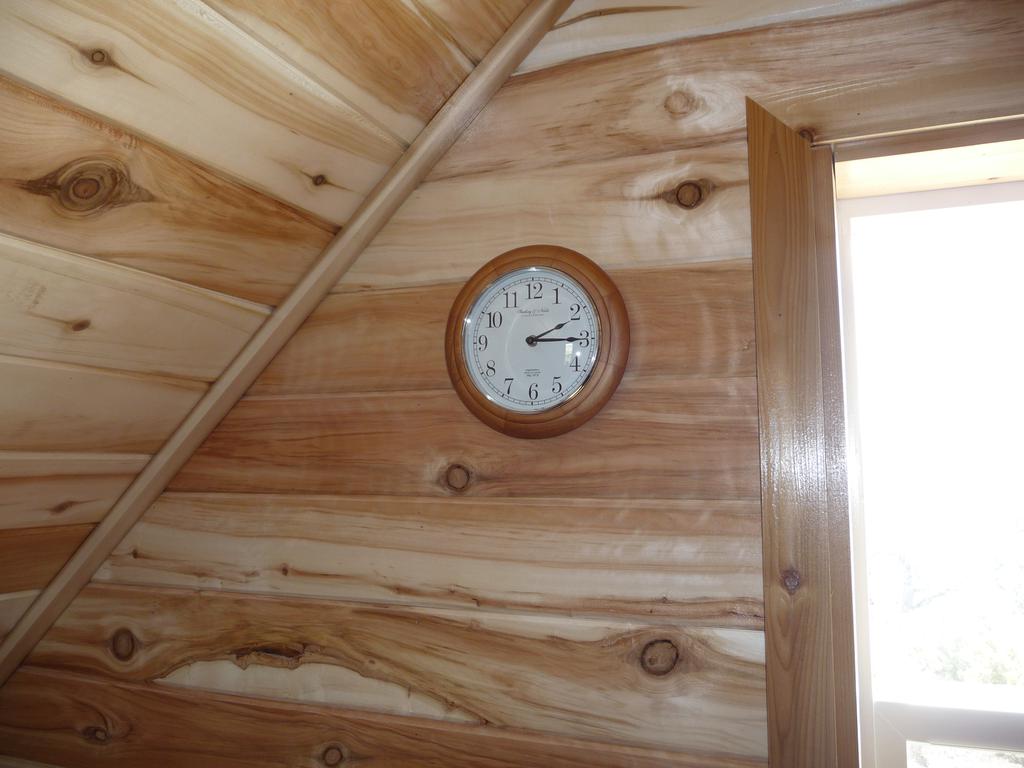
- Installed a wall clock in the loft upstairs.
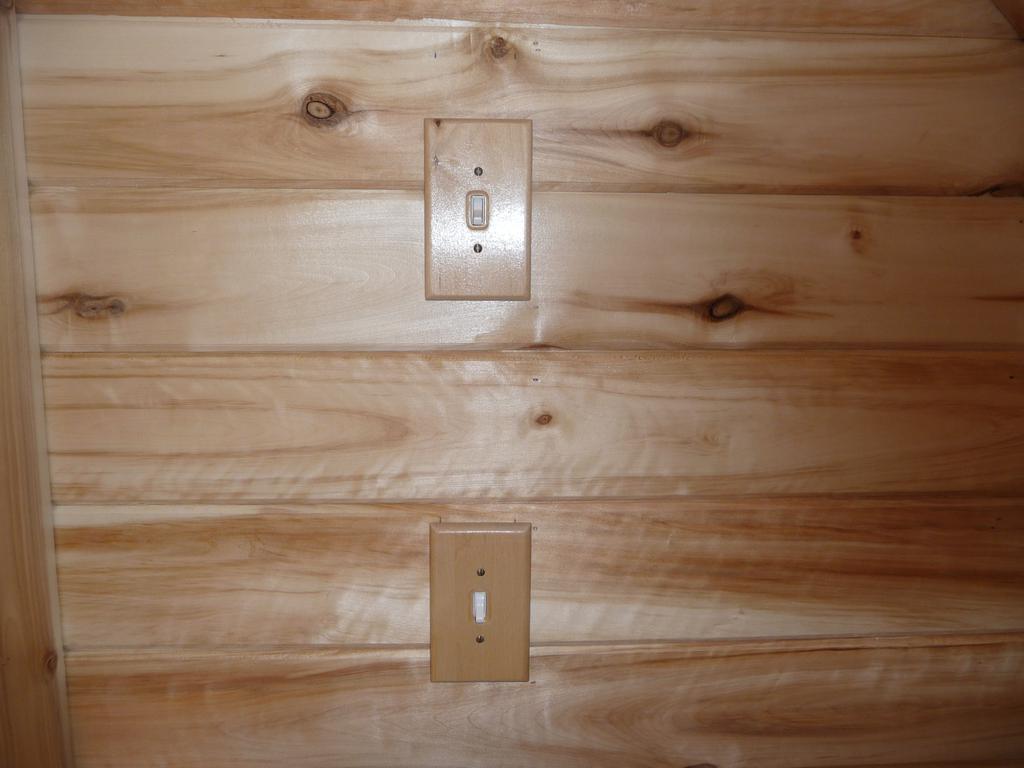
- Put a cheap light upstairs to use by the bed since the room switch is on the opposite wall.
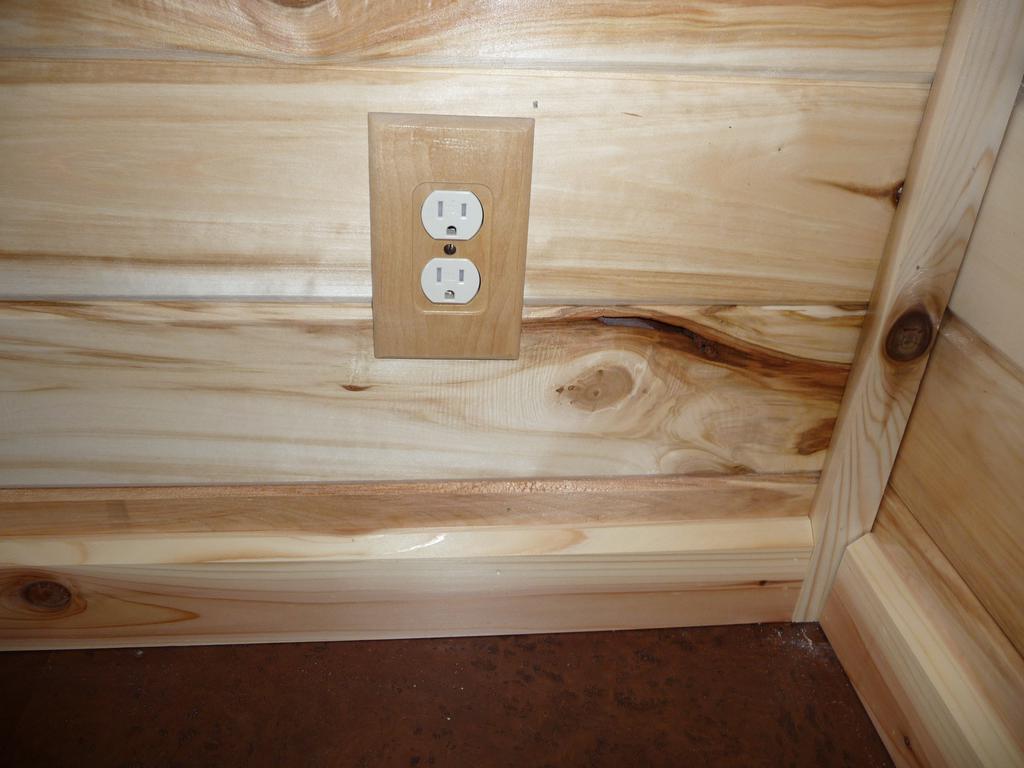
- Installed the switches and wall plugs in the loft.
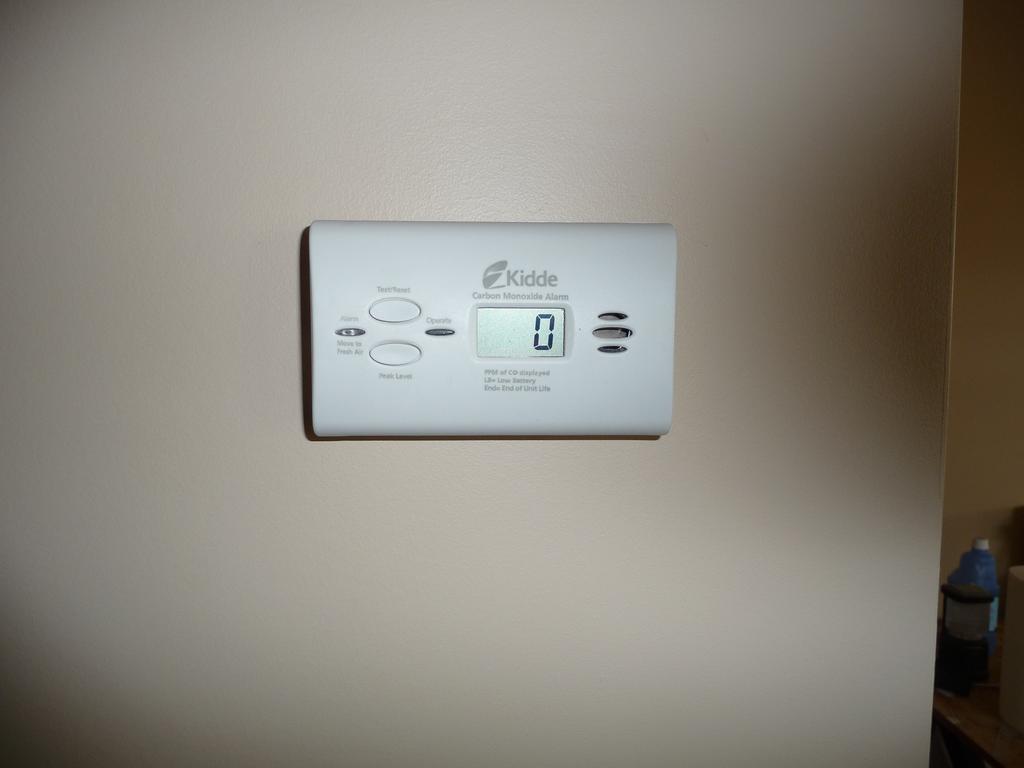
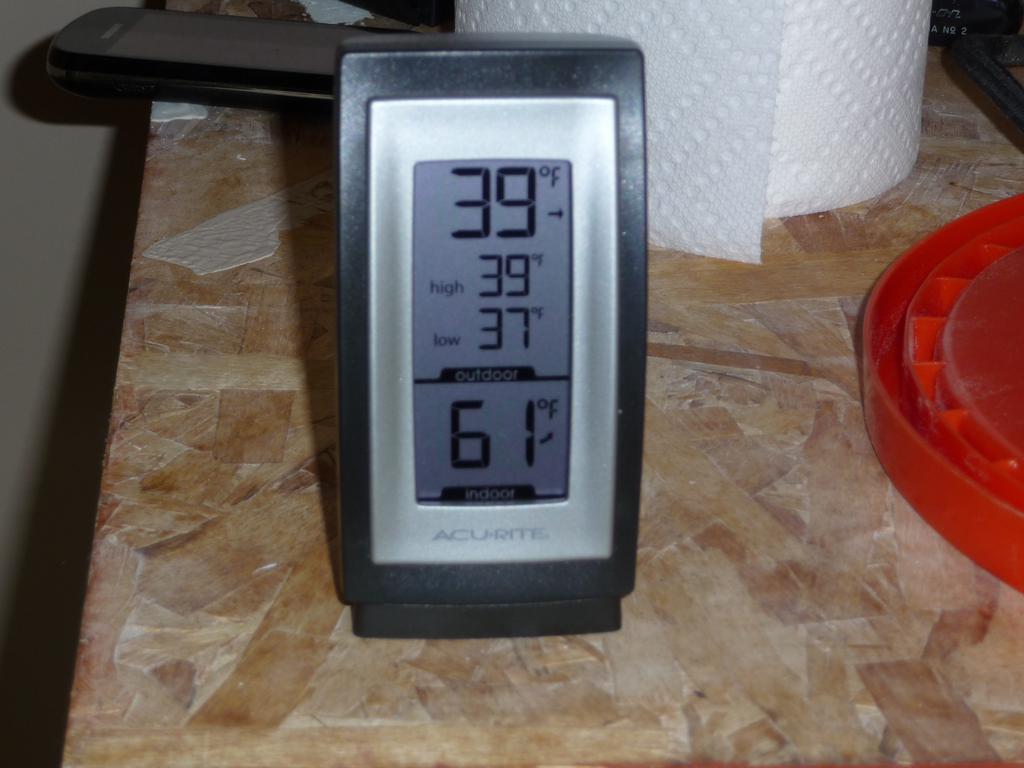
- Installed a carbon monoxide detector I got for Christmas.
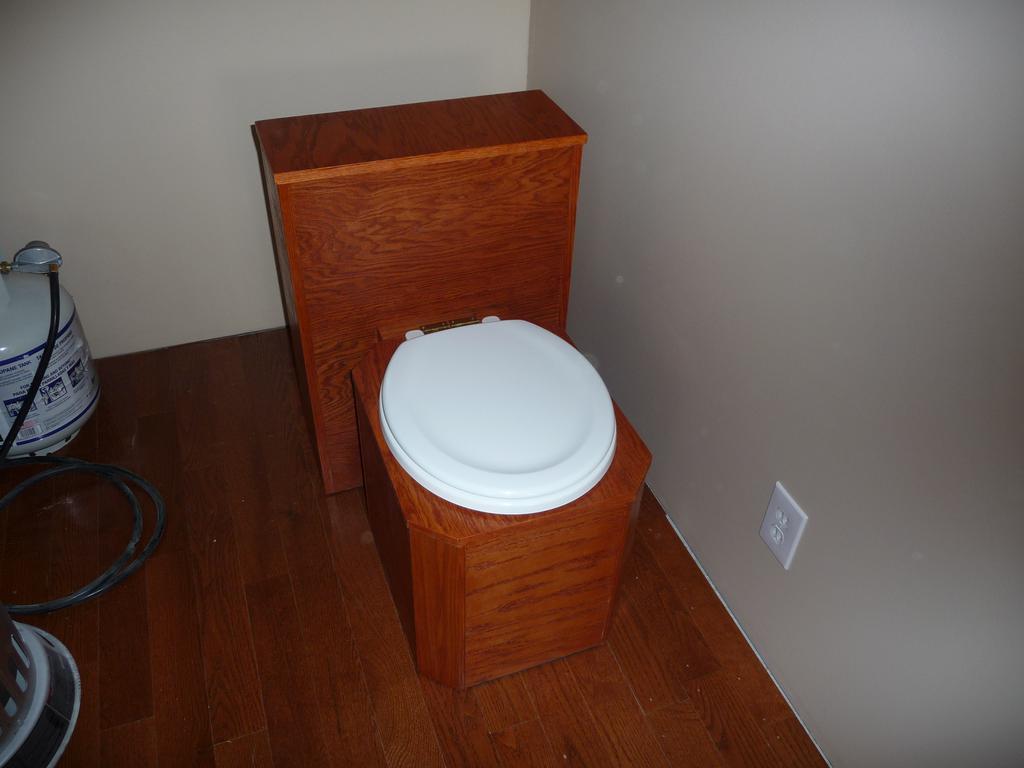
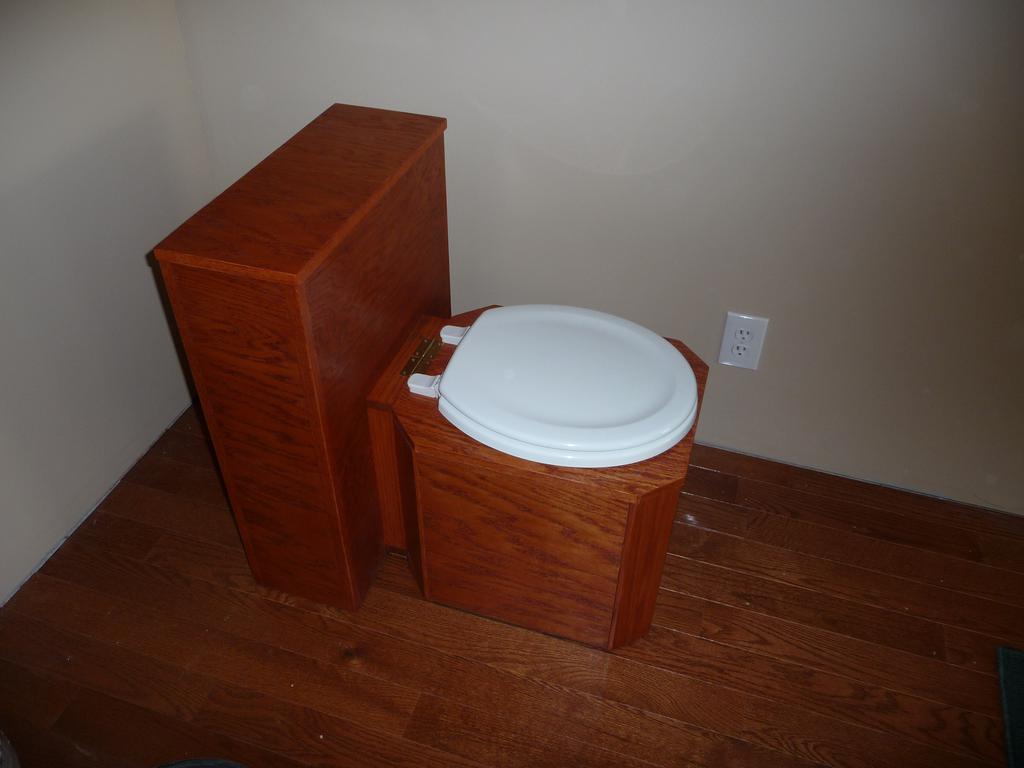
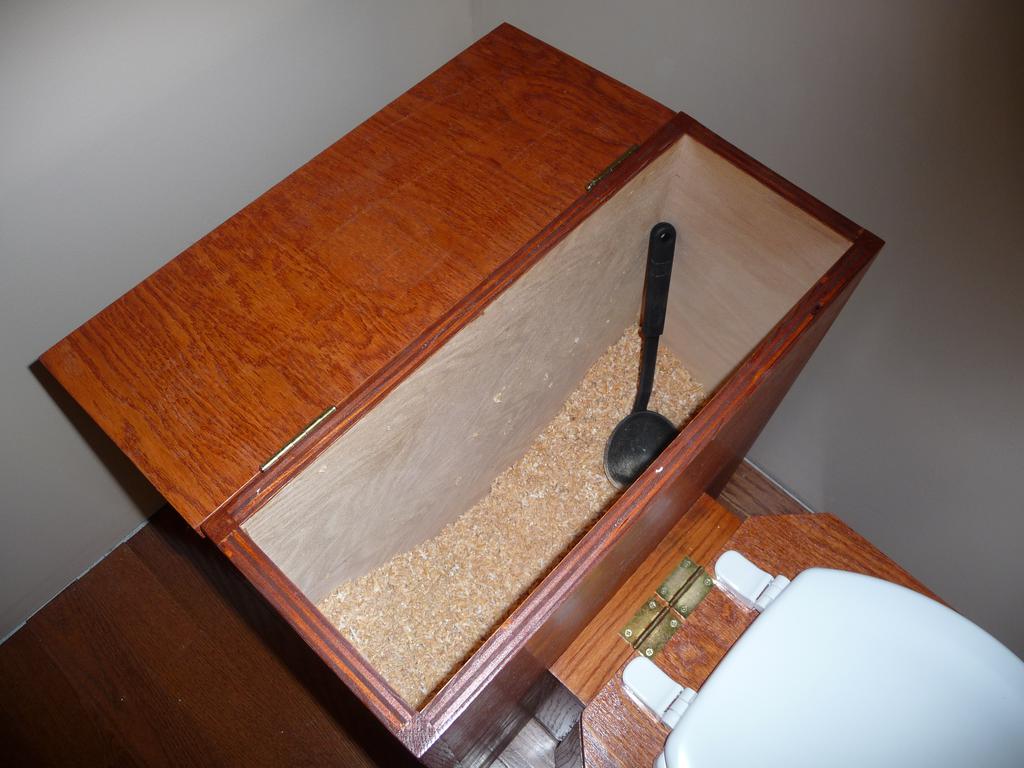
Over the winter I built the composting toilet I’ll use permanently in the cabin.
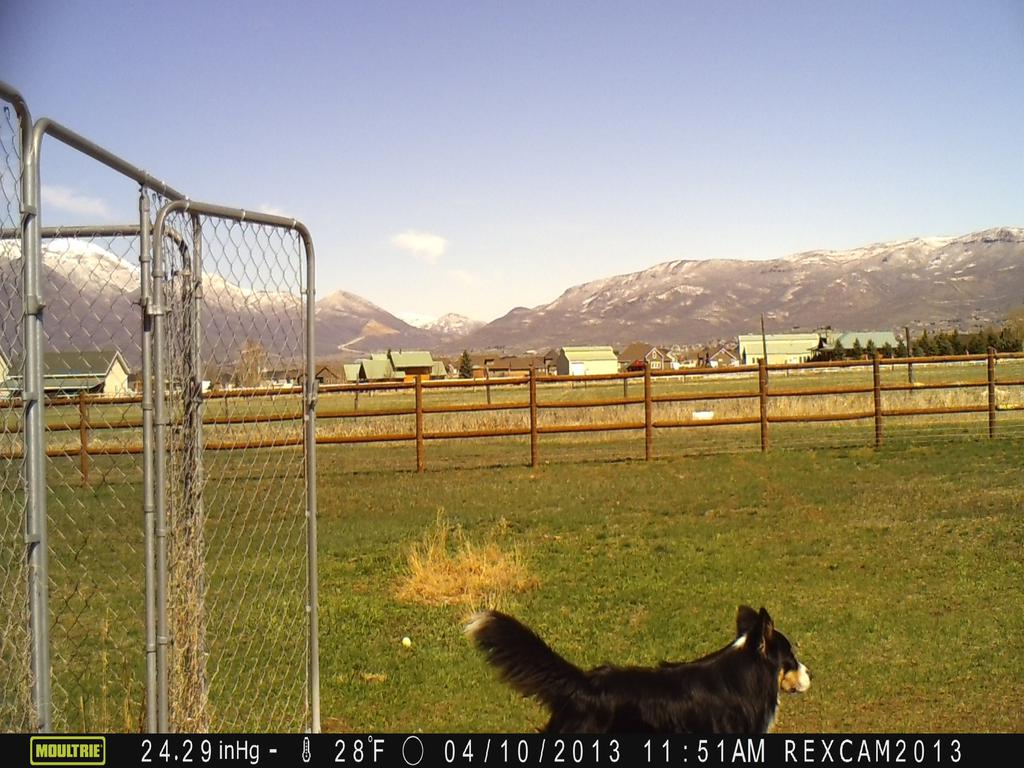
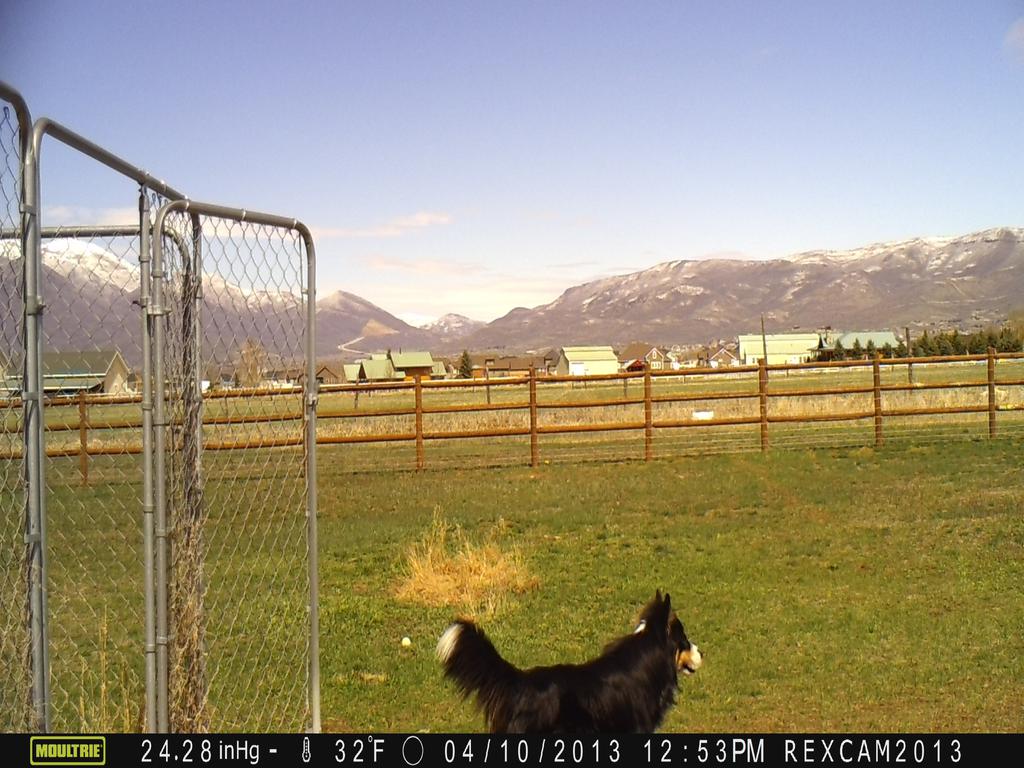
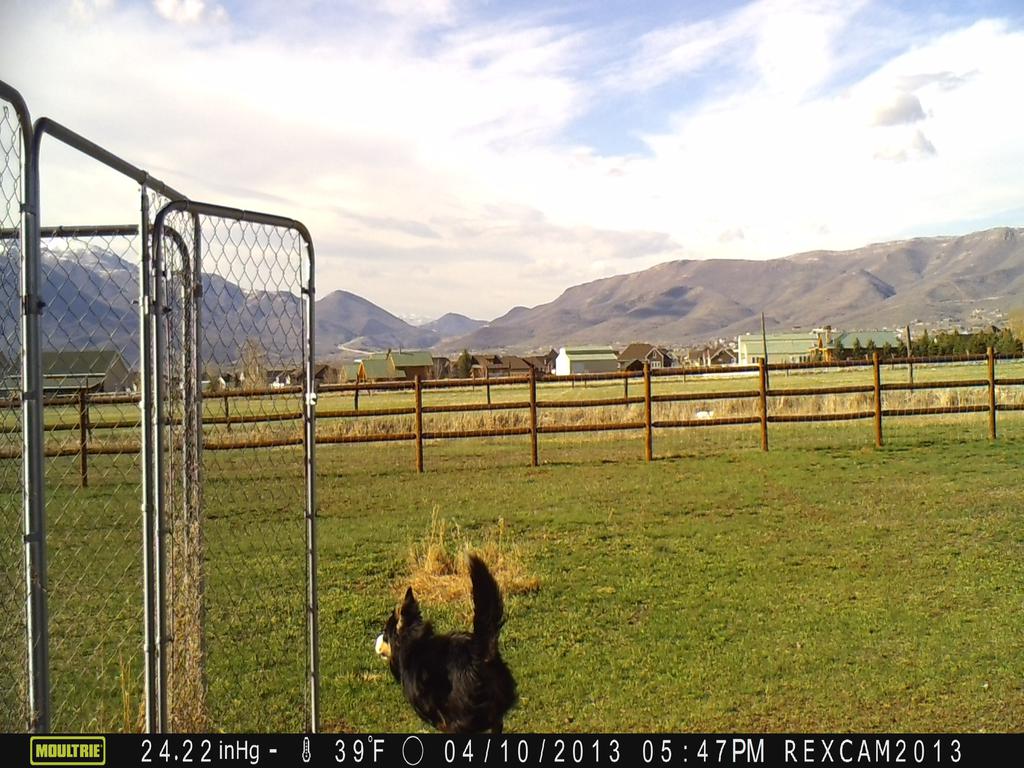
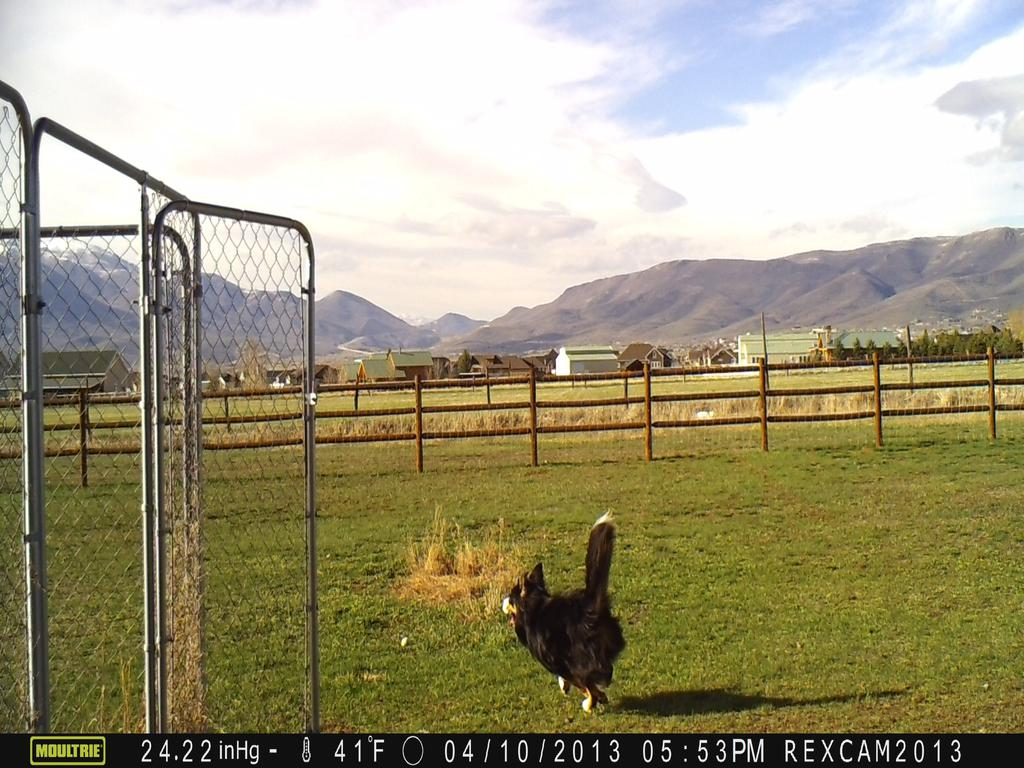
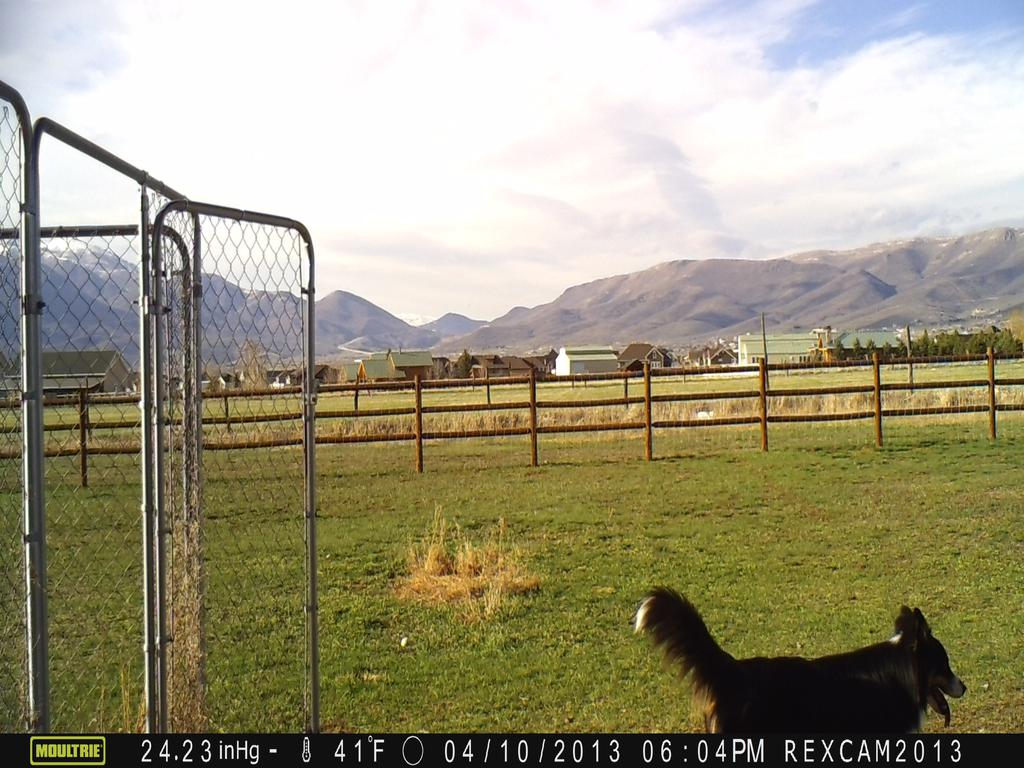
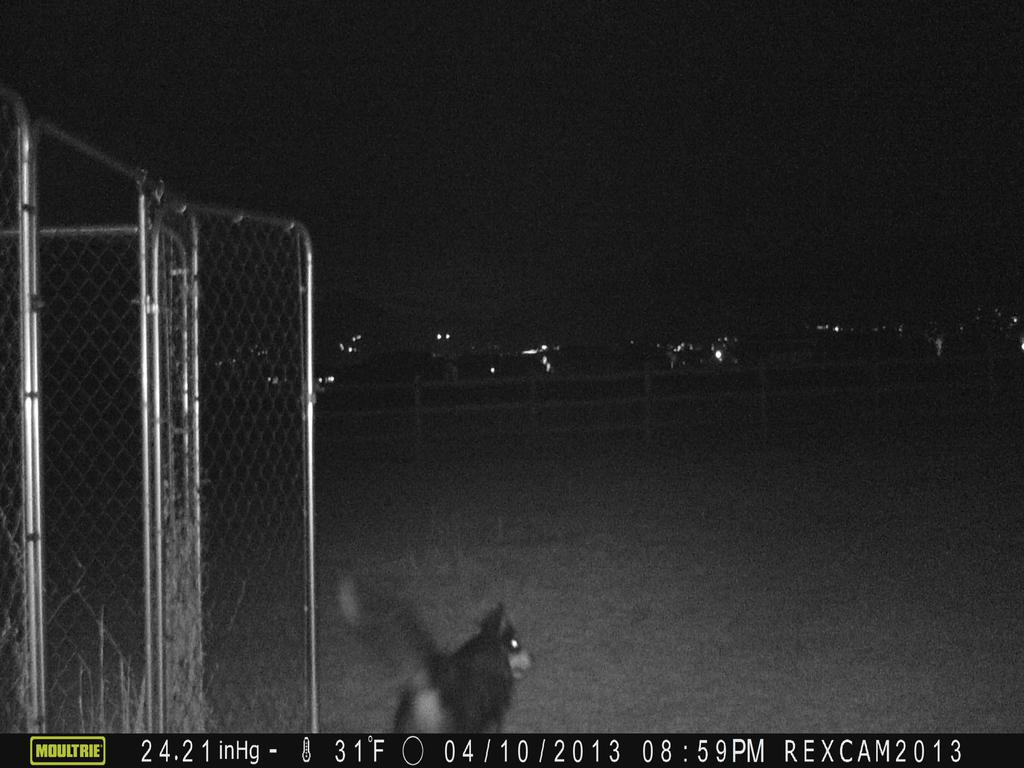
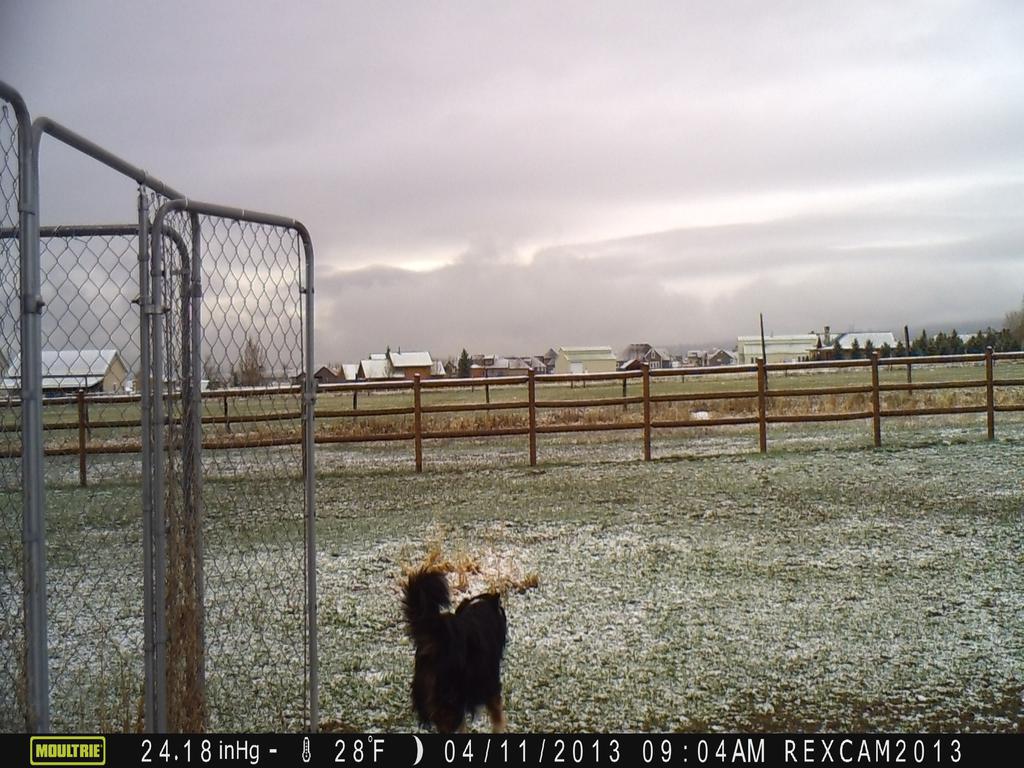
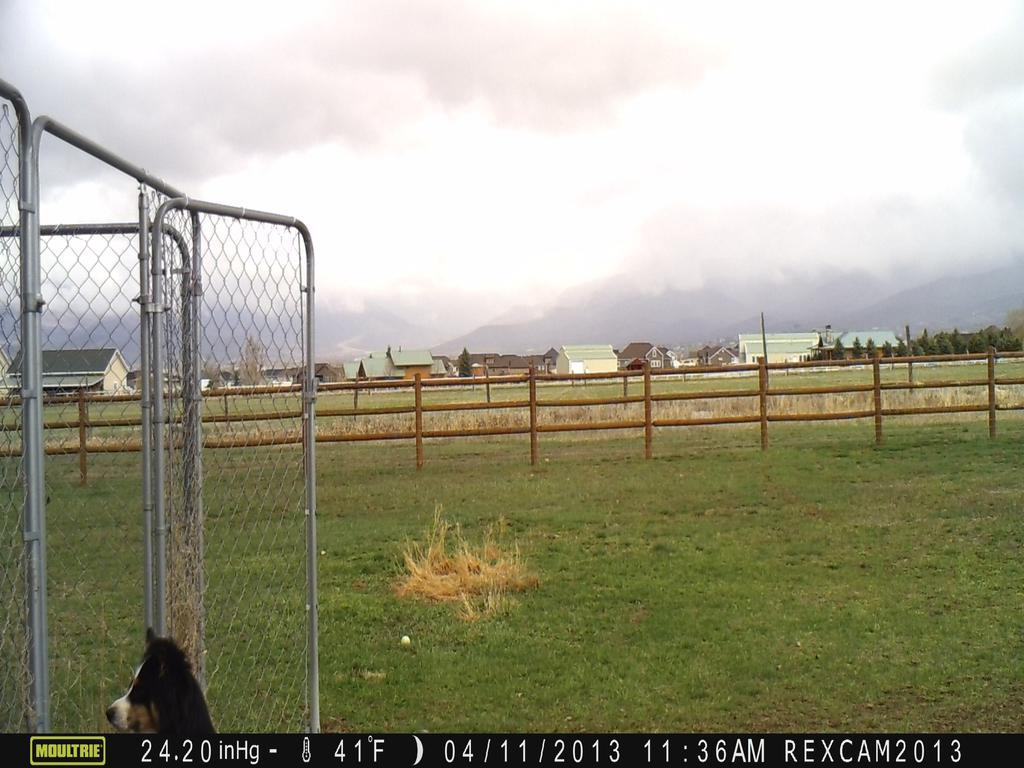
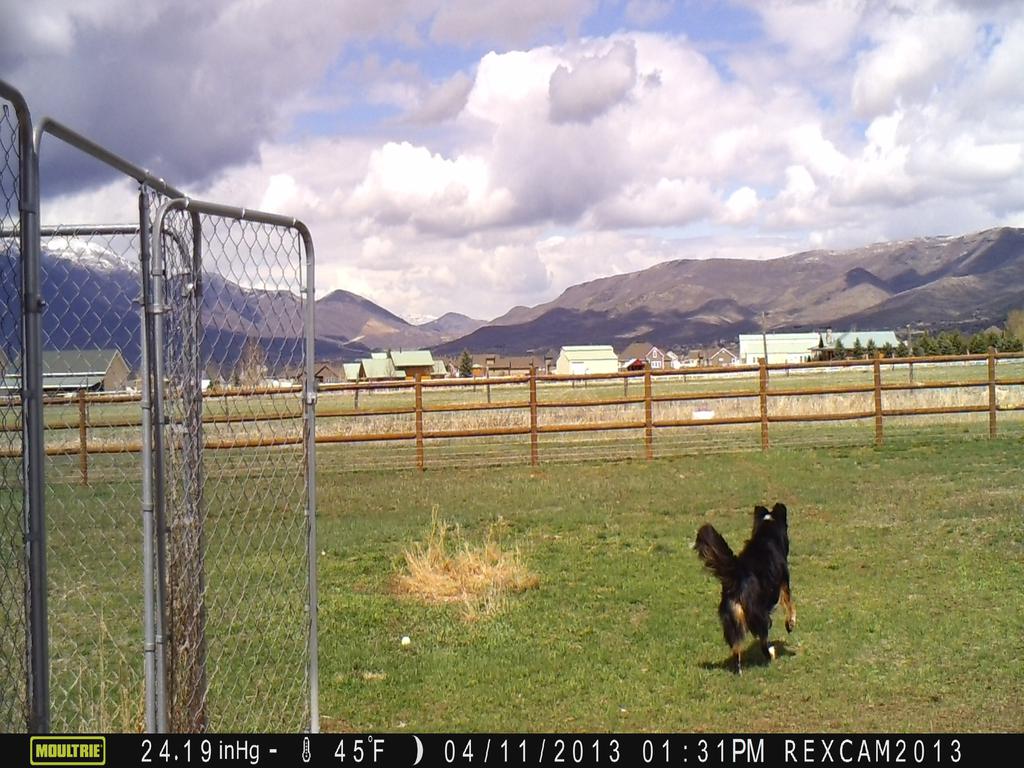
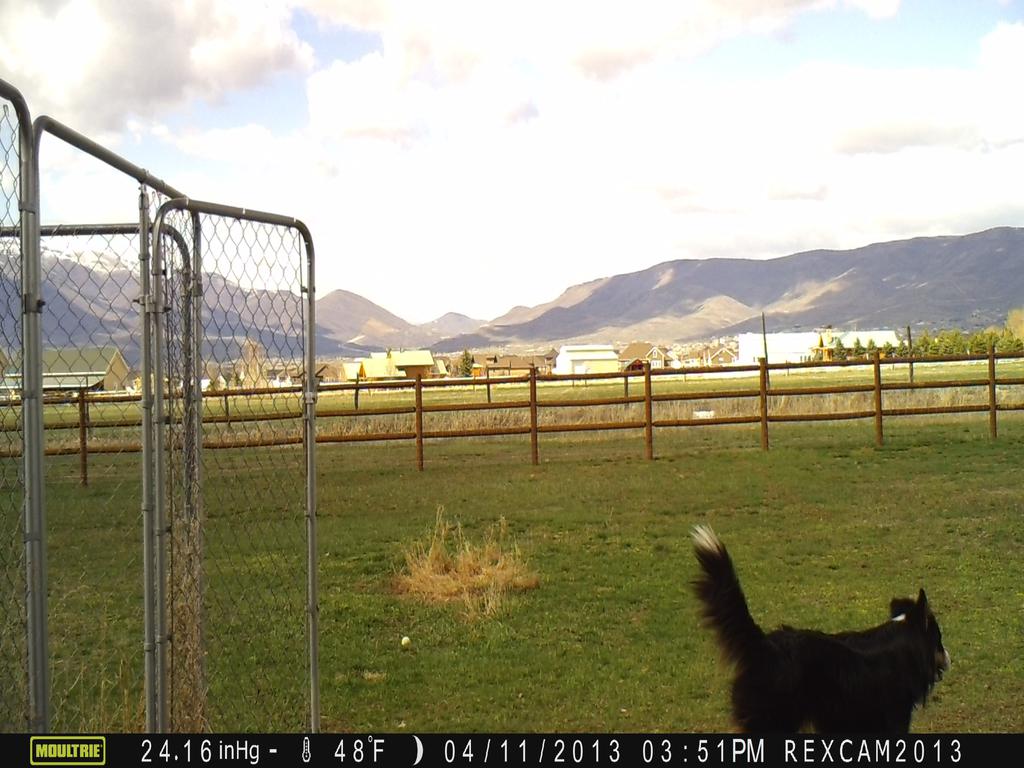
A few weeks ago I bought a “game camera” to install out at the cabin for security. I tested it in my backyard for a couple of days first.