One man's struggle to take it easy
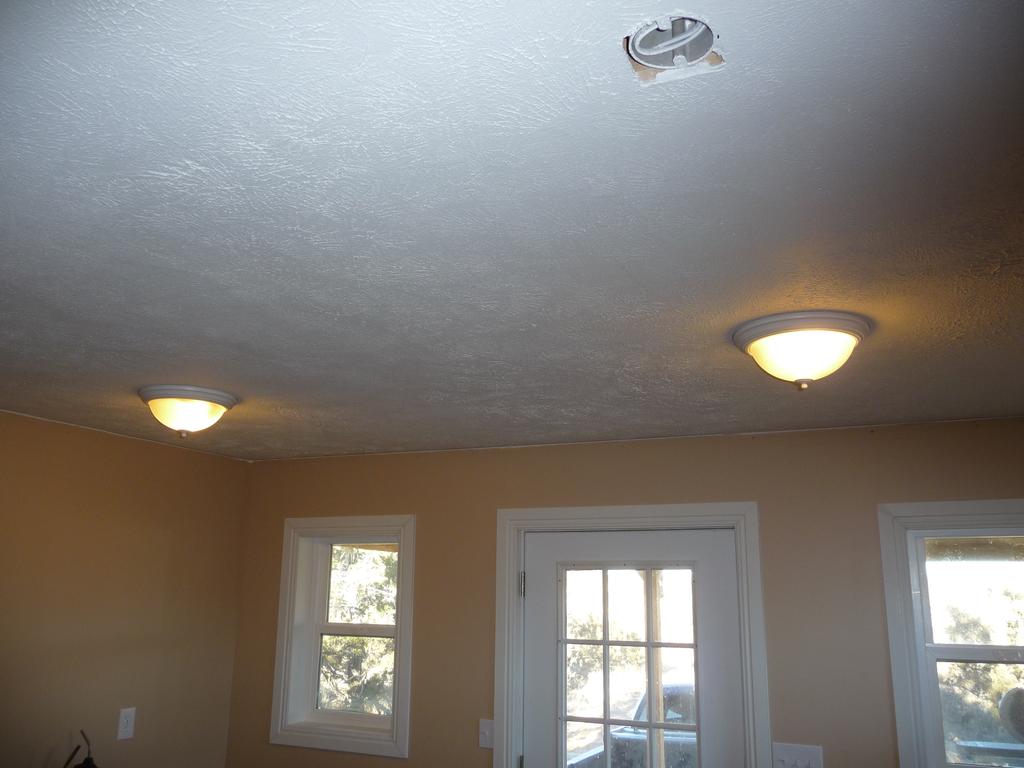
Heat, Lights, and Trim
Monday, Nov 26, 2012
Last week I finally finished with the heater connection, installed most of the solar equipment, and added interior trim on the downstairs windows and doors.
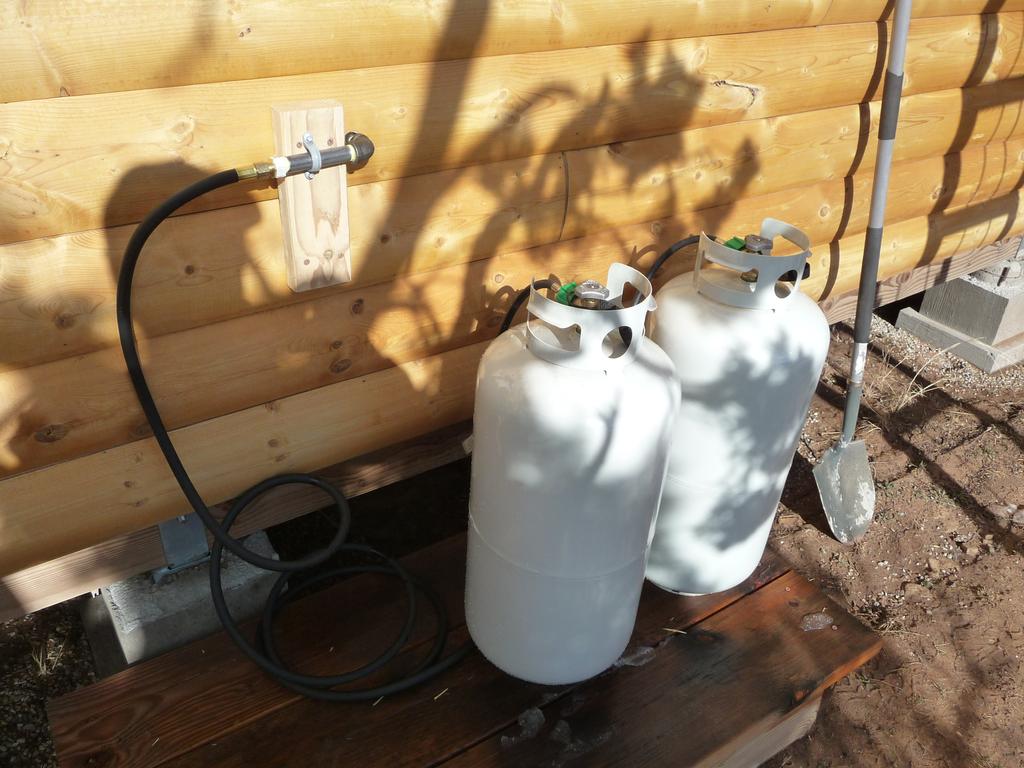
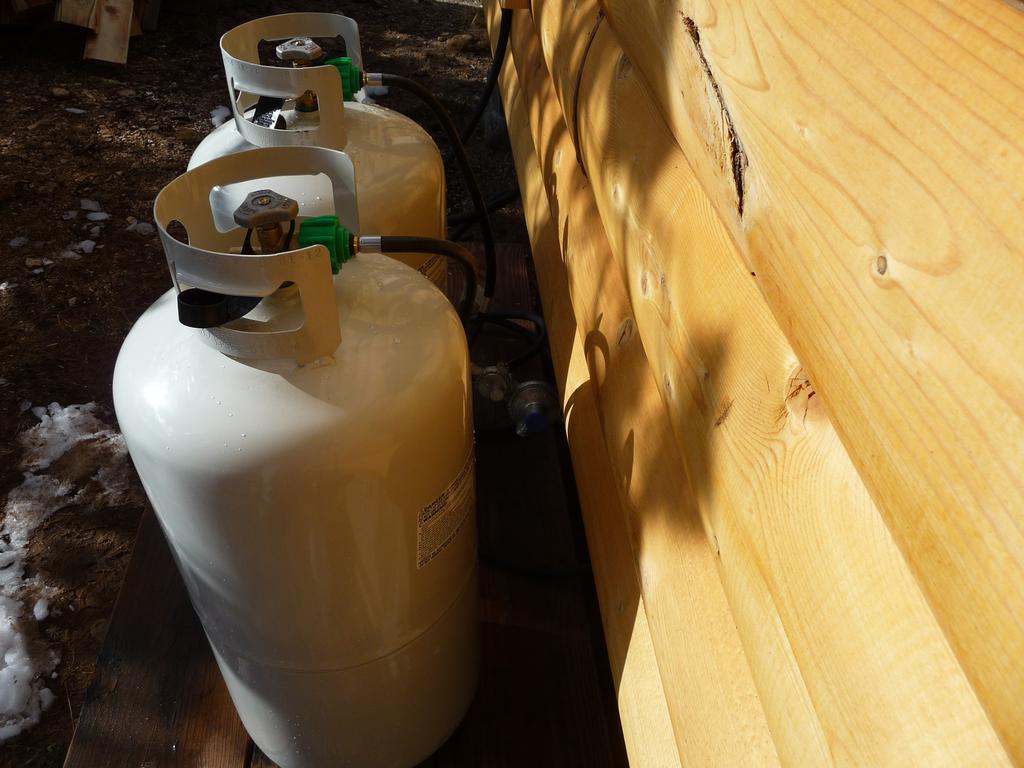
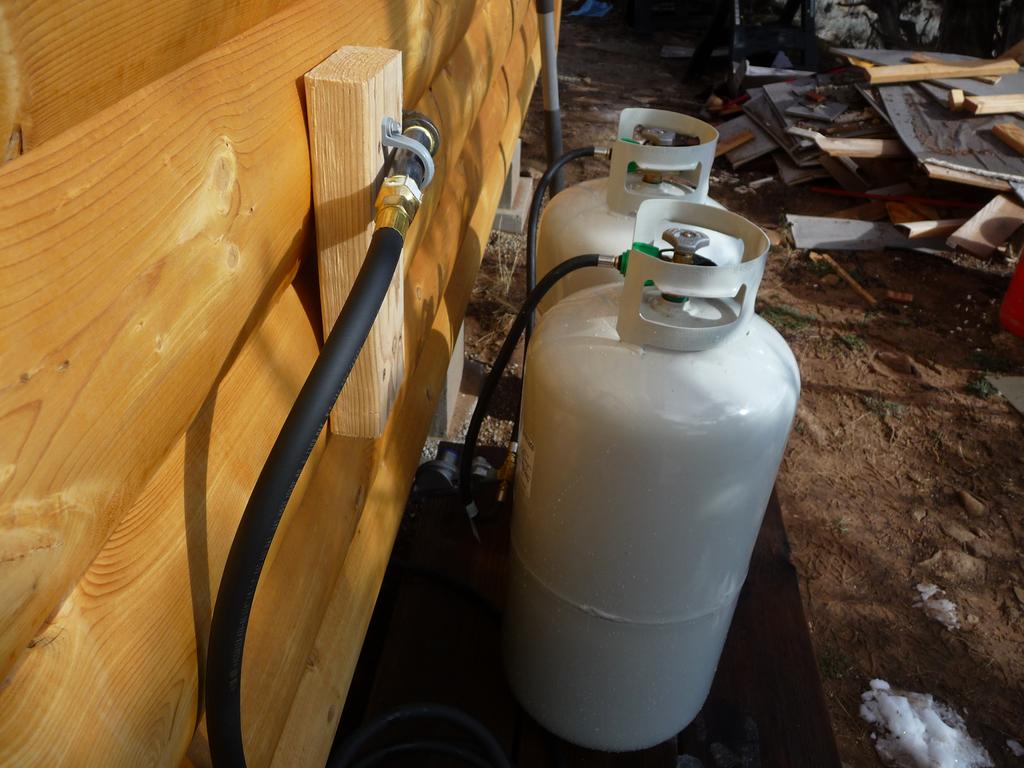
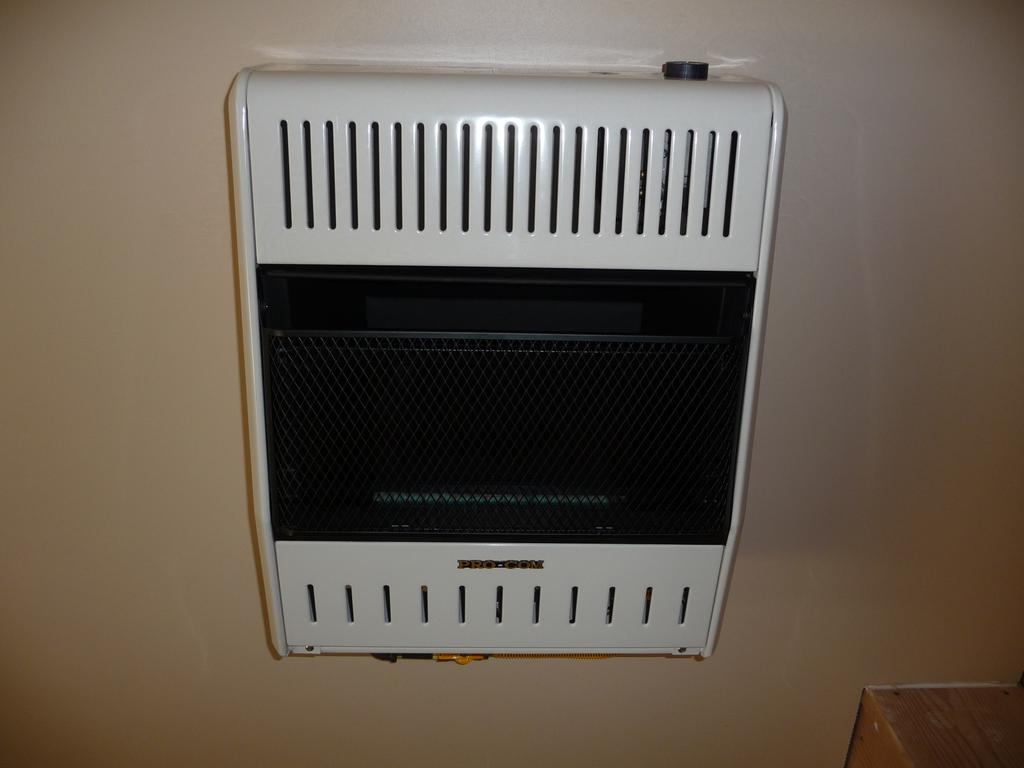
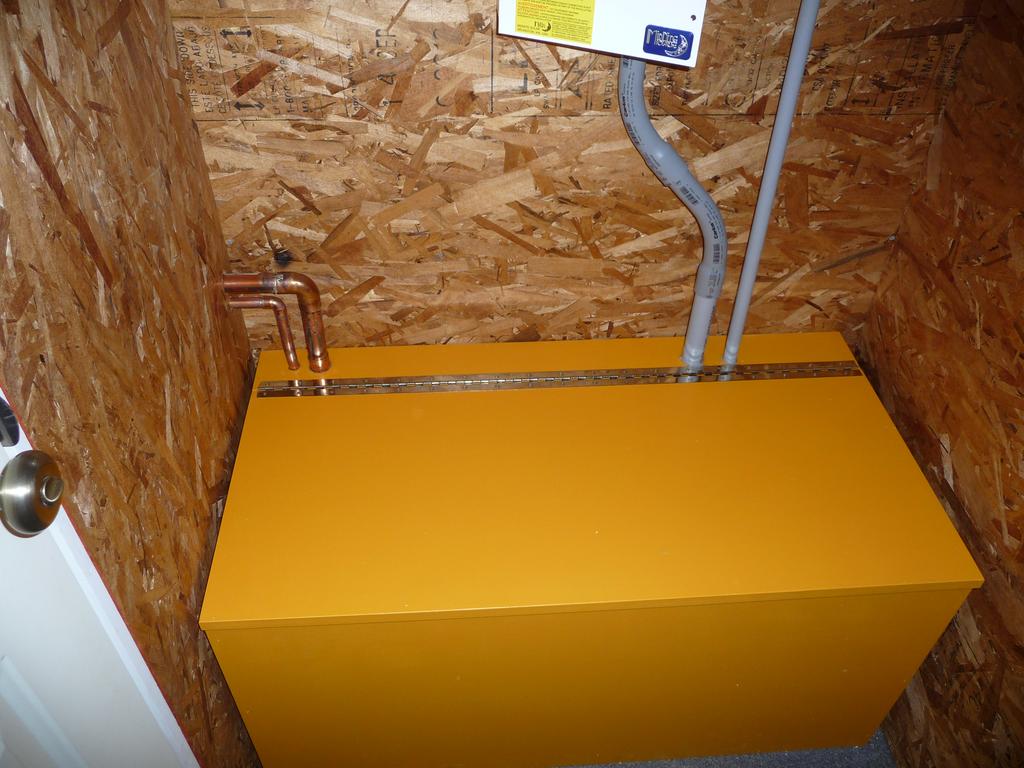
The heater seems to work well and the location near the stairs keeps the loft very close to the same temperature as the first floor. It’s a 20,000 BTU heater and it does take a couple of hours to raise the inside temperature to a comfortable level when it’s cold outside but once reaching the desired point, it doesn’t run much, hopefully indicating the effectiveness of the insulation.
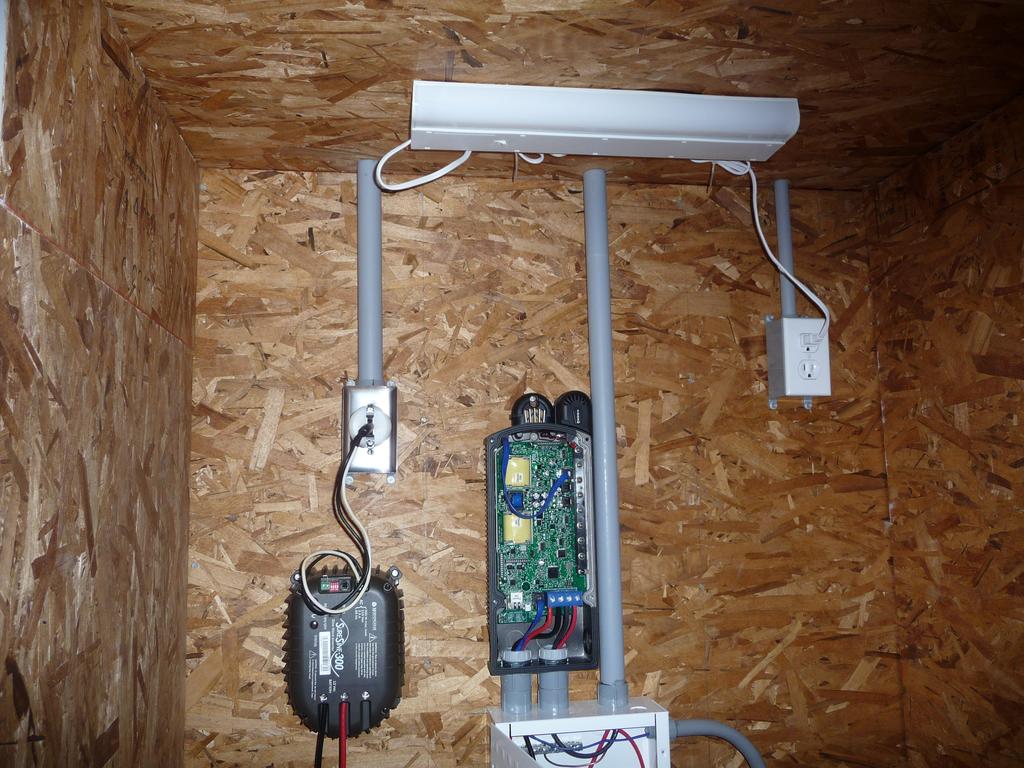
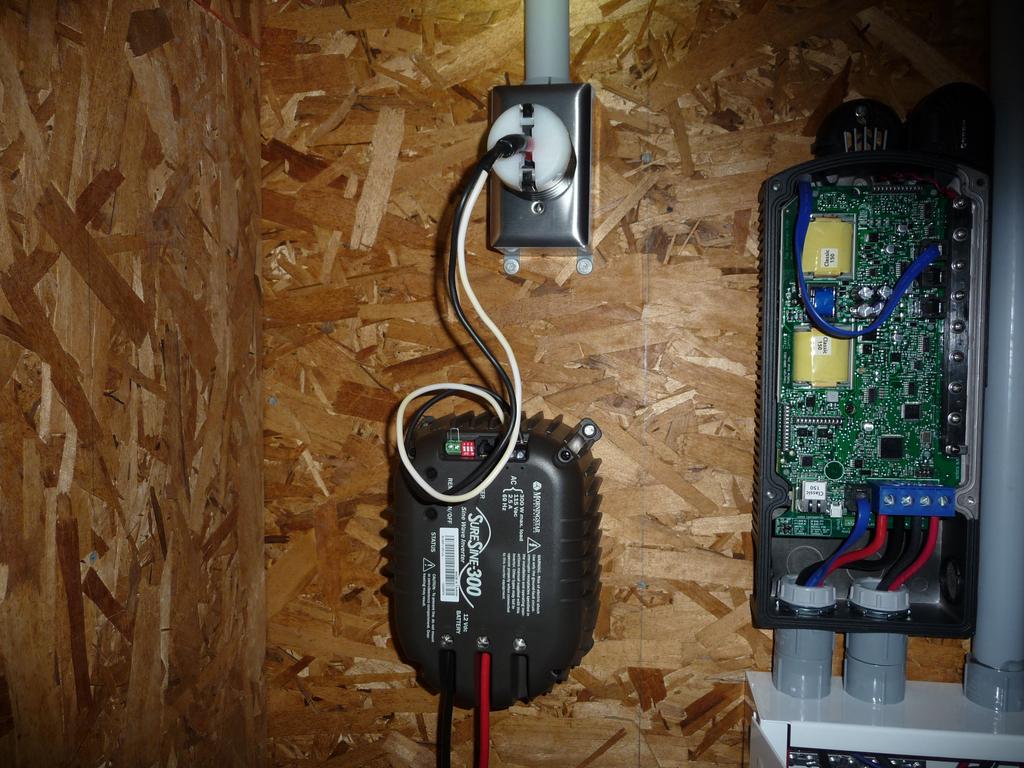
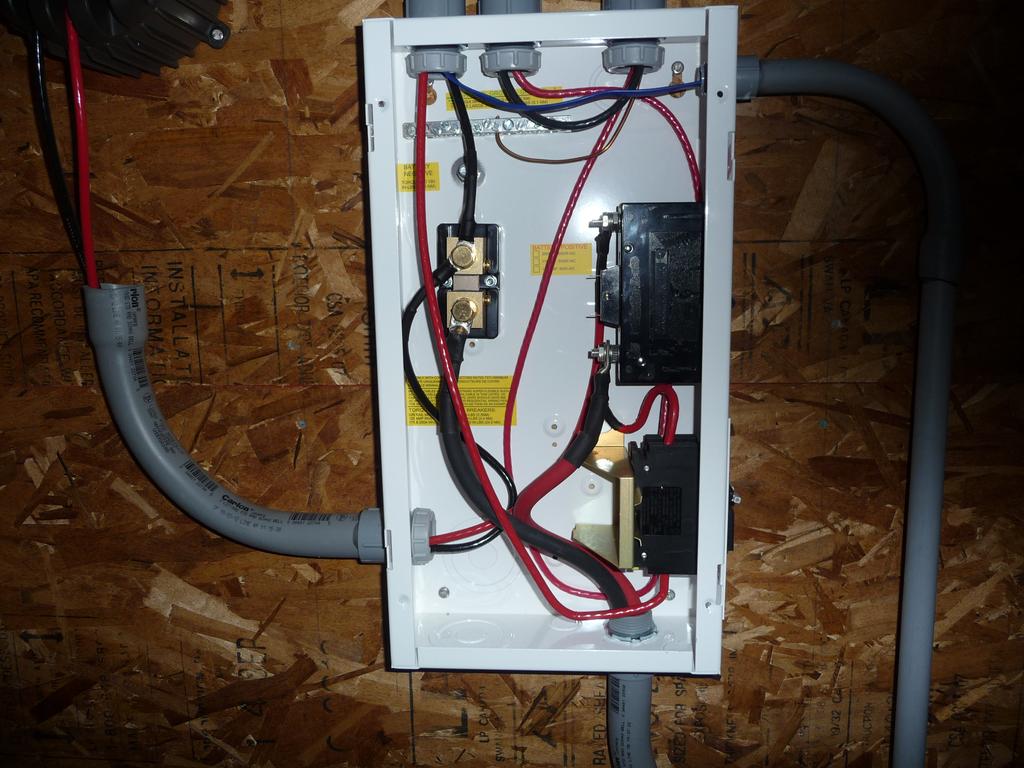
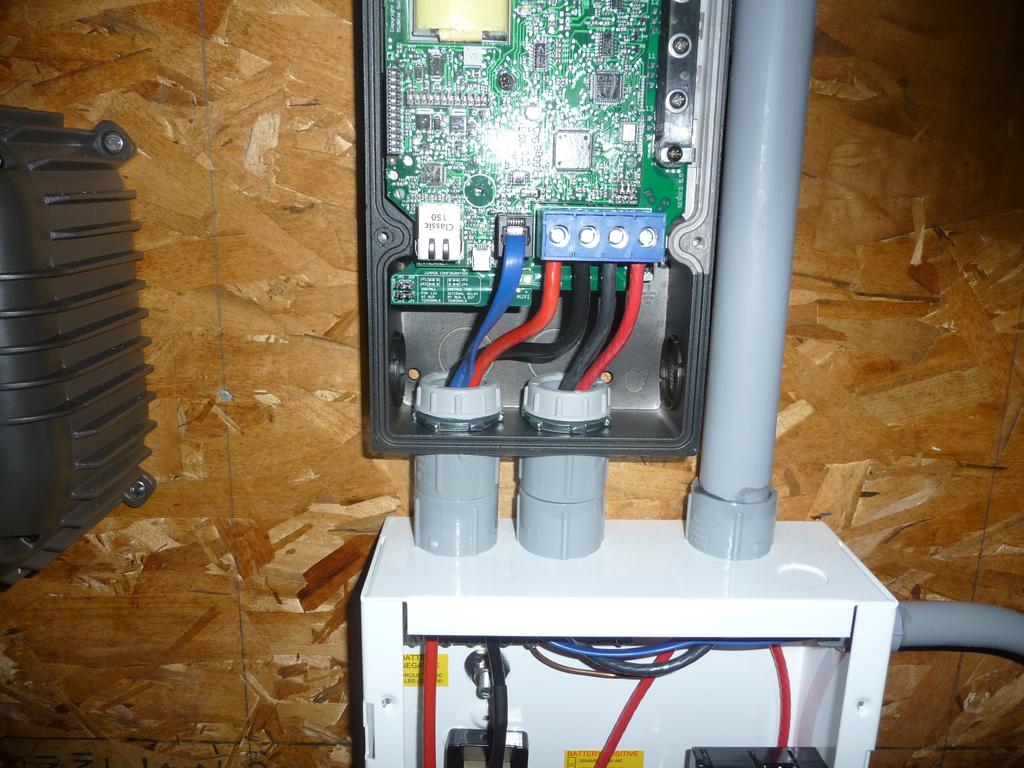
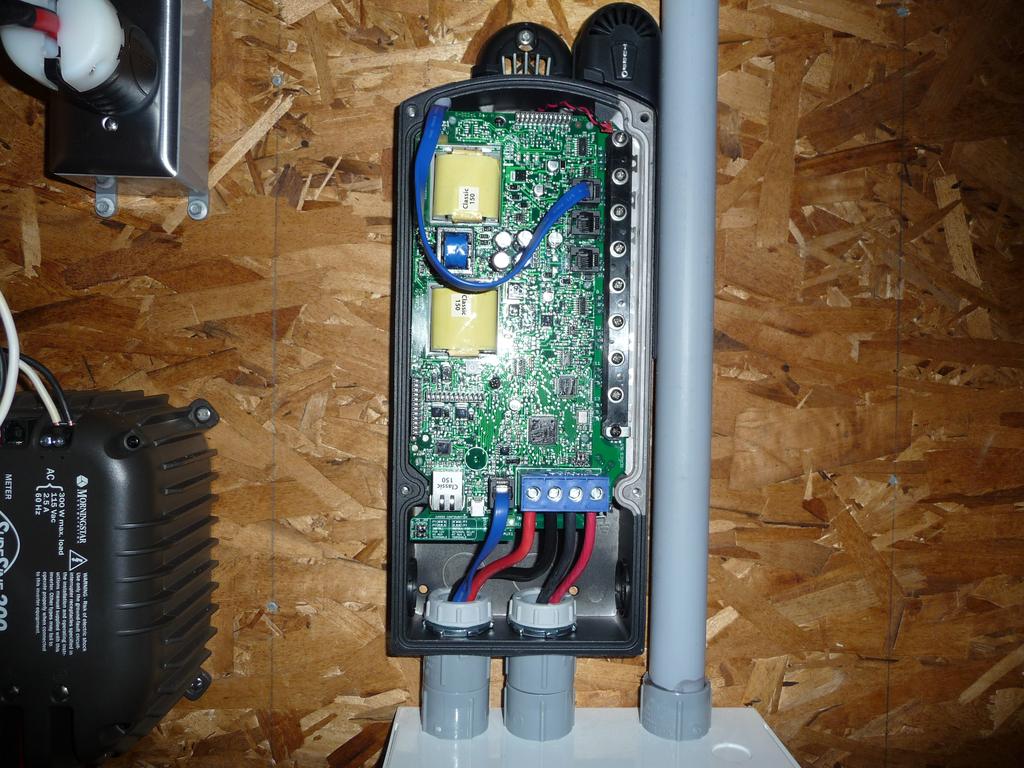
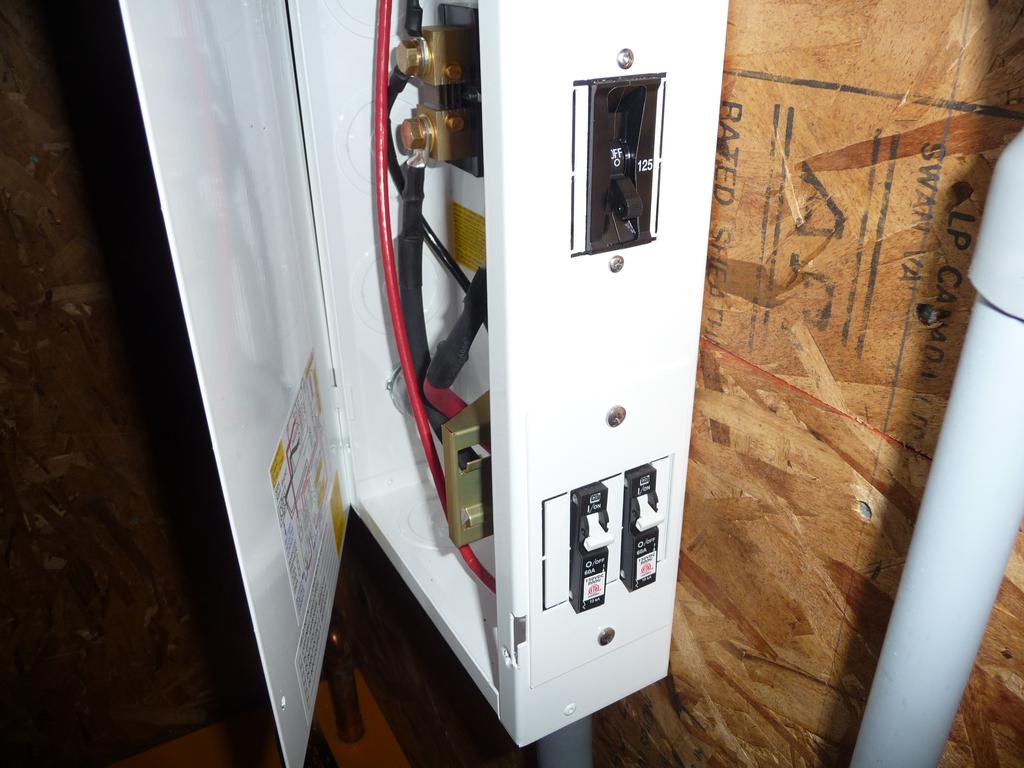
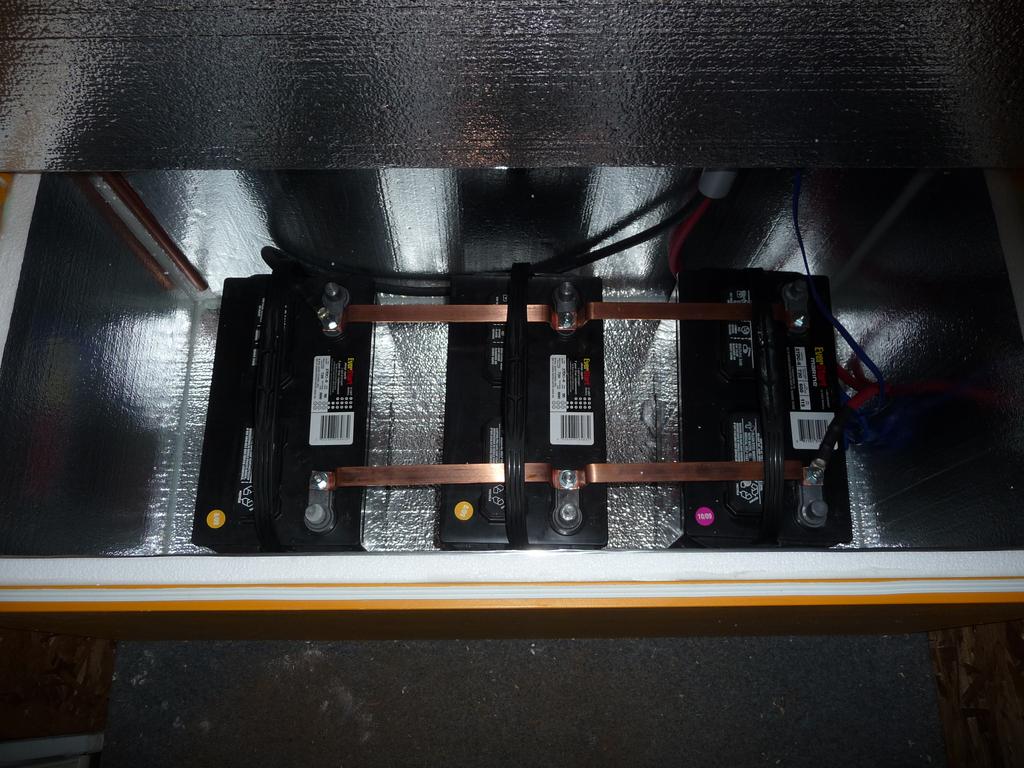
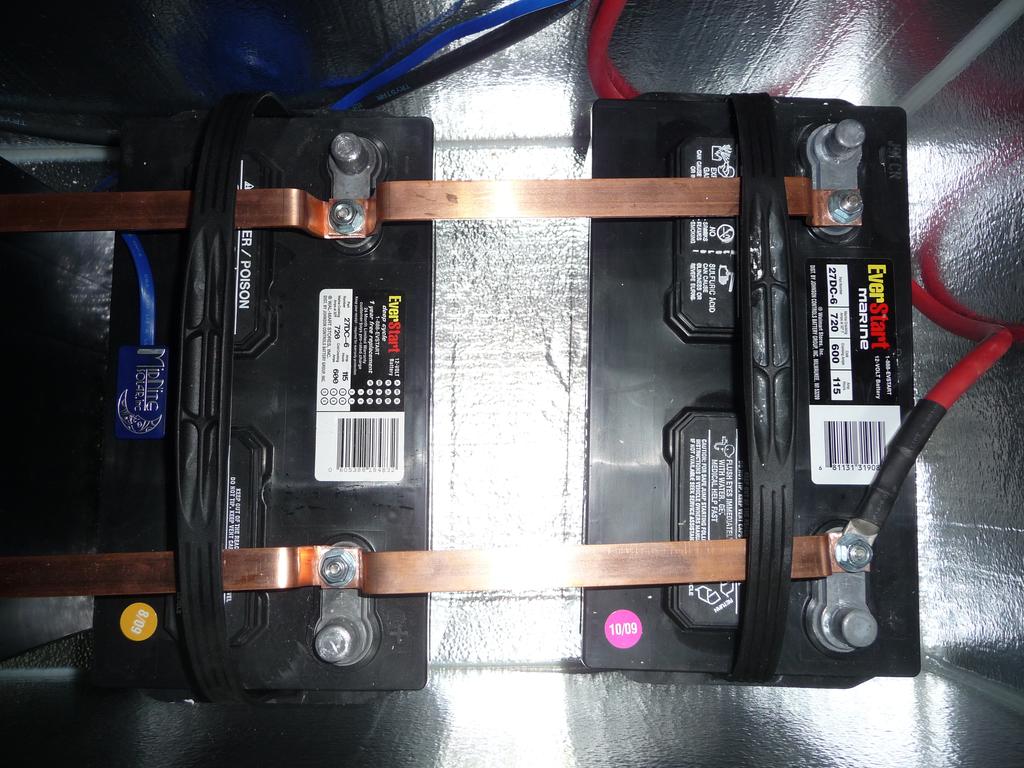
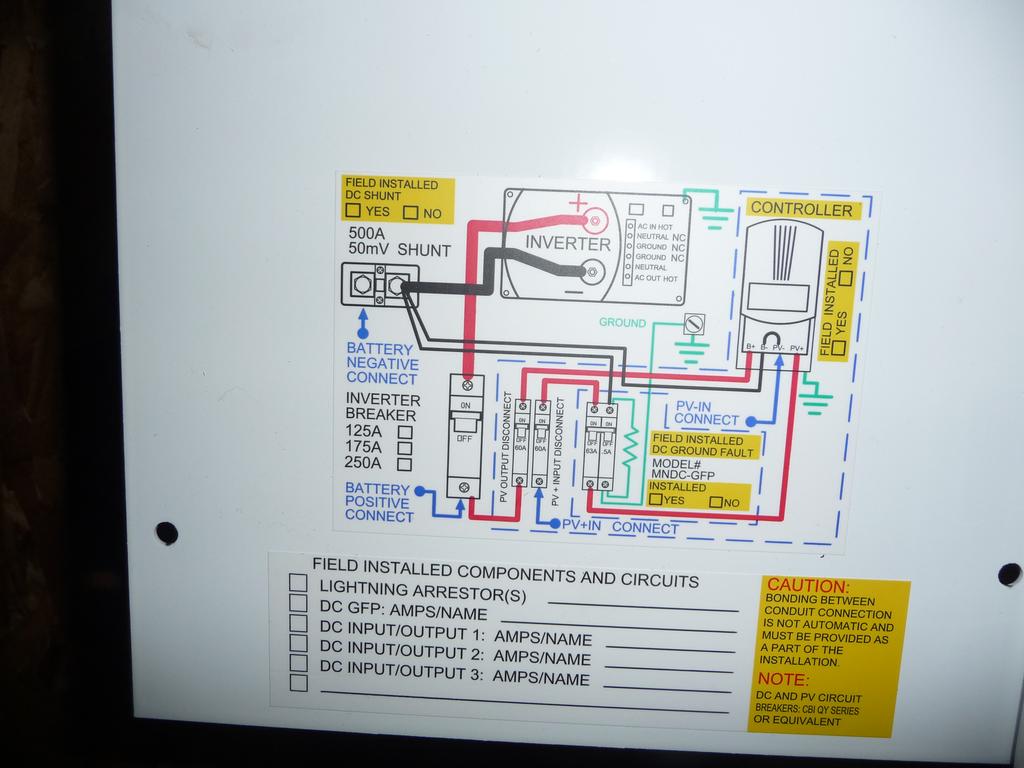
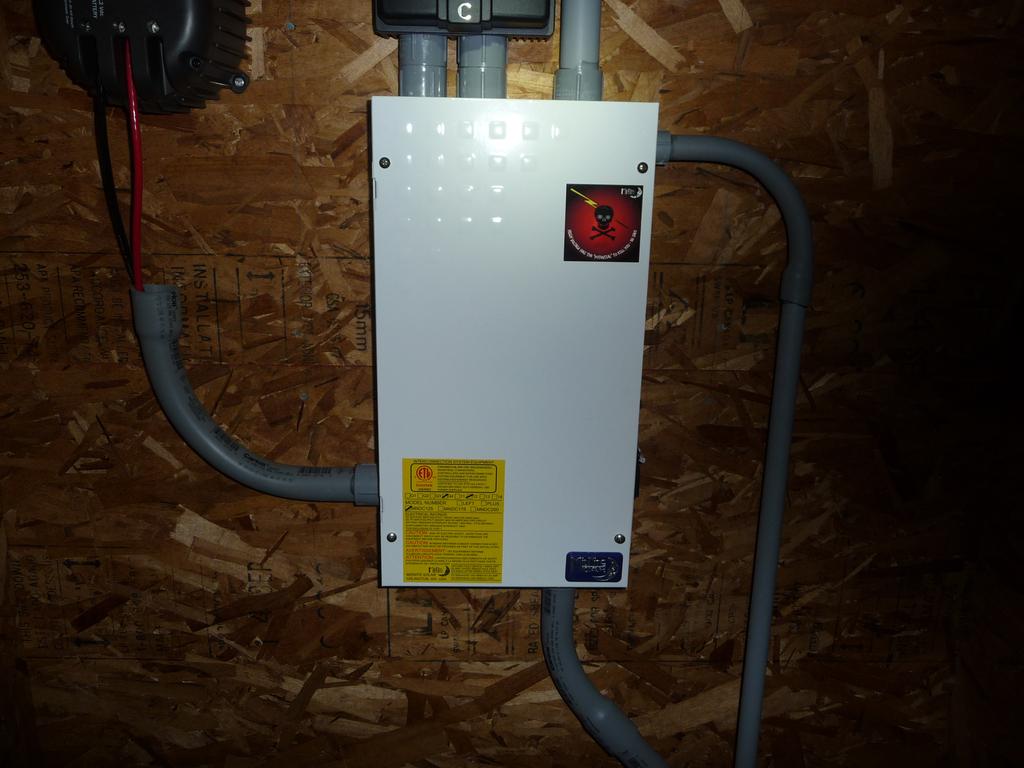
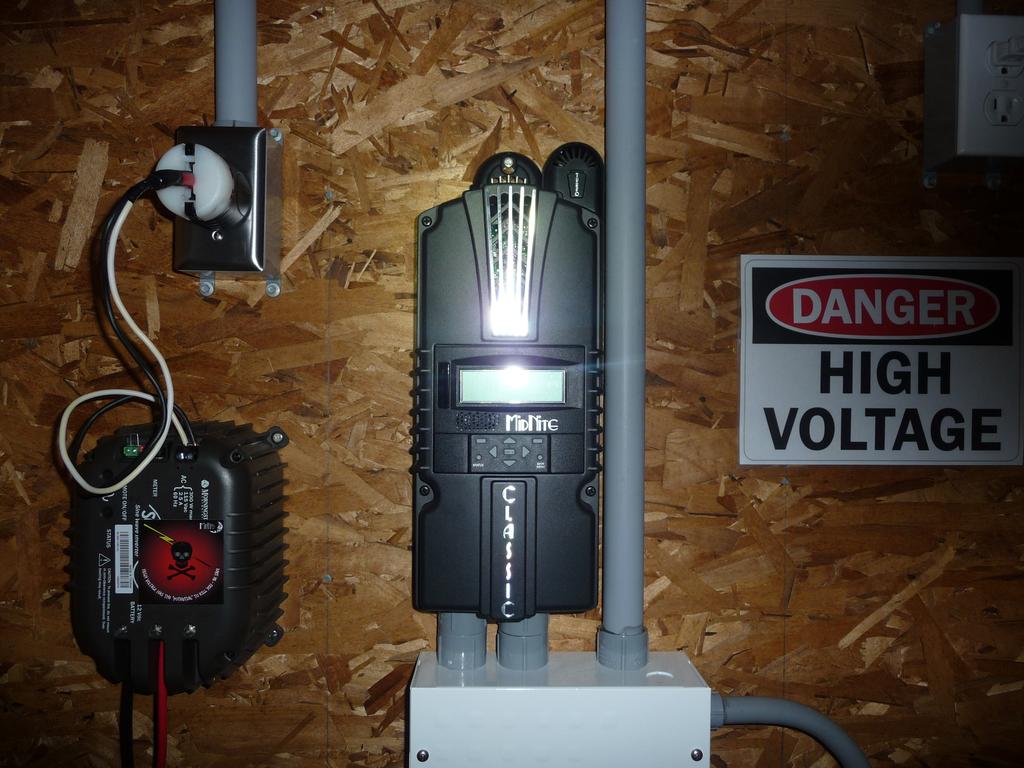
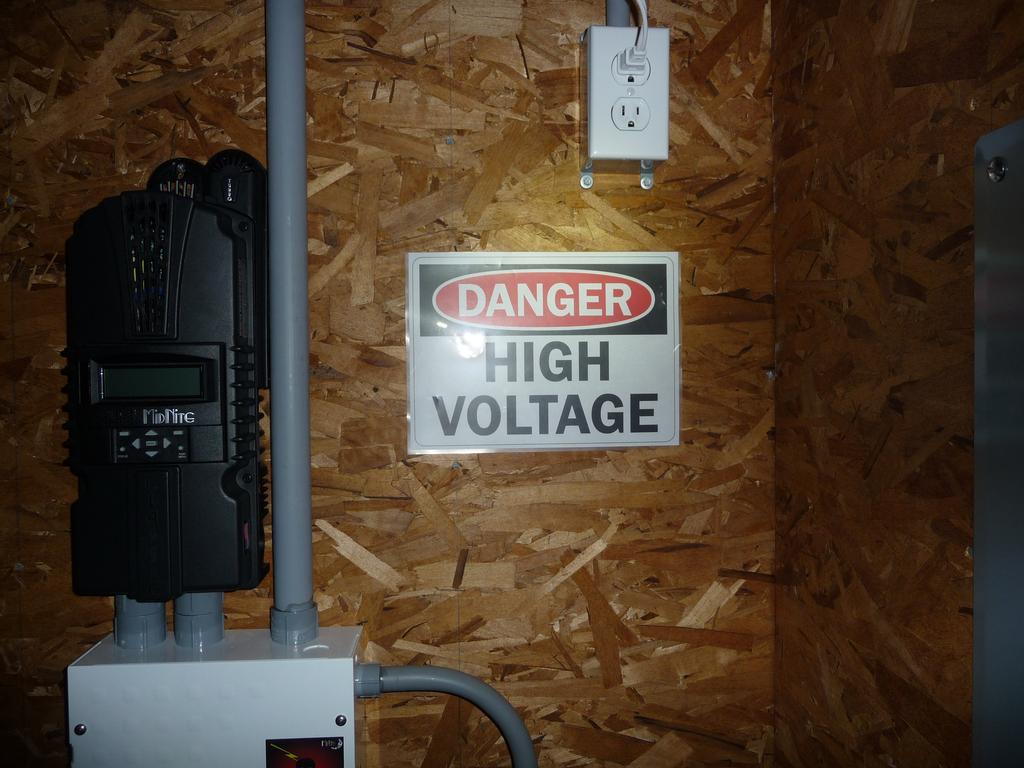
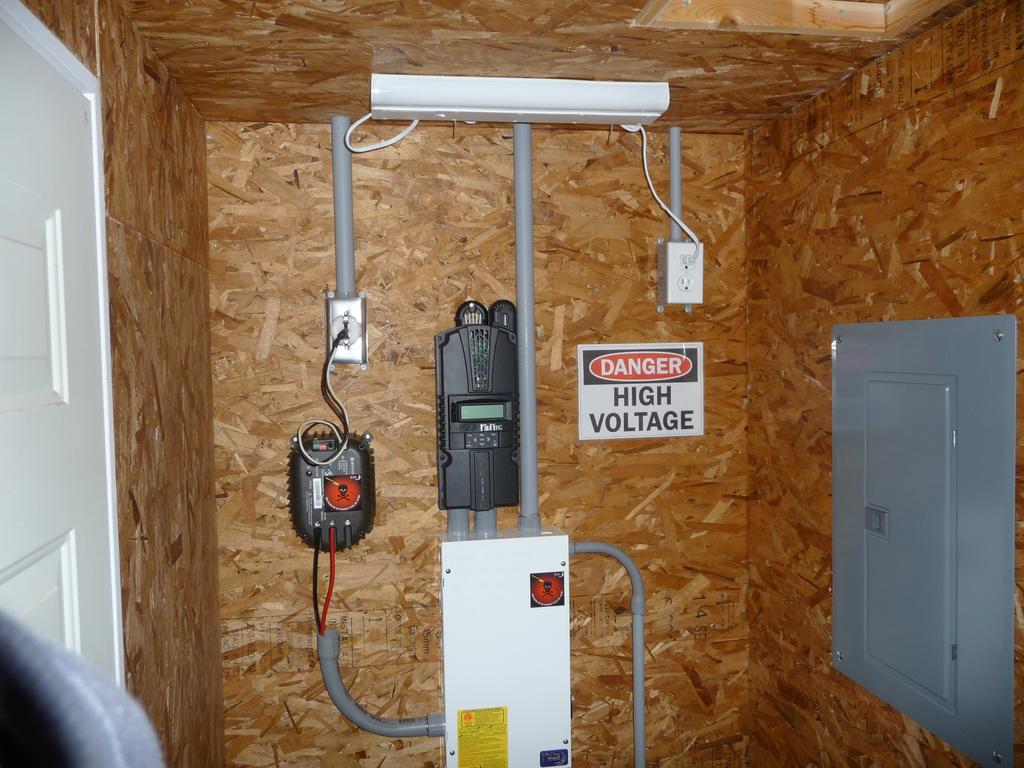
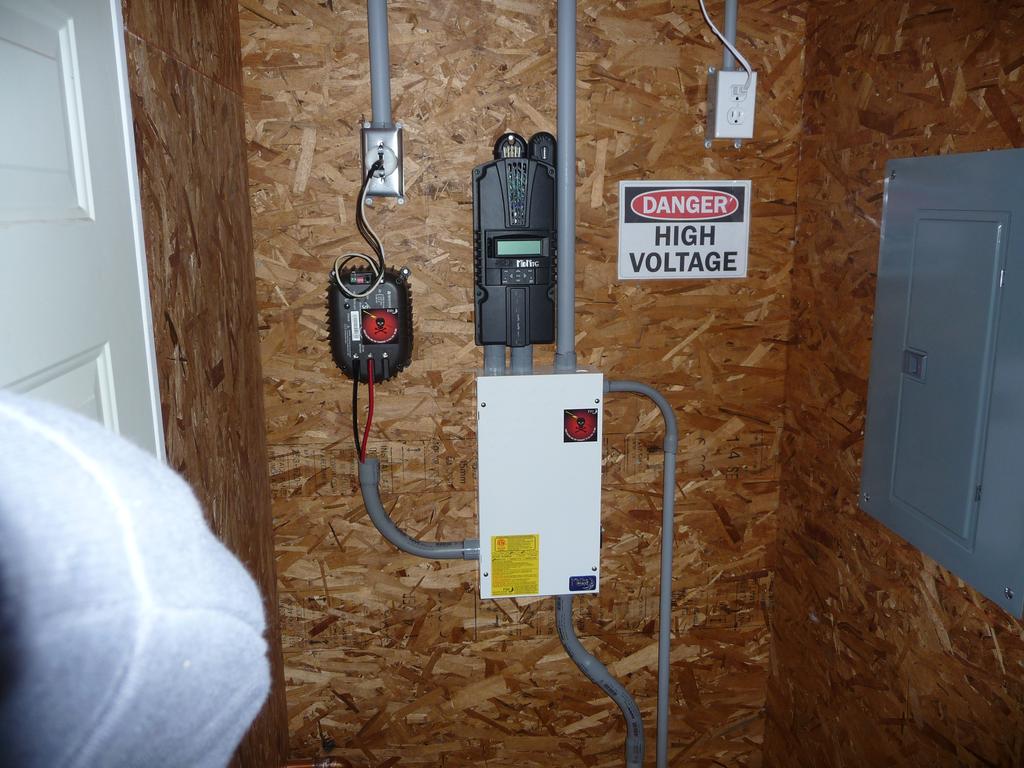
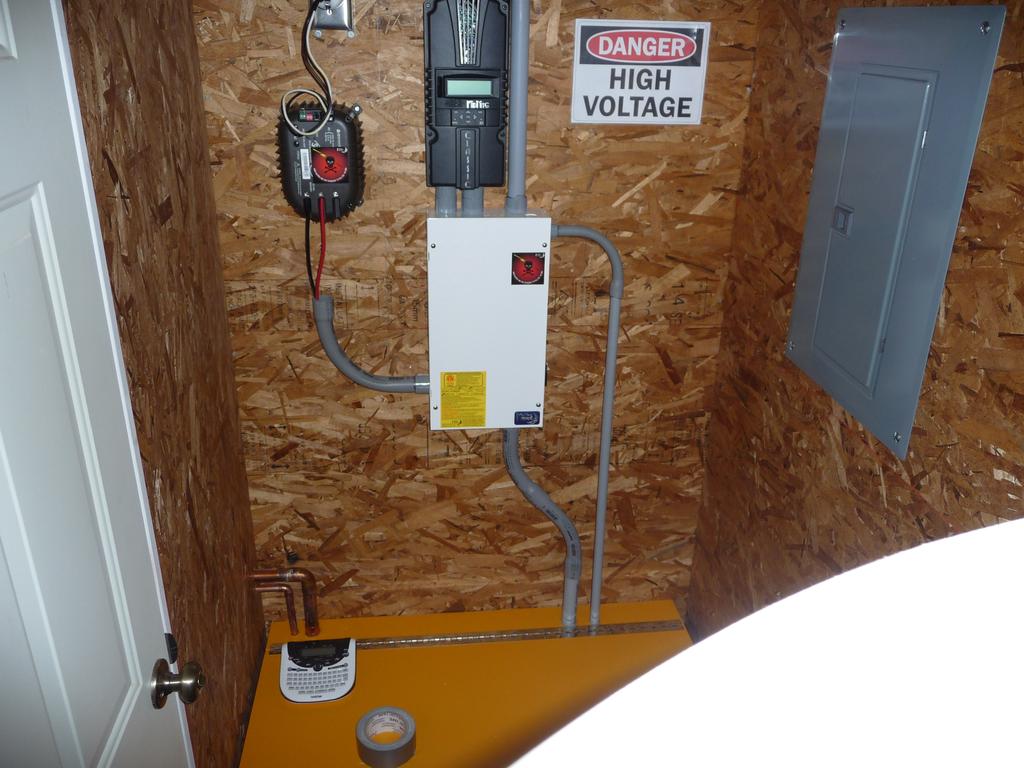
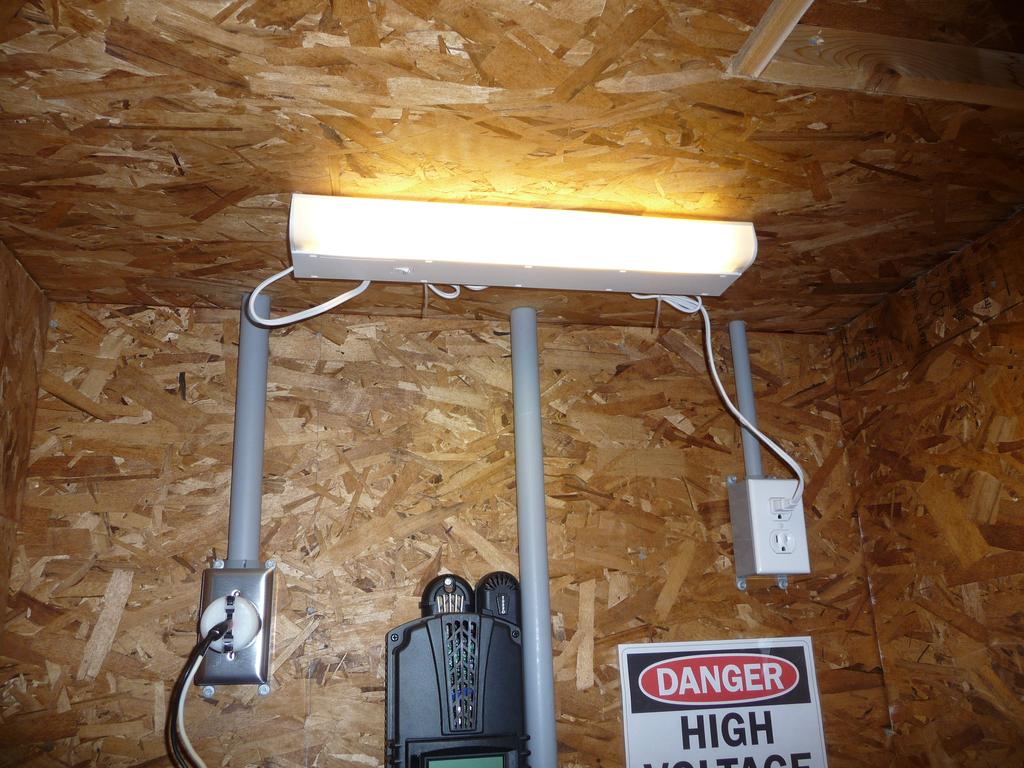
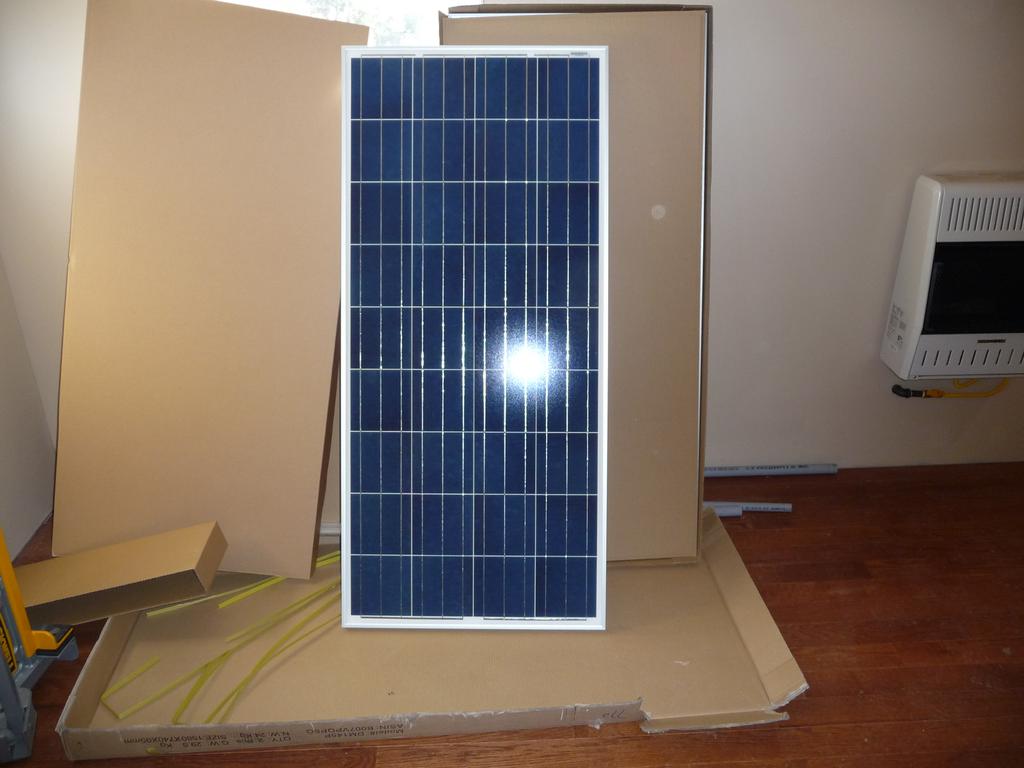
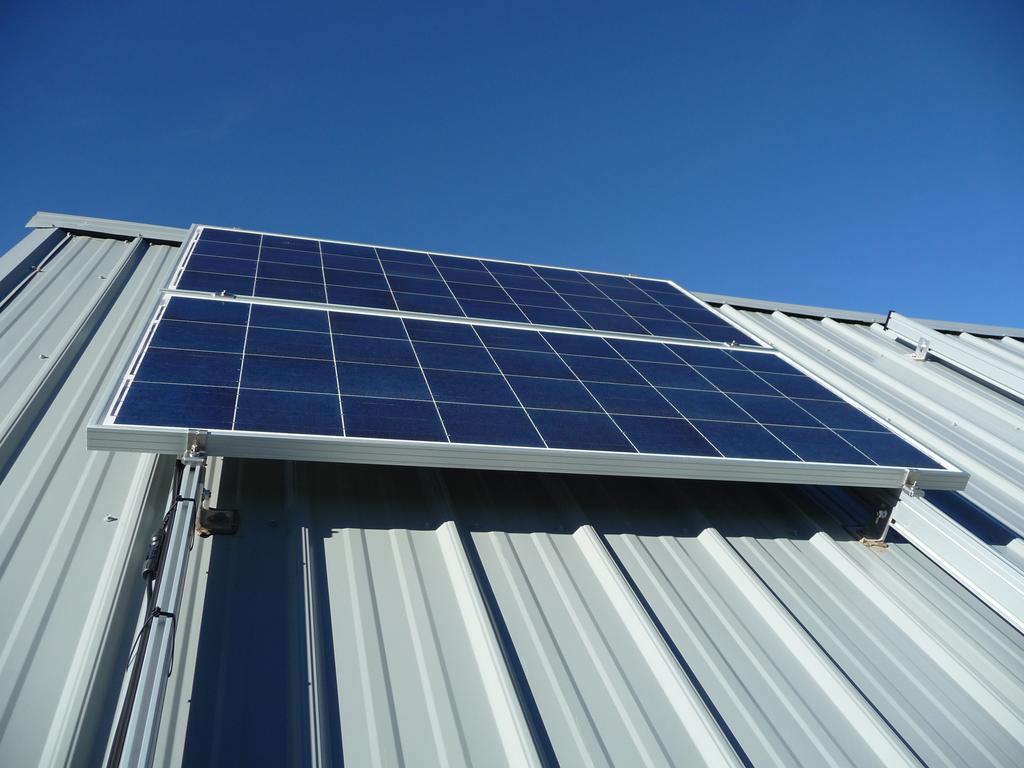
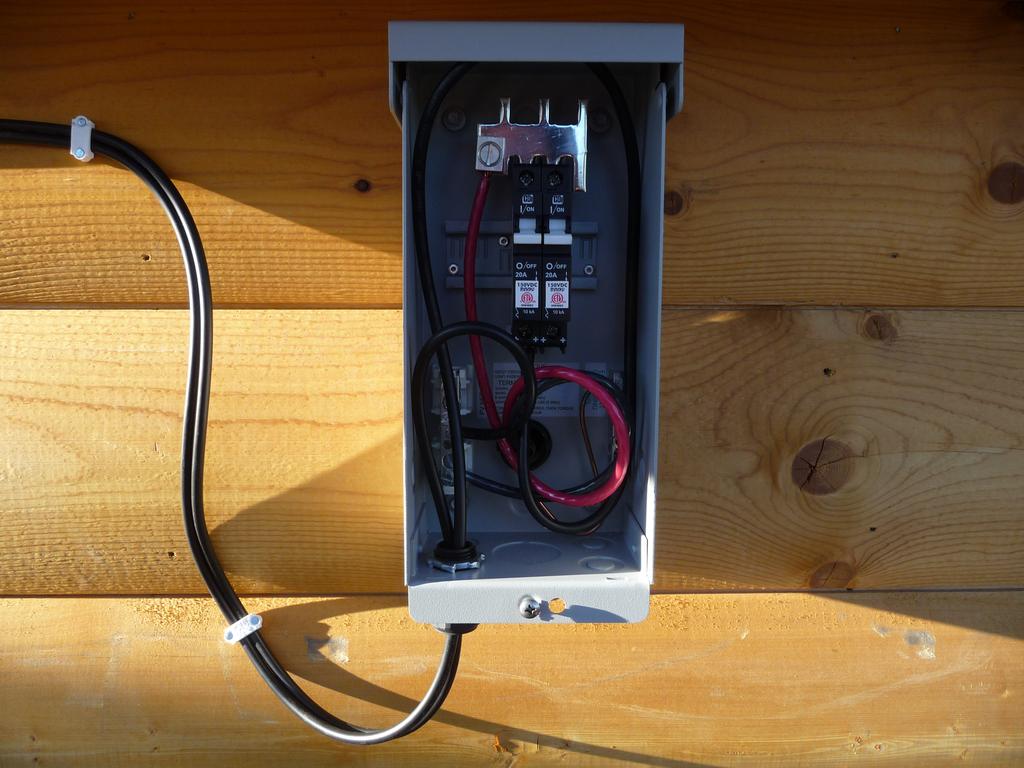
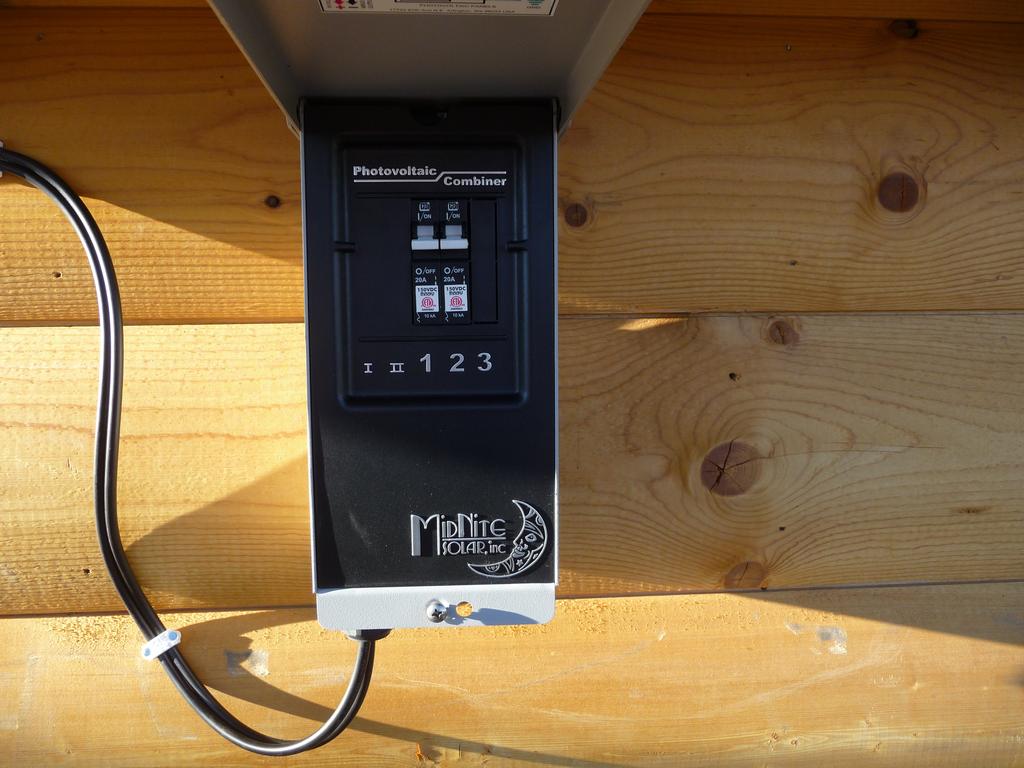
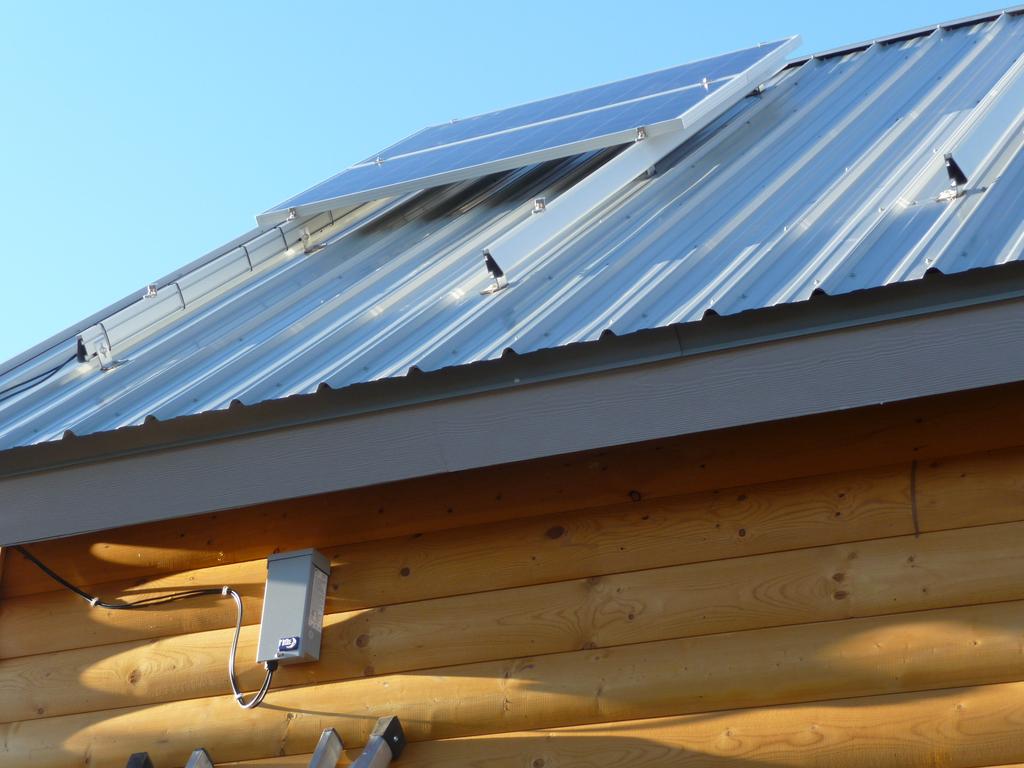
It took most of three days to install the solar equipment and two panels but everything is installed and working. I have four 145W panels but only installed two for now since I’ll only be at the cabin on weekends. I’m currently using three 12V 115Ah marine deep cycle batteries which are not very good for this application but I actually already had them laying around the house unused (left over from a diy ups project) so I’m using them temporarily.
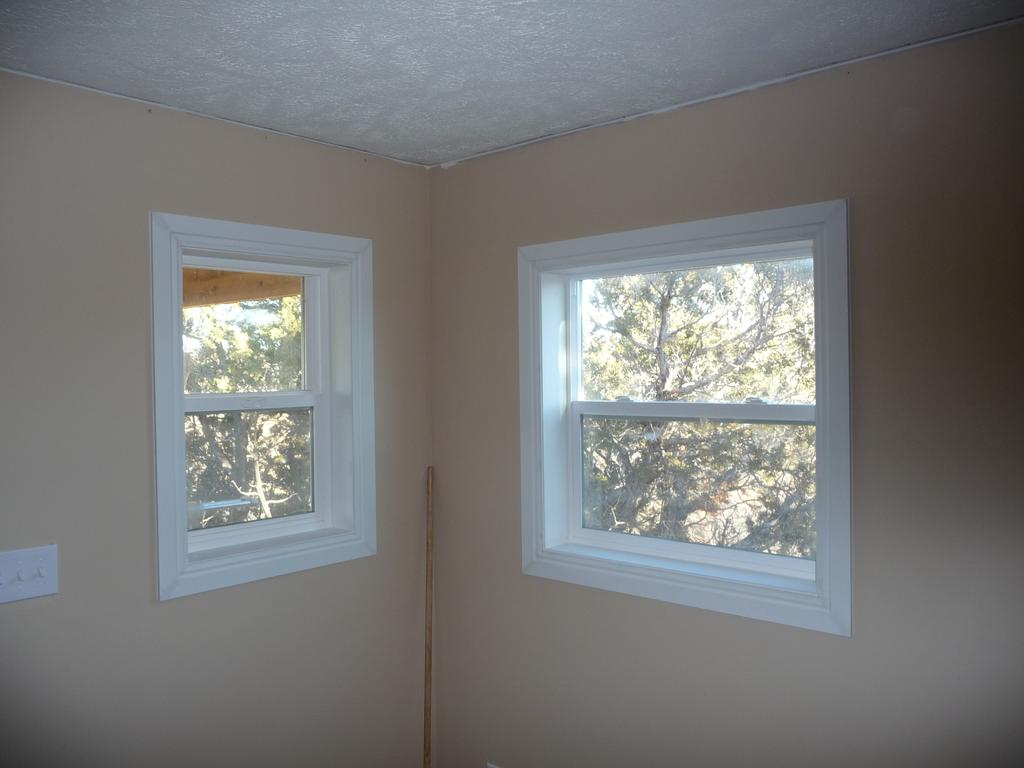
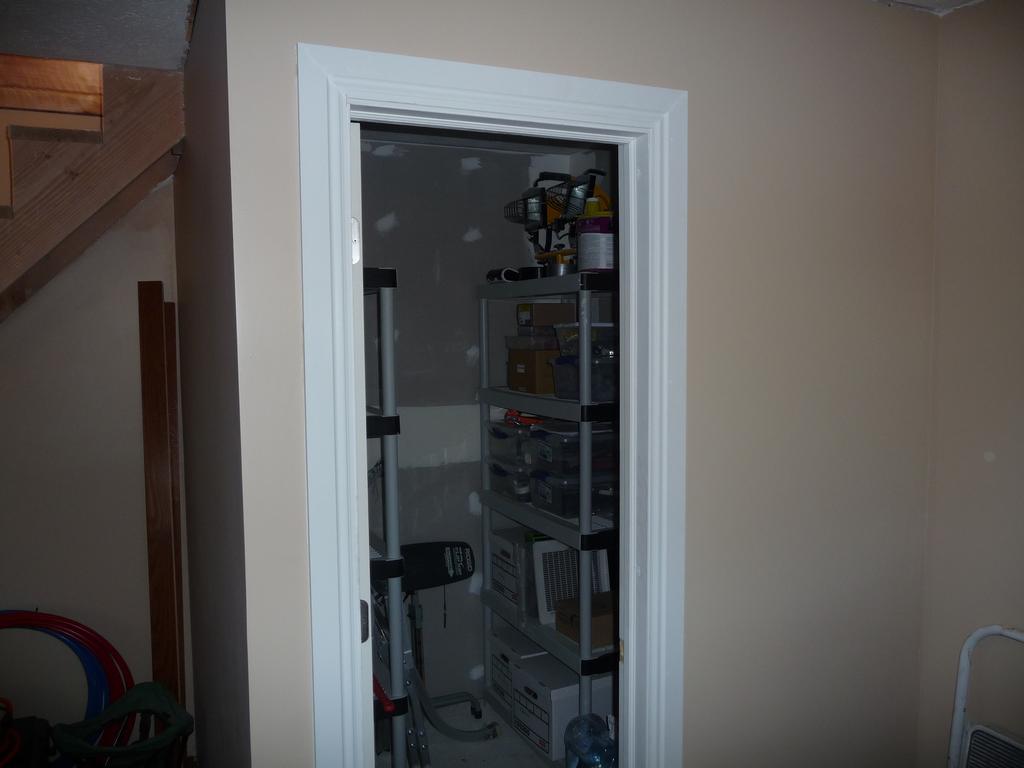
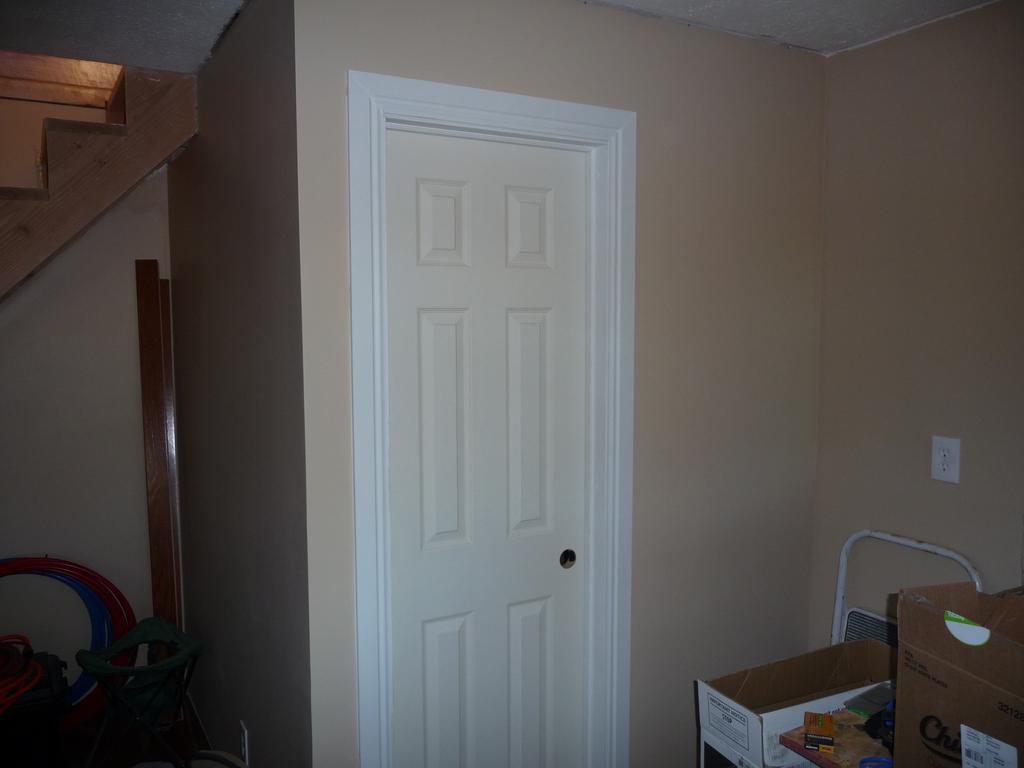
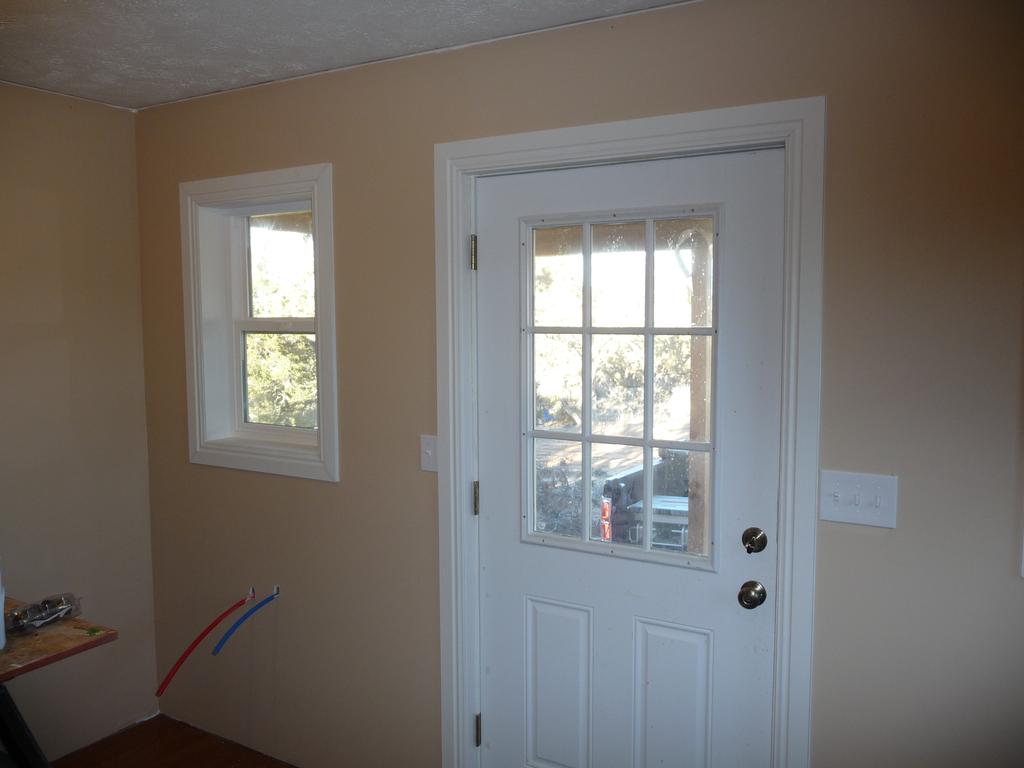
Finally, I did some trim work on the downstairs windows and doors.
Check the annotations on the photos for more details.


Comments (3)
Leave a comment