One man's struggle to take it easy
Loft Siding
Monday, Aug 06, 2012
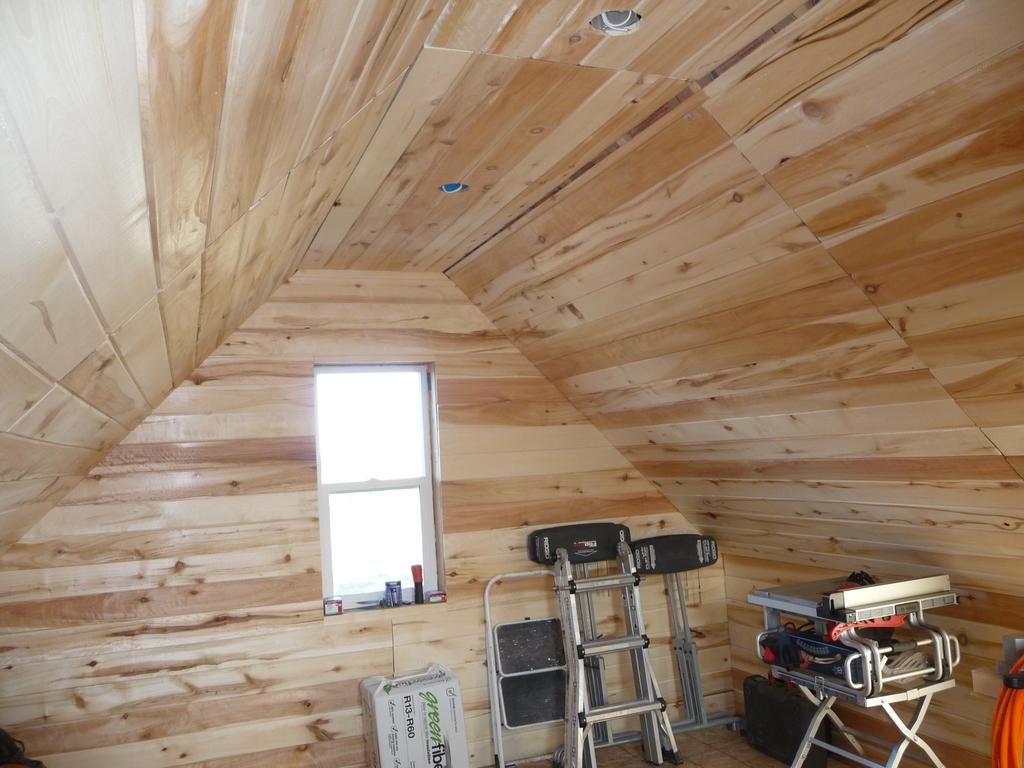
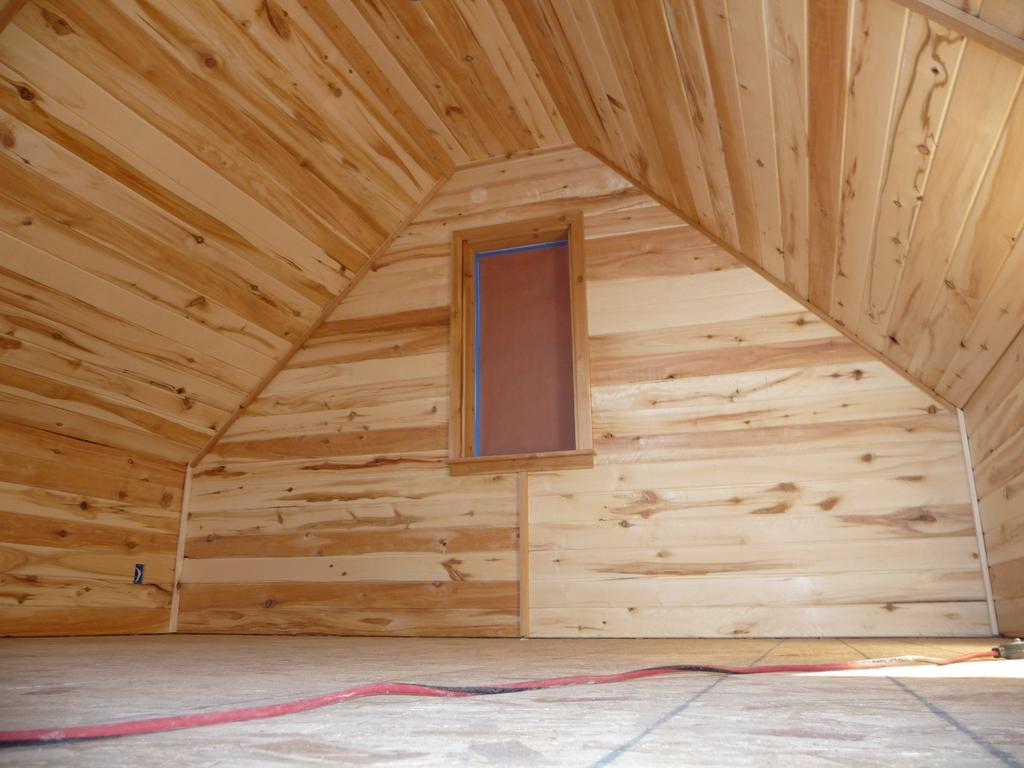
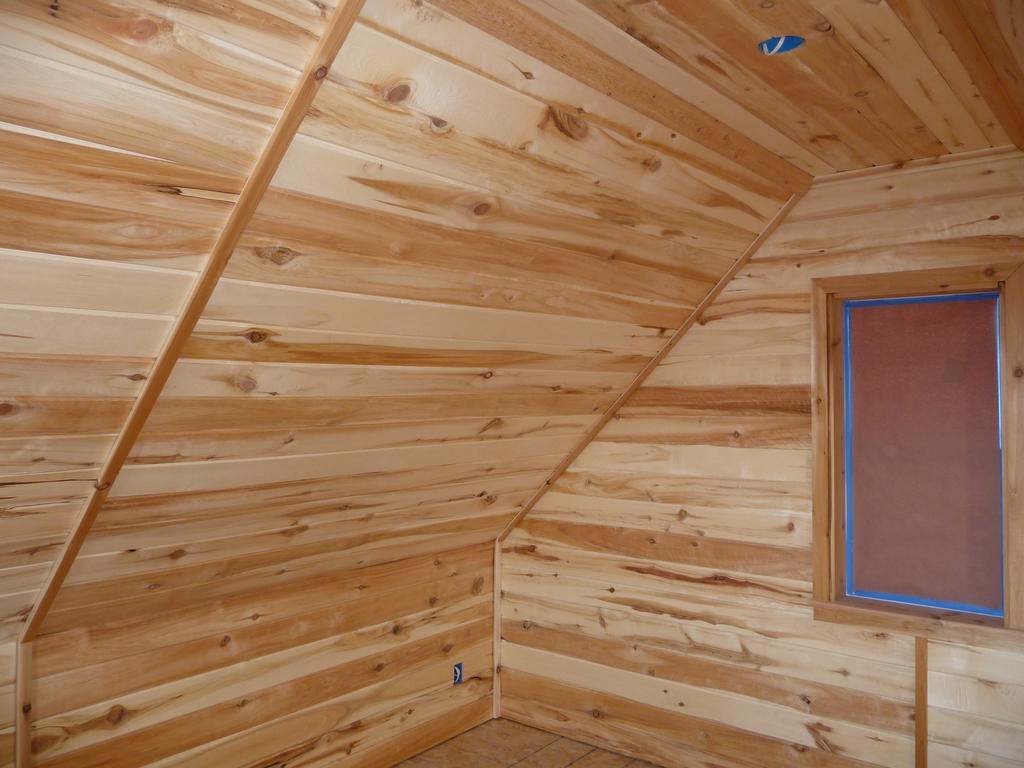
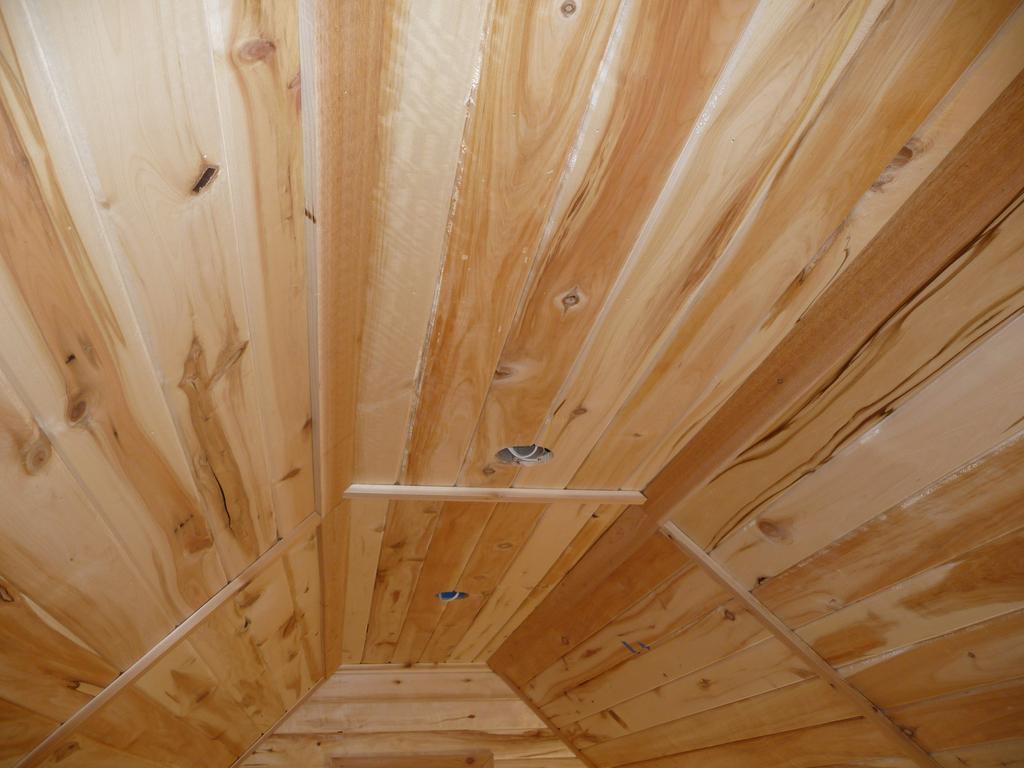
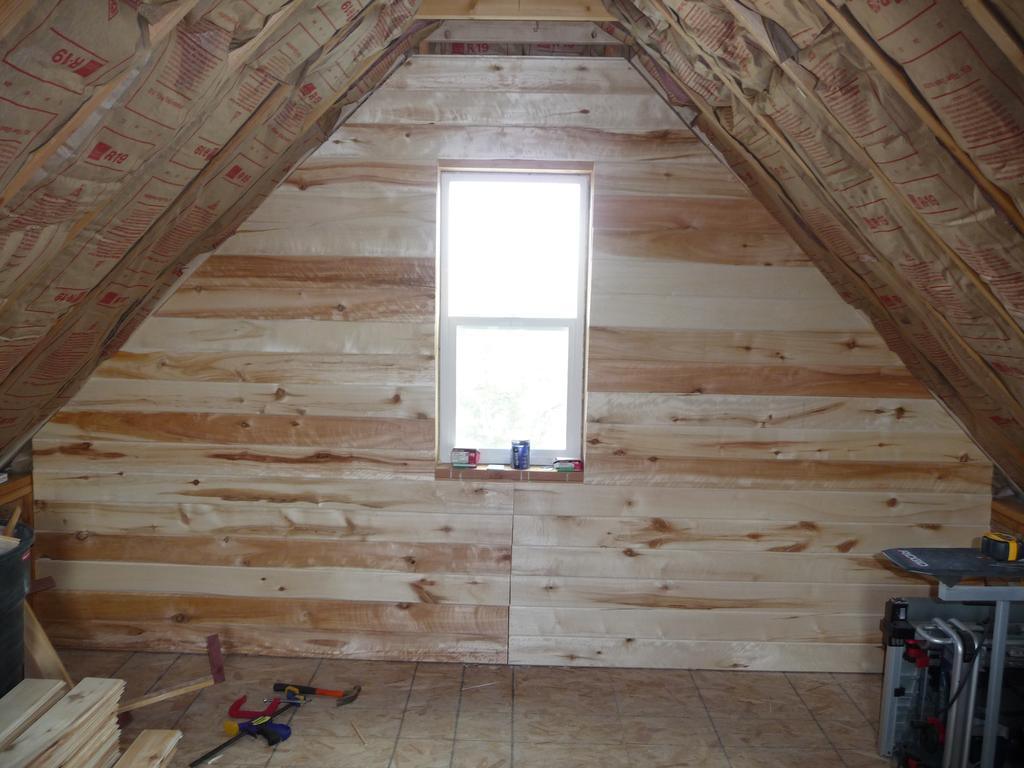
I've finished installing the aspen siding in the loft. It took a bit longer than expected. Next I'll add some finish and trim.

Loft Trim
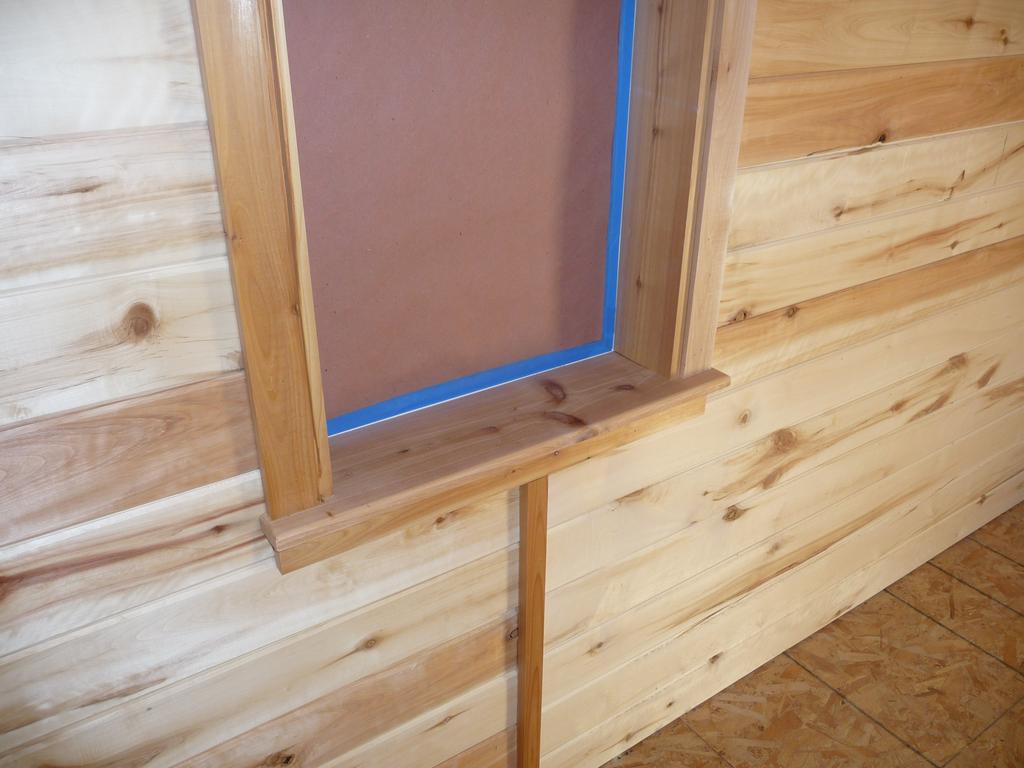
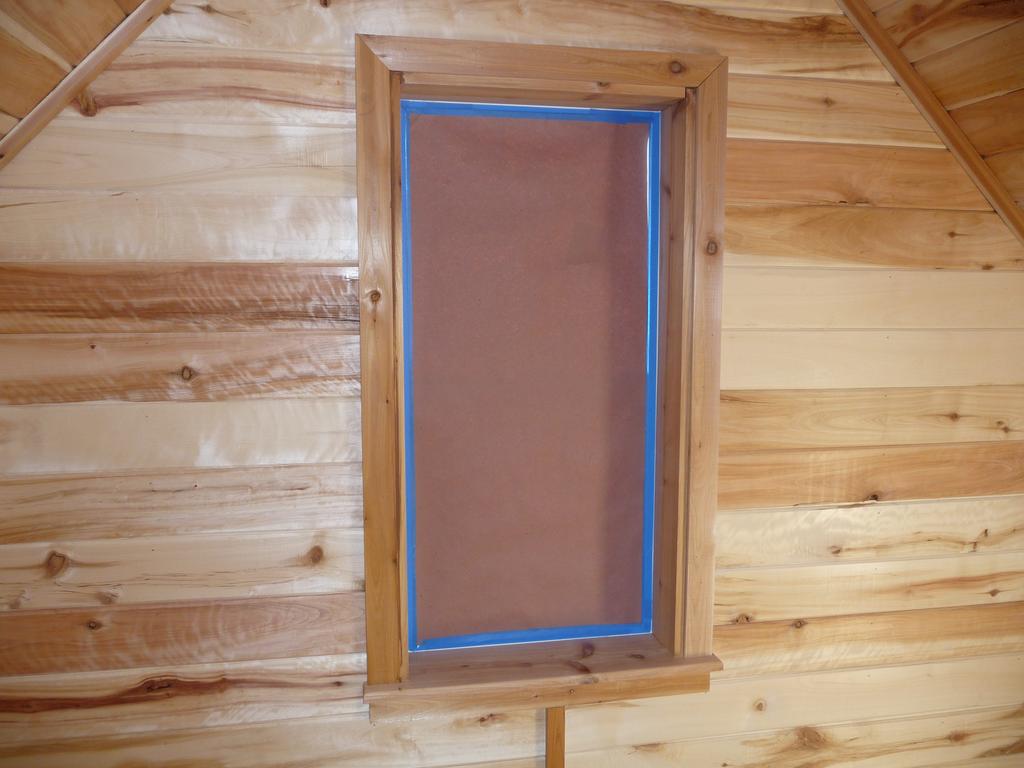
Monday, Aug 06, 2012
Saturday I installed trim in the loft. I used cedar for the trim and the color matched the aspen siding very well. The windows took the longest but turned out well.

More Siding, More Rails, Tailgate, Rabbit
Monday, Jul 30, 2012
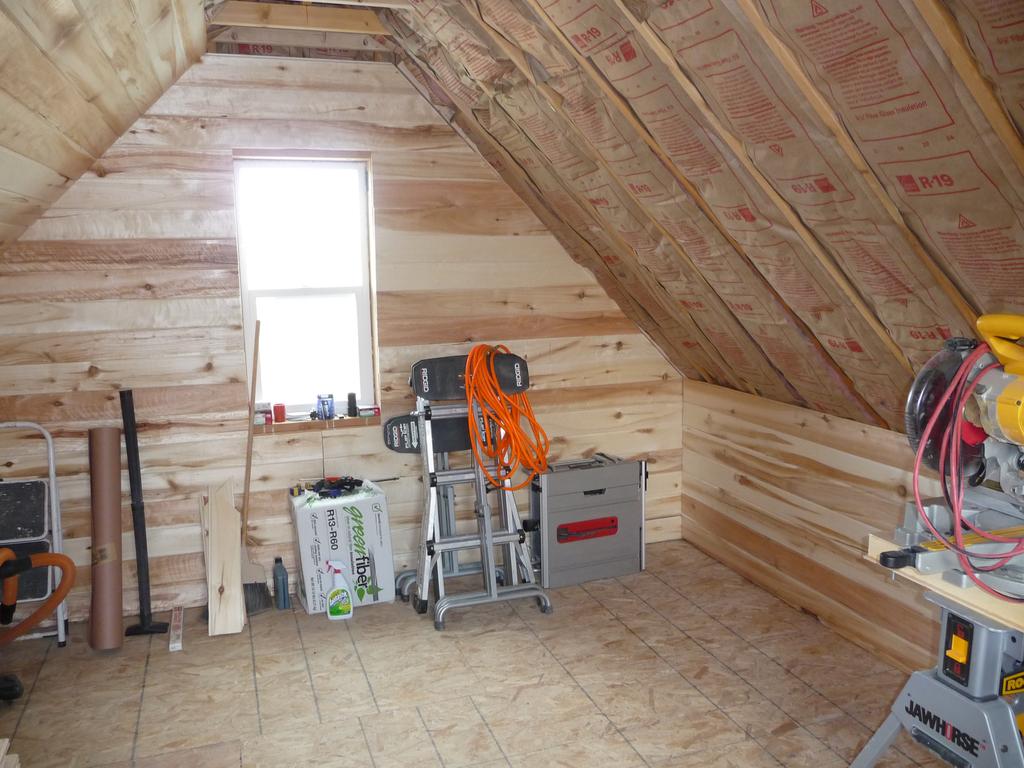
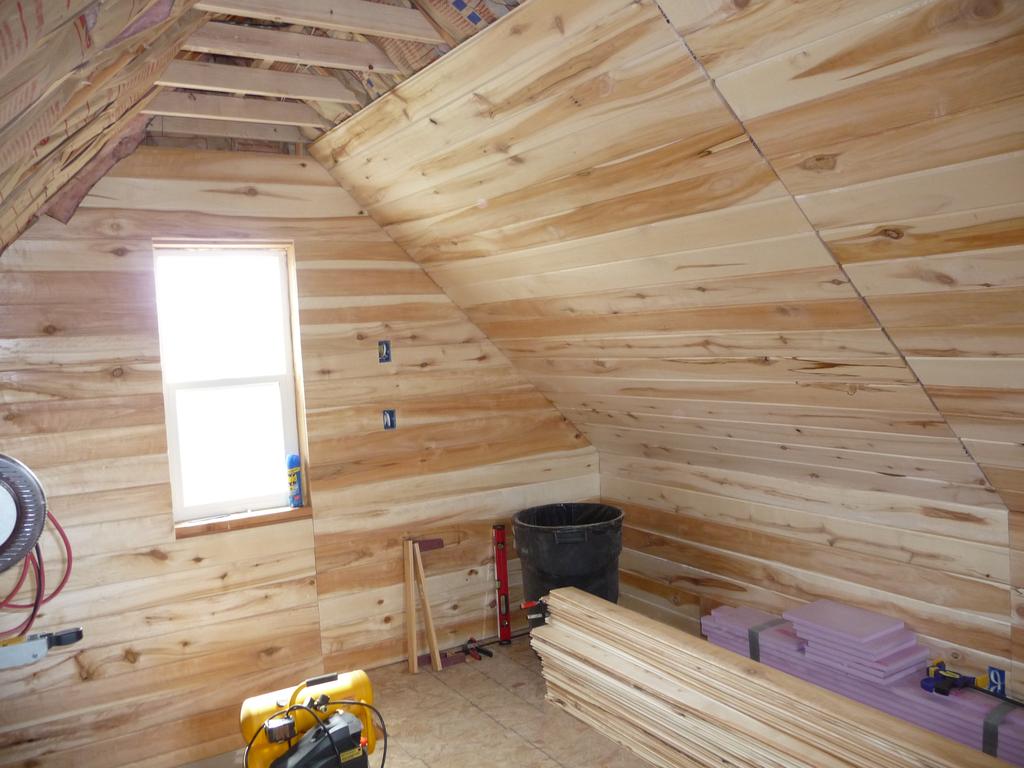
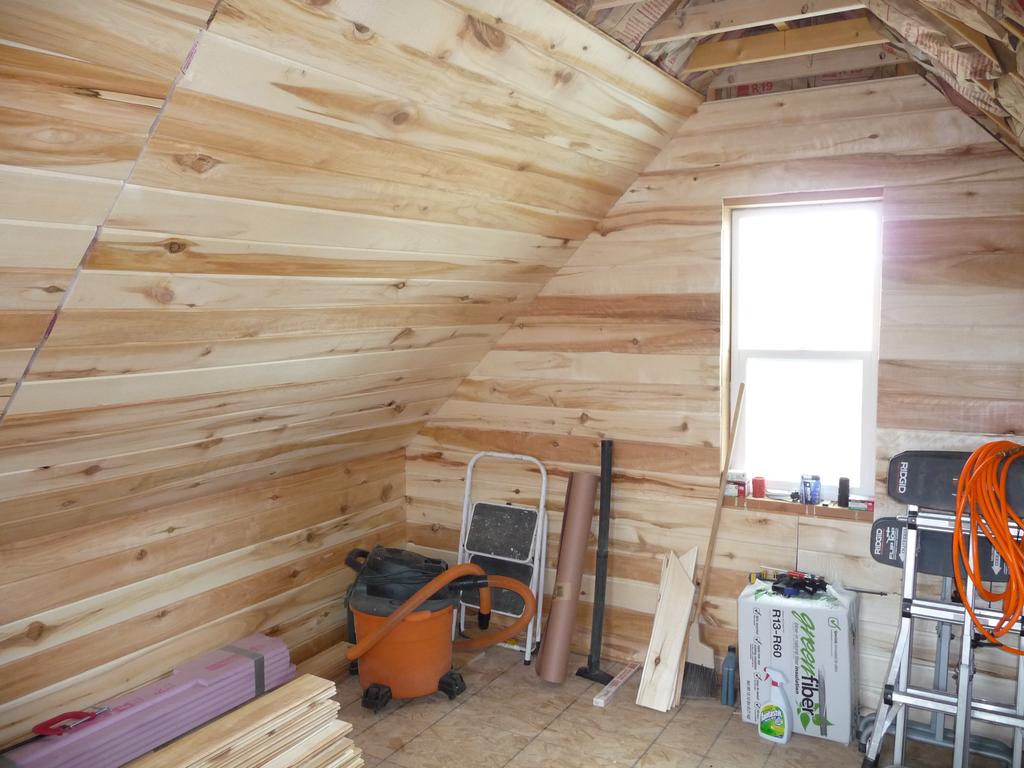
This week I mostly worked on the siding in the loft. I'm about 80% finished.
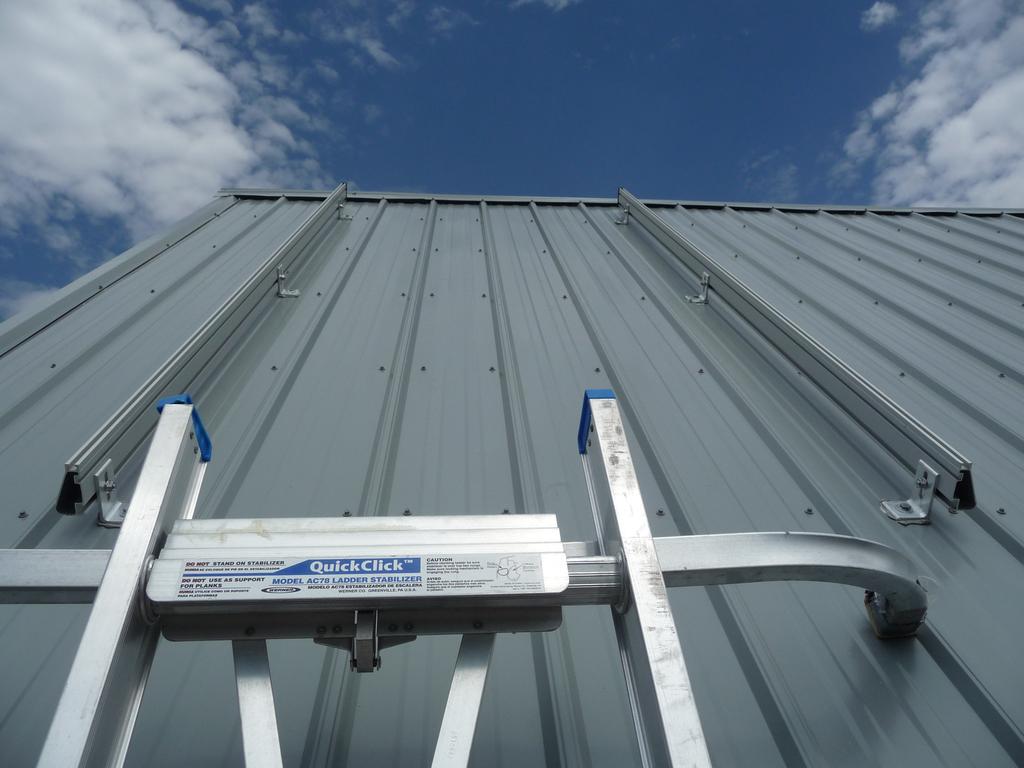
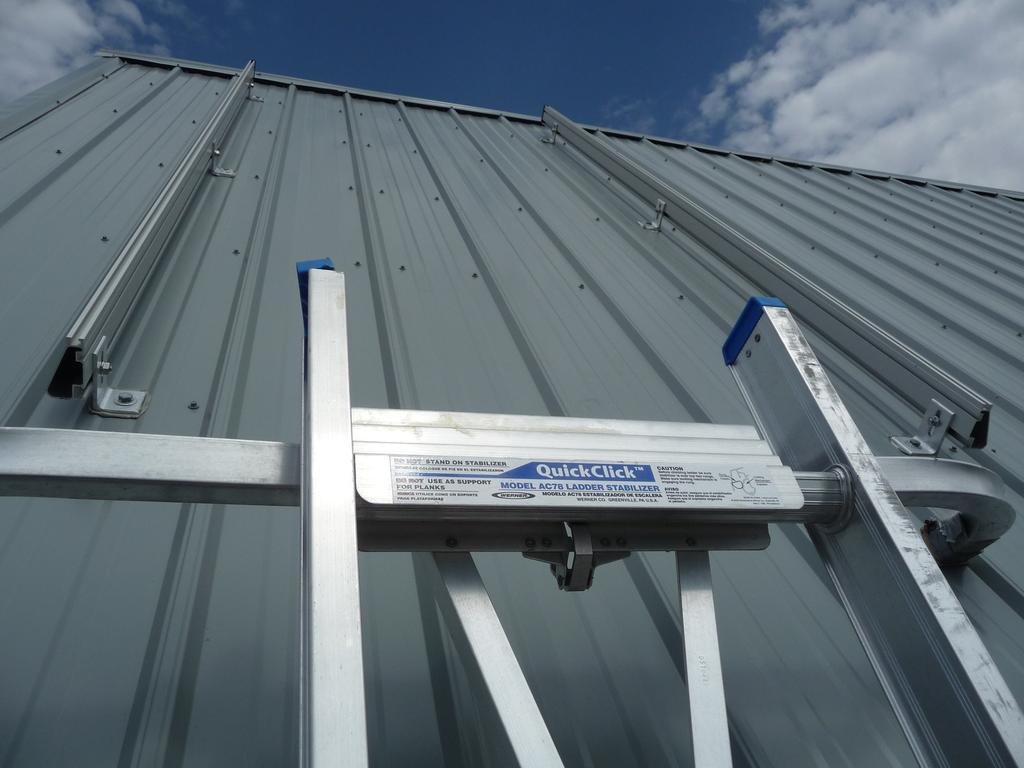
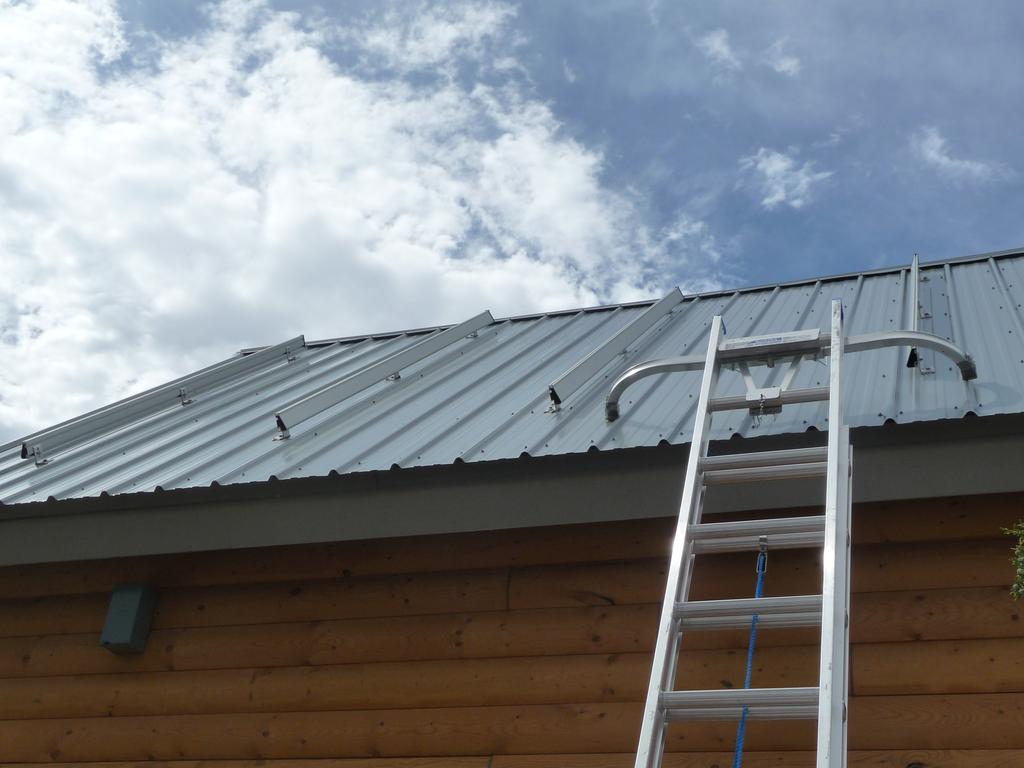
I also installed two more aluminum rails on the roof for solar panels. Originally I planned on installing two large 300W+ panels using the two rails but have since decided to use four somewhat smaller 200W+ panels, therefore the extra set of rails are required.
Minutia:
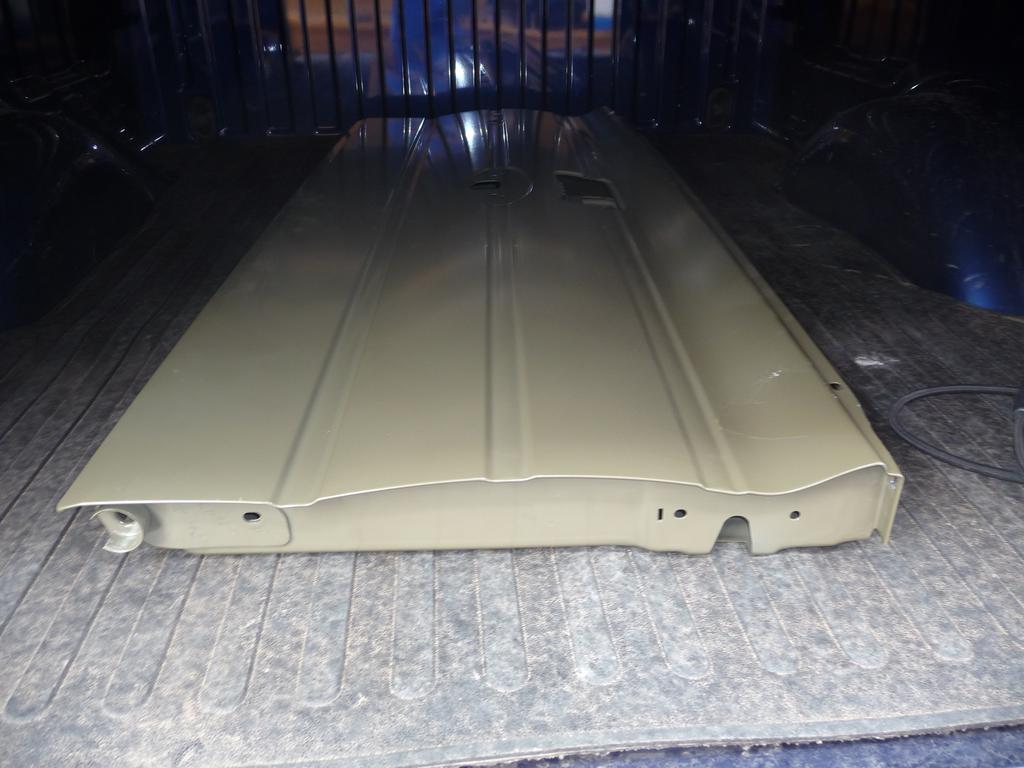
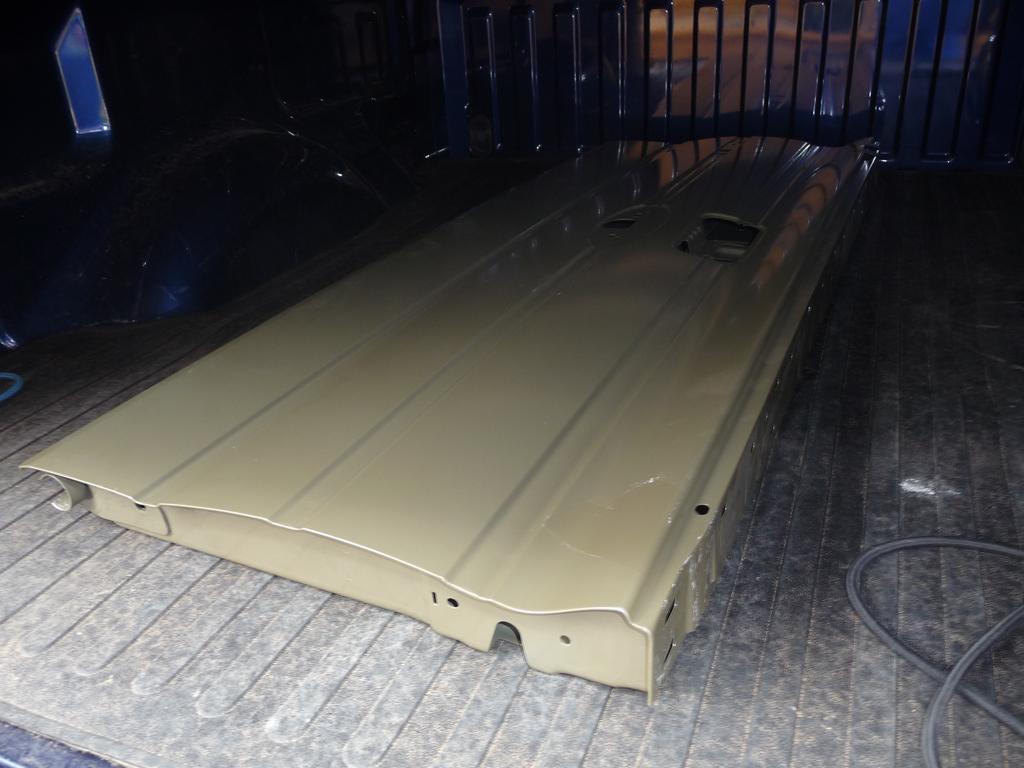
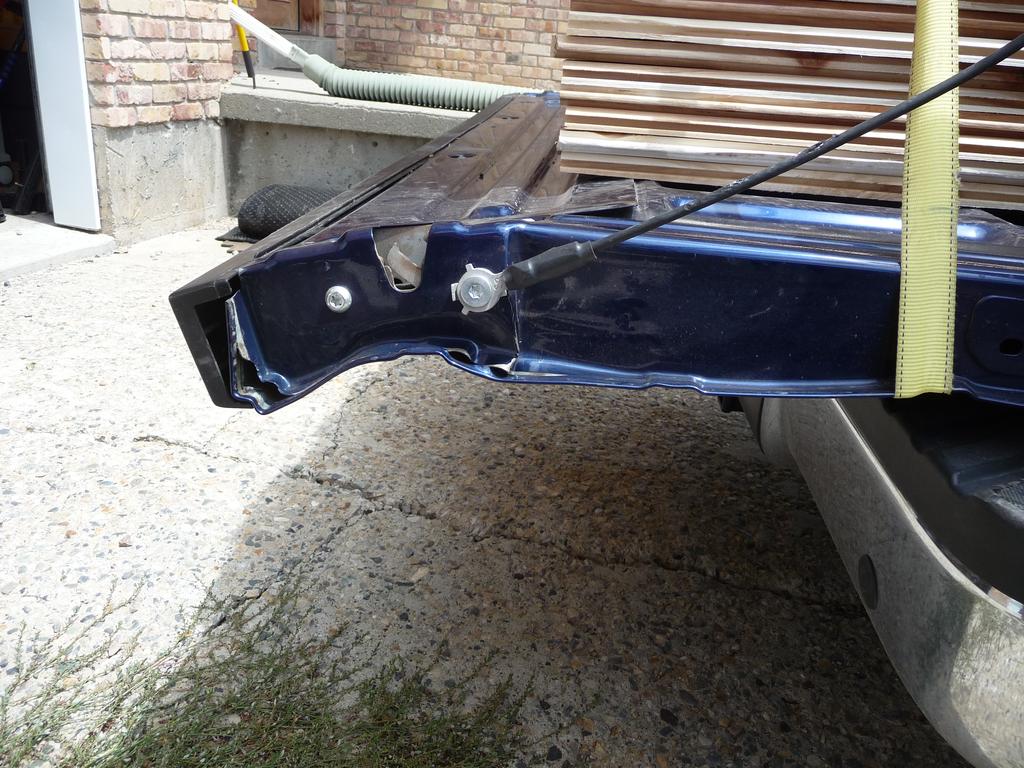
I found a new replacement Ford tailgate shell locally for $250. It's already primed and I'm going to try painting it myself.
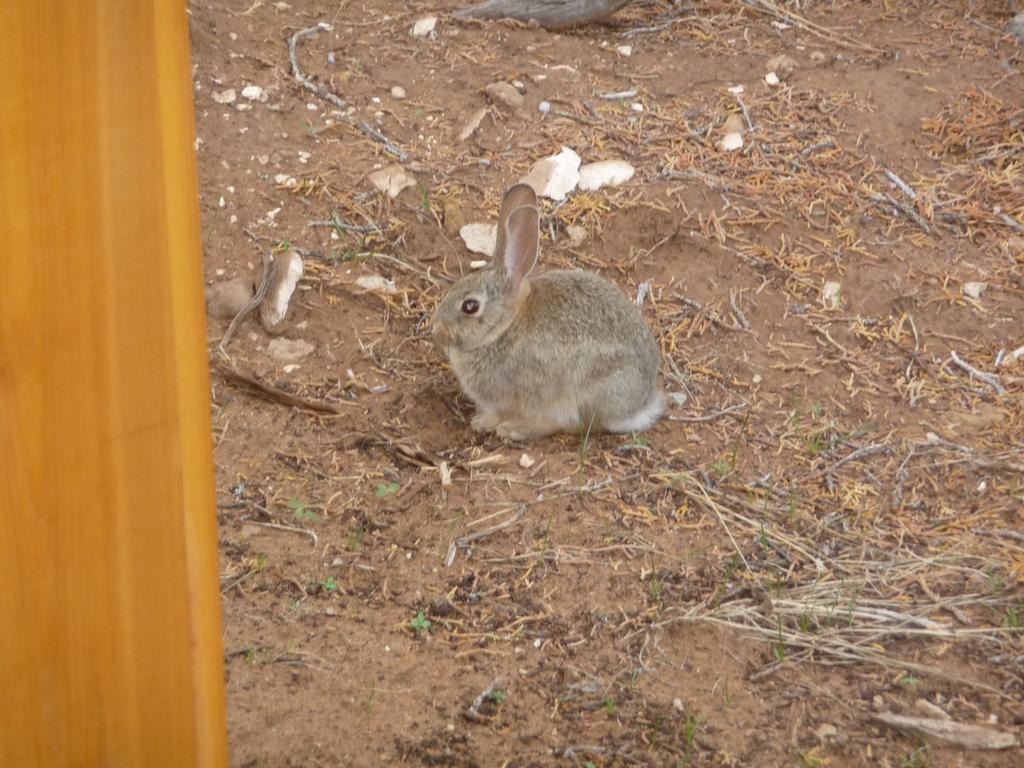
There's a rabbit living in the pile of scrap wood by the cabin. He made an appearance on Saturday.


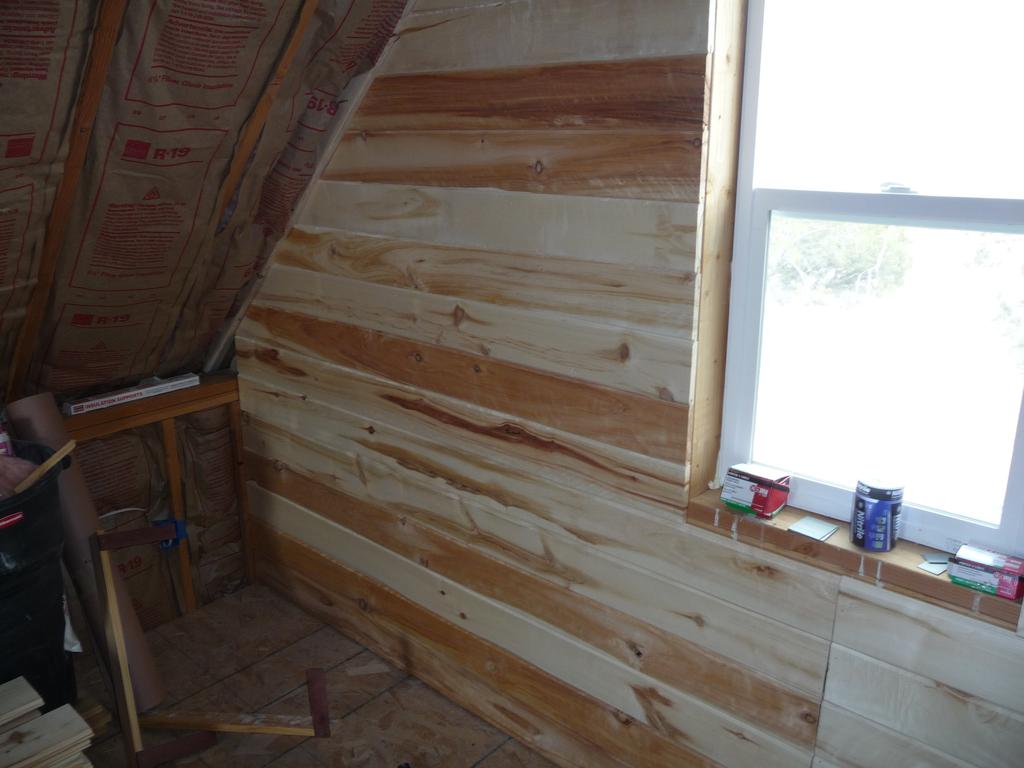
Interior Siding for the Loft
Tuesday, Jul 24, 2012
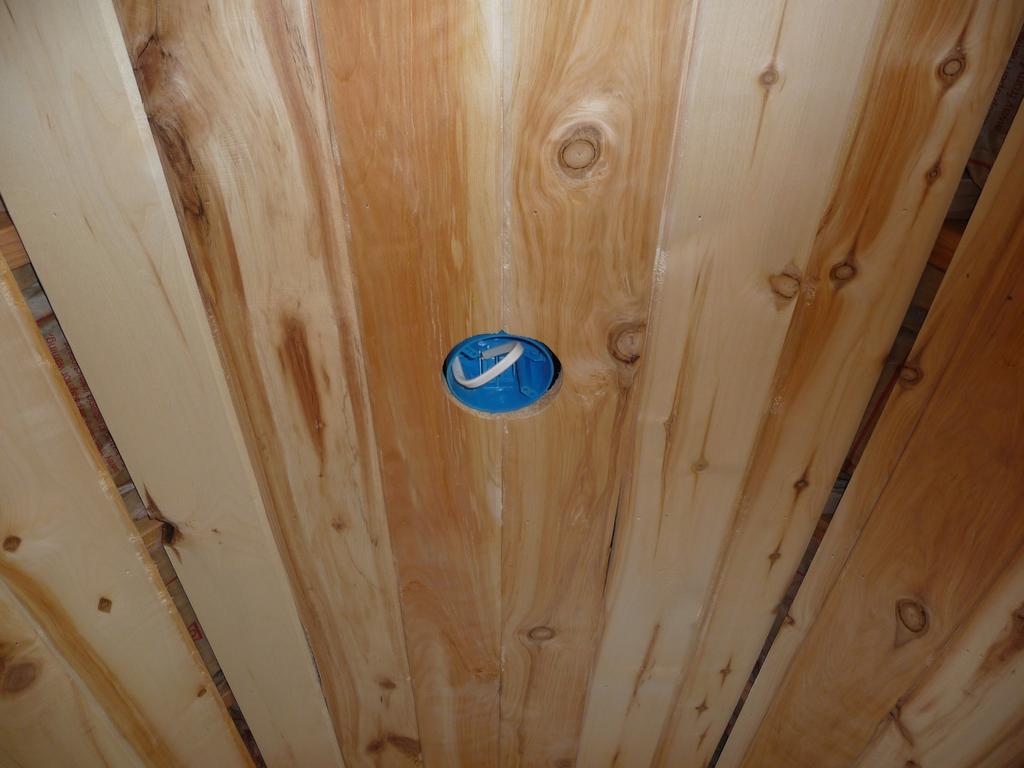
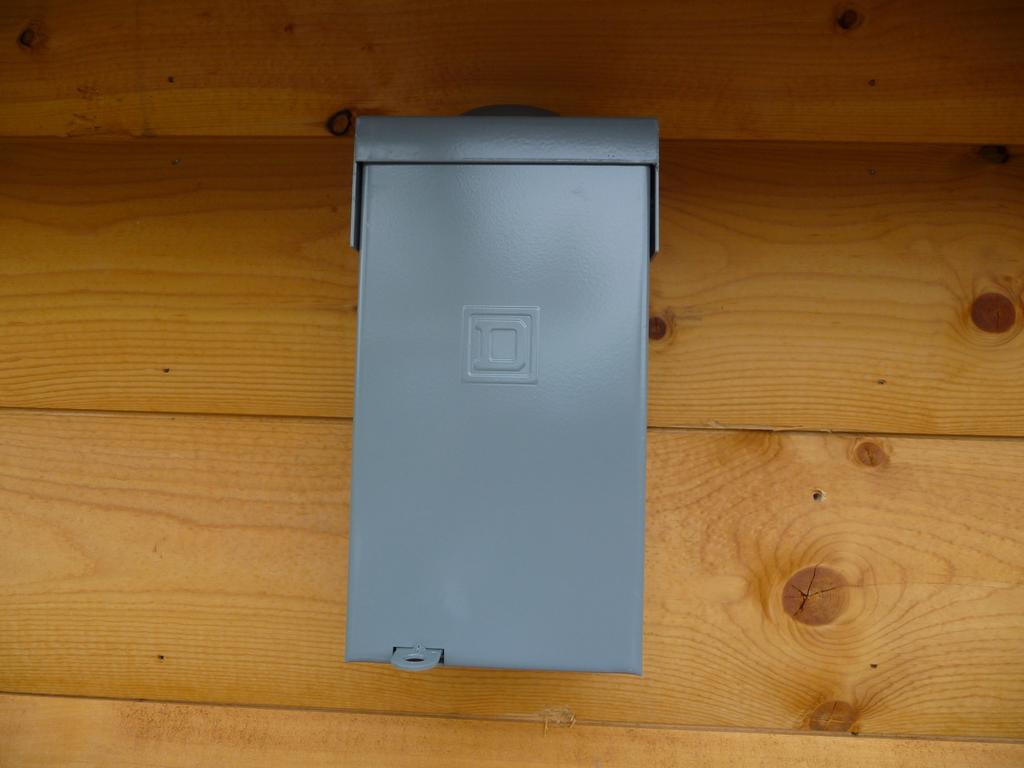
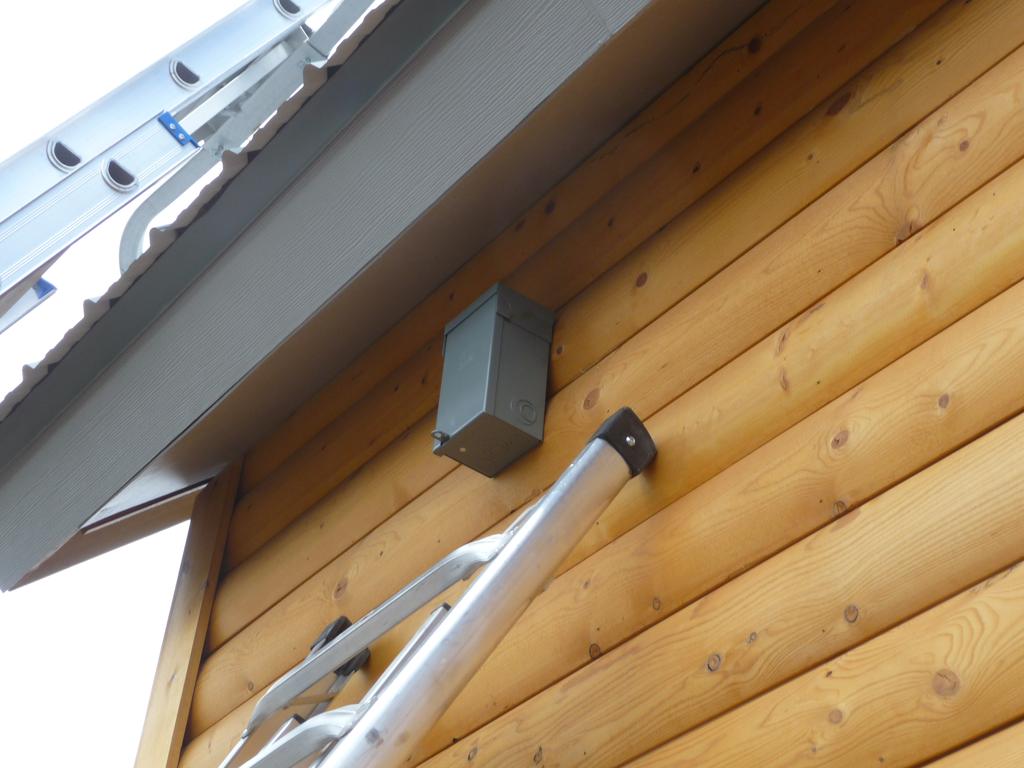
Last week I installed a junction box on the side of the cabin for the solar panels. The 8-3 wire from the utility room terminates in this box. I needed to finish running that wire before I could close up the loft ceiling.
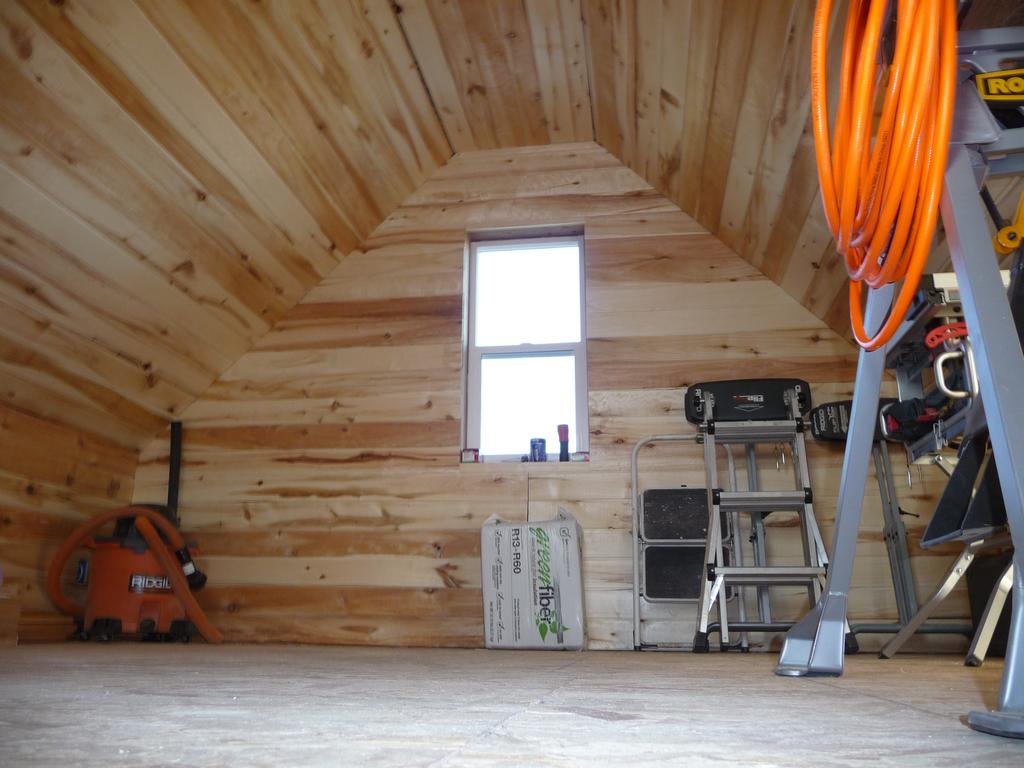
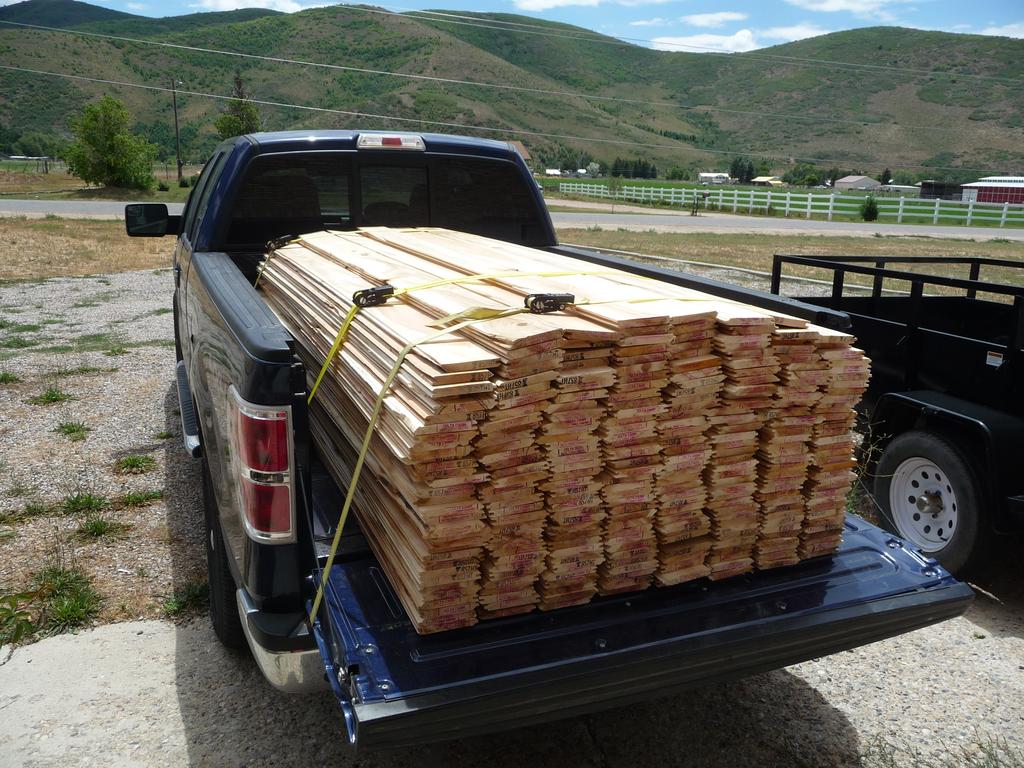
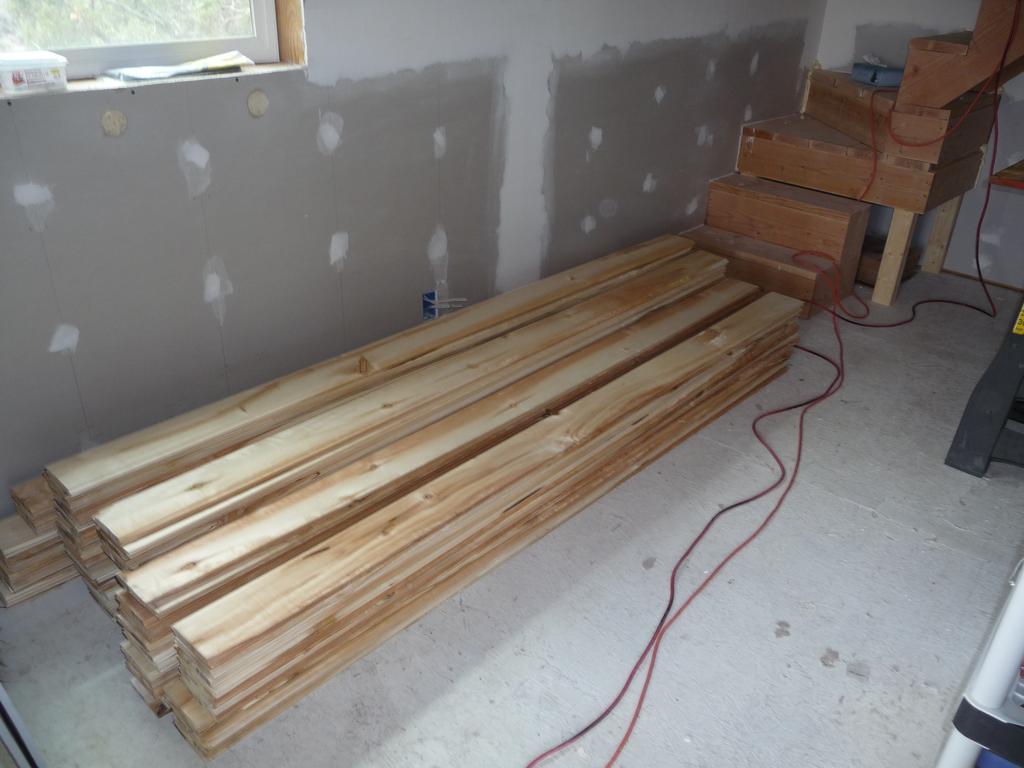
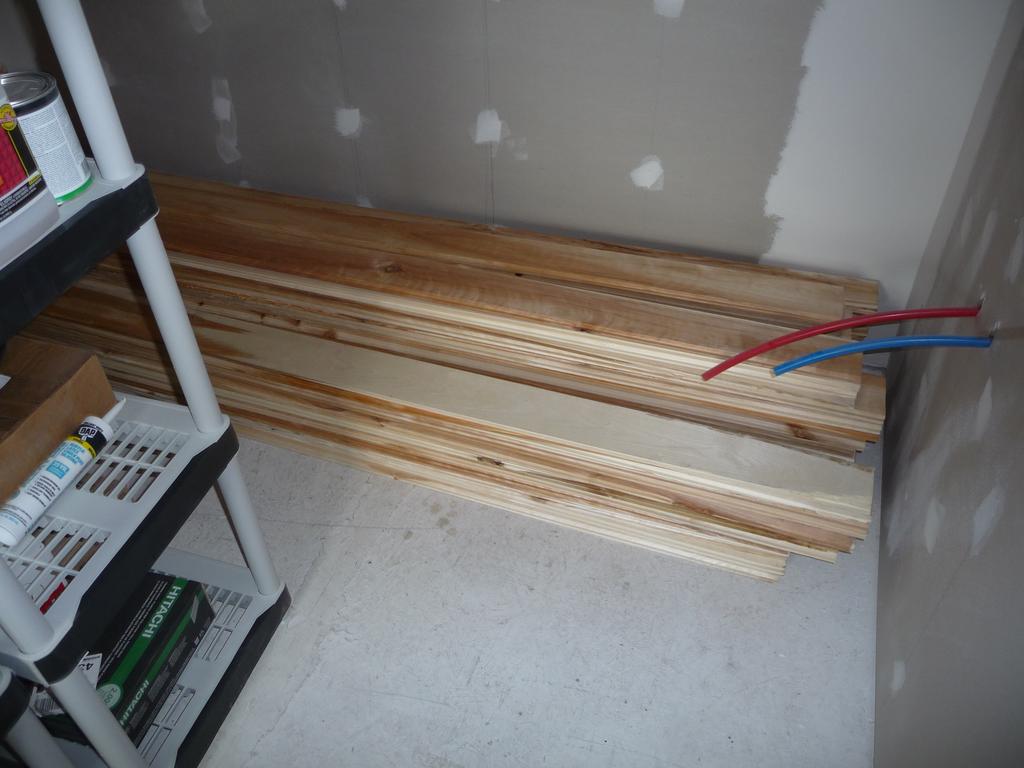
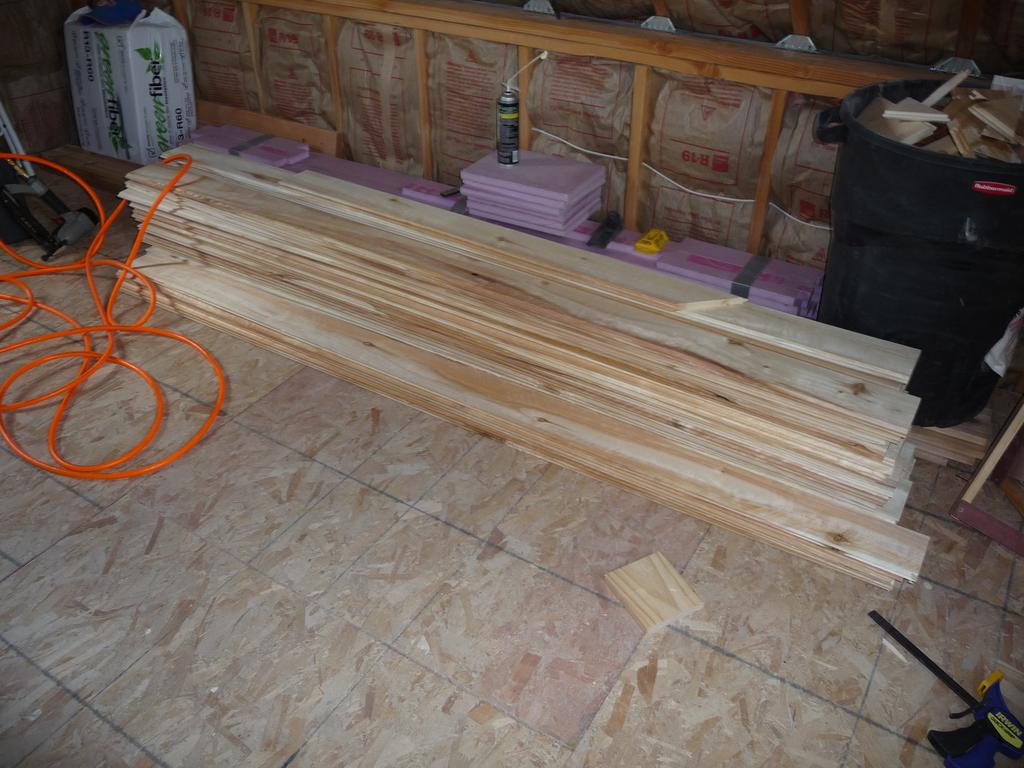
Last Friday I picked up 900 sq. ft. of aspen T&G siding for the loft interior. We had some trouble loading the bundle onto the truck, resulting in a bent tailgate. We ended up hand loading the bundle, so in two days I unloaded the planks from the bundle, loaded them into the truck, and unloaded them into the cabin.
I more or less finished installing the siding on one gable end.

Insulation, Cleanup, and Solar Mounts
Thursday, Jul 05, 2012
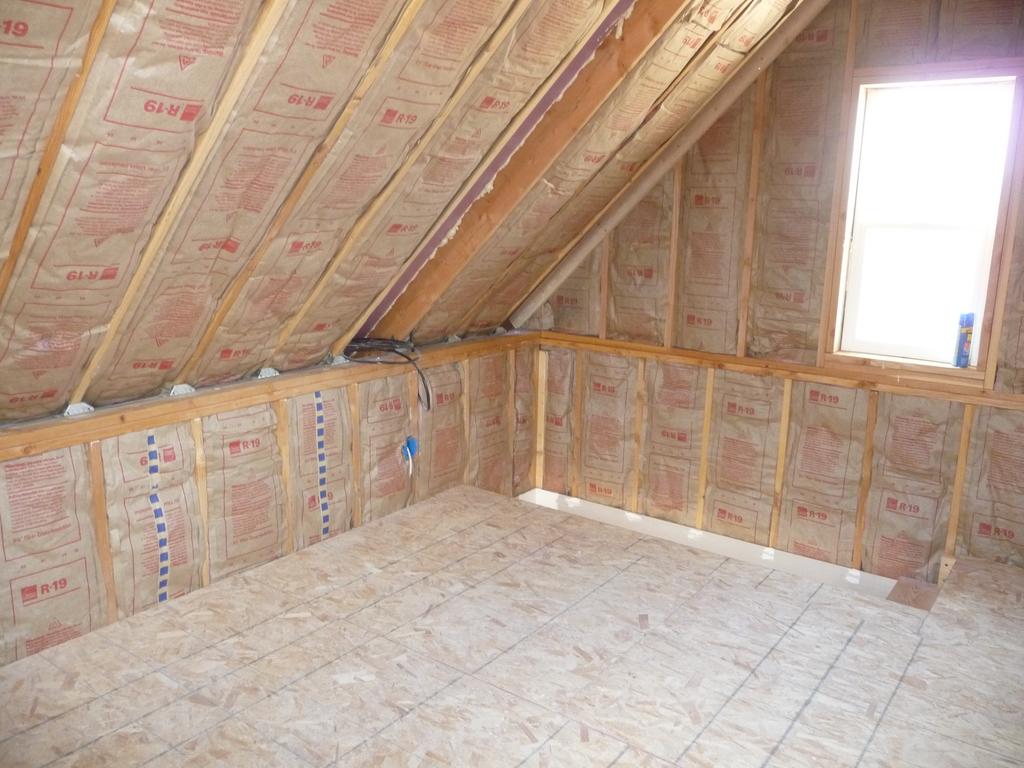
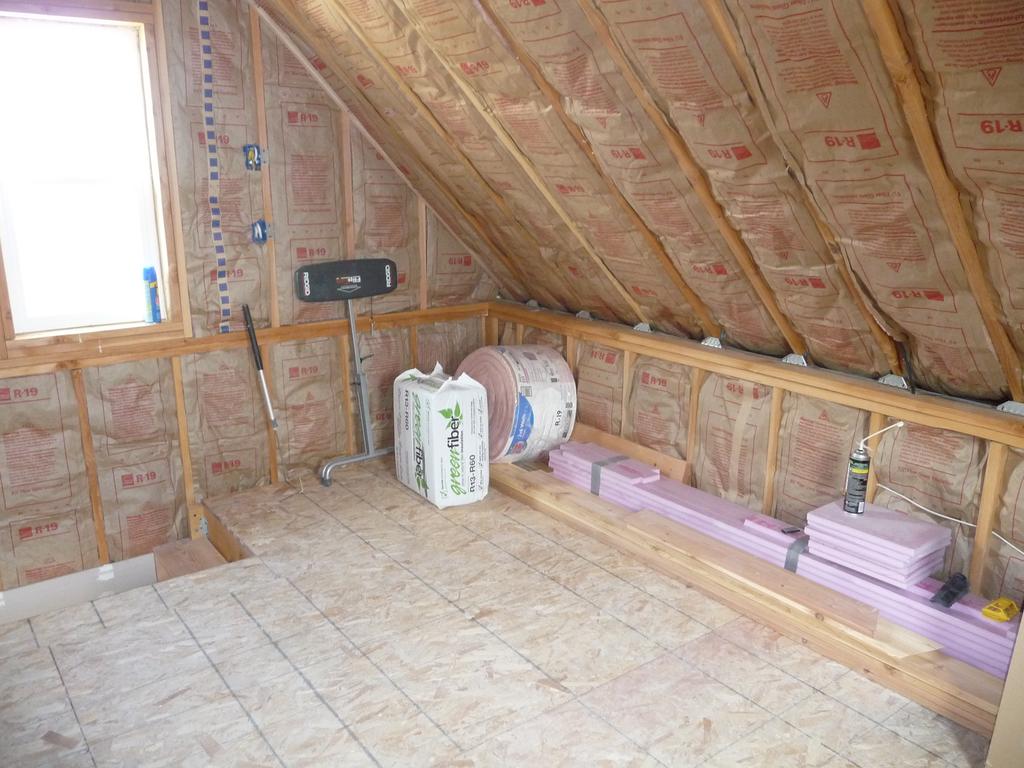
Over the last couple of weeks I finished with the cellulose insulation, insulated the loft knee walls, cleaned all the dust out of the cabin, and installed the mounting rails for the solar panels.
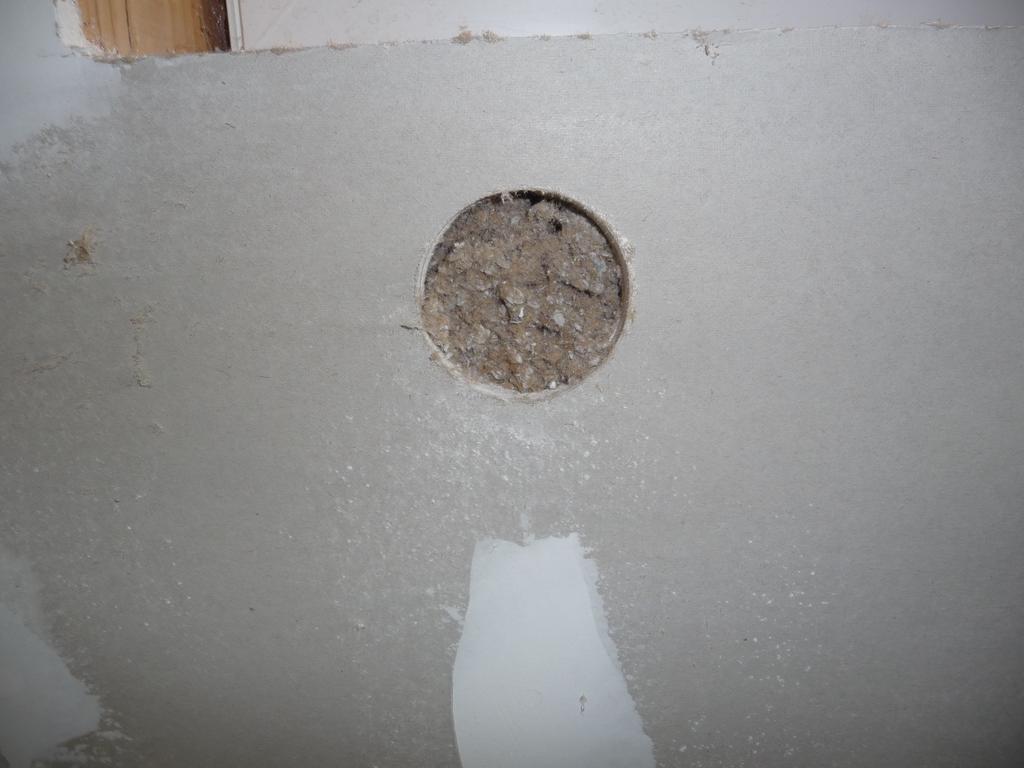
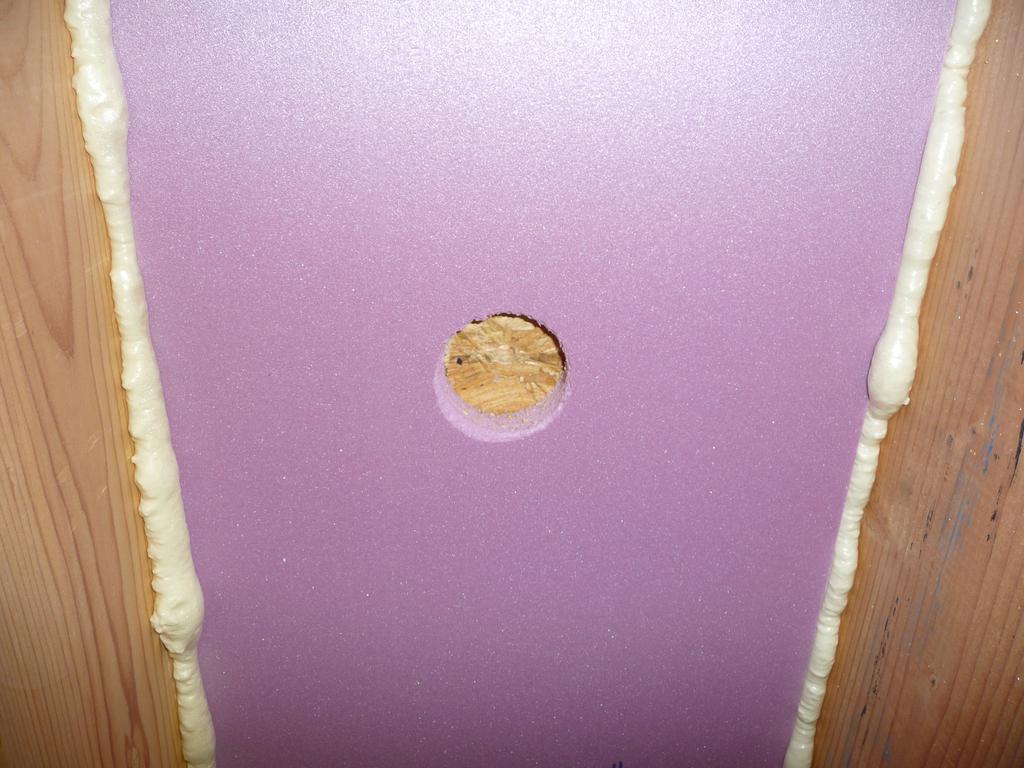
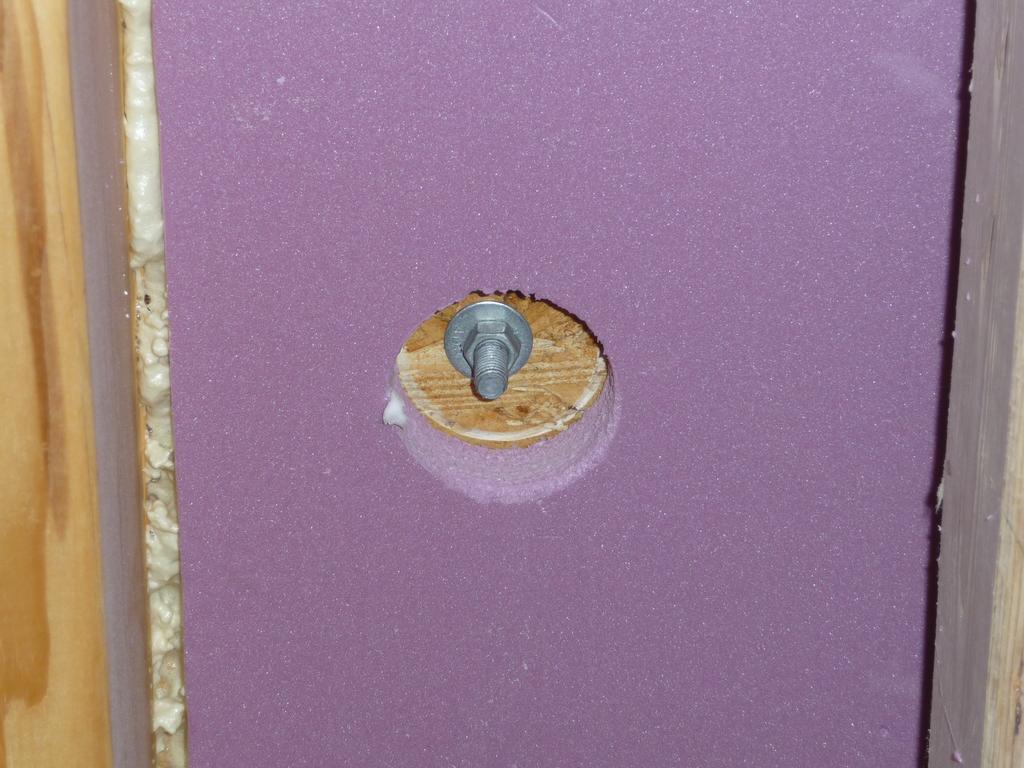
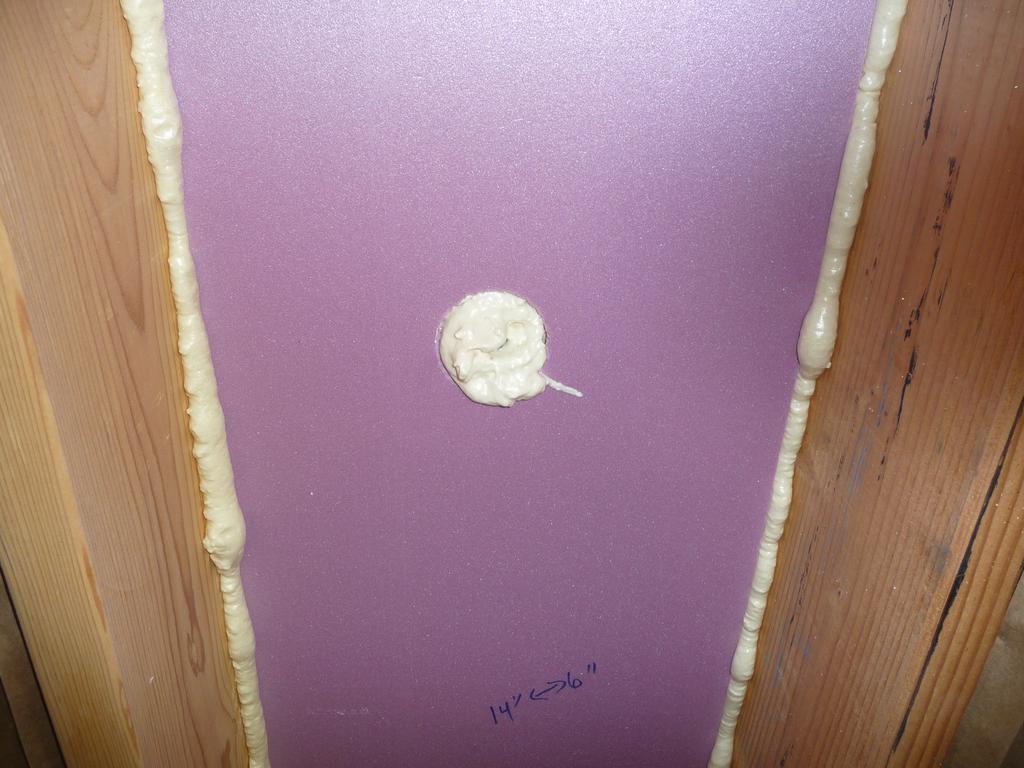
The only areas needing blown insulation that remained were the areas under the three first floor windows, and an area in a bathroom wall cavity where there was some blocking holding the shower controls. I drilled a two inch hole in the top of each cavity and blew in the cellulose using a two inch hose. I capped the holes with spray foam which I'll cover later with joint compound. The whole process worked well and only took a couple of hours once I had the hoses on the blower set up correctly.
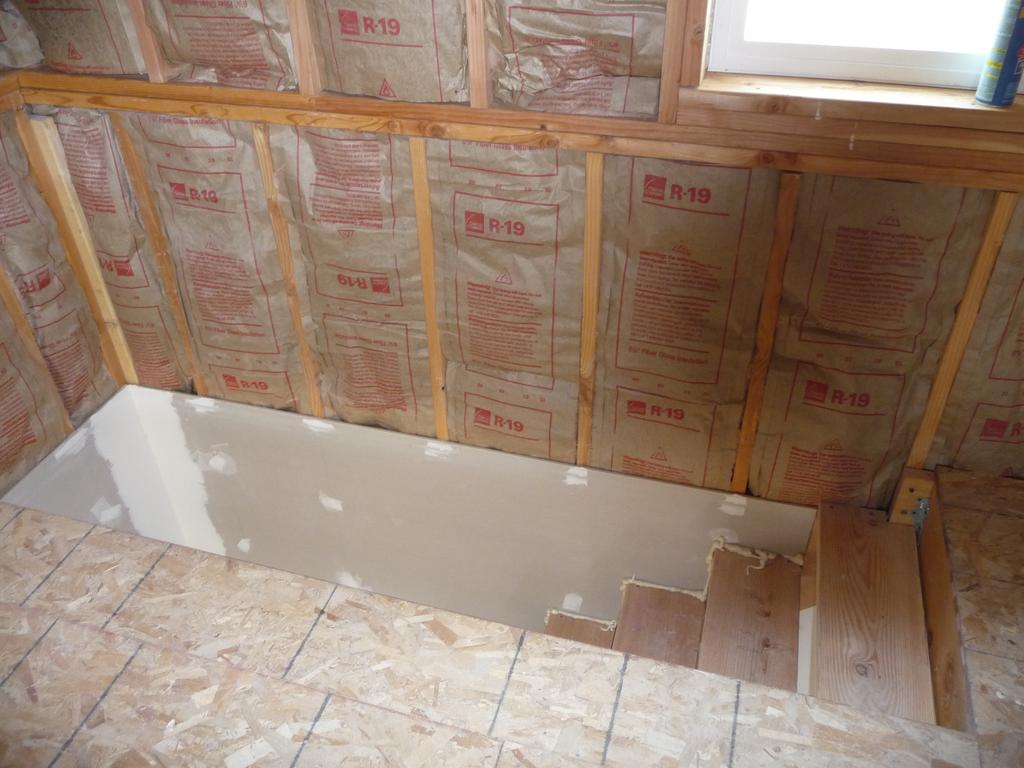
I added fiberglass batt insulation to the knee walls in the loft, making sure there was no gap between the cellulose in the lower wall and the batts up top.
With the cellulose insulation finished, I spent about eight hours vacuuming off the layer of dust coating every inch of every part of the cabin. It took so long because of all the tools and supplies stored in the cabin that had to be cleaned individually. When finished, the cabin was definitely a more comfortable working environment.
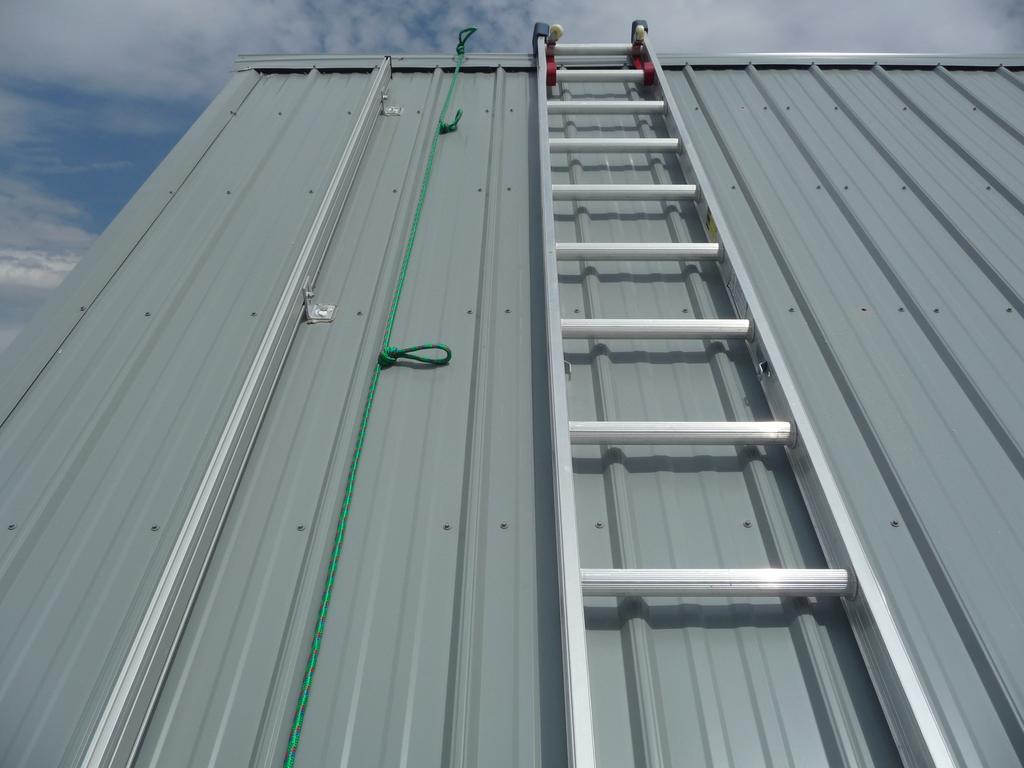
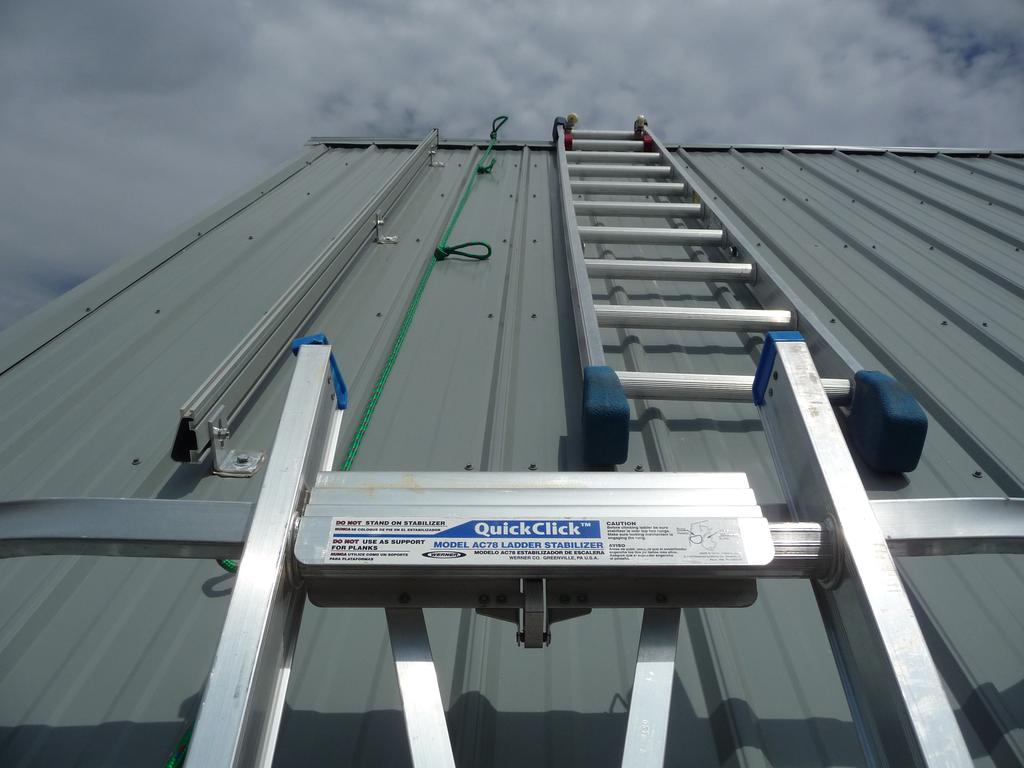
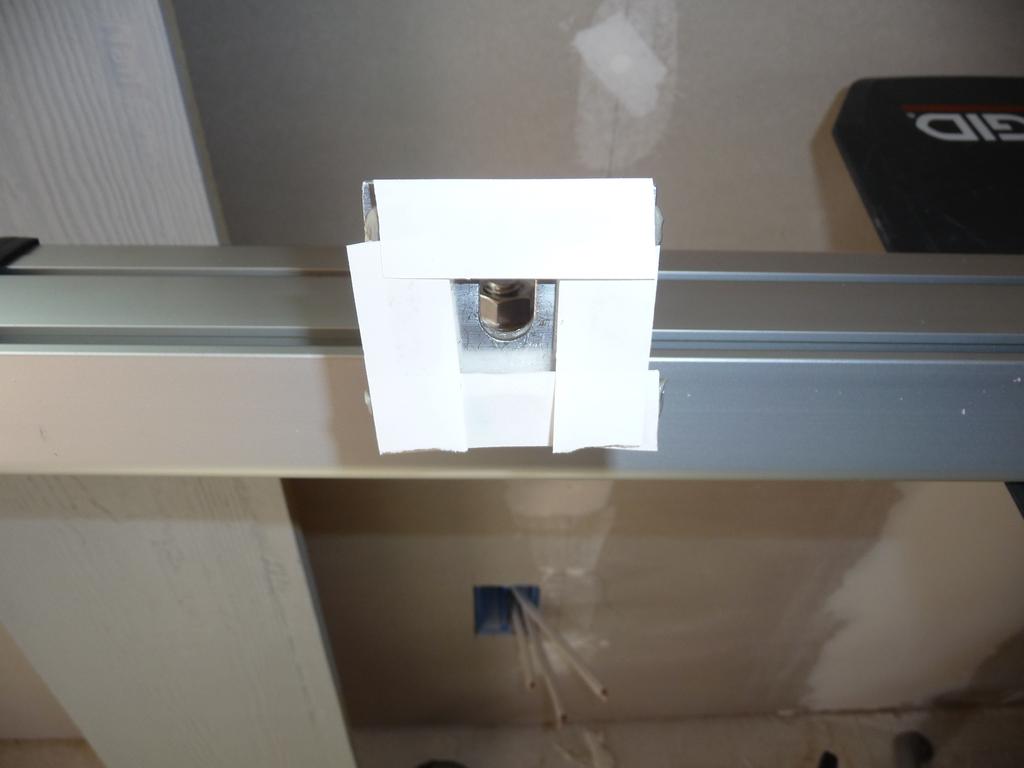
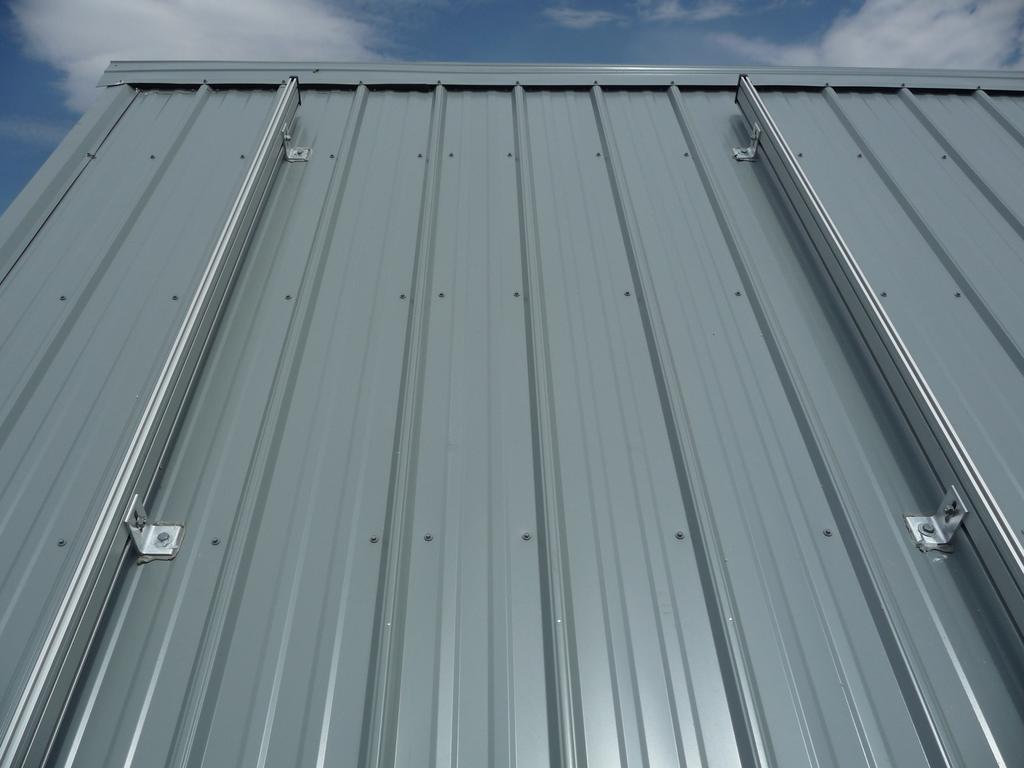
Finally, I installed two extruded alumninum mounting rails on the roof which will eventually hold the solar panels. I needed to install the rails prior to closing off the loft ceiling so I'd be able to access the bolts securing the rails from underneath the roof. Each rail is secured using three aluminum L-brackets with a galvanized bolt running through the metal roofing, 2x4 purlin, and sheathing.
It was painful having to drill holes in my pristine metal roof but I sealed the holes using a layer of butyl tape under the L-brackets and a generous amount of silicon caulk around the bolts themselves. On the inside, I used some spray foam to fill the area around the protruding bolts.