One man's struggle to take it easy
Category: Cabin
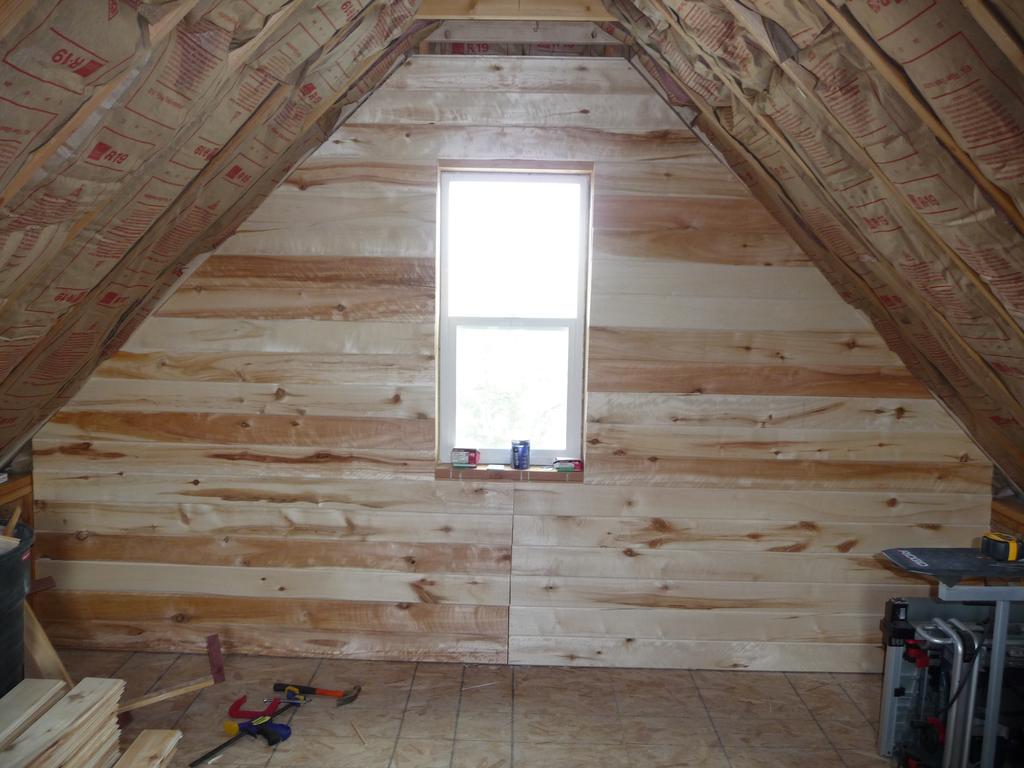
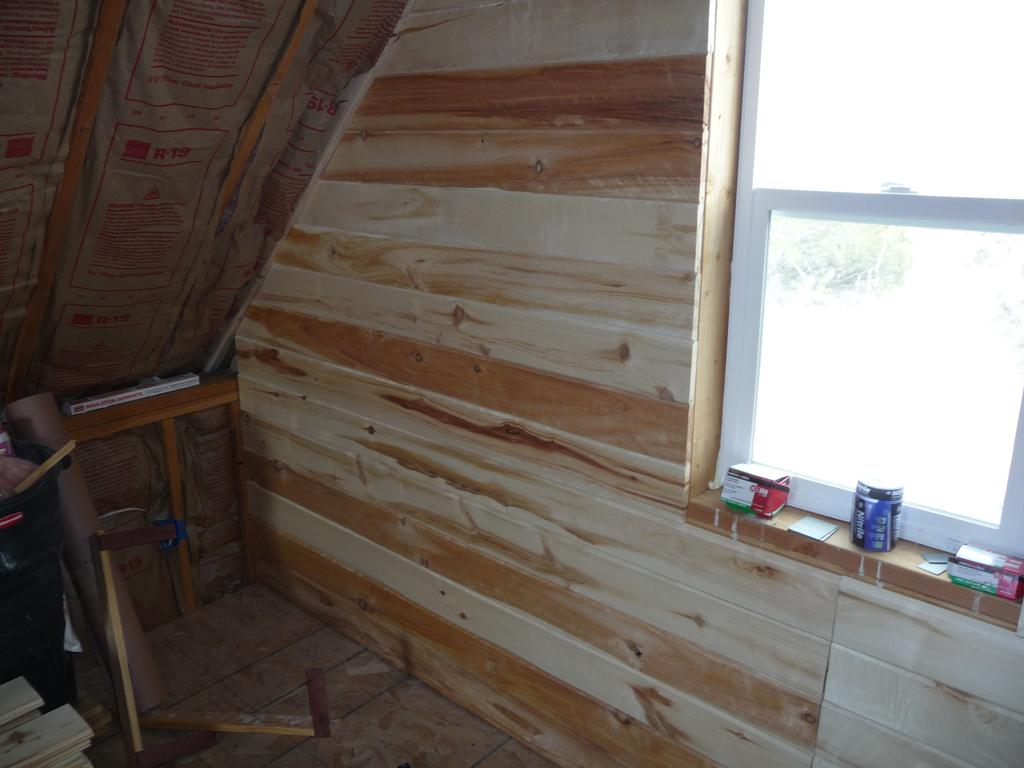
Interior Siding for the Loft
Tuesday, Jul 24, 2012
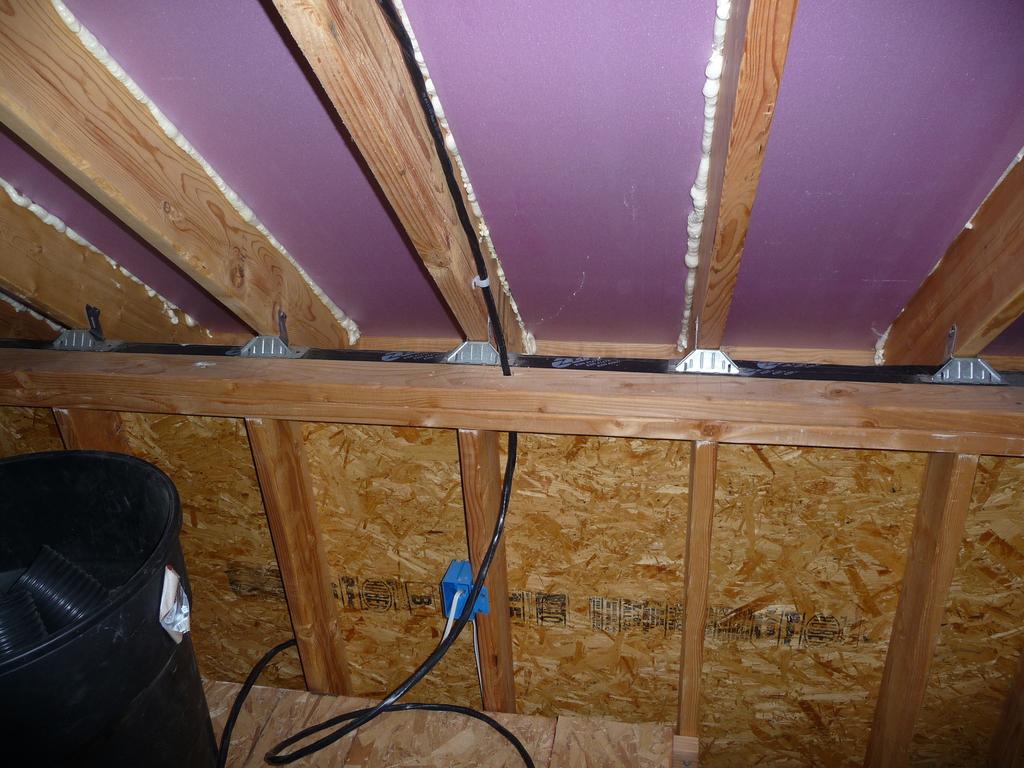
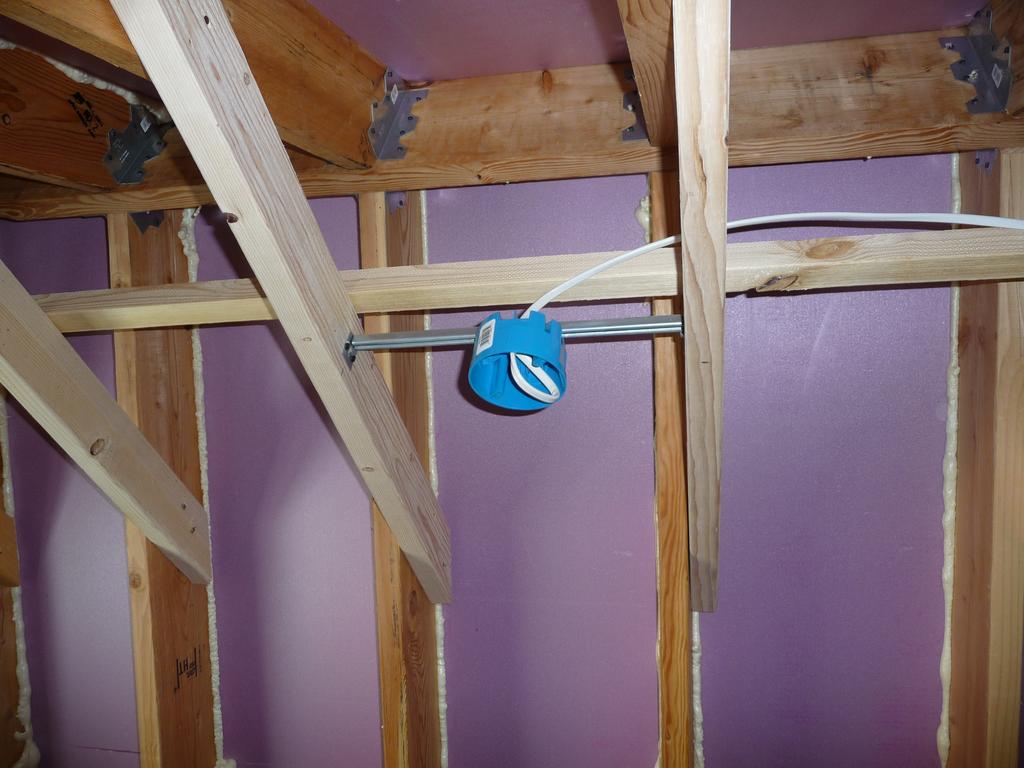
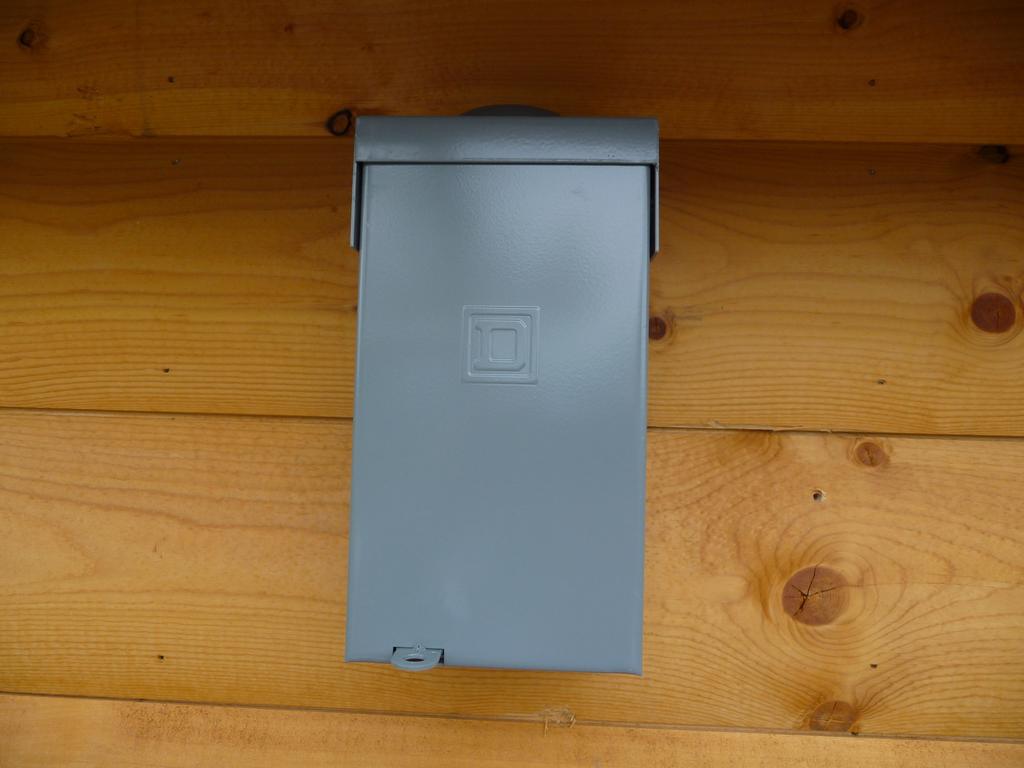
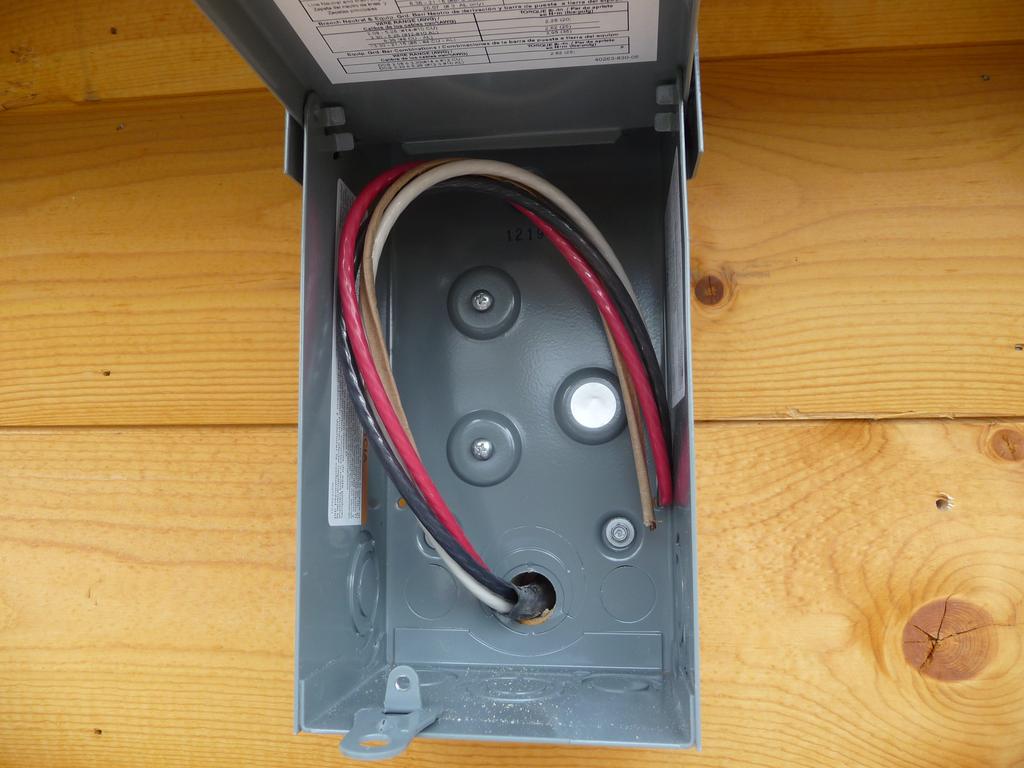
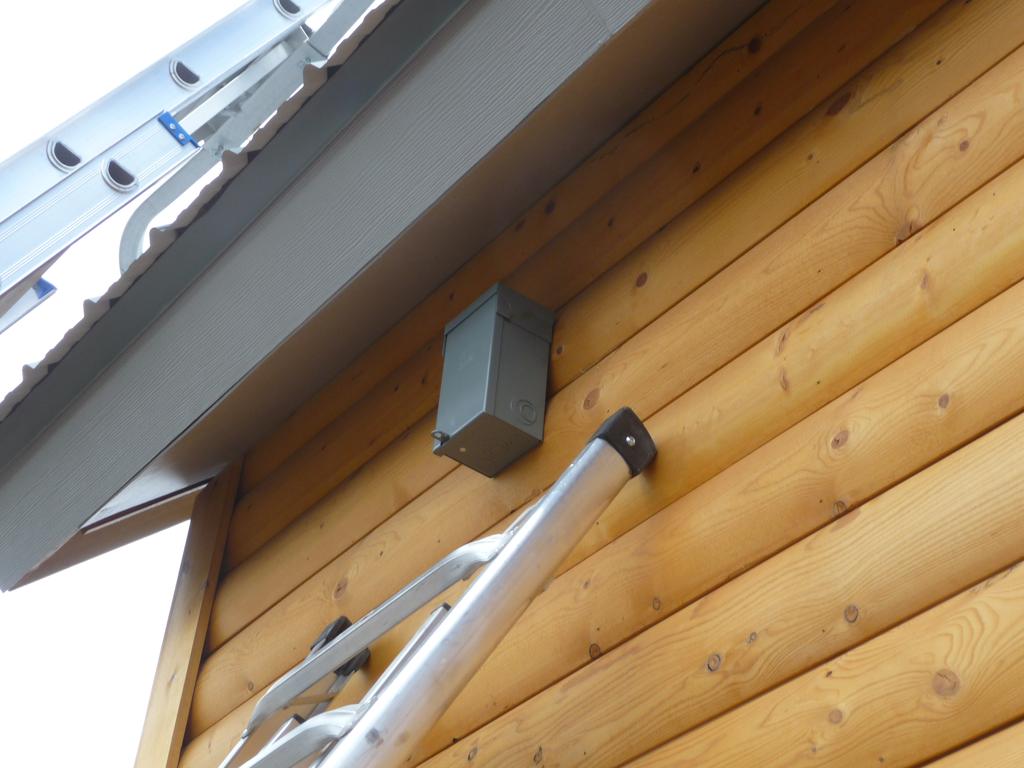
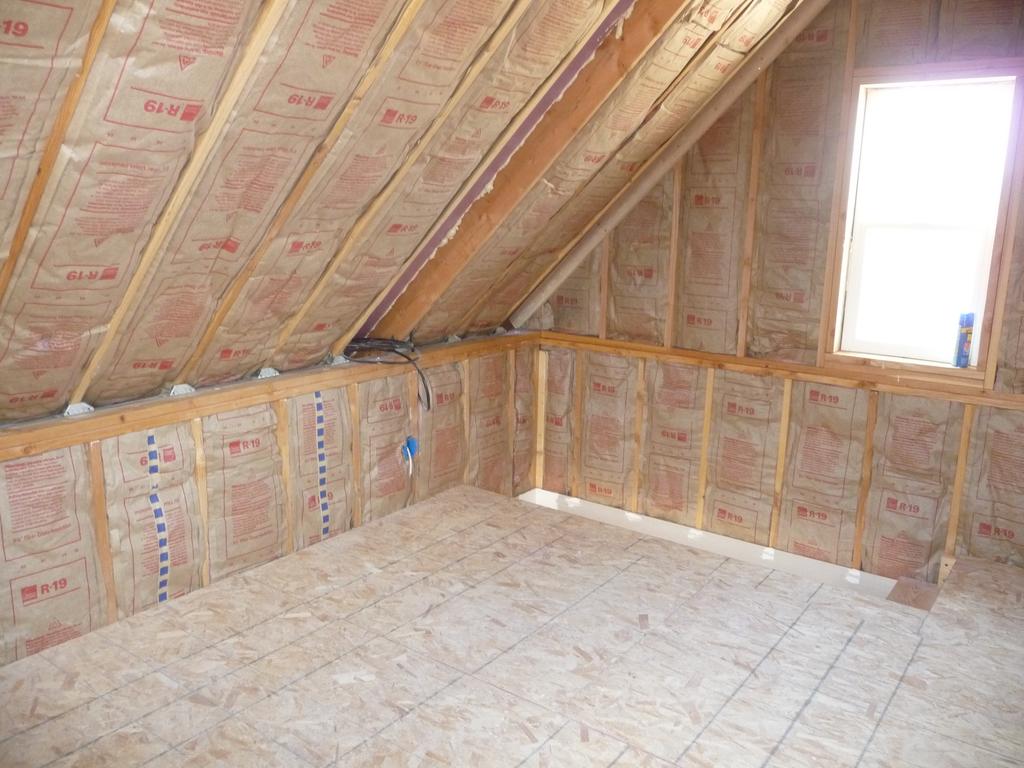
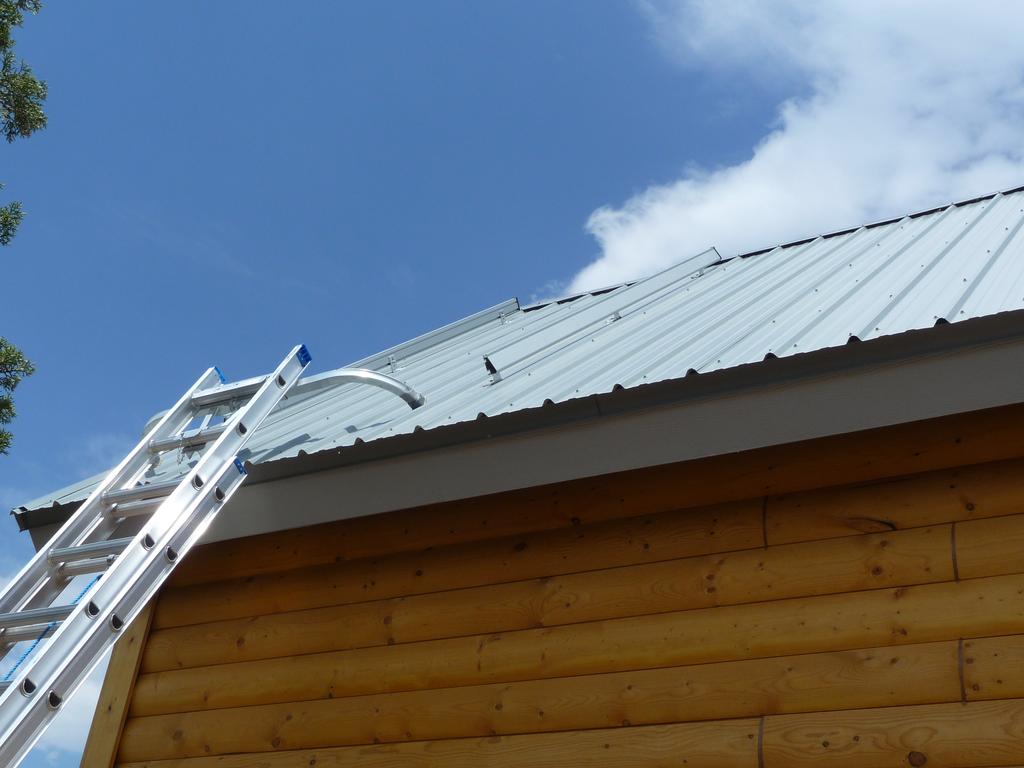
Last week I installed a junction box on the side of the cabin for the solar panels. The 8-3 wire from the utility room terminates in this box. I needed to finish running that wire before I could close up the loft ceiling.
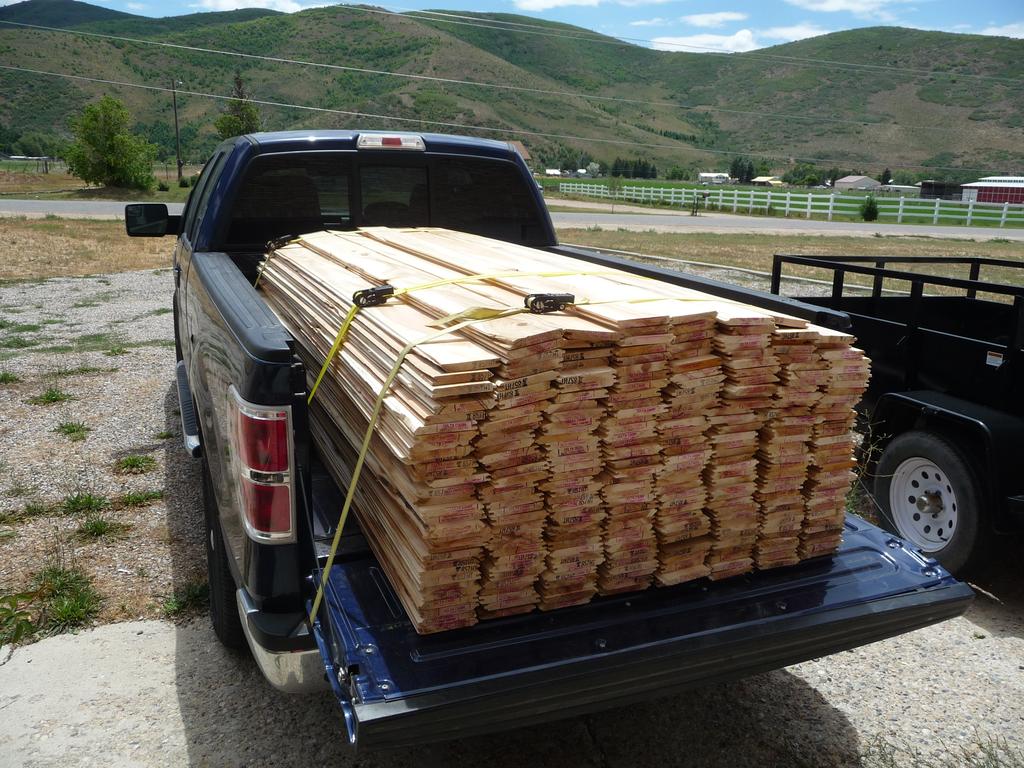
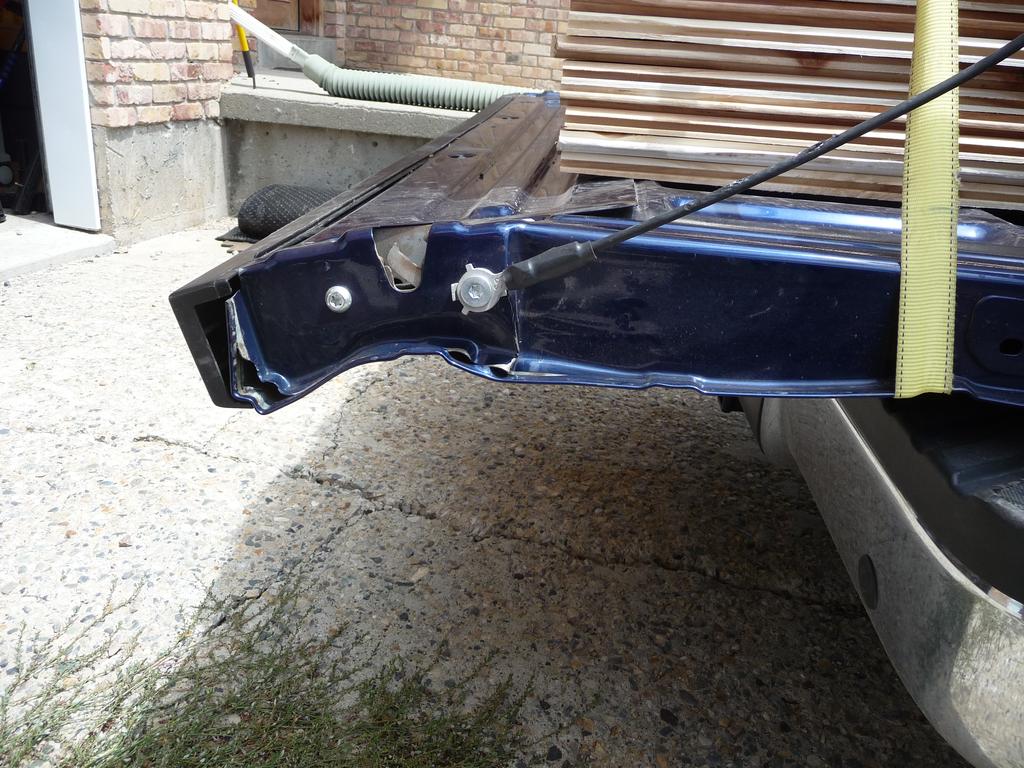
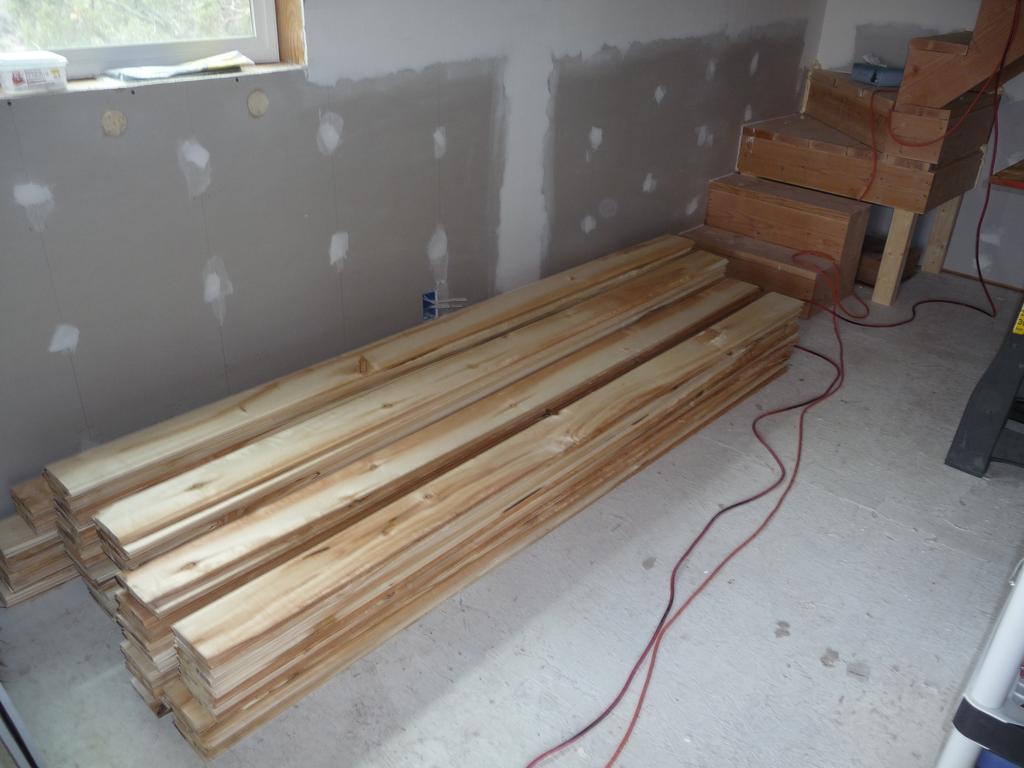
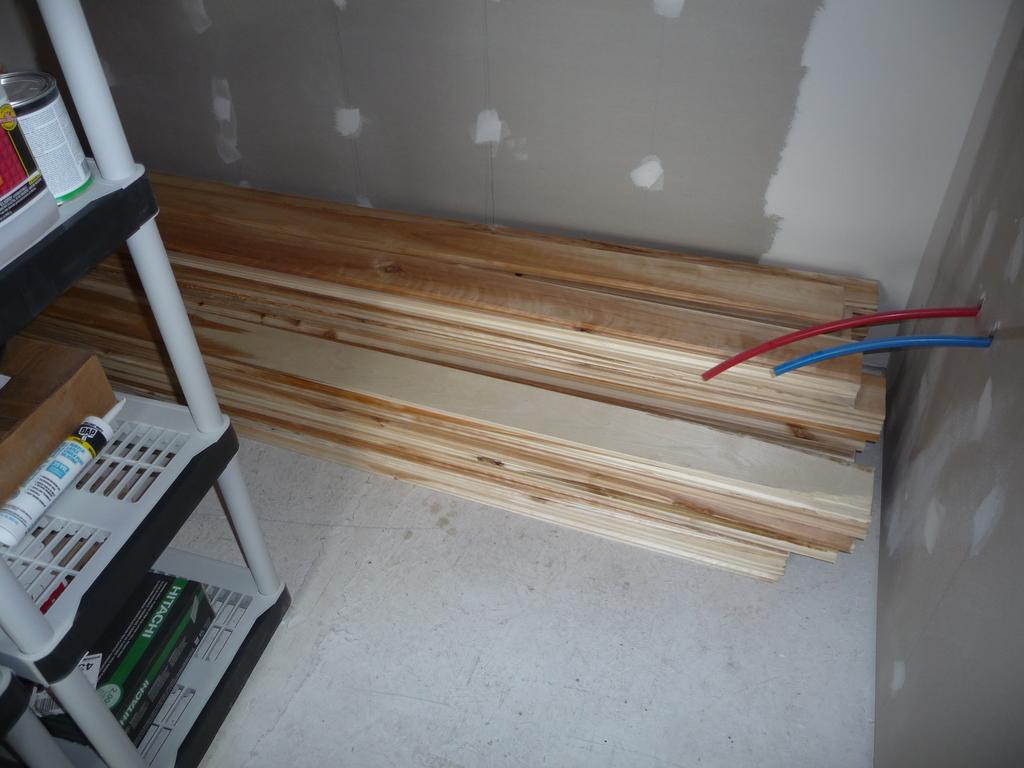
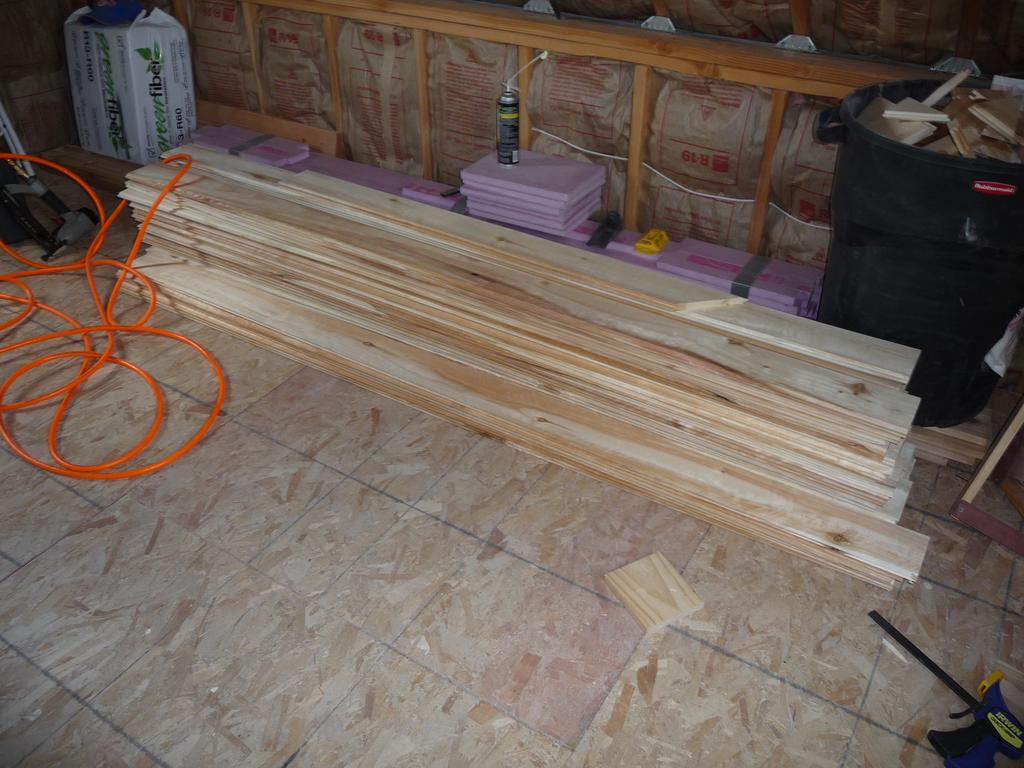
Last Friday I picked up 900 sq. ft. of aspen T&G siding for the loft interior. We had some trouble loading the bundle onto the truck, resulting in a bent tailgate. We ended up hand loading the bundle, so in two days I unloaded the planks from the bundle, loaded them into the truck, and unloaded them into the cabin.
I more or less finished installing the siding on one gable end.
Insulation, Cleanup, and Solar Mounts
Thursday, Jul 05, 2012
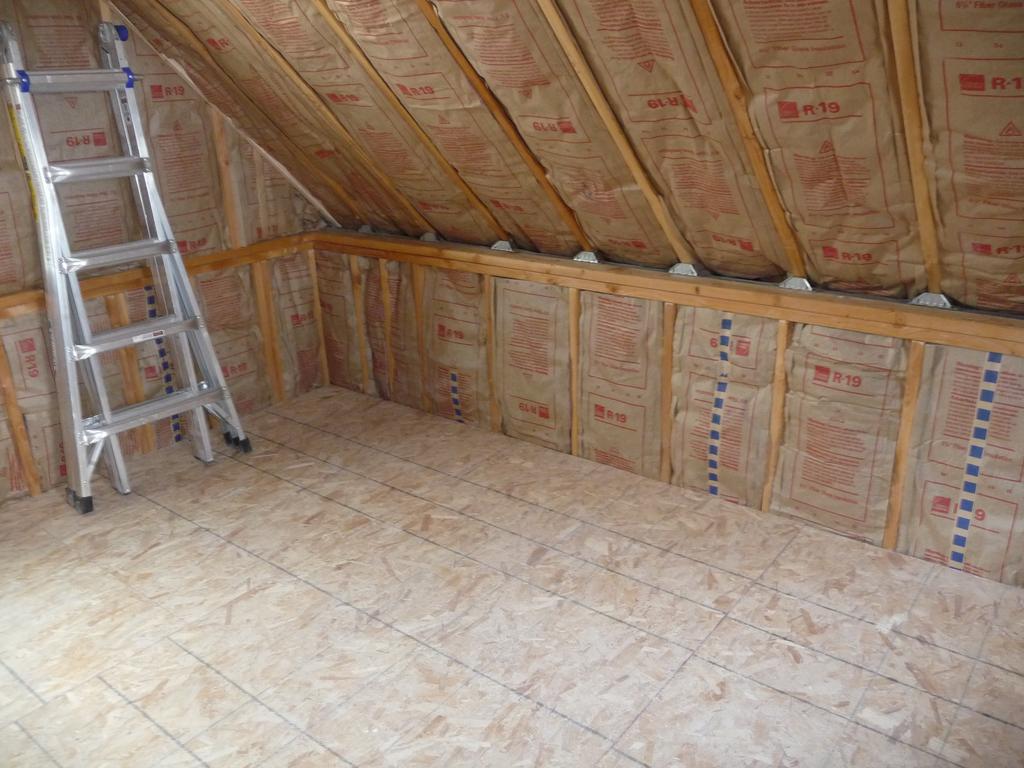
Over the last couple of weeks I finished with the cellulose insulation, insulated the loft knee walls, cleaned all the dust out of the cabin, and installed the mounting rails for the solar panels.
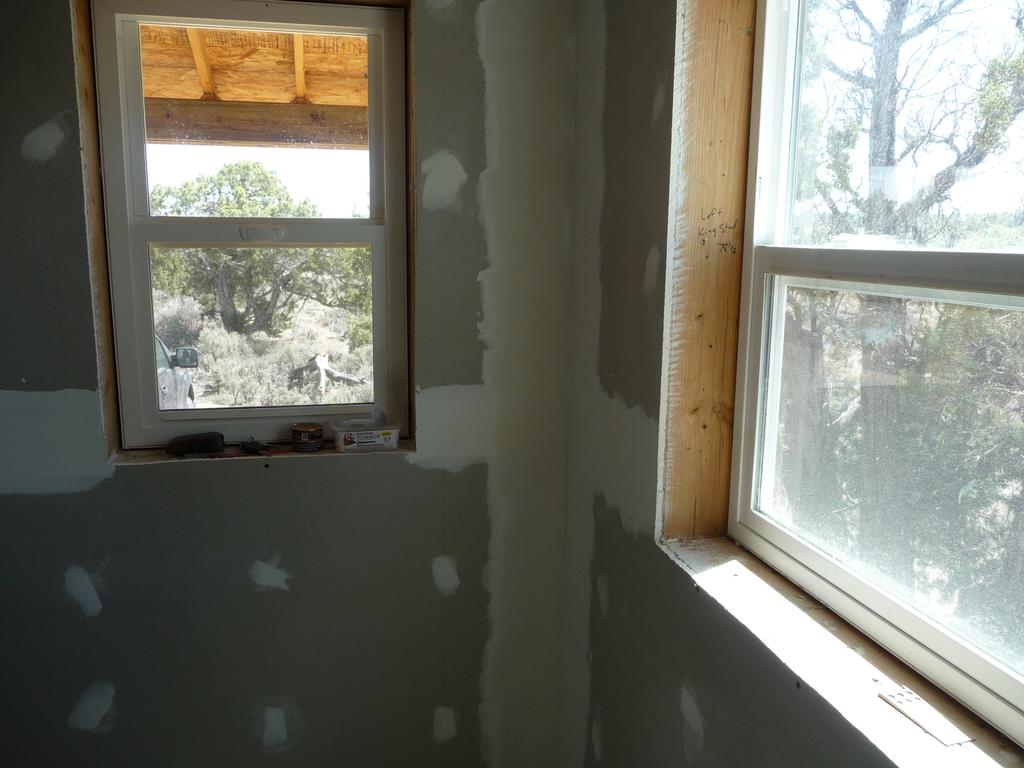
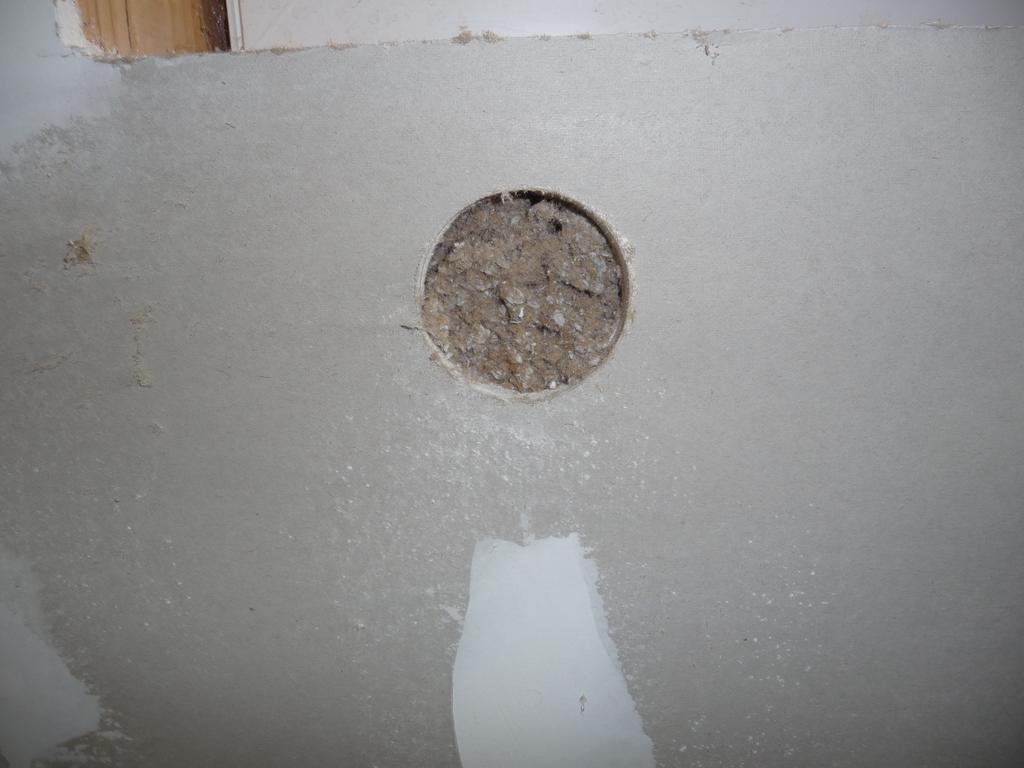
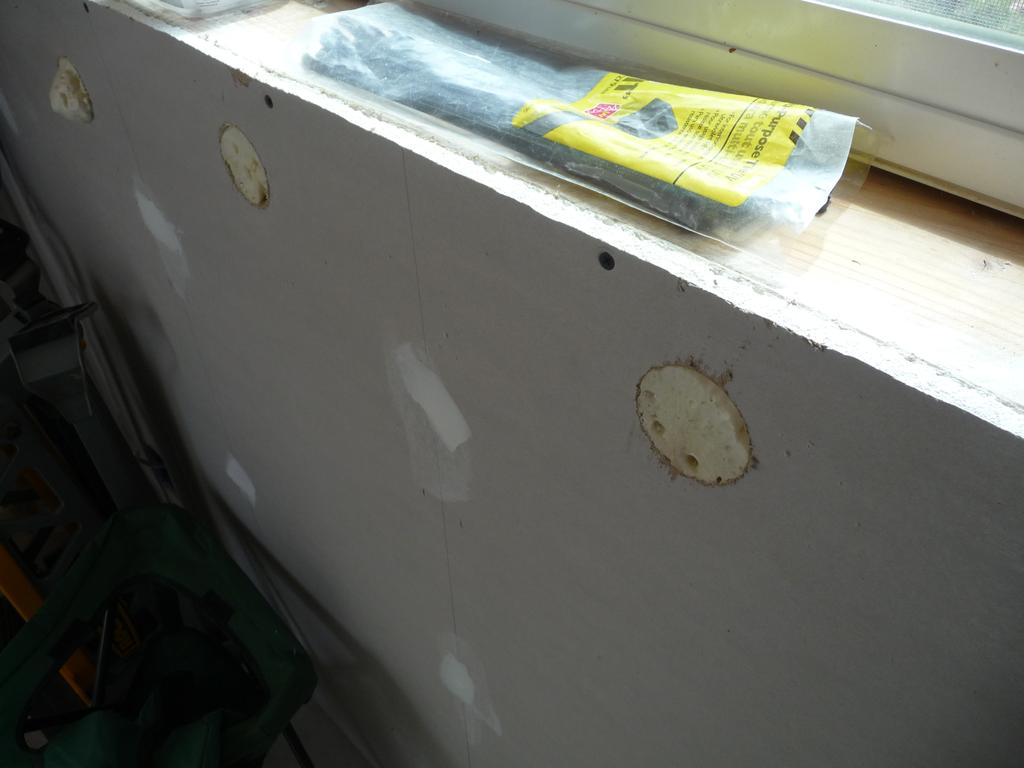
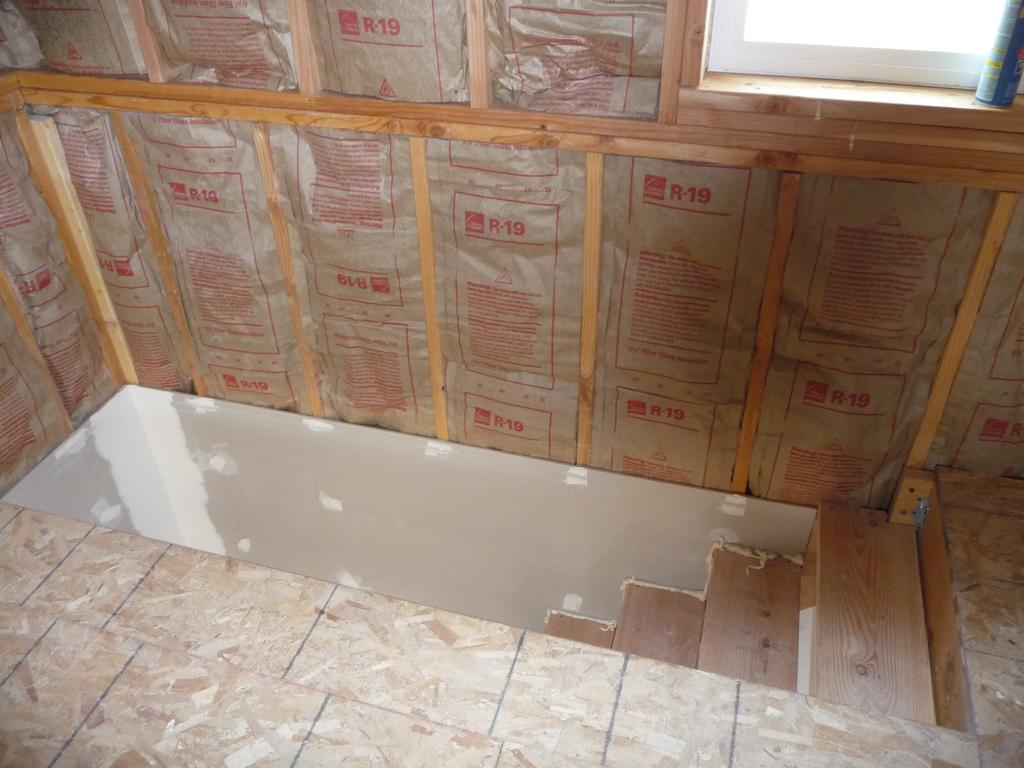
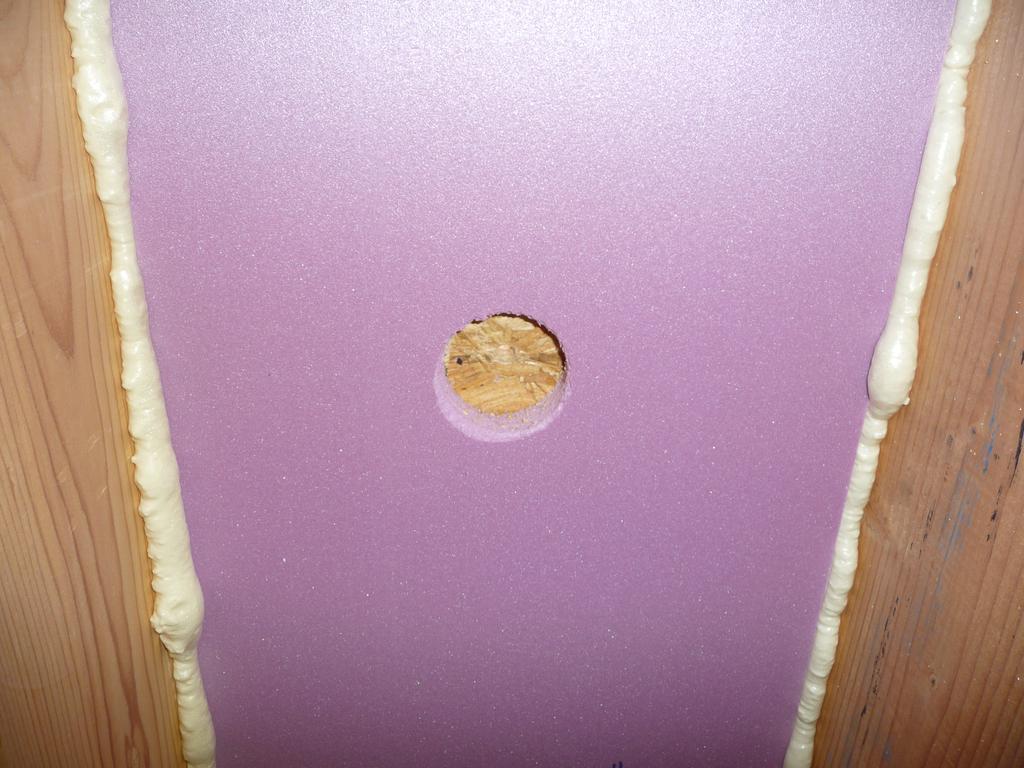
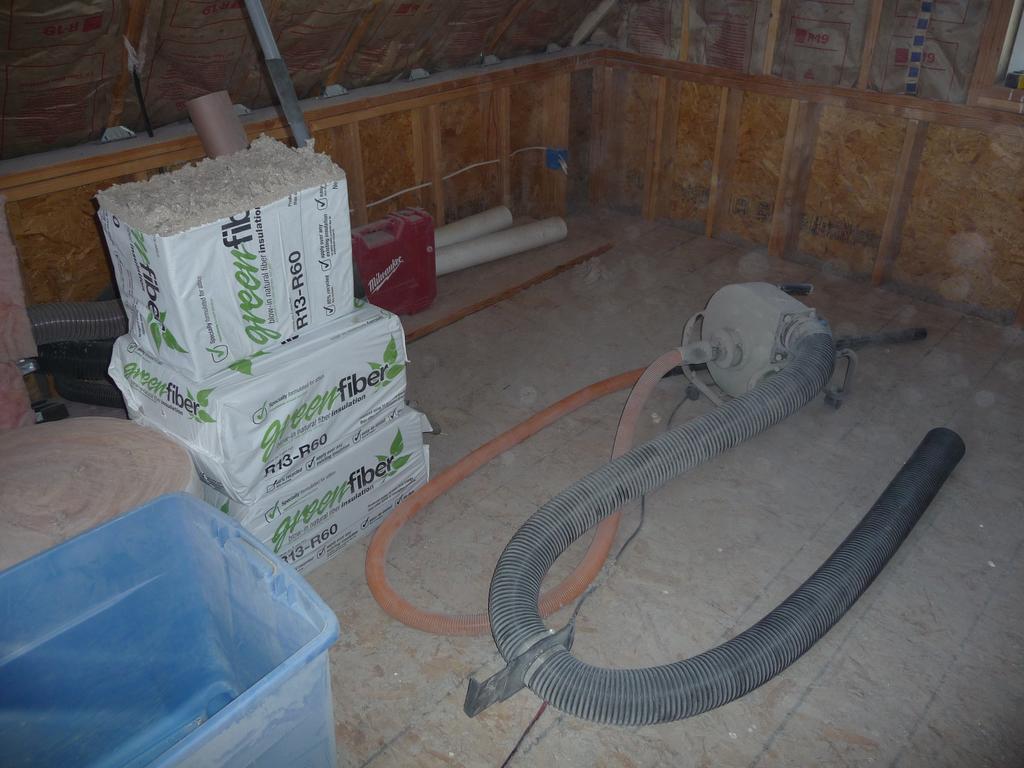
The only areas needing blown insulation that remained were the areas under the three first floor windows, and an area in a bathroom wall cavity where there was some blocking holding the shower controls. I drilled a two inch hole in the top of each cavity and blew in the cellulose using a two inch hose. I capped the holes with spray foam which I’ll cover later with joint compound. The whole process worked well and only took a couple of hours once I had the hoses on the blower set up correctly.
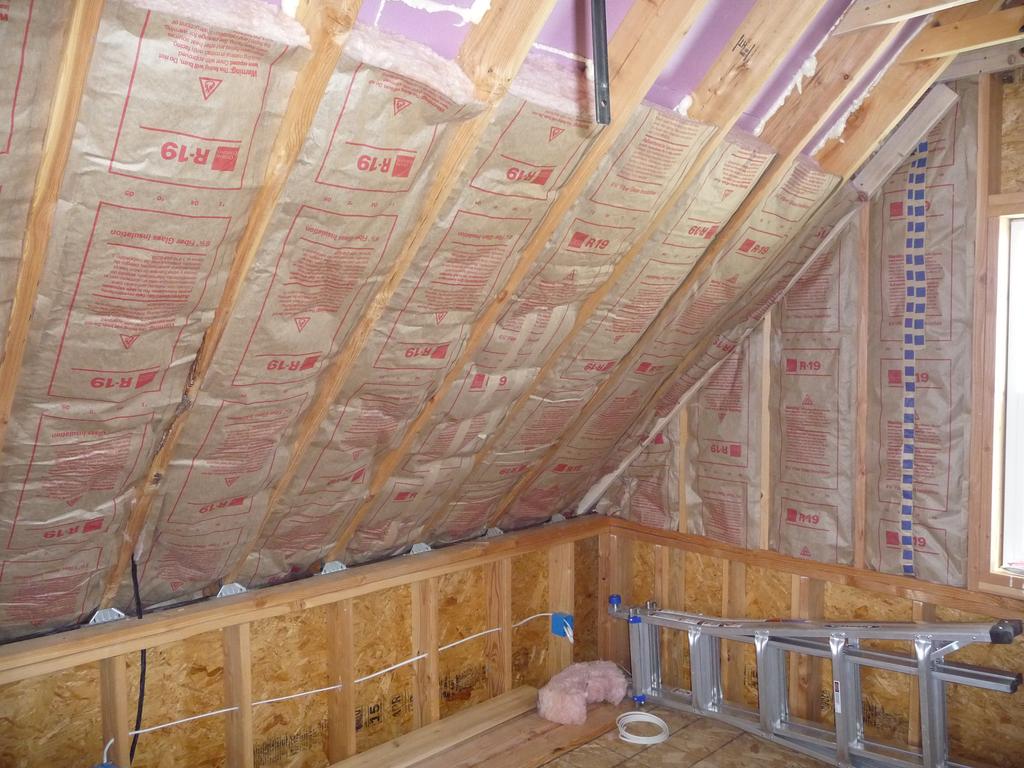
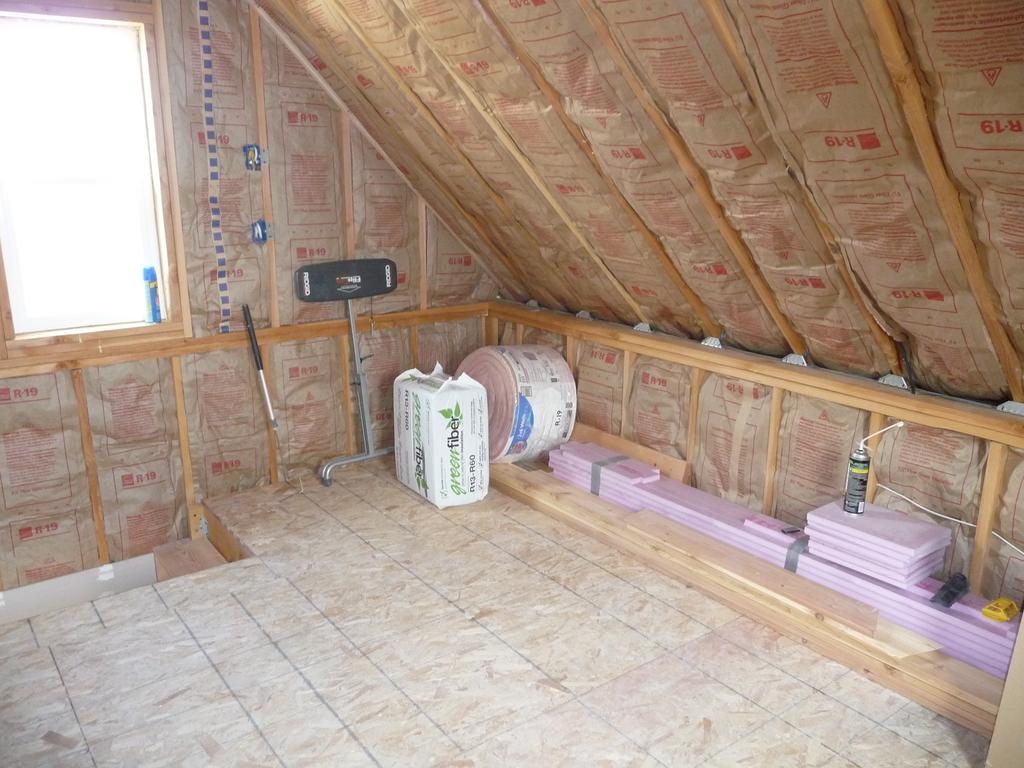
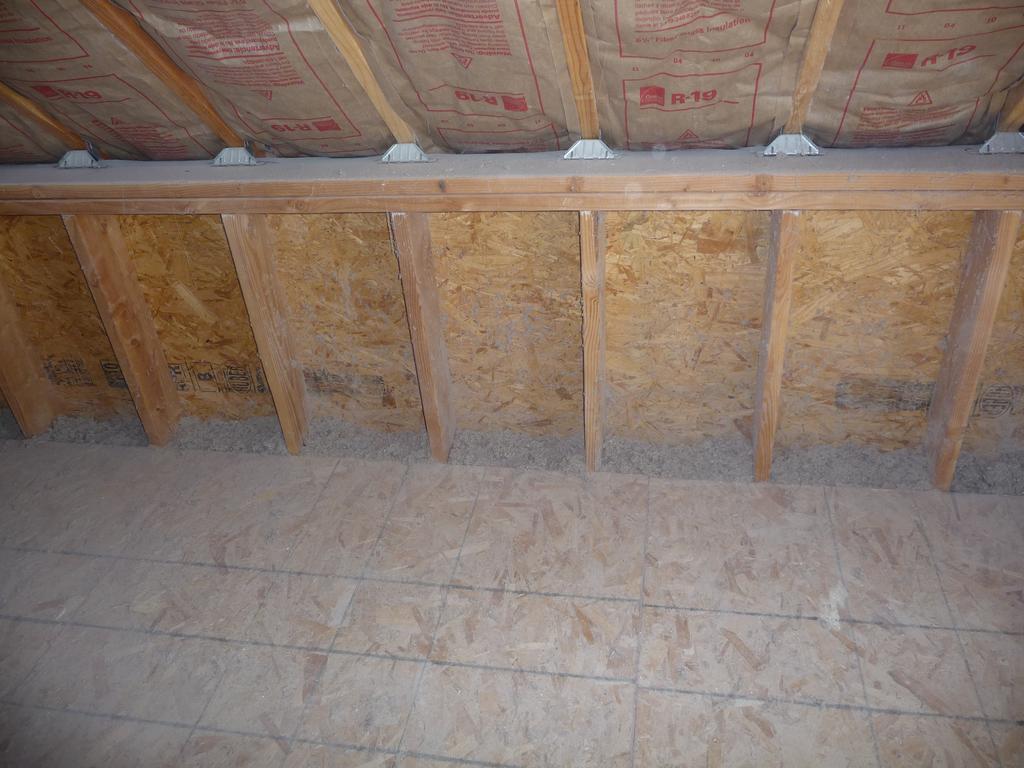
I added fiberglass batt insulation to the knee walls in the loft, making sure there was no gap between the cellulose in the lower wall and the batts up top.
With the cellulose insulation finished, I spent about eight hours vacuuming off the layer of dust coating every inch of every part of the cabin. It took so long because of all the tools and supplies stored in the cabin that had to be cleaned individually. When finished, the cabin was definitely a more comfortable working environment.
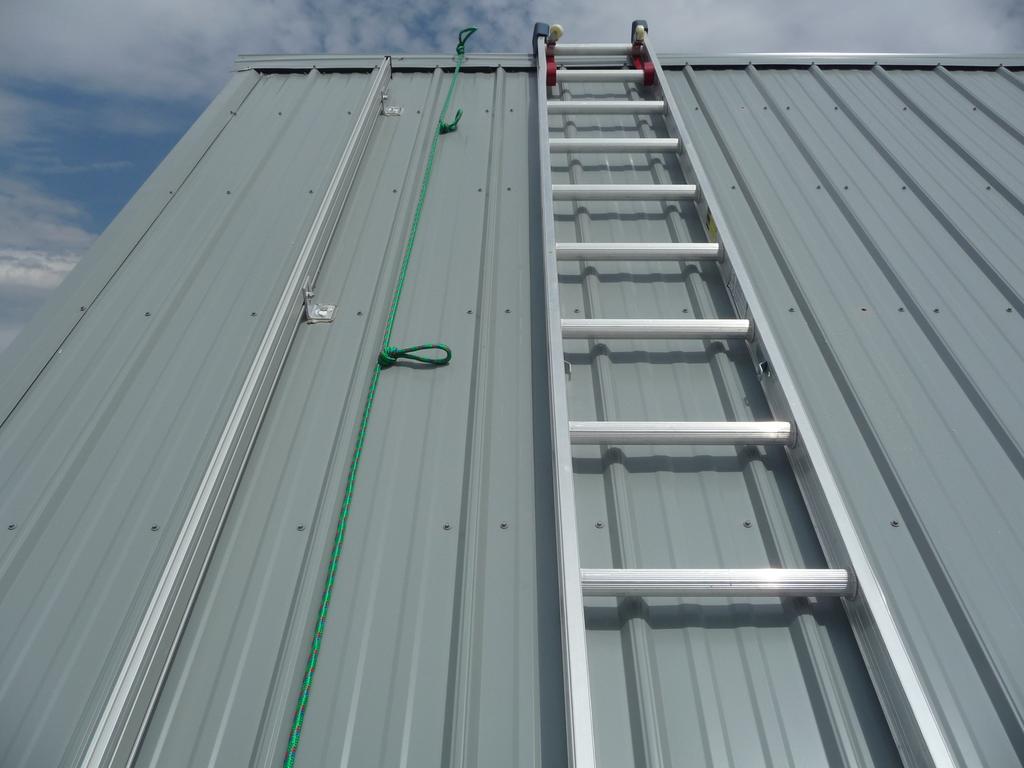
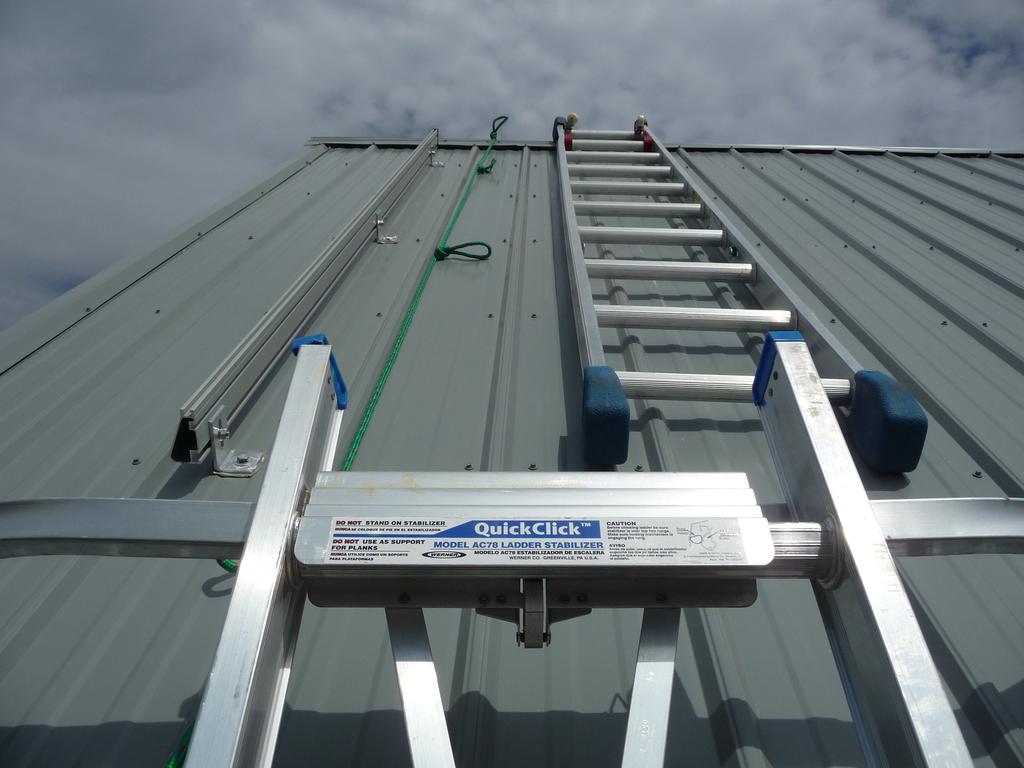
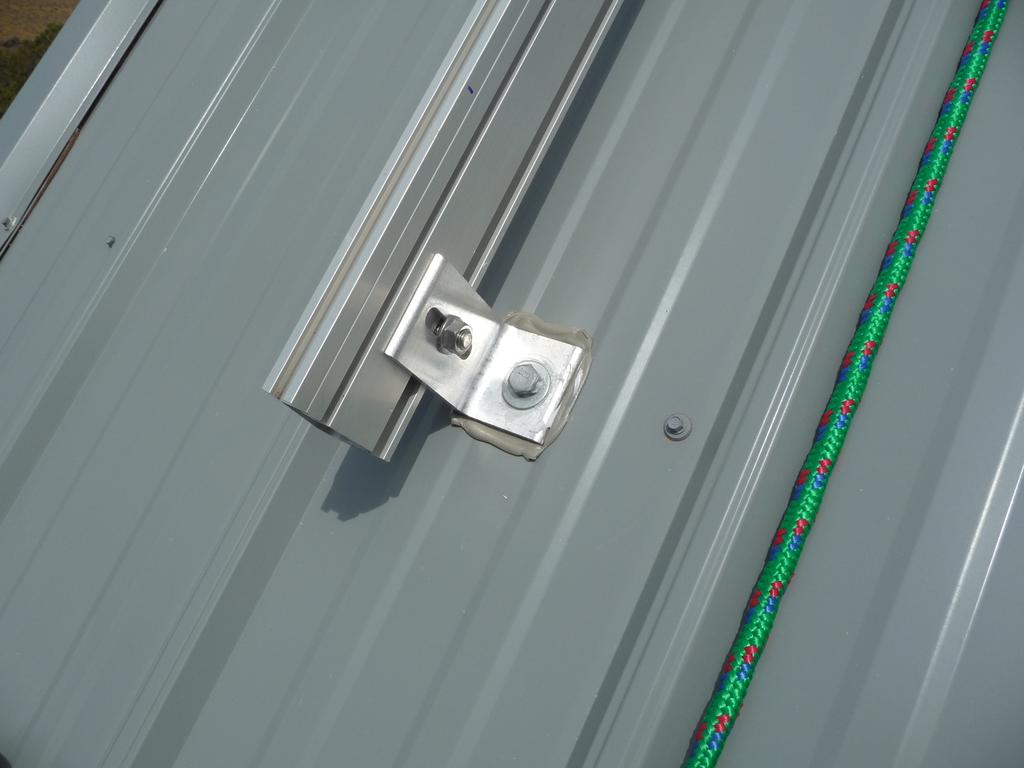
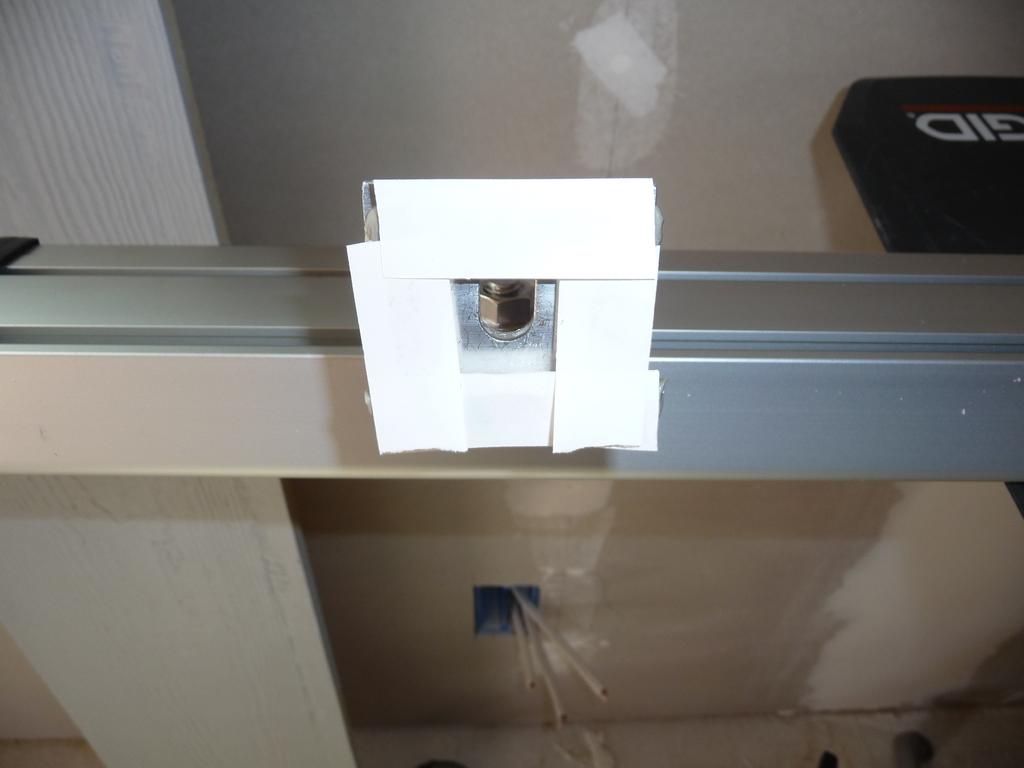
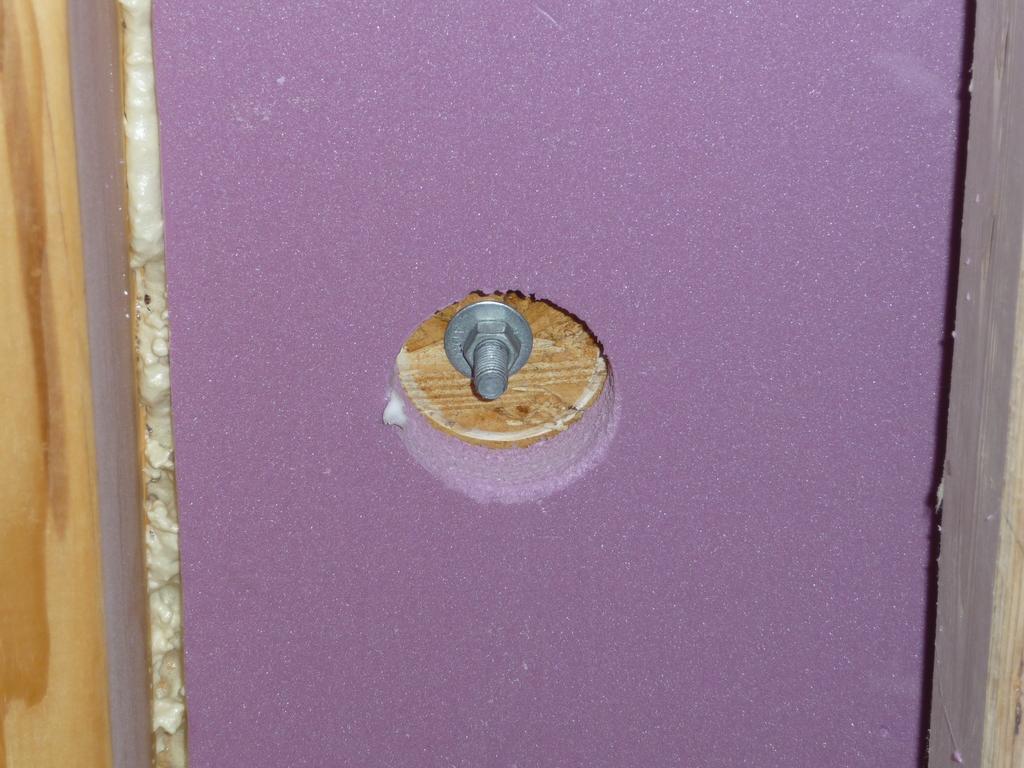
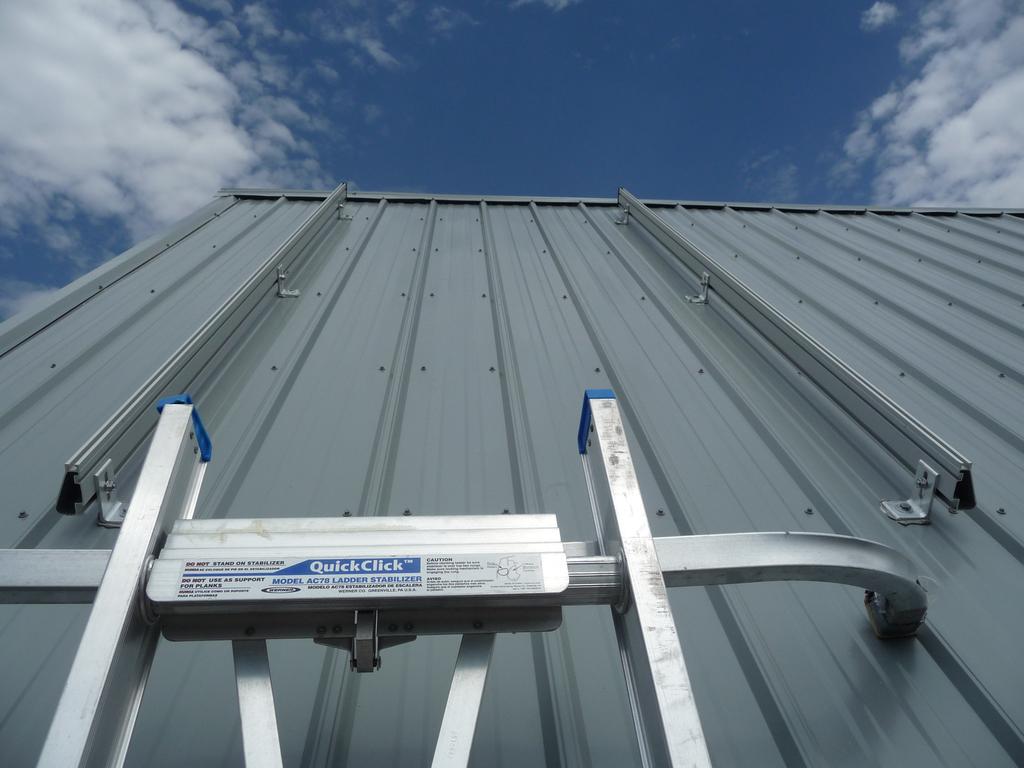
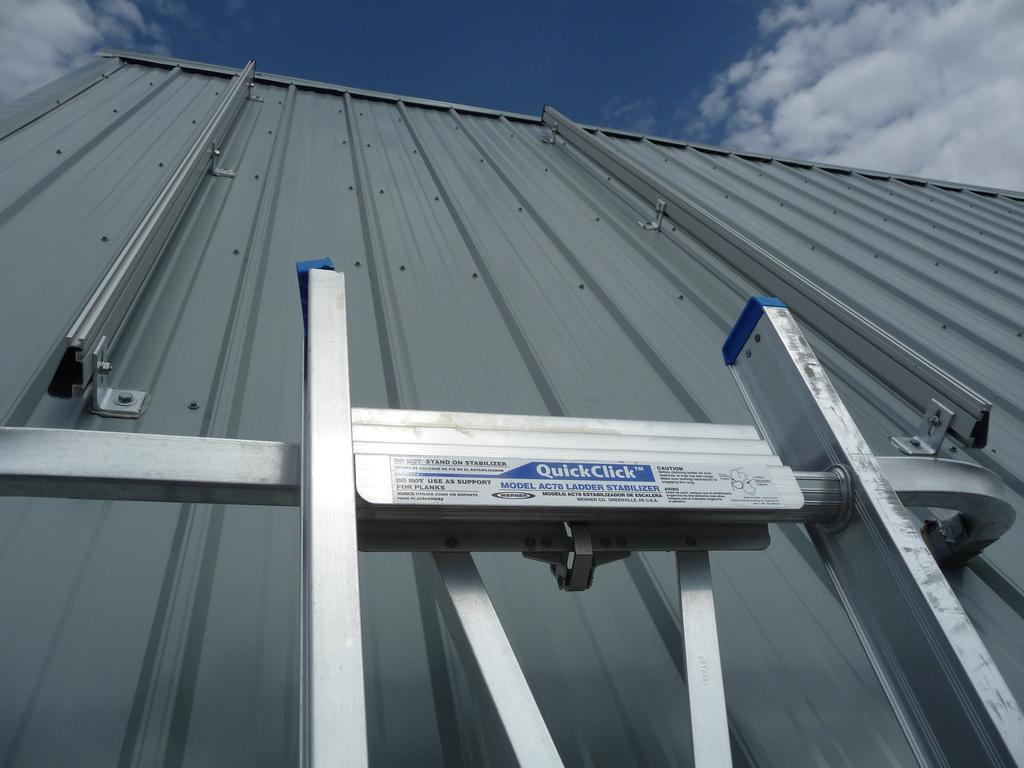
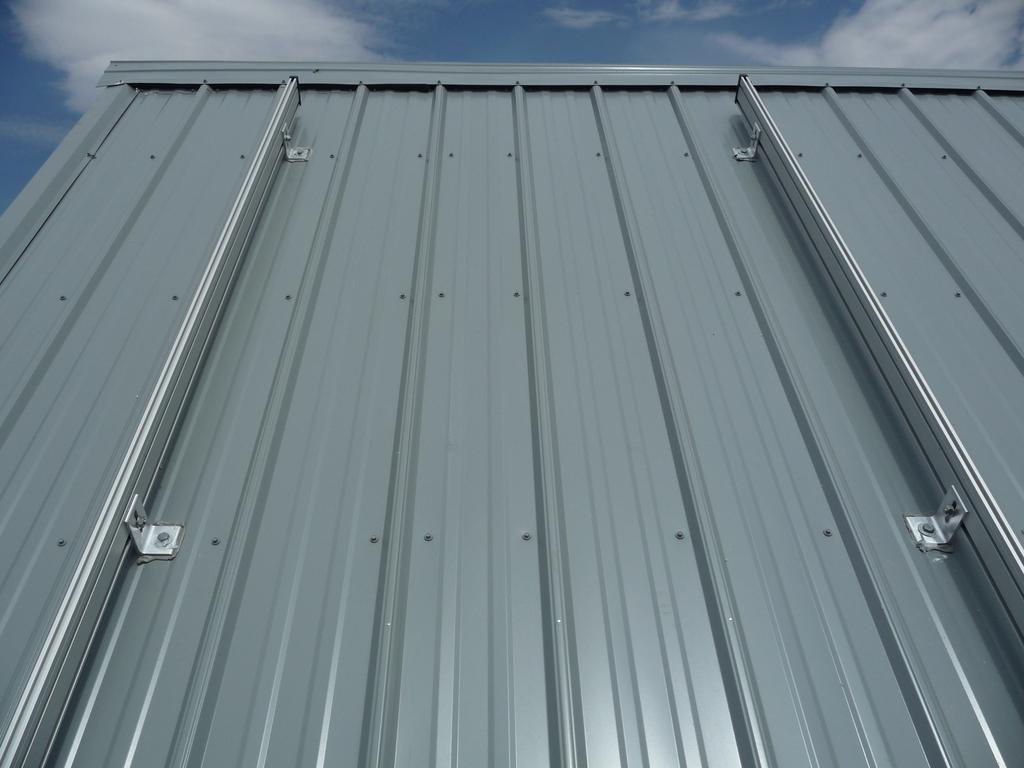
Finally, I installed two extruded alumninum mounting rails on the roof which will eventually hold the solar panels. I needed to install the rails prior to closing off the loft ceiling so I’d be able to access the bolts securing the rails from underneath the roof. Each rail is secured using three aluminum L-brackets with a galvanized bolt running through the metal roofing, 2x4 purlin, and sheathing.
It was painful having to drill holes in my pristine metal roof but I sealed the holes using a layer of butyl tape under the L-brackets and a generous amount of silicon caulk around the bolts themselves. On the inside, I used some spray foam to fill the area around the protruding bolts.


More Insulation
Monday, Jun 18, 2012
I finished blowing cellulose insulation into the first floor wall cavities. Overall I am happy with the results. The total process took about 12 hours. The biggest drawback was all the dust now coating everything in the loft and part of the first floor.
More Insulation
Saturday, Jun 16, 2012
I finished blowing cellulose insulation into the first floor wall cavities. Overall I am happy with the results. The total process took about 12 hours. The biggest drawback was all the dust now coating everything in the loft and part of the first floor.
Disappearing Cows, More Mud, and Insulation
Monday, Jun 04, 2012
A week after arriving to find the property overrun with cows, I returned and found they had all departed. Apparently they were just passing through, on their way to green pastures. I can’t say I was disappointed.
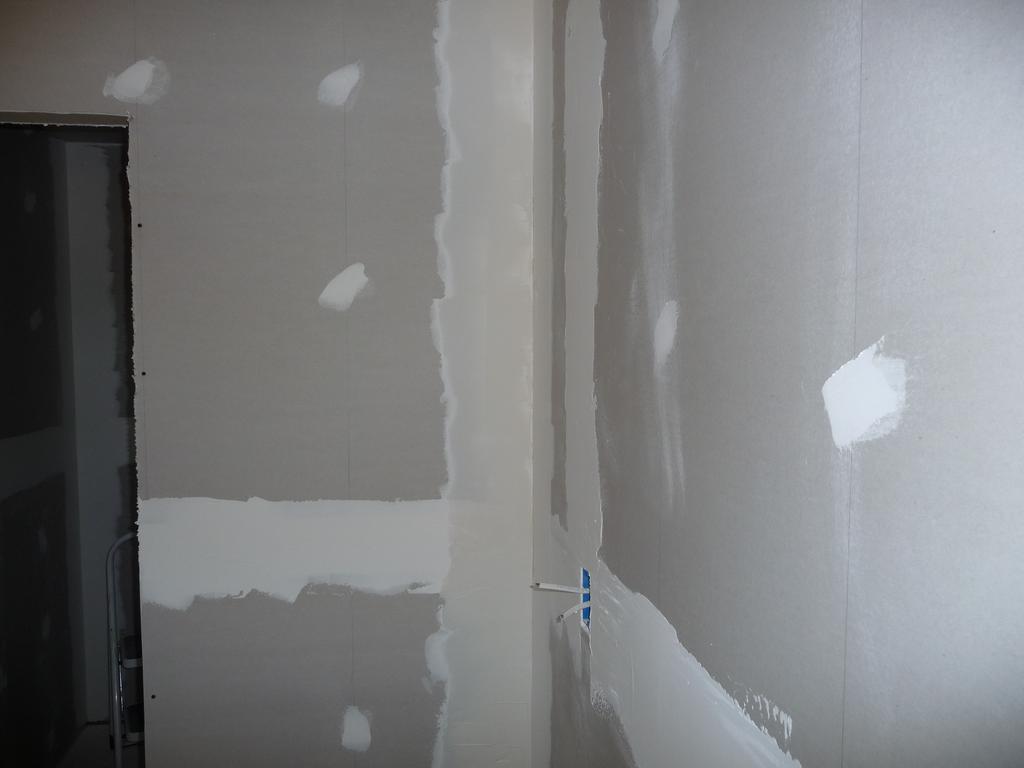
I did some more drywall mudding, mostly on the inside corners, which seem to take me the longest. Currently I have two coats on everything, with one more to go.
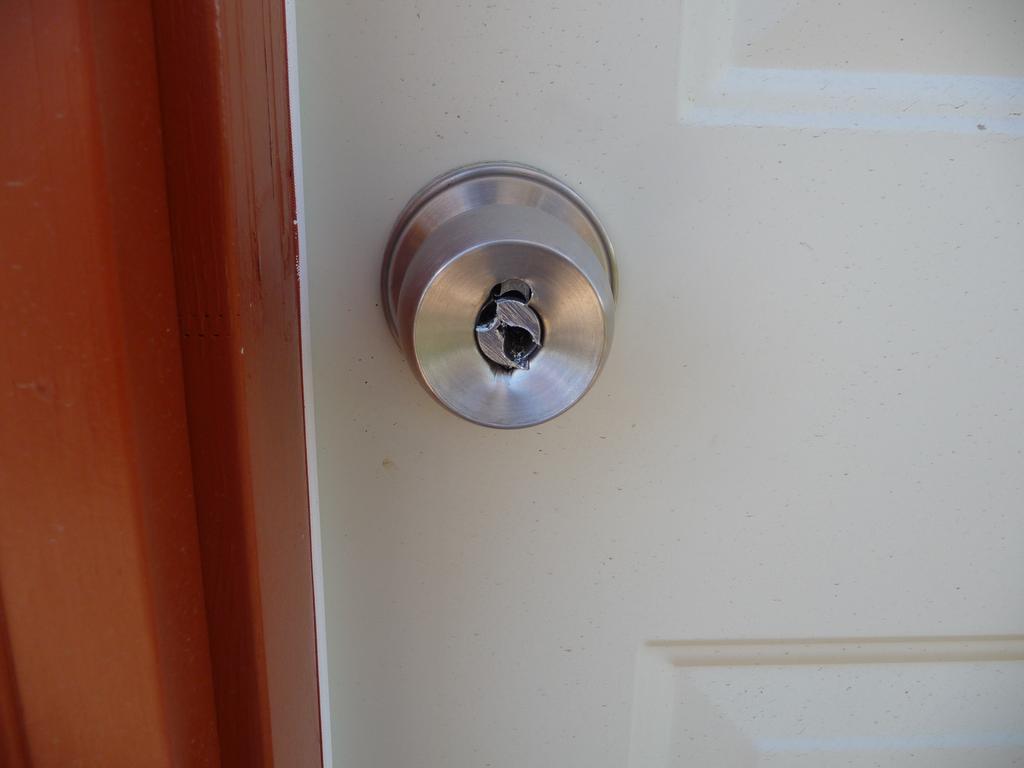
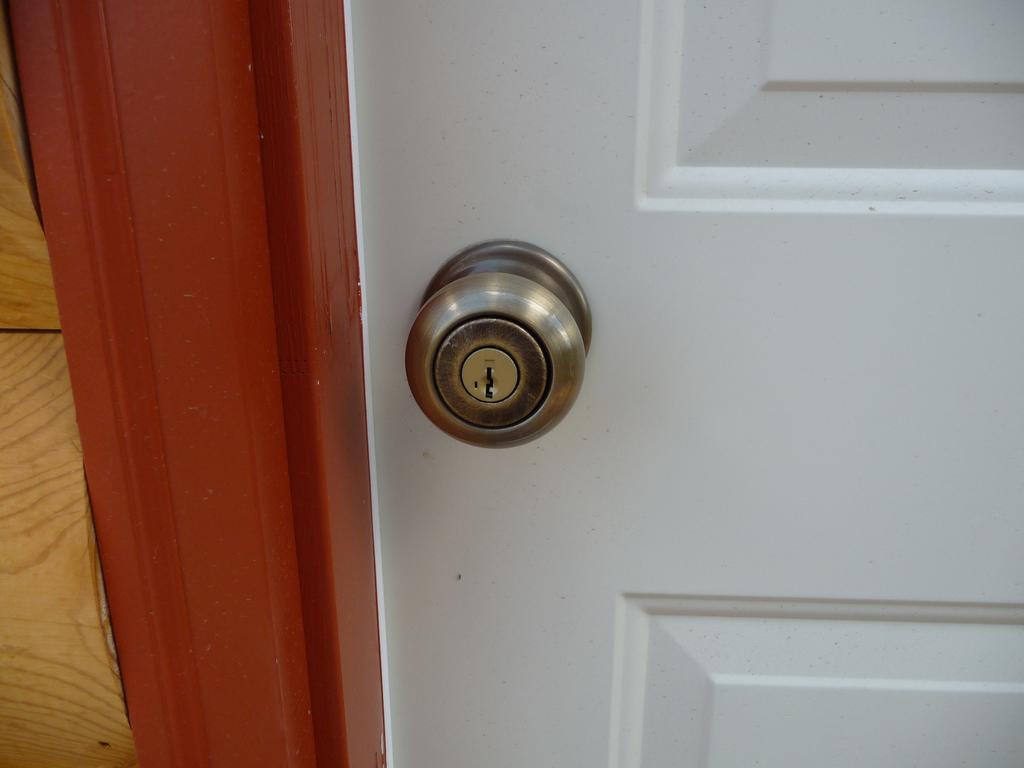
I discovered the lockset on the utility building was jammed or something and I couldn’t get inside. It took about five minutes to drill it out and get inside. The ease with which I was able to get inside the locked room was discouraging so I replaced the ruined lockset with a heavier duty model, also replacing the set on the front door. Now all three locks are keyed to the same key.
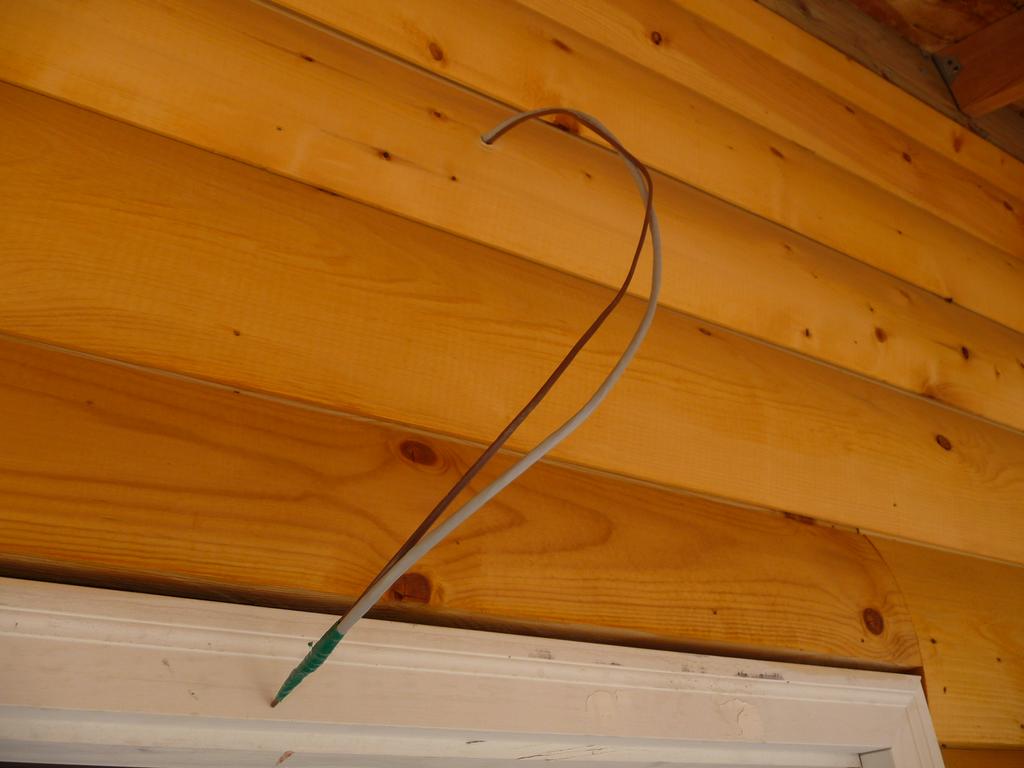
I finished the wiring in the loft, adding boxes and wiring for a light and fan. I ran some 8/3 wire from the utility room to the opposite wall of the cabin for the eventual solar panels. I also ran some cat5 and low voltage wire from the utility room to a spot over the front door which will be used for a security camera at some point in the future.
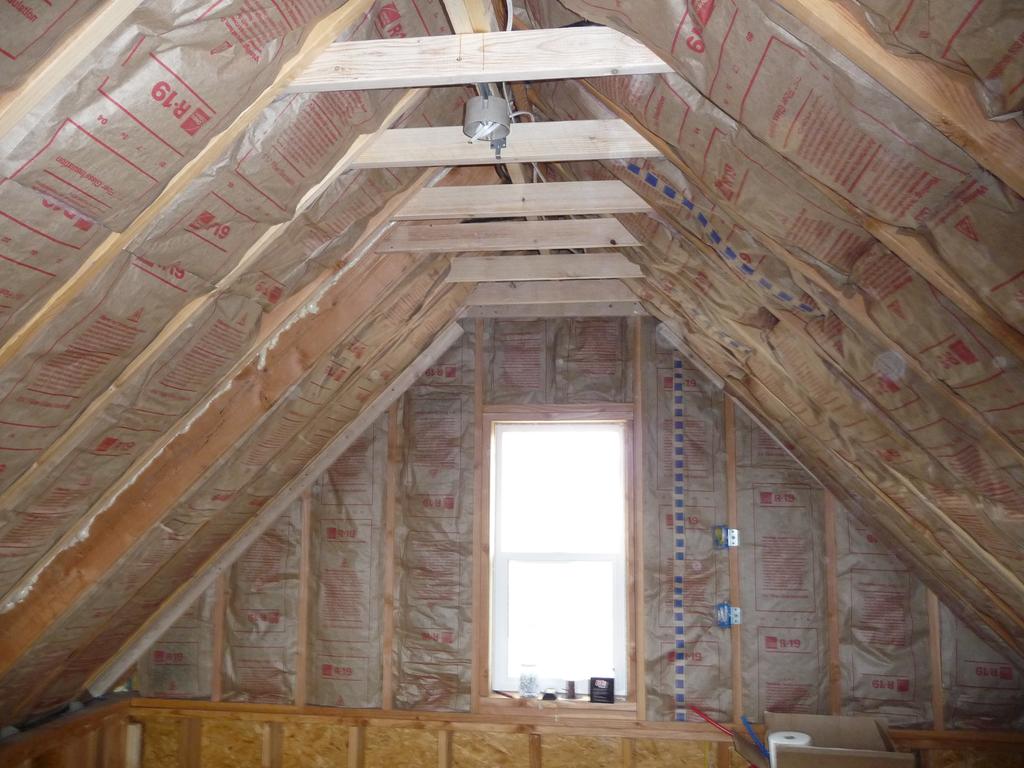
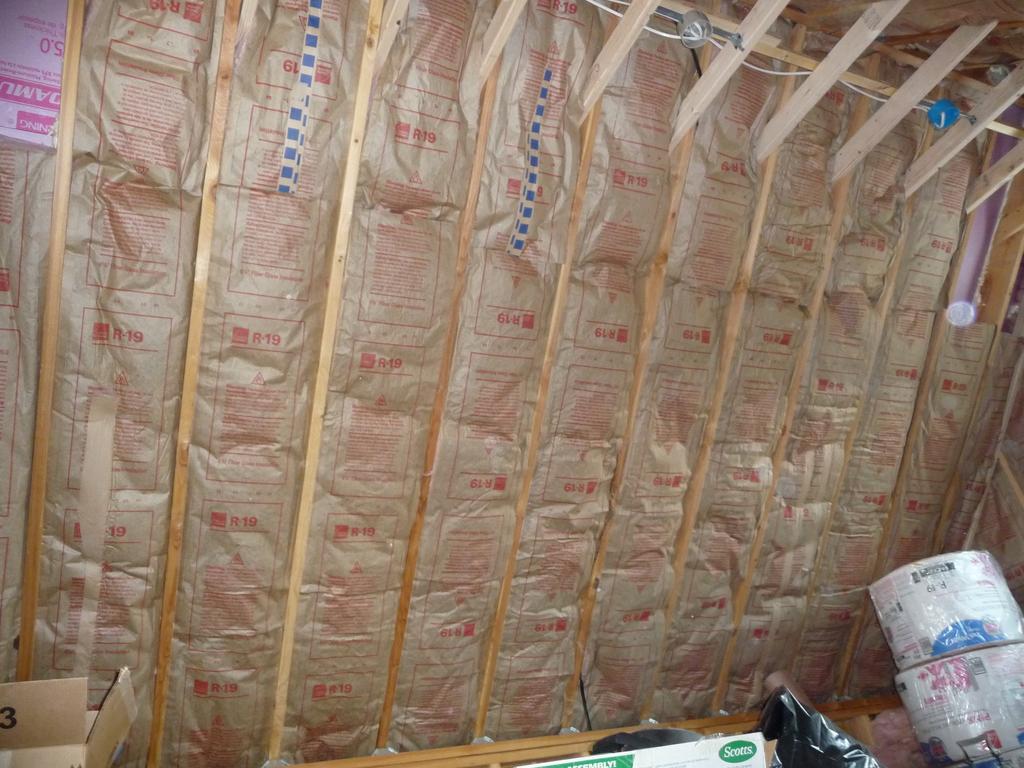
I put in most of the batt fiberglass insulation in the loft ceiling, mainly to get it out of the way. The rolls had been sitting up in the loft for almost a year.
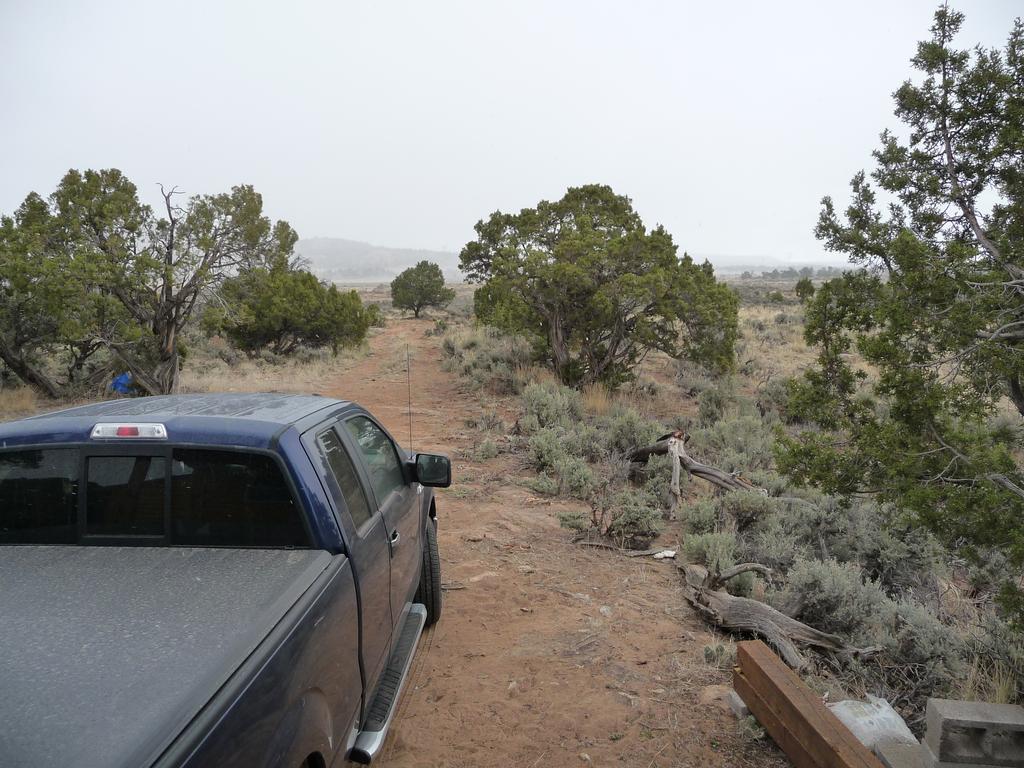
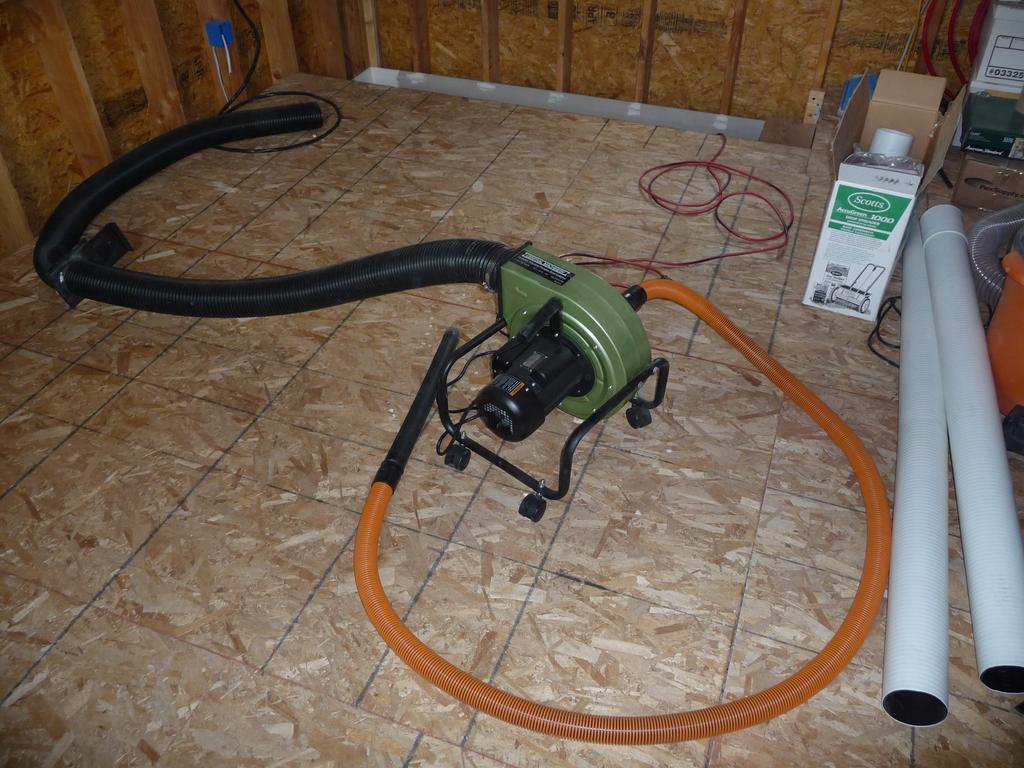
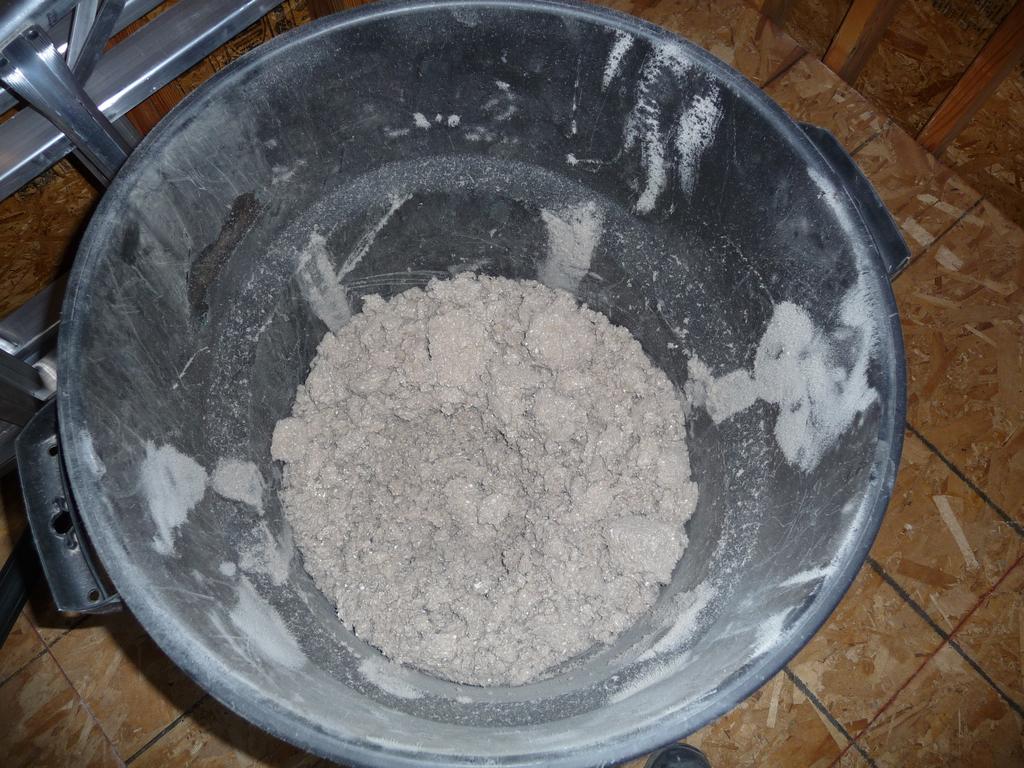
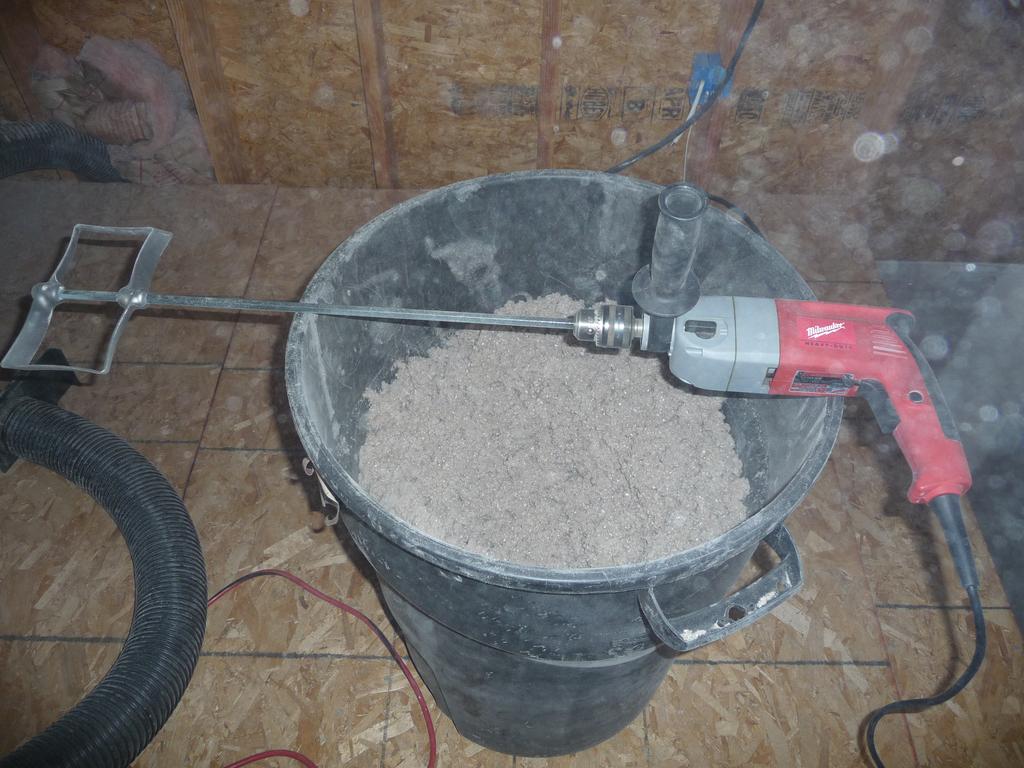
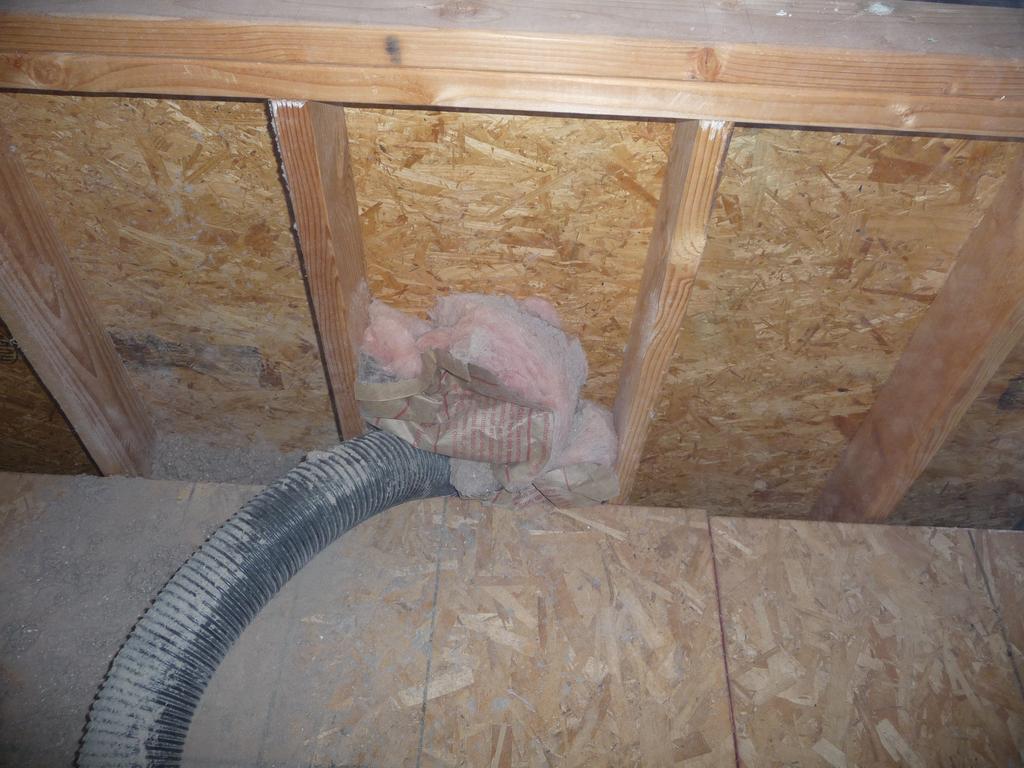
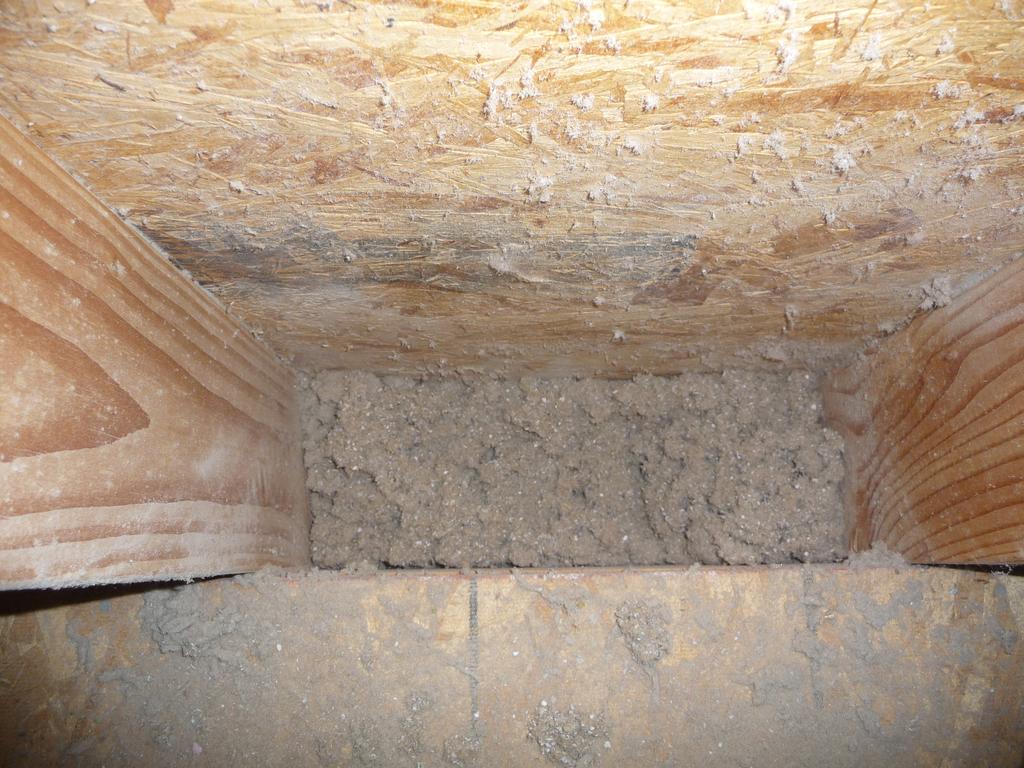
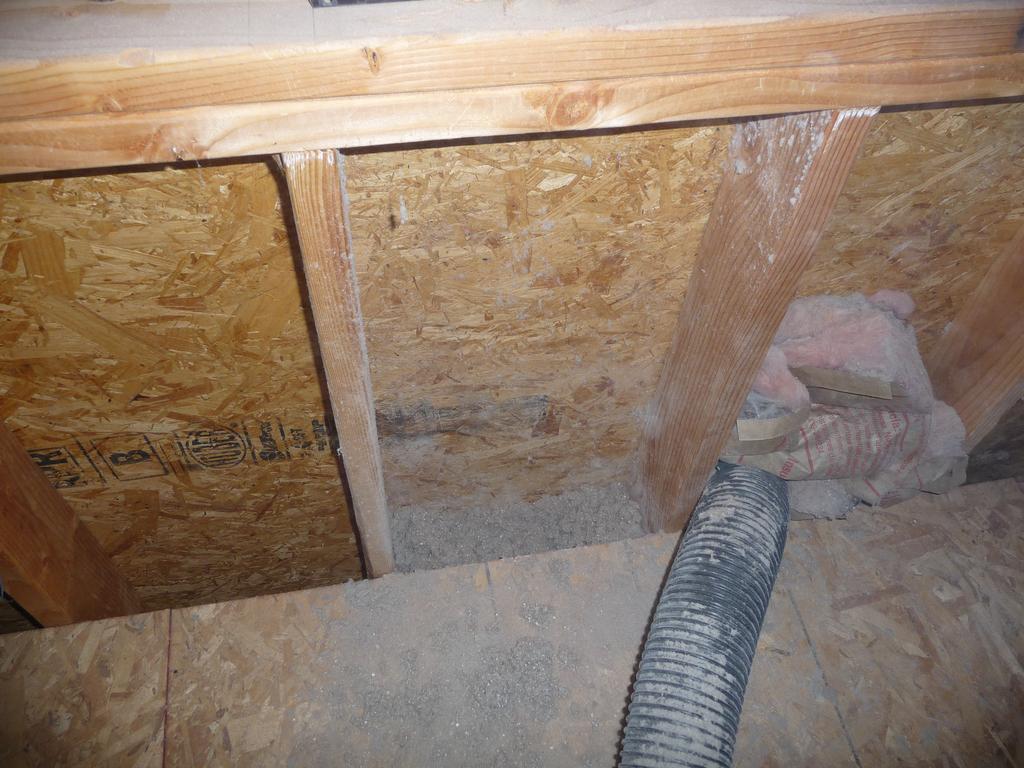
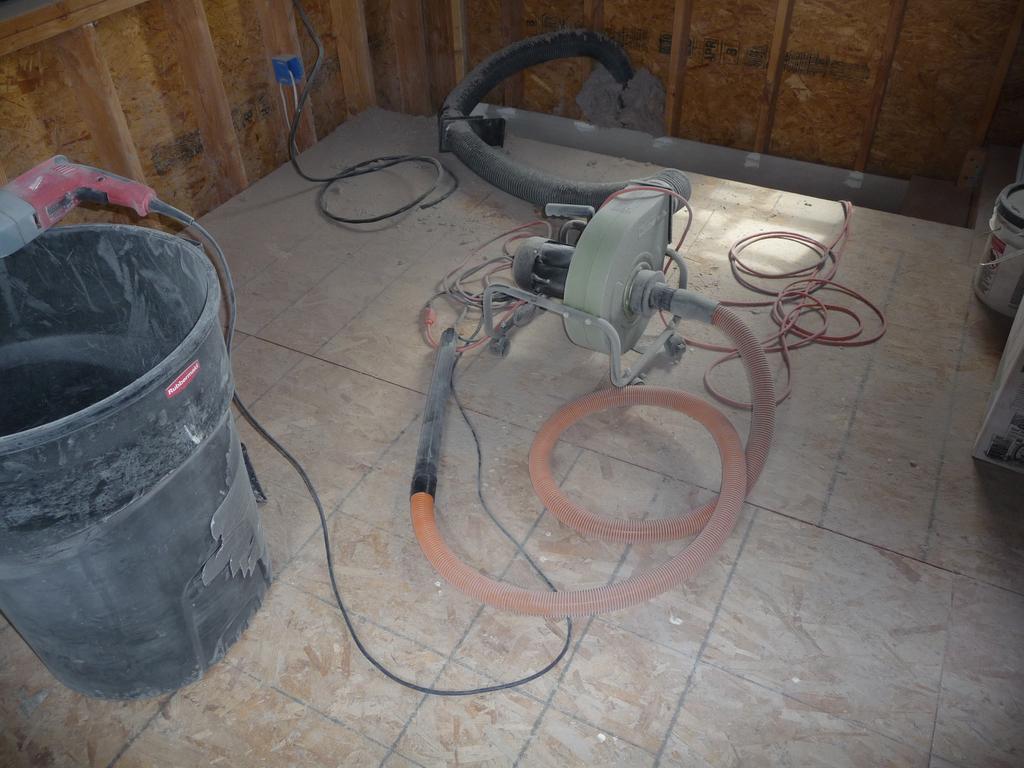
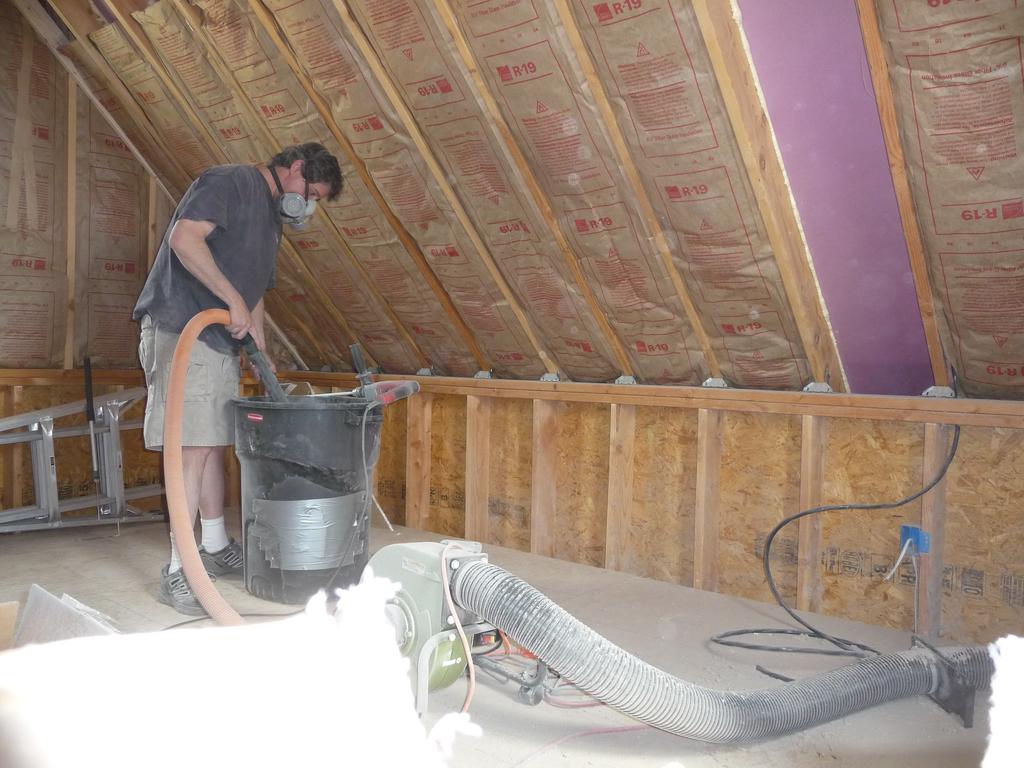
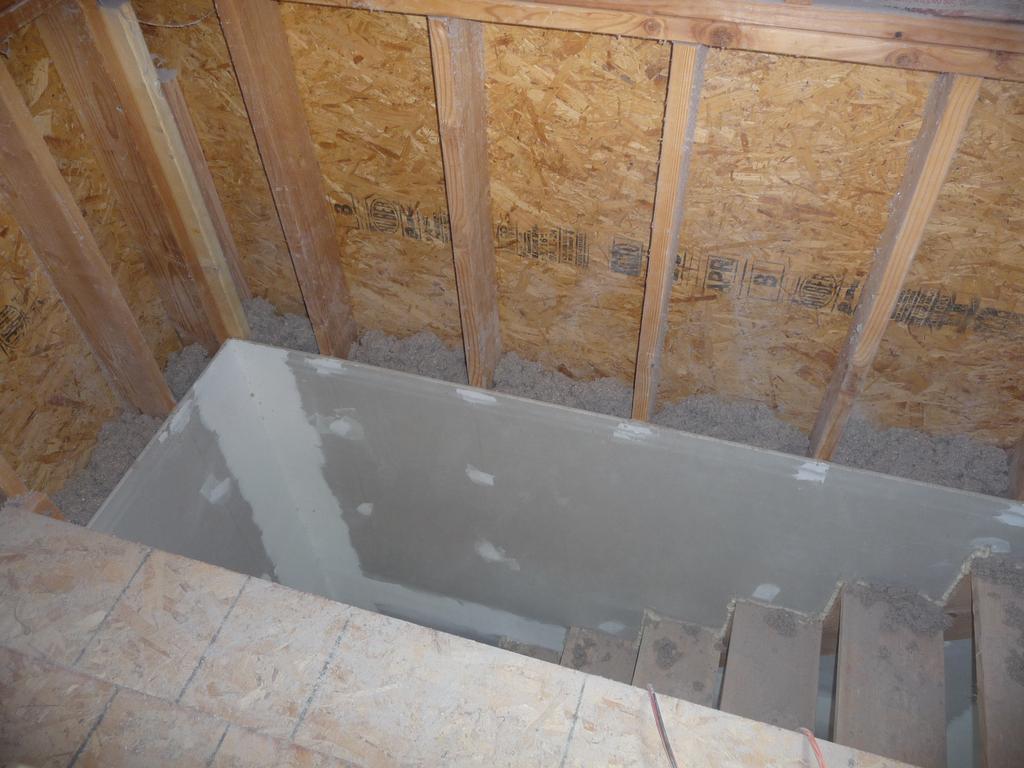
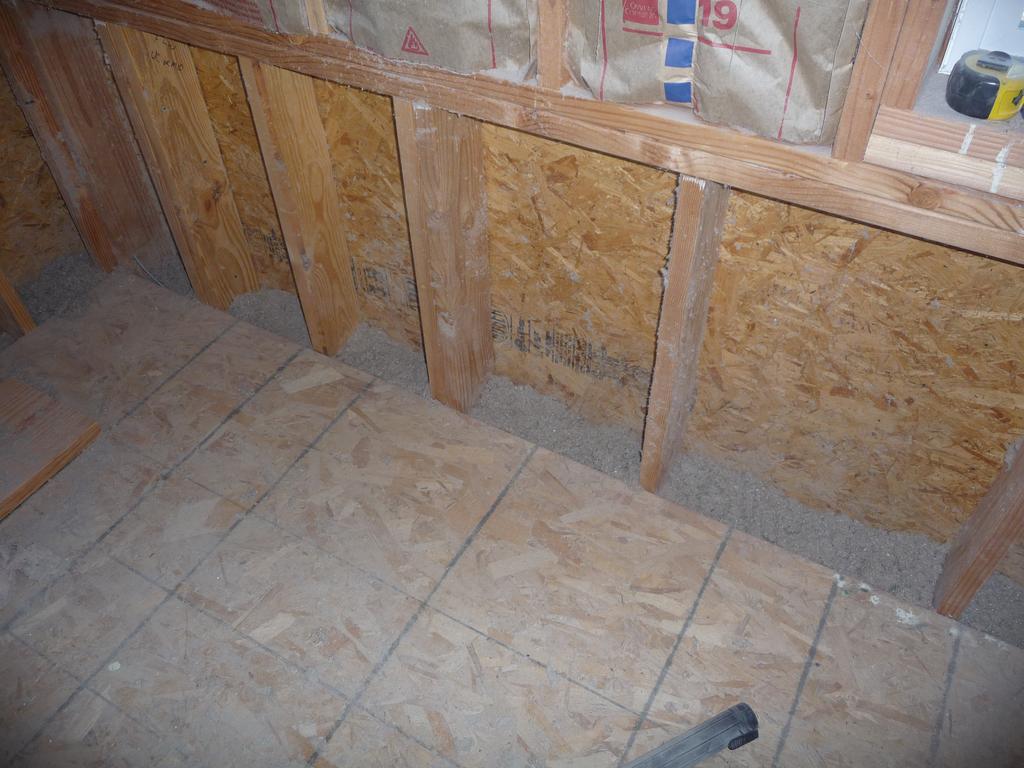
Finally, I started my big experiment in blowing cellulose insulation into the first floor wall cavities. The cavities are accessible from the loft due to the balloon framing. My DIY insulation blower consisted of a cheap 1HP Harbor Freight dust collector, some hoses I had laying around, a trash can used as a hopper, and a drill with a joint compound mixer used as an agitator. The setup actually worked quite well and I was able to fill about a third of the cavities in one afternoon. It was a bit more messy than I anticipated and I had to agitate the insulation in the hopper more frequently than I expected. Overall, I’m happy with the results. Based on the progress so far, it will take about 15 bags of cellulose. At $10 per bag, total cost should be $150 for materials. See the pictures for more info, including a rare picture with me in it.