One man's struggle to take it easy
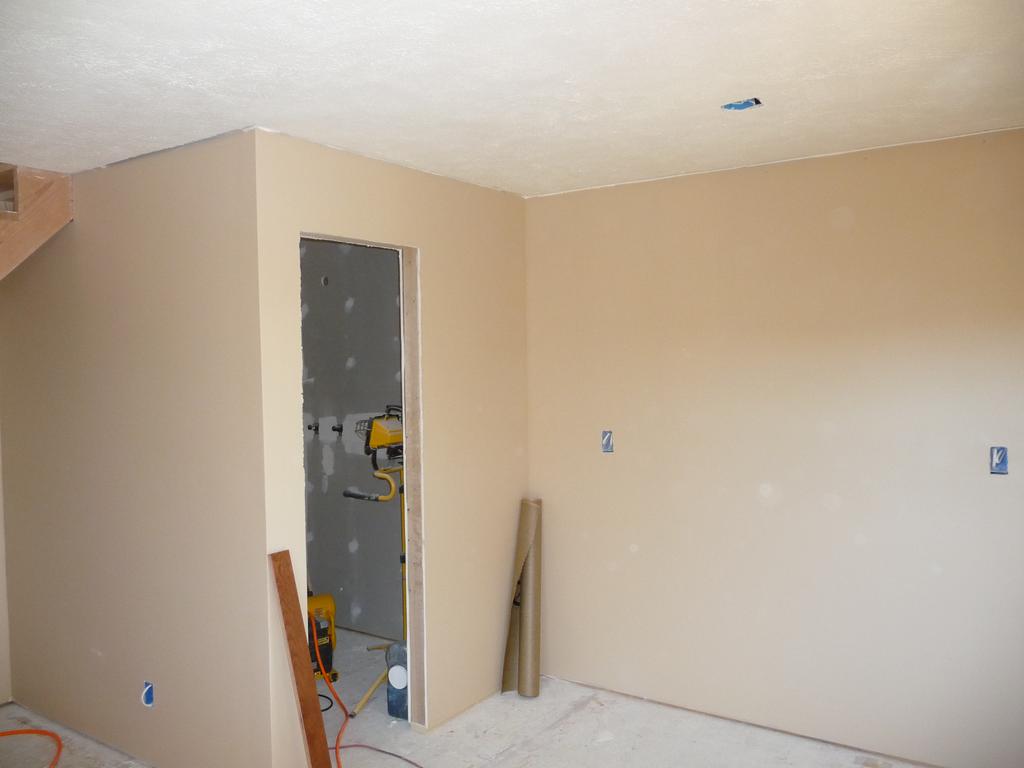
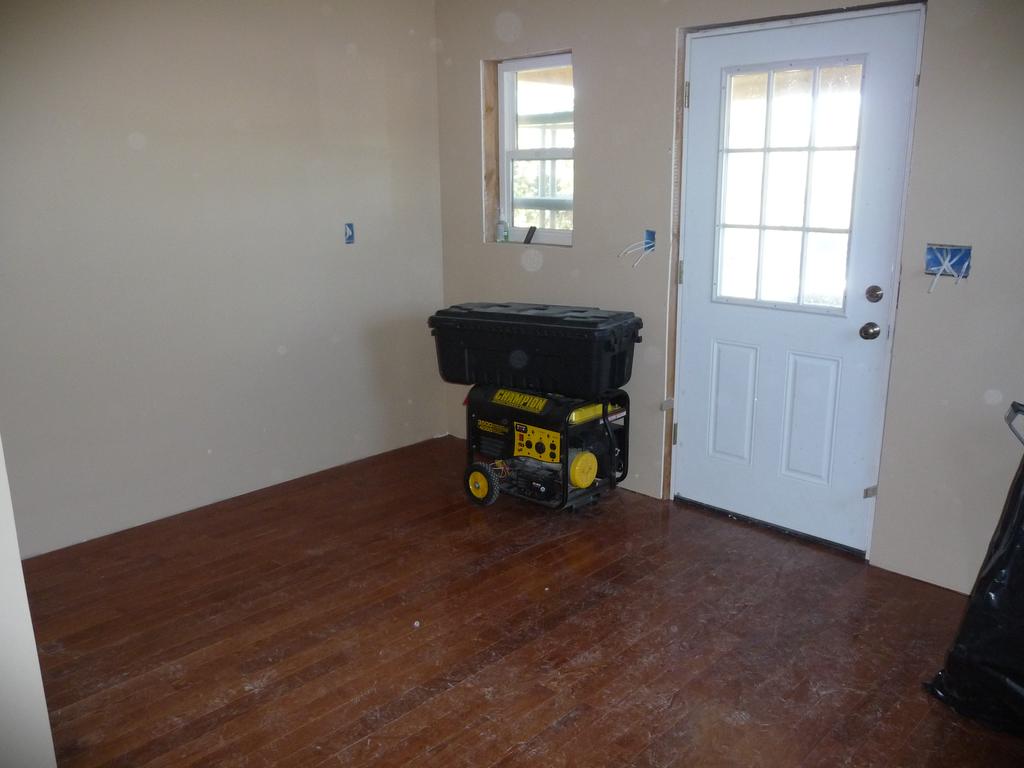
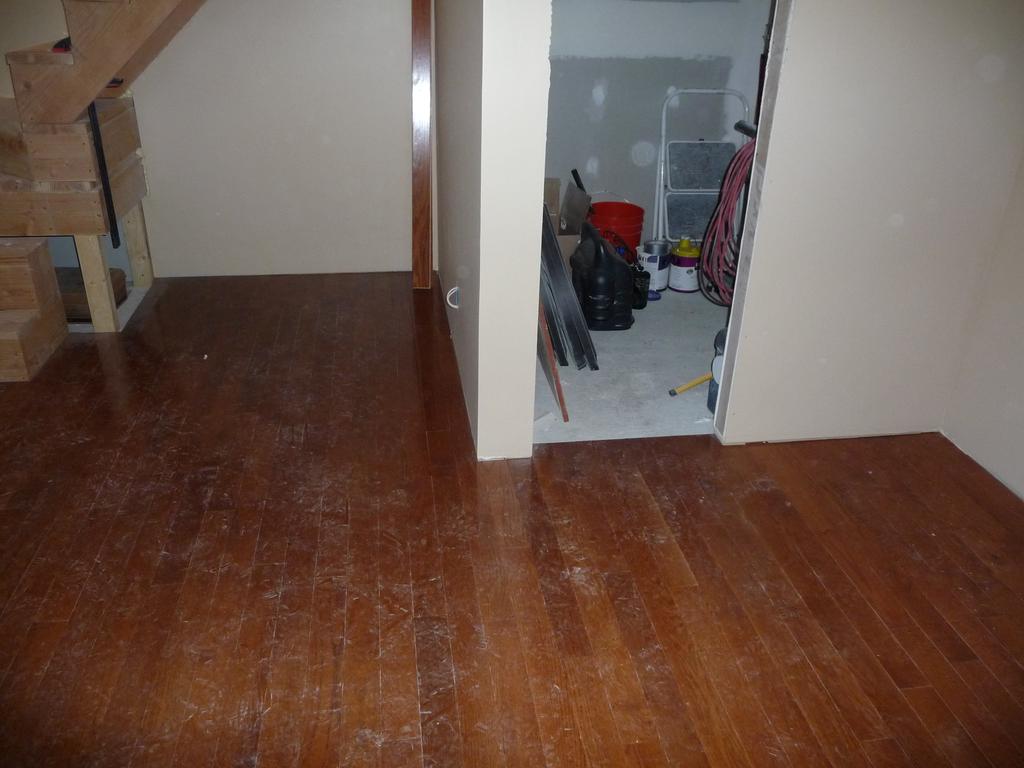
Utility Room and Random Other Things
Sunday, Oct 28, 2012
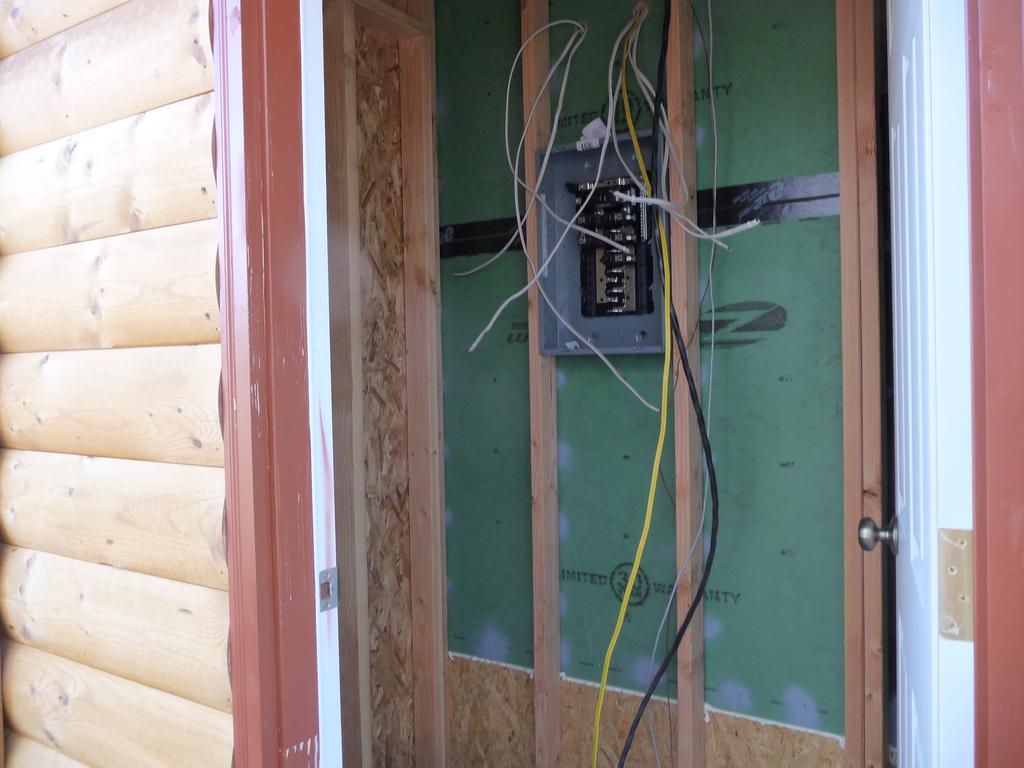
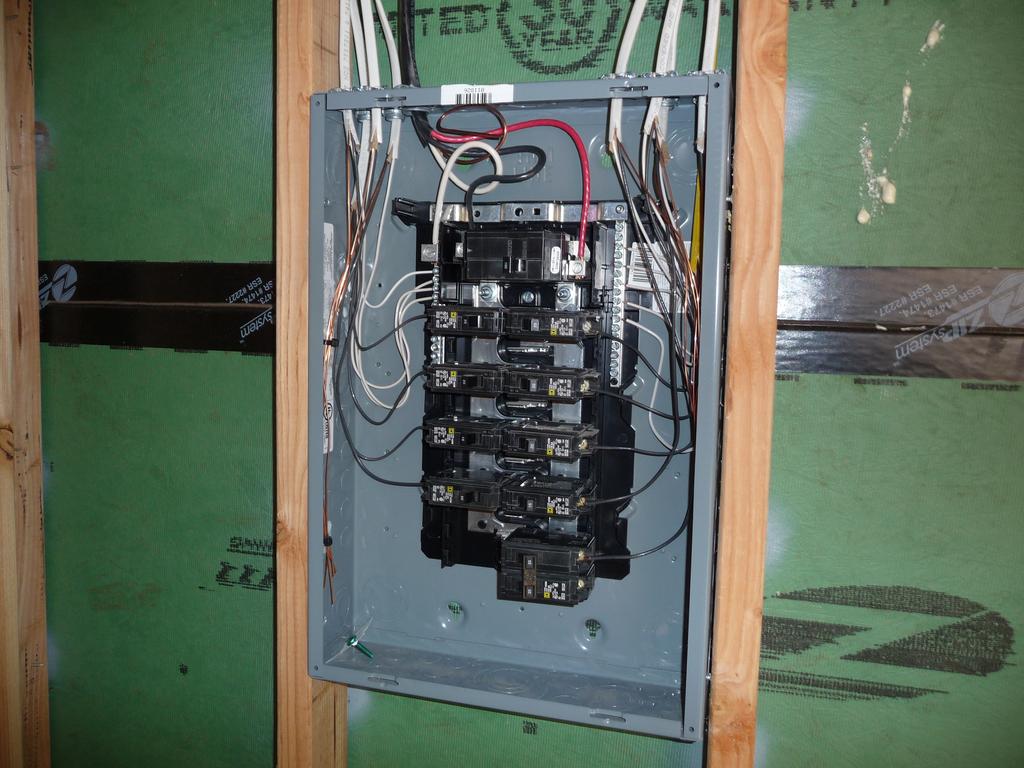
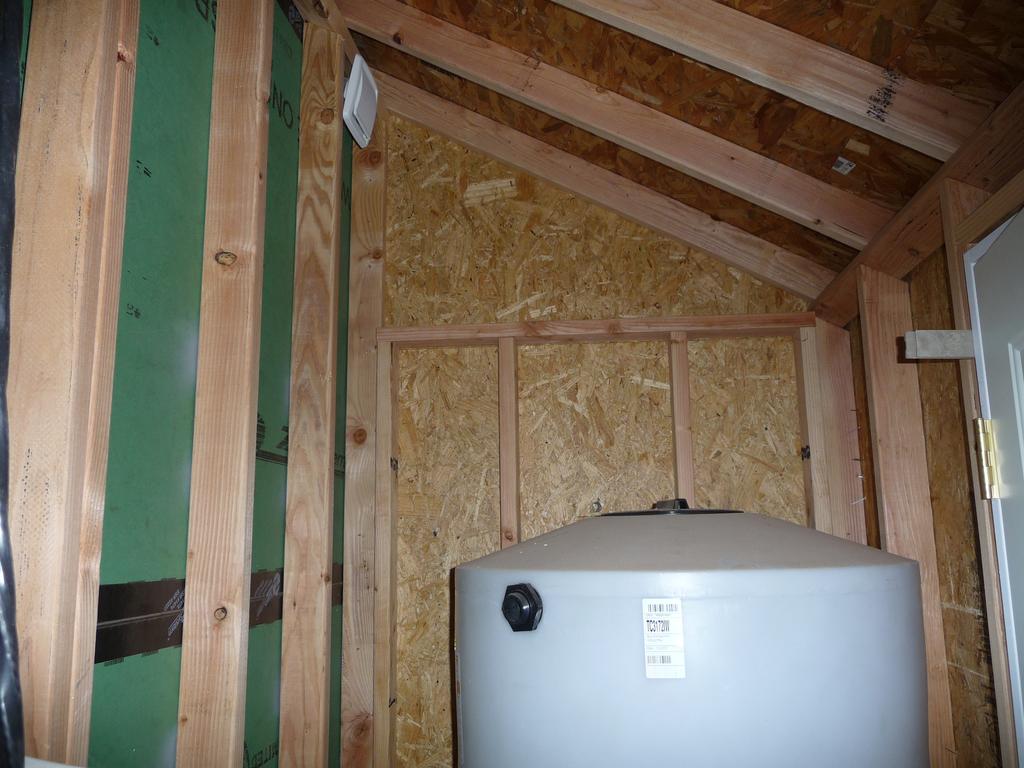
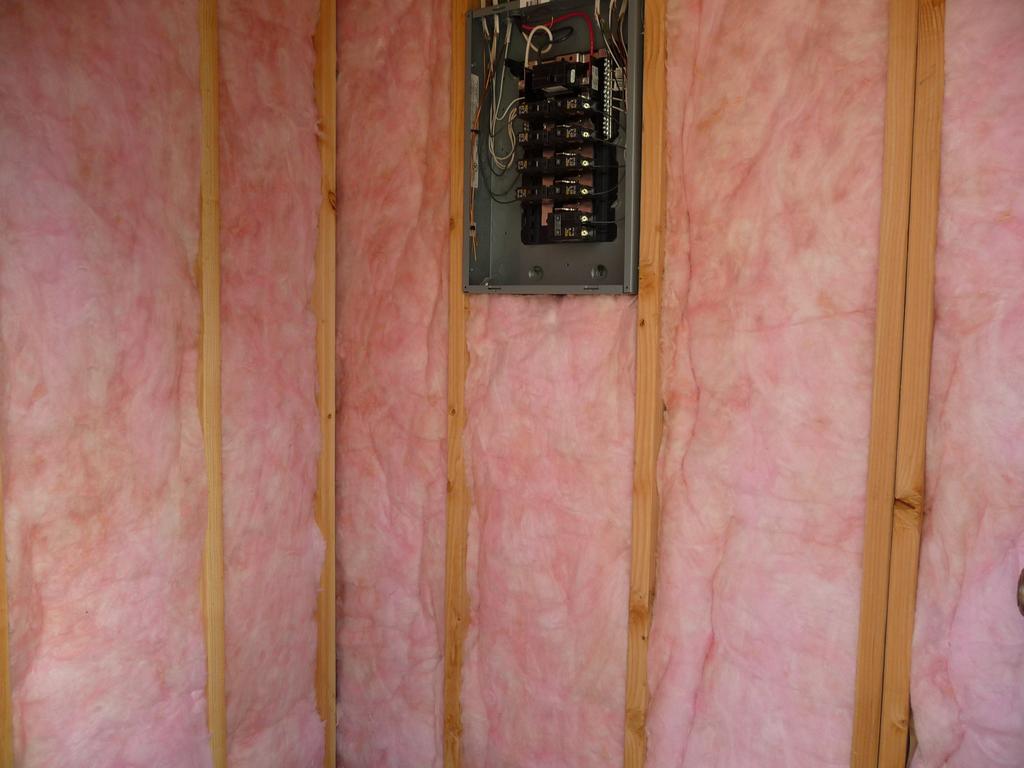
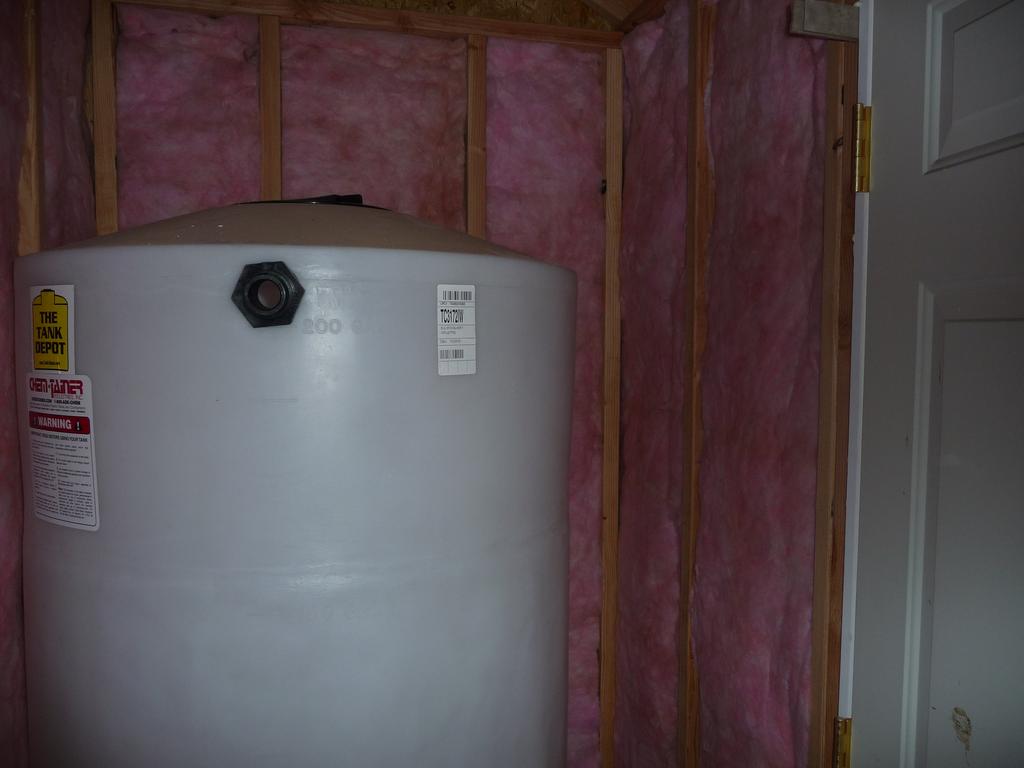
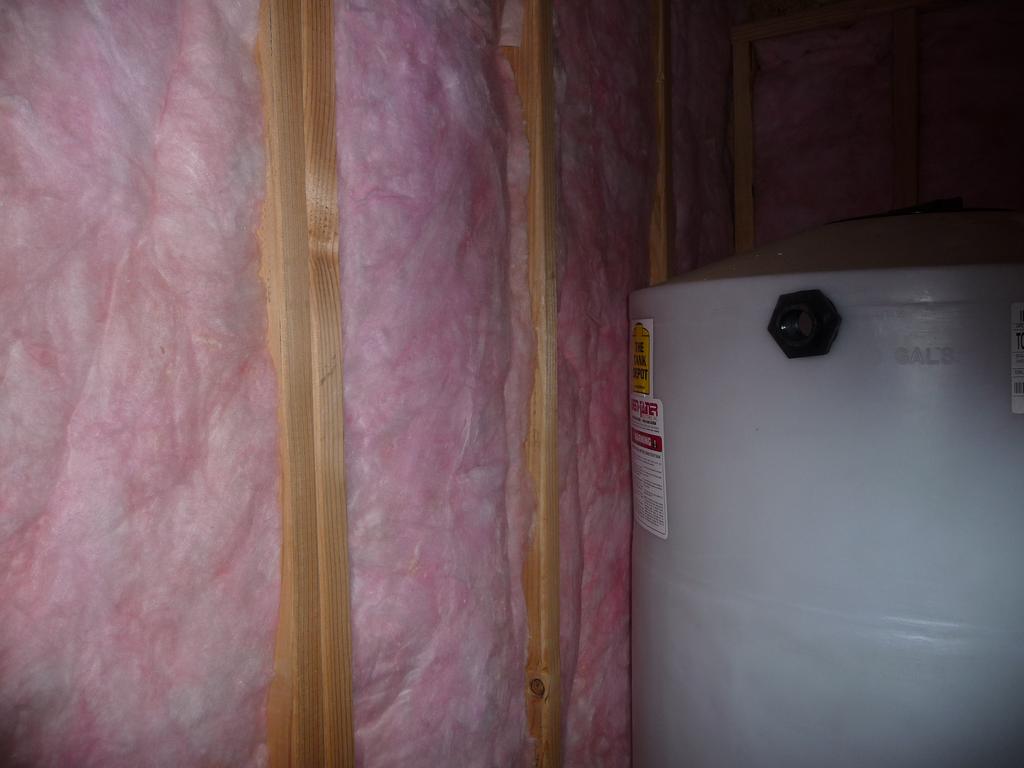
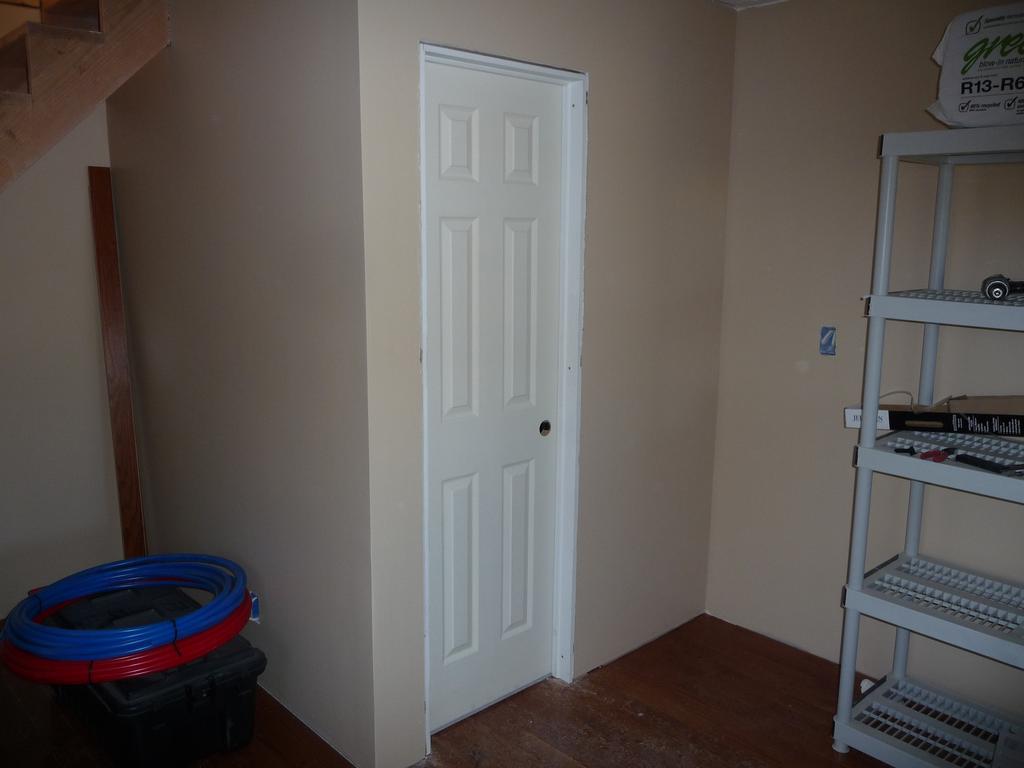
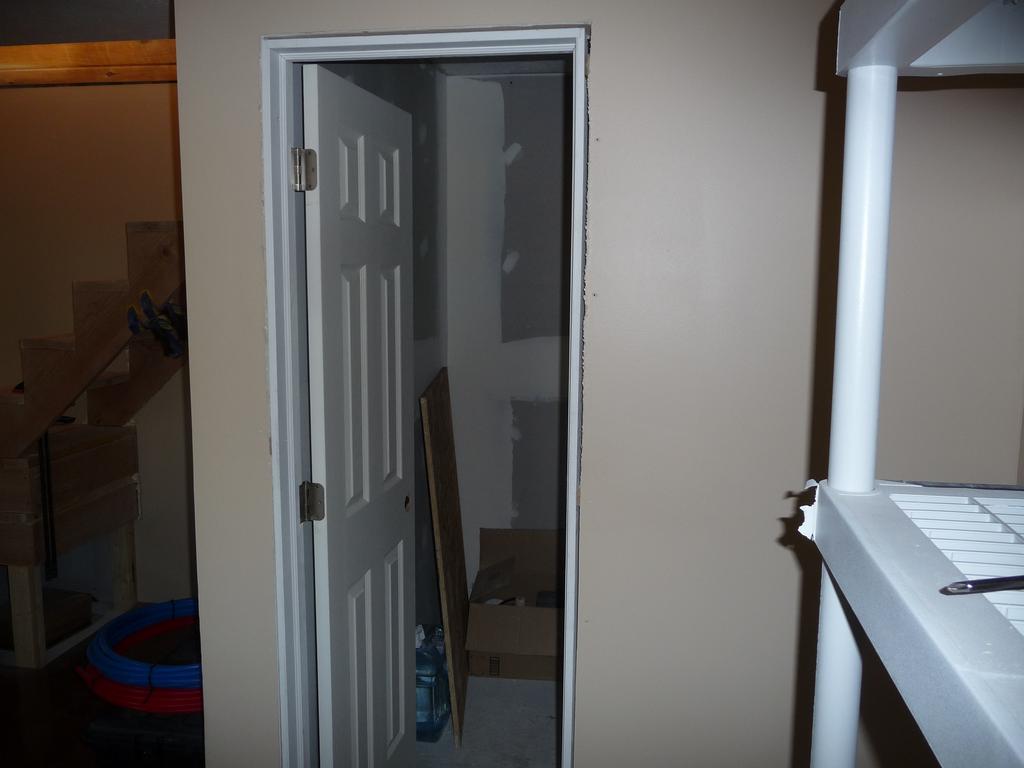
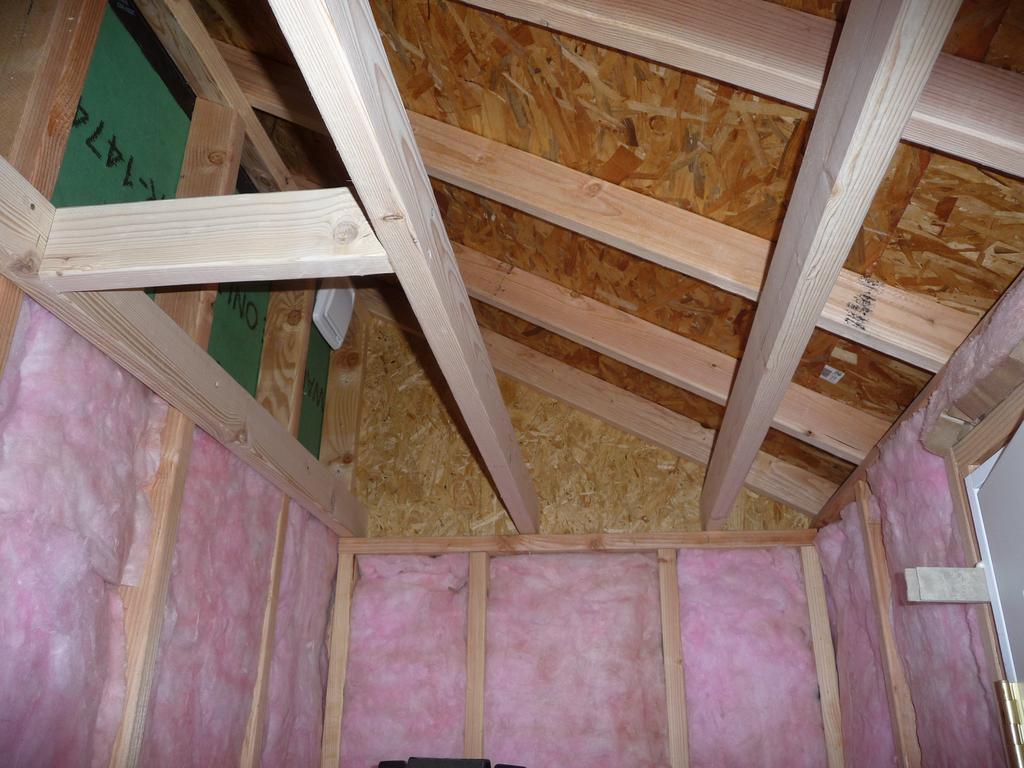
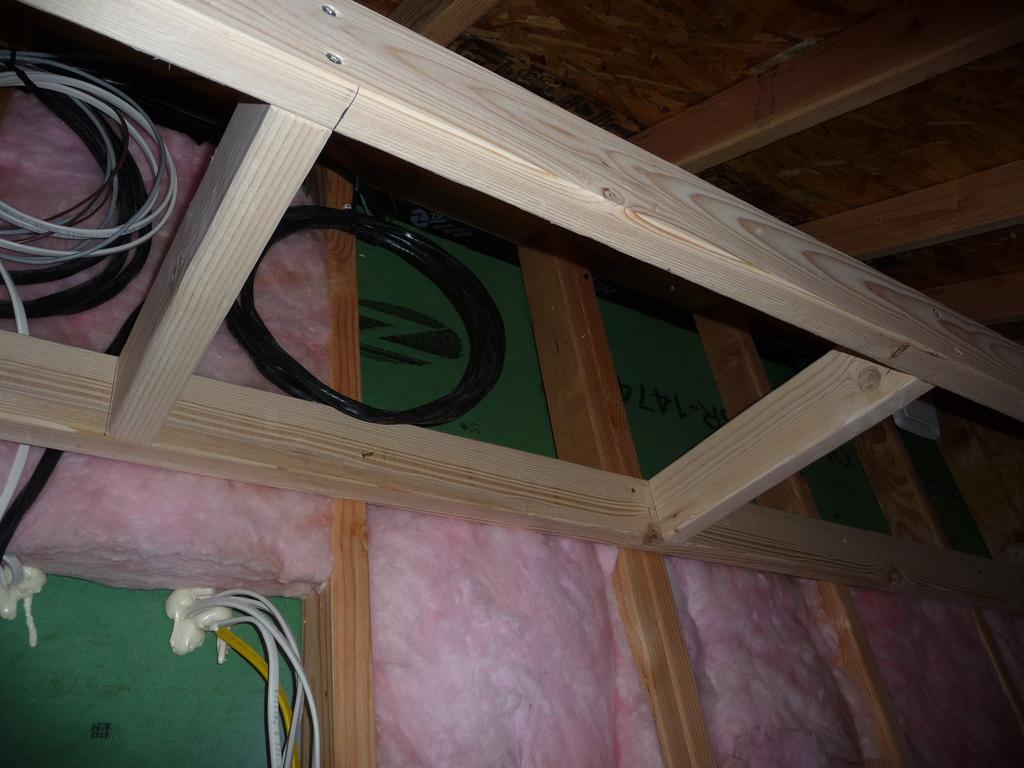
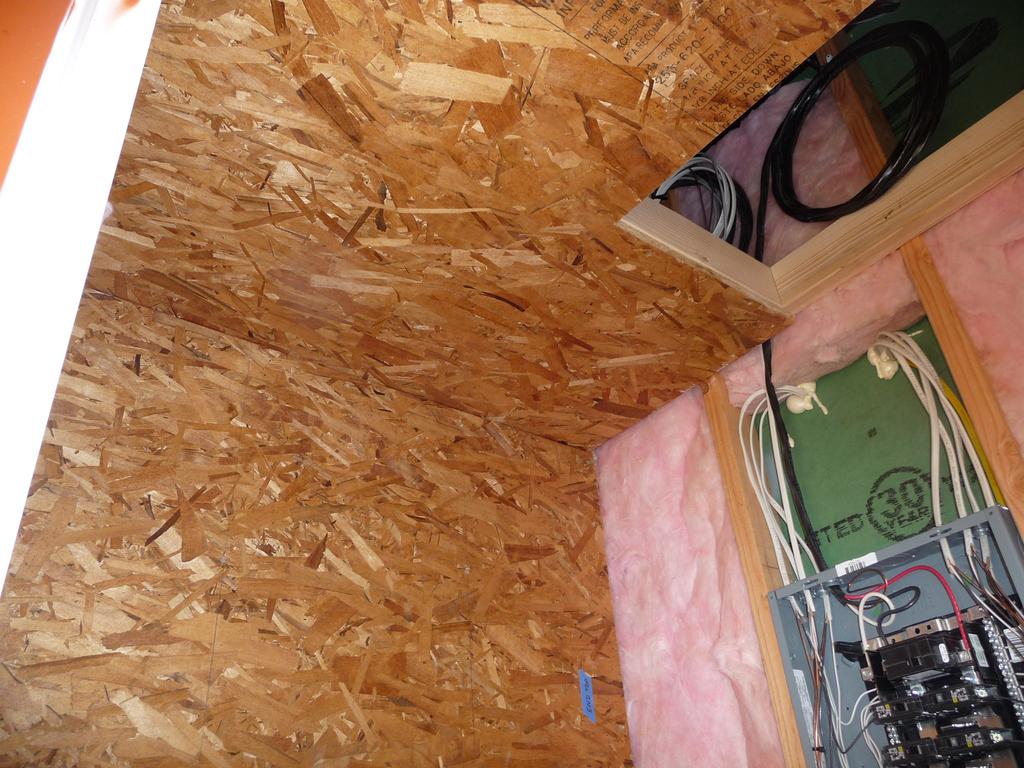
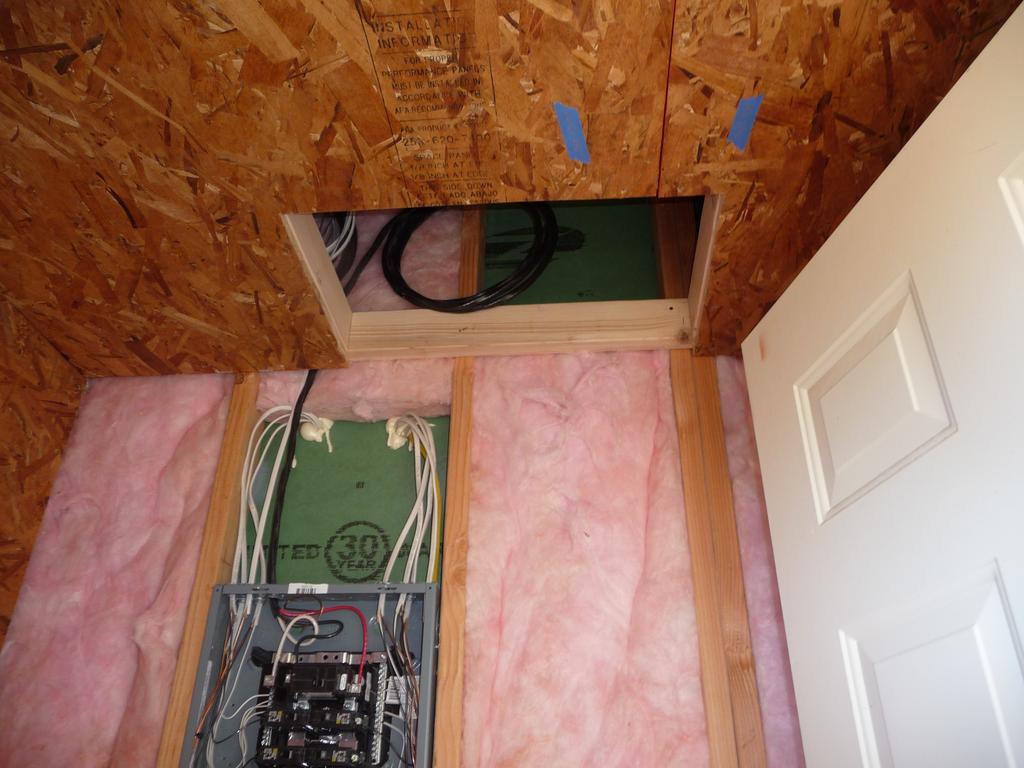
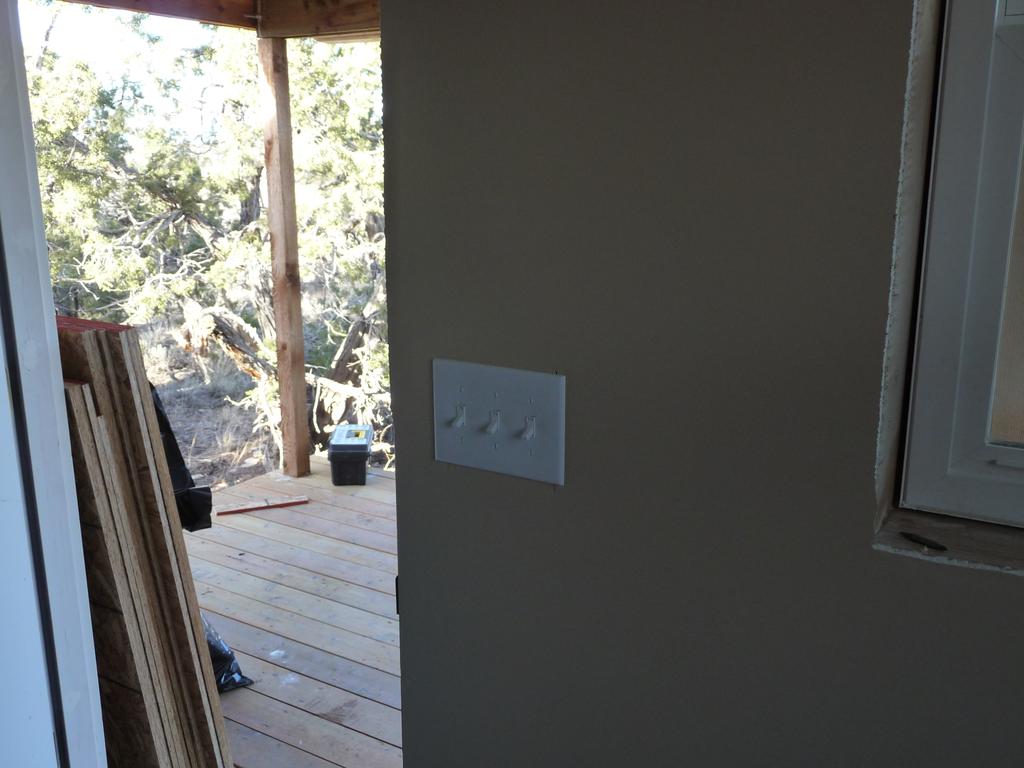
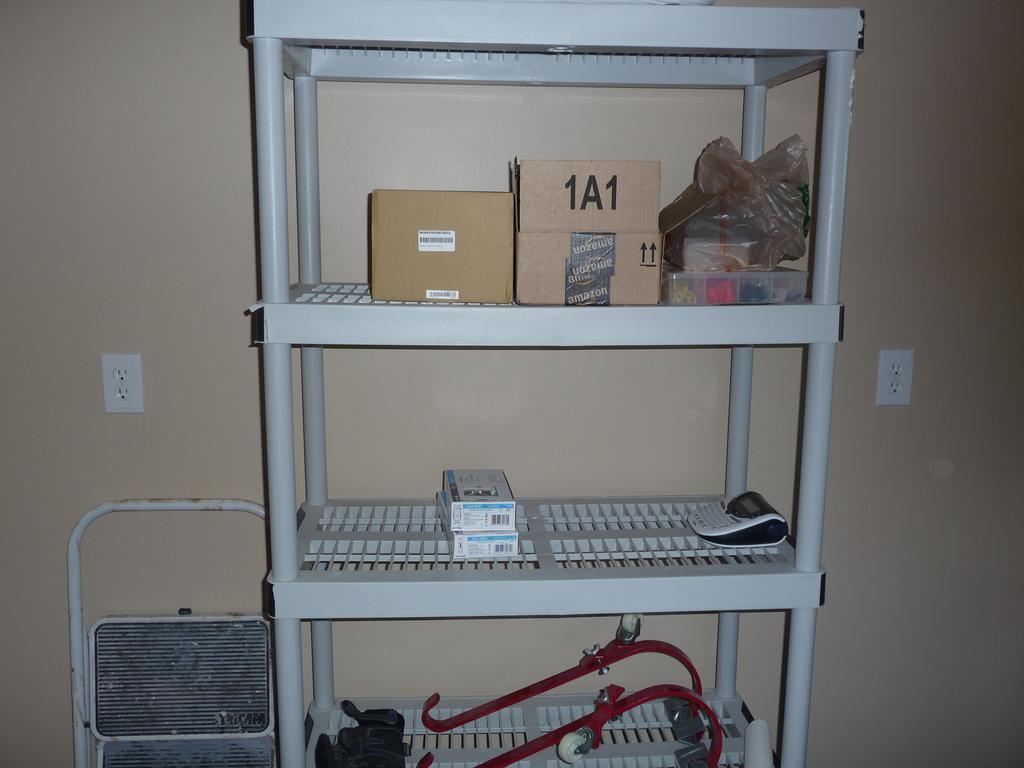
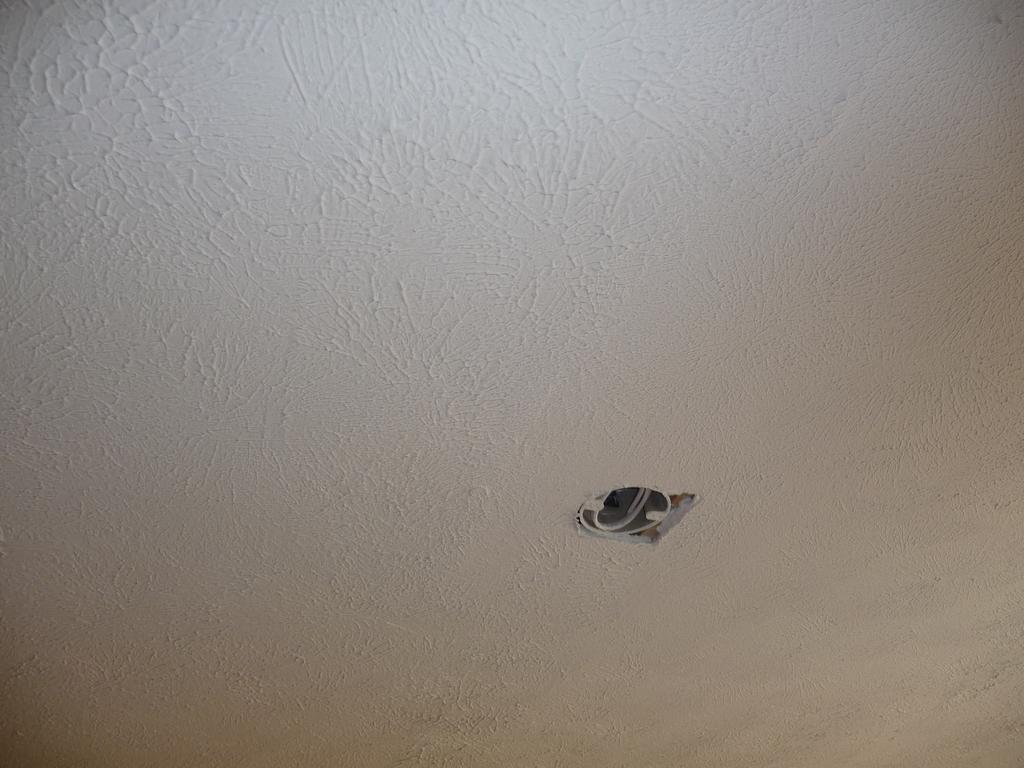
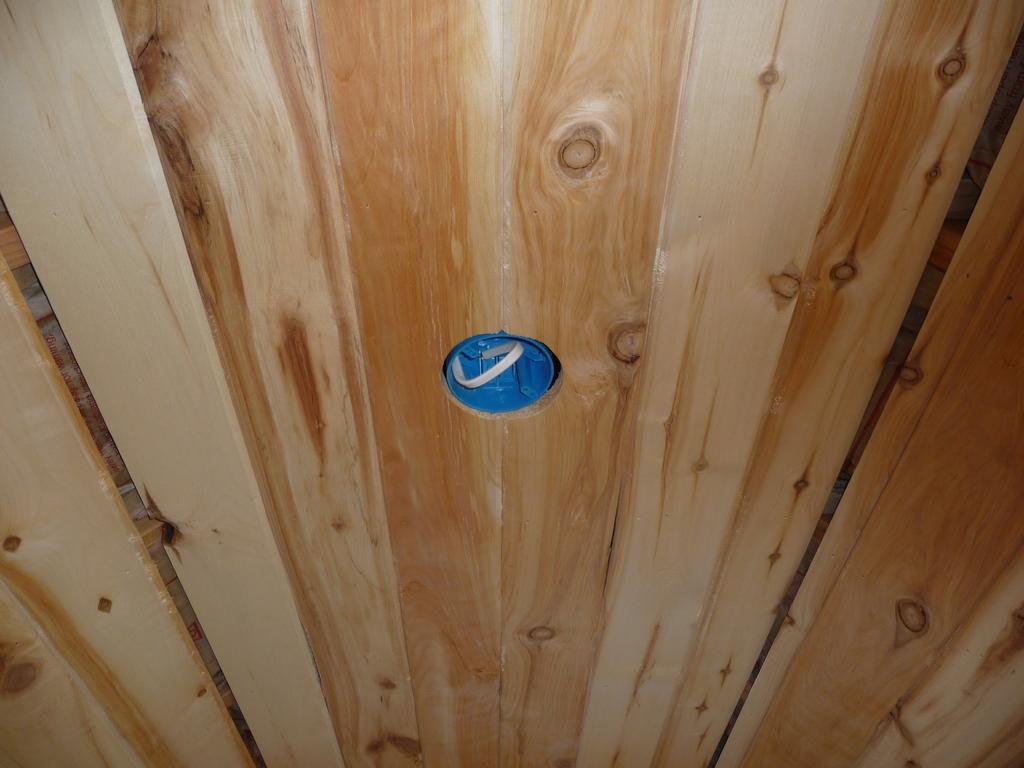
I want to finish some more outside work before the cold weather starts in earnest so I’ve started finishing the interior of the utility room. I wired up the AC electrical panel, added insulation, and started sheathing the inside walls with OSB. I framed in a ceiling with access to the “attic”. The “attic” is a very small space but provides a place to run wiring and piping more easily and neatly.
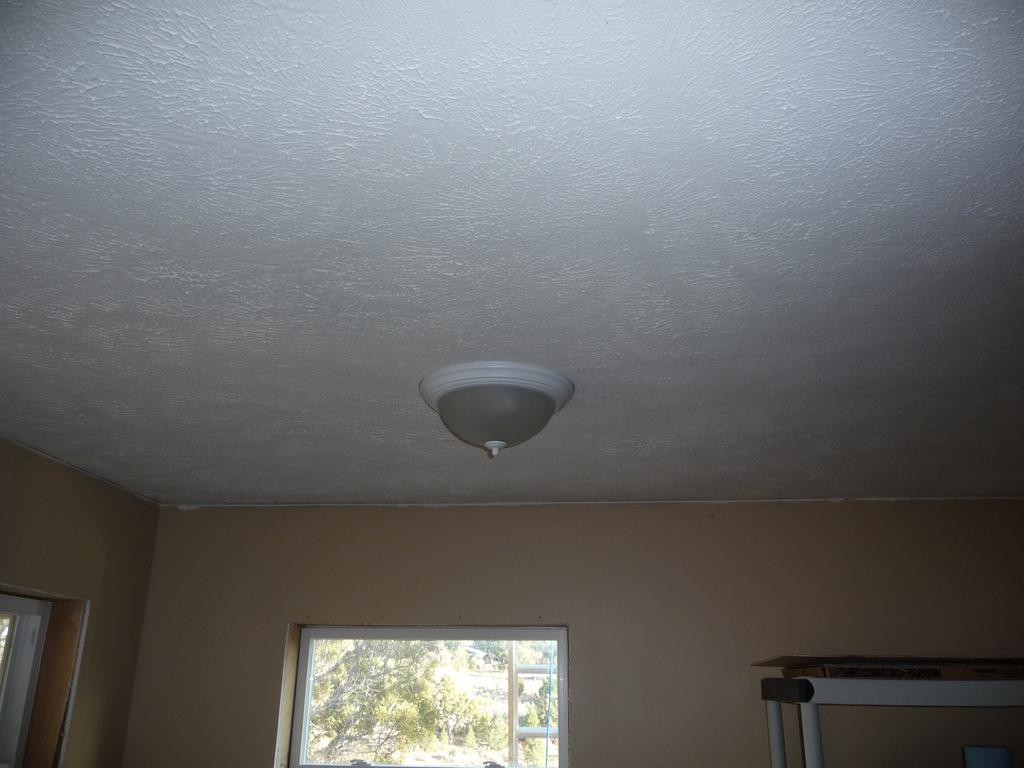
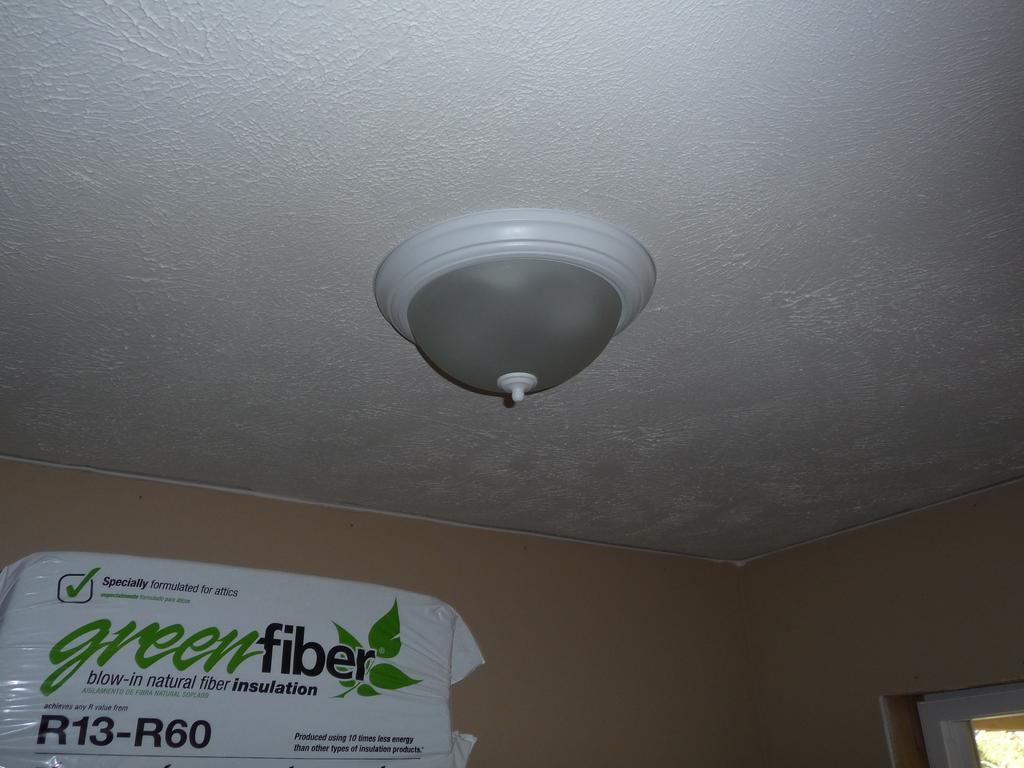
I also worked on a few other miscellaneous tasks. I installed the bathroom door, installed light fixtures in the living room and kitchen, and wired up some of the wall switches and sockets.


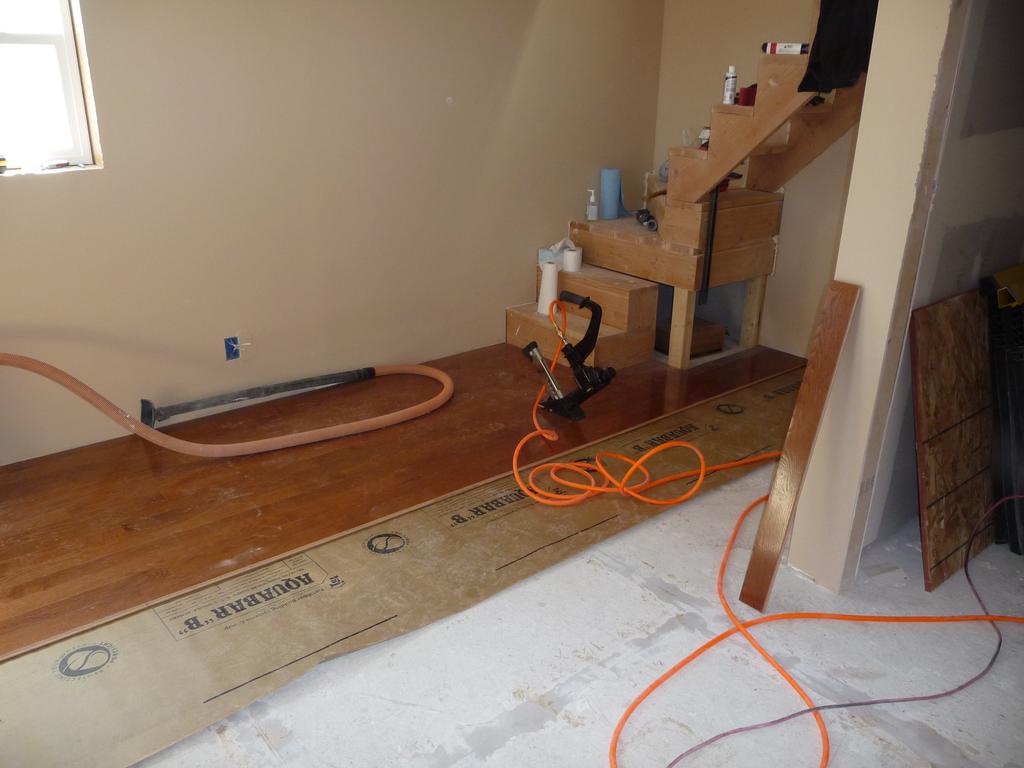
Downstairs Ceiling, Walls, and Flooring
Monday, Oct 08, 2012
The last four trips to the cabin were as follows:
- Clean up, organize, and move all the tools/supplies that were completely cluttering the first floor. Applied a final coat of joint compound on the downstairs walls.
- Sanded all the walls and ceiling. Applied a “slap brush” texture to the ceiling.
- Painted the ceiling and walls of the main room.
- Installed oak hardwood flooring in the main room.
Loft Finish and Flooring
Monday, Aug 20, 2012
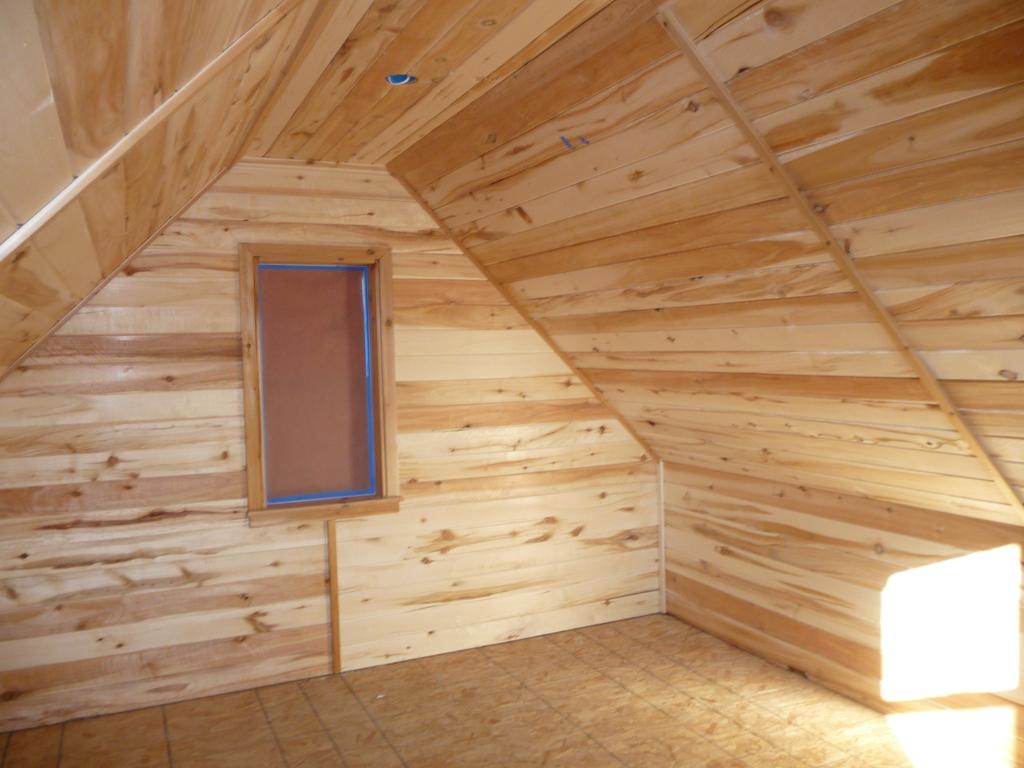
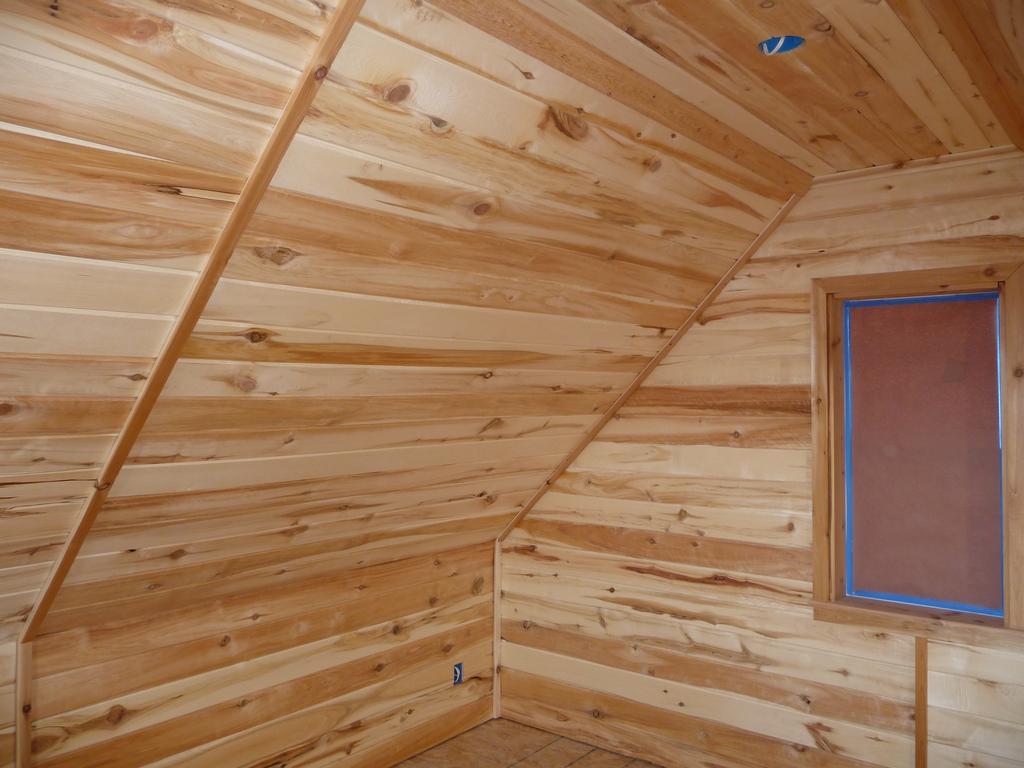
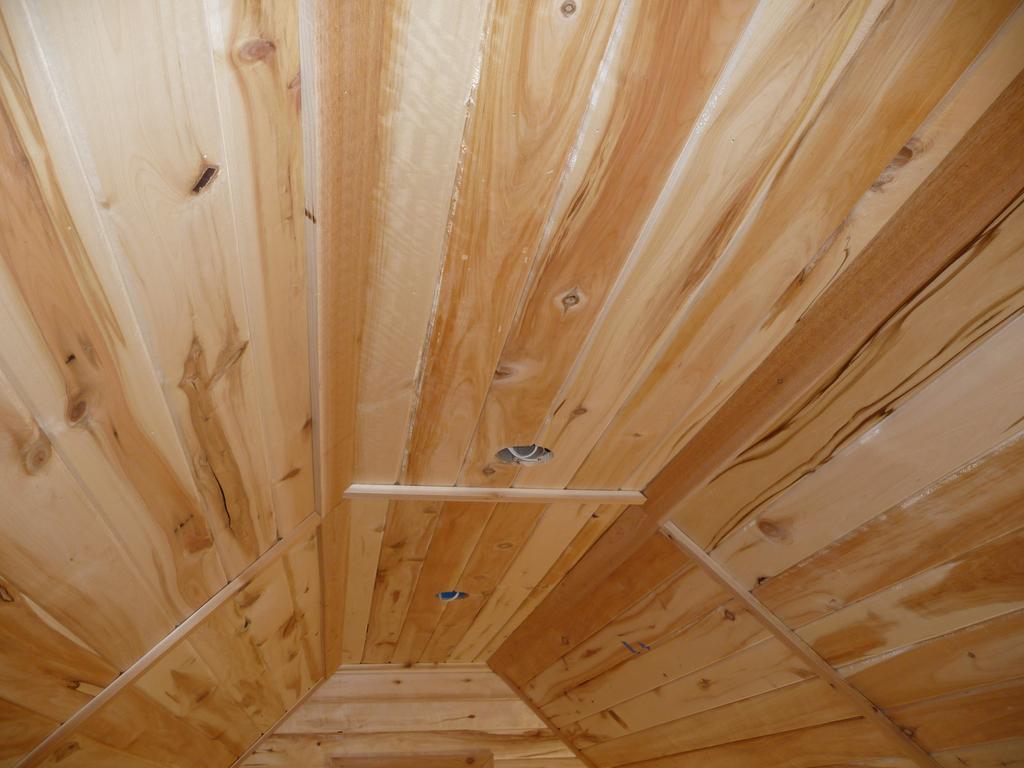
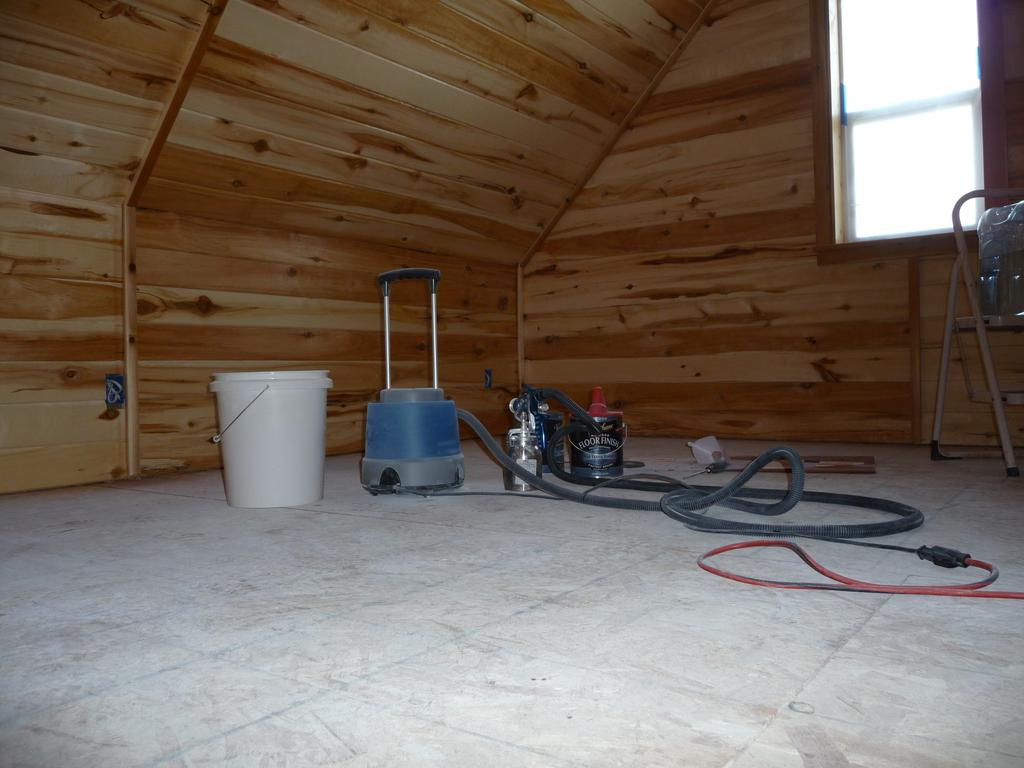
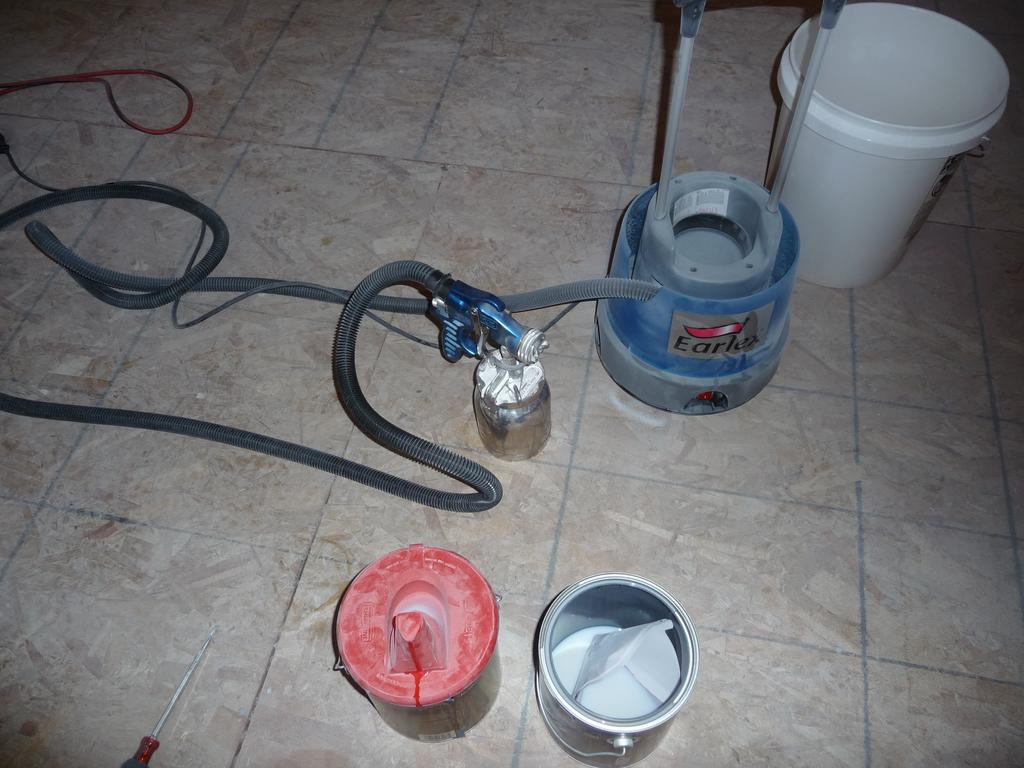
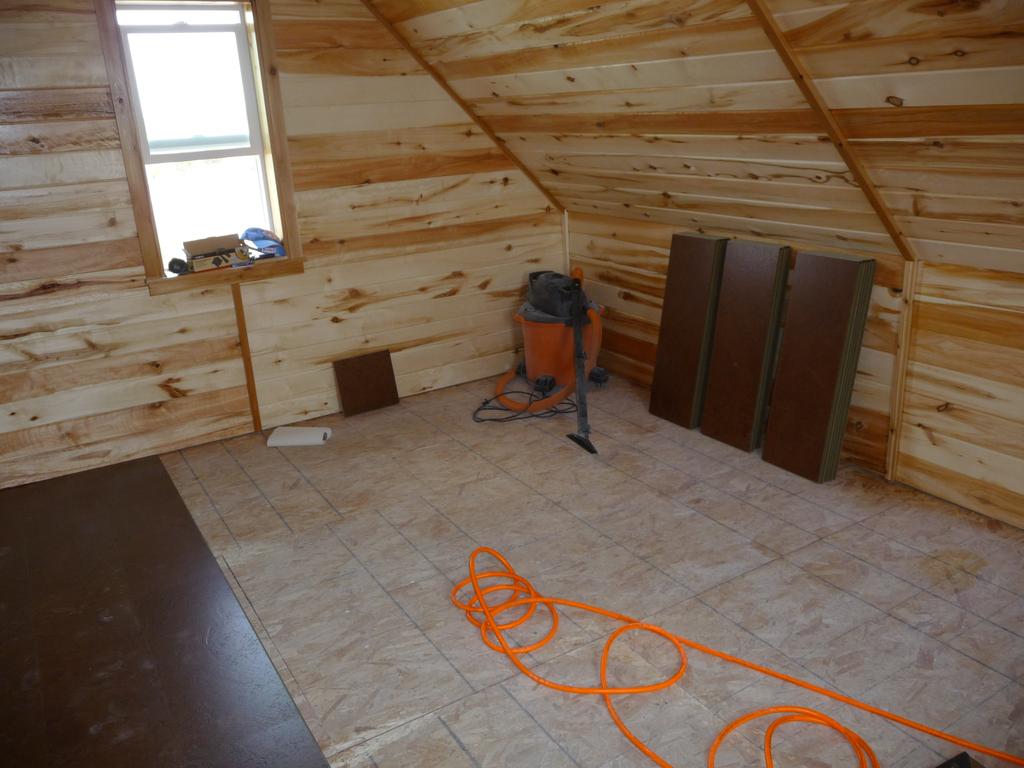
Saturday I put four coats of water-based polyeurethane on the loft siding. I used an Earlex HVLP sprayer I bought on sale about five years ago but hadn’t used until now. The sprayer worked great and it took about 25 minutes to spray a finish coat. Because I used water based poly, drying time between coats was only two hours.
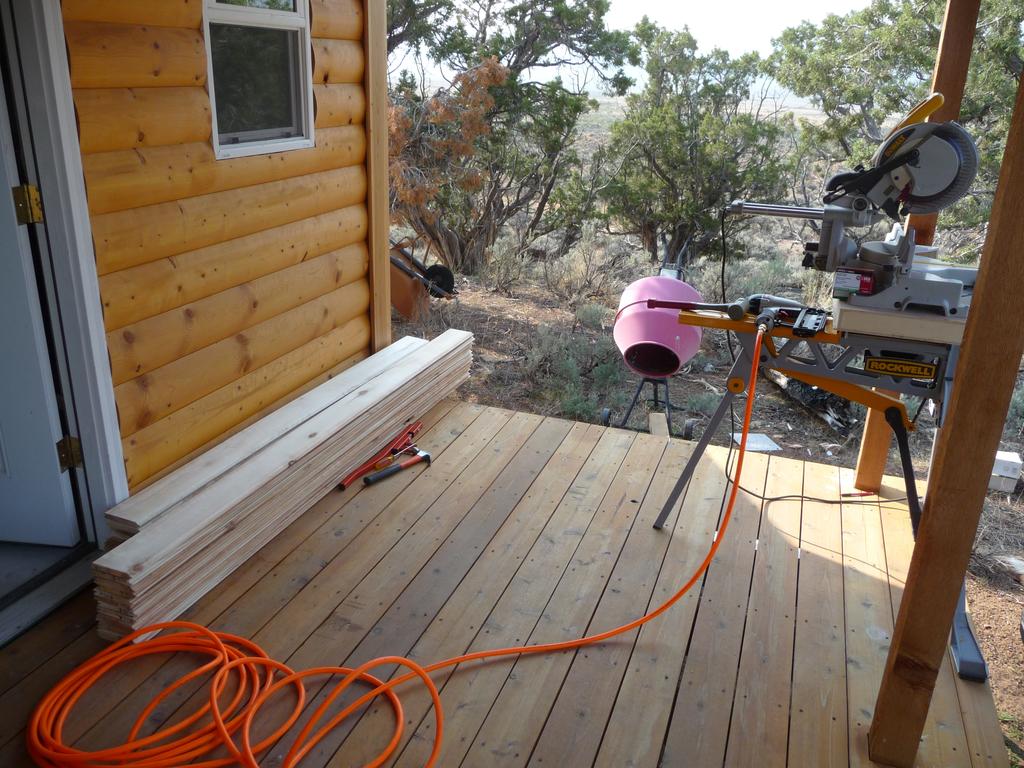
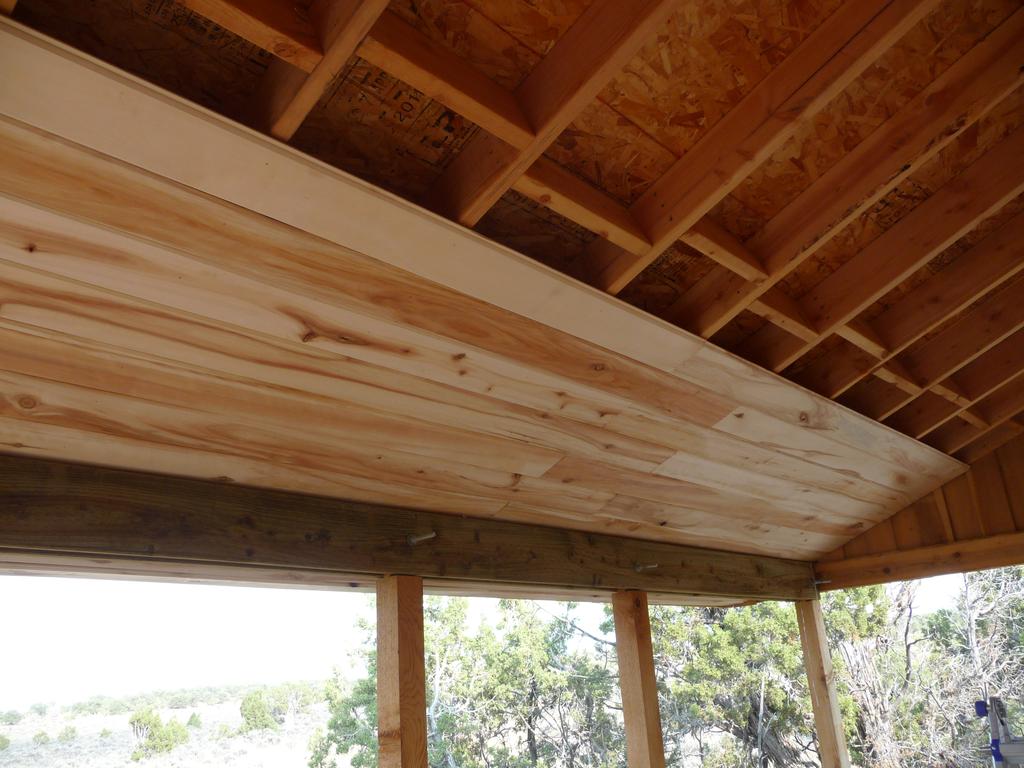
While waiting for the finish to dry between coats I started on a porch ceiling using T&G aspen siding I had left over from the loft. While not strictly necessary, I had the extra wood and it does dress it up a bit. I got all the planks cut to size and about a third of it installed.
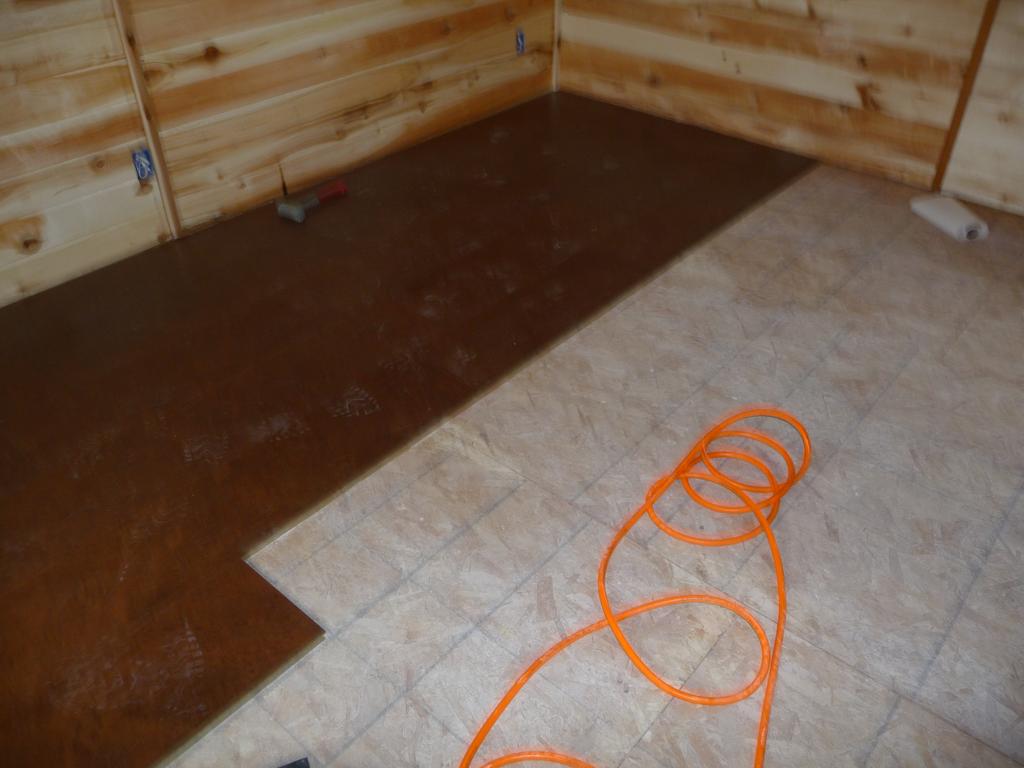
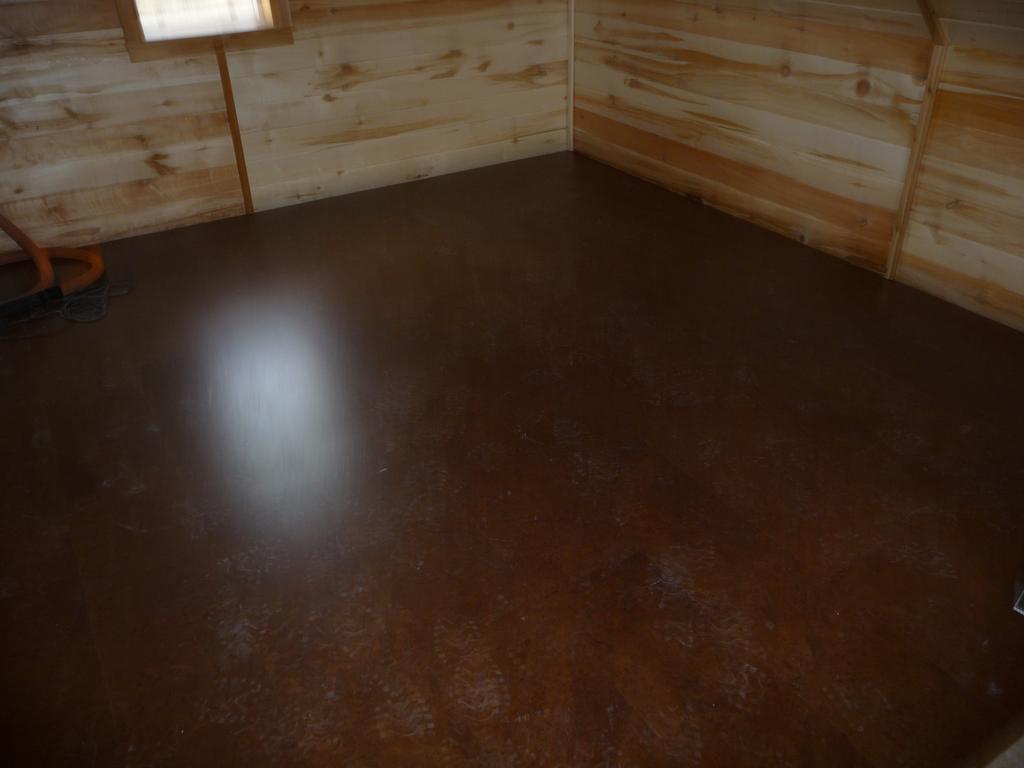
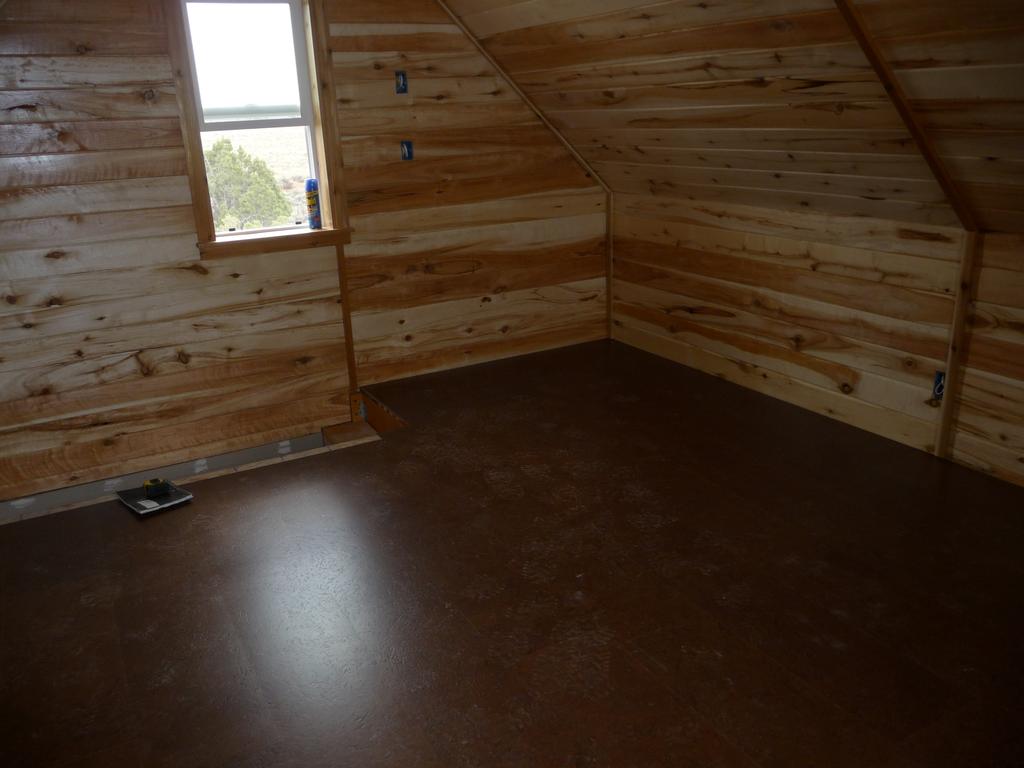
Sunday I installed flooring in the loft. I used a cork floating flooring I got for $2 a square foot. The dark color is called “Sable Gibralter” and provides a nice contrast to the lighter siding but does tend to show my dusty footprints.
Upon leaving on Sunday, I-40 was closed due to a fire seven miles SE of Heber so I had take an alternate route home which took me farther north through the towns of Tabiona, Hanna, and Francis. It was only 22 miles farther but the route contained a lot of steep grades and tight curves and because the big trucks had to detour also, I spent a lot of time going under 20mph. The trip home took an hour and 50 minutes.


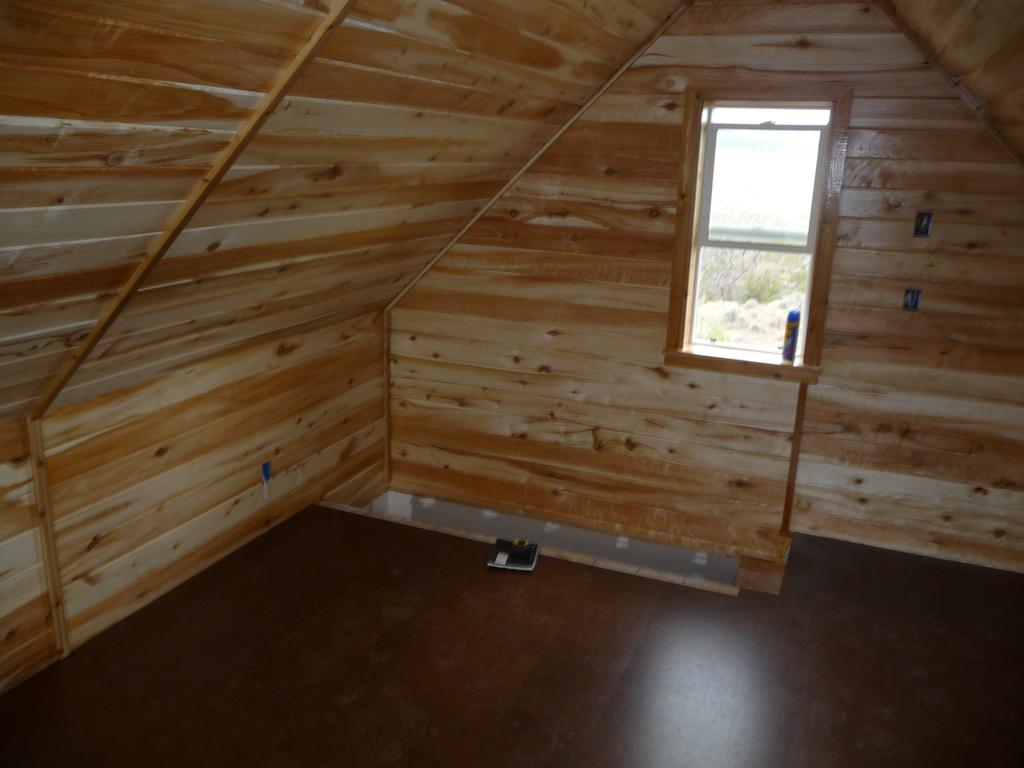
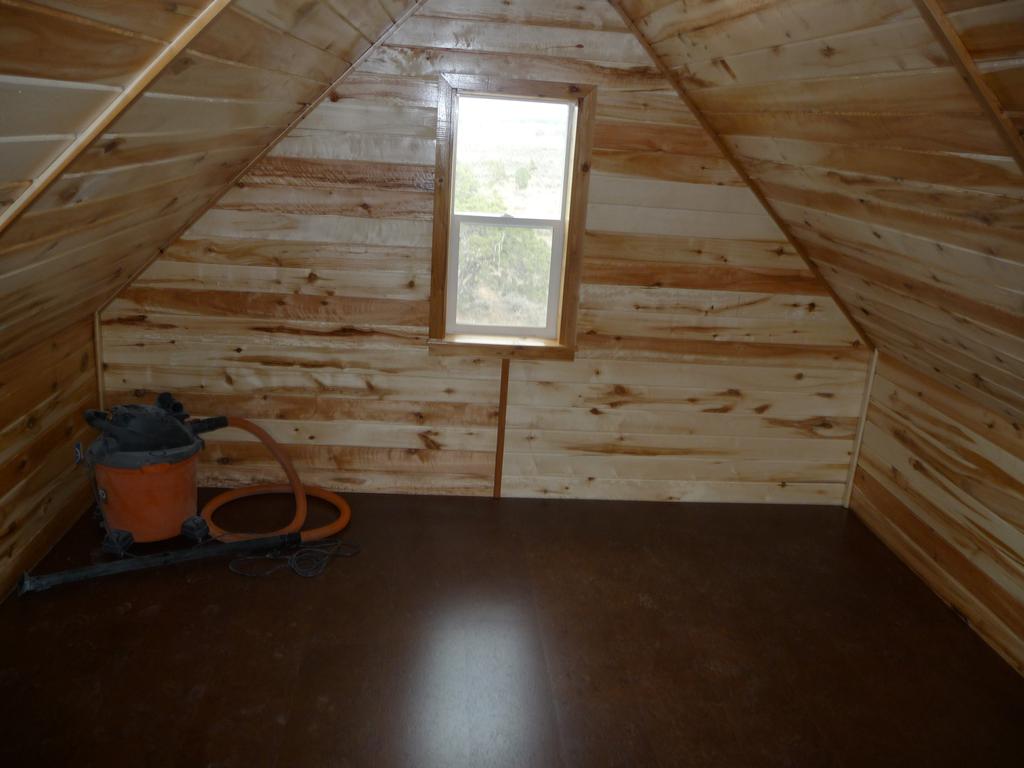
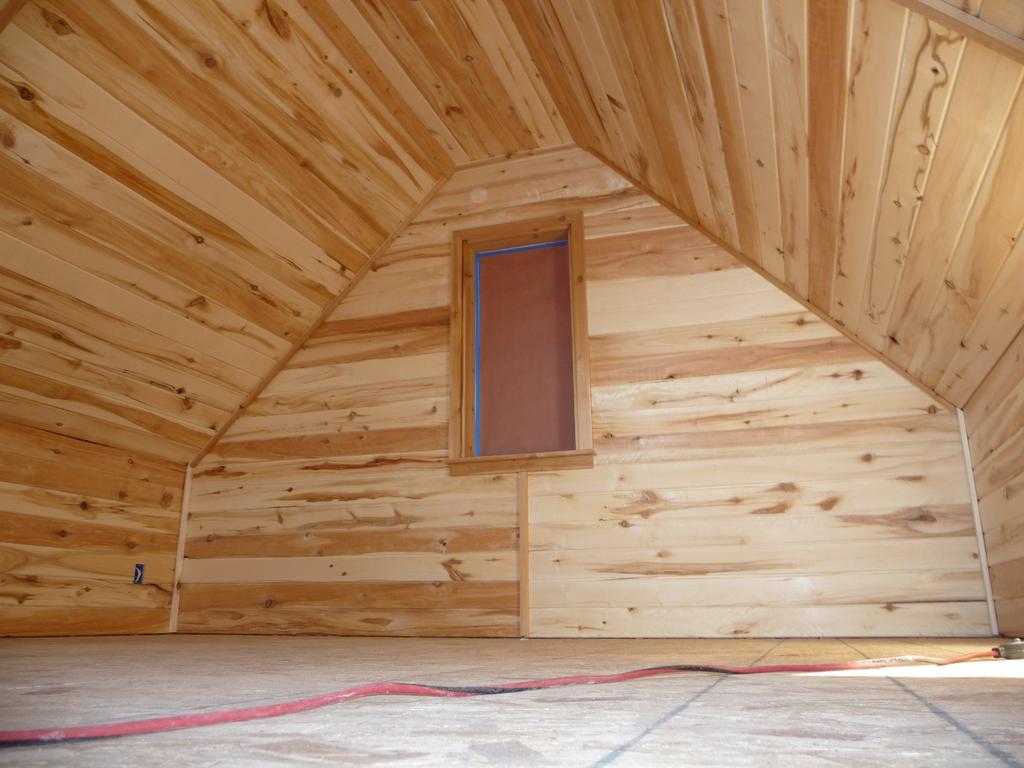
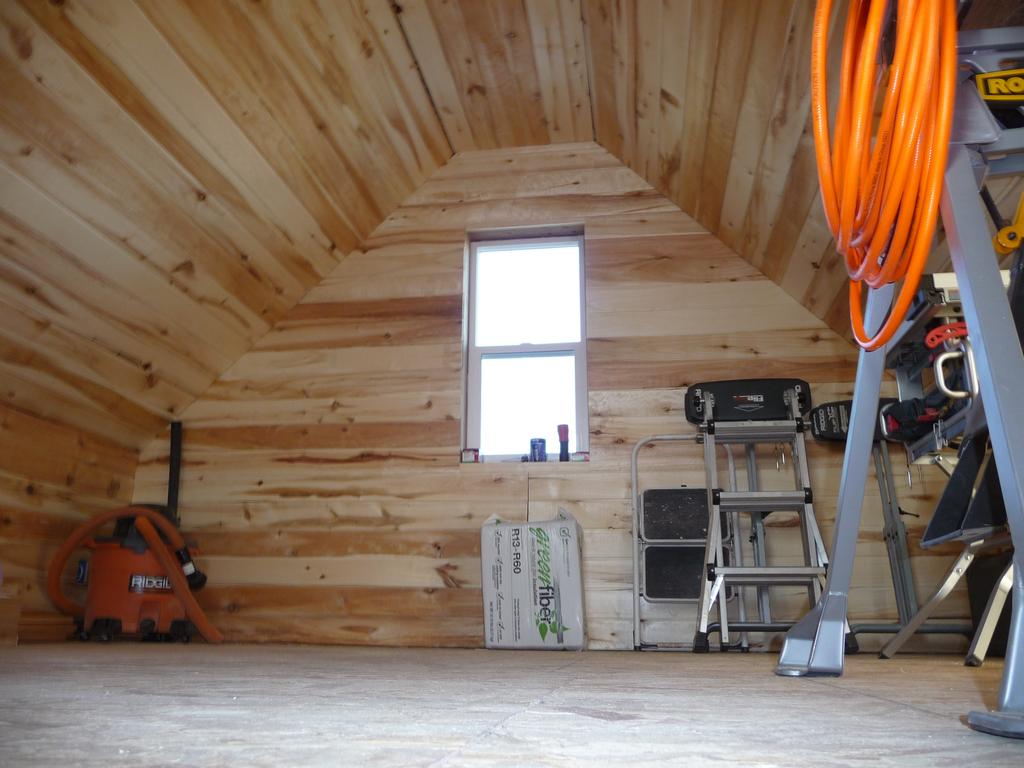
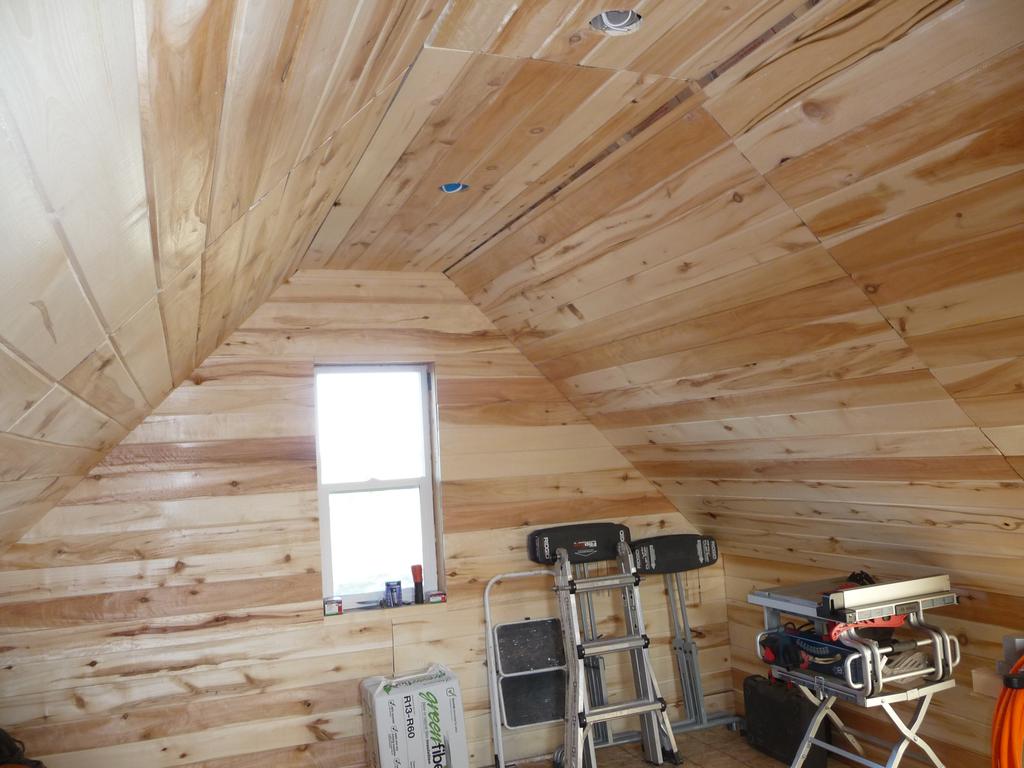
Loft Siding
Monday, Aug 06, 2012
I’ve finished installing the aspen siding in the loft. It took a bit longer than expected. Next I’ll add some finish and trim.

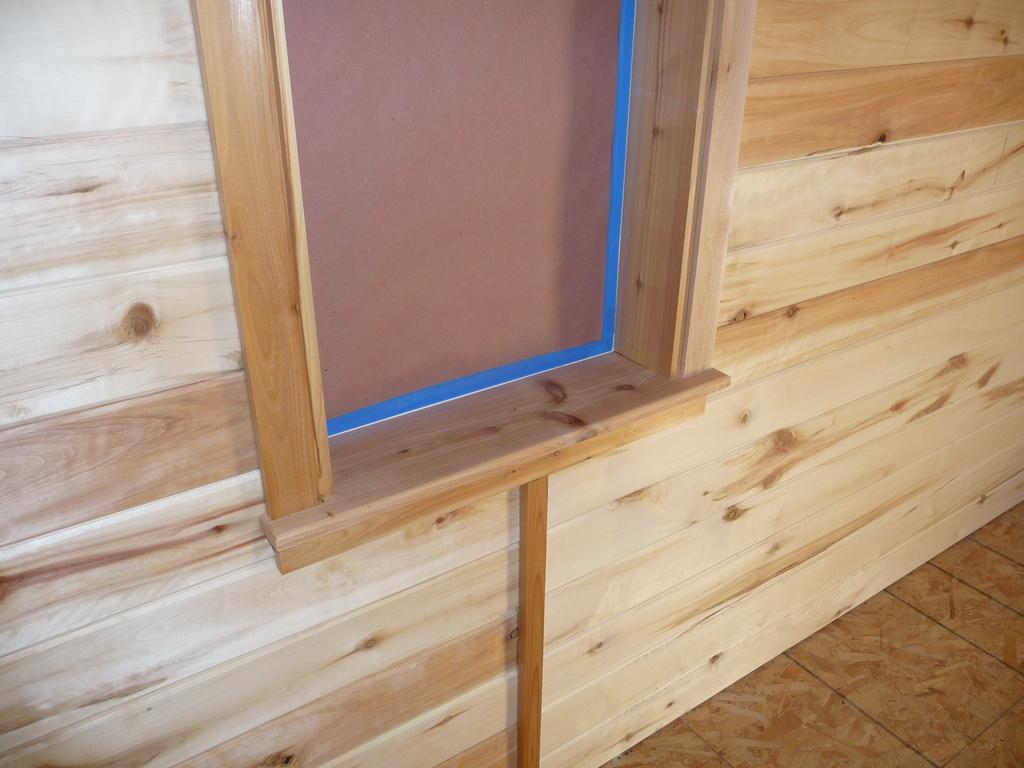
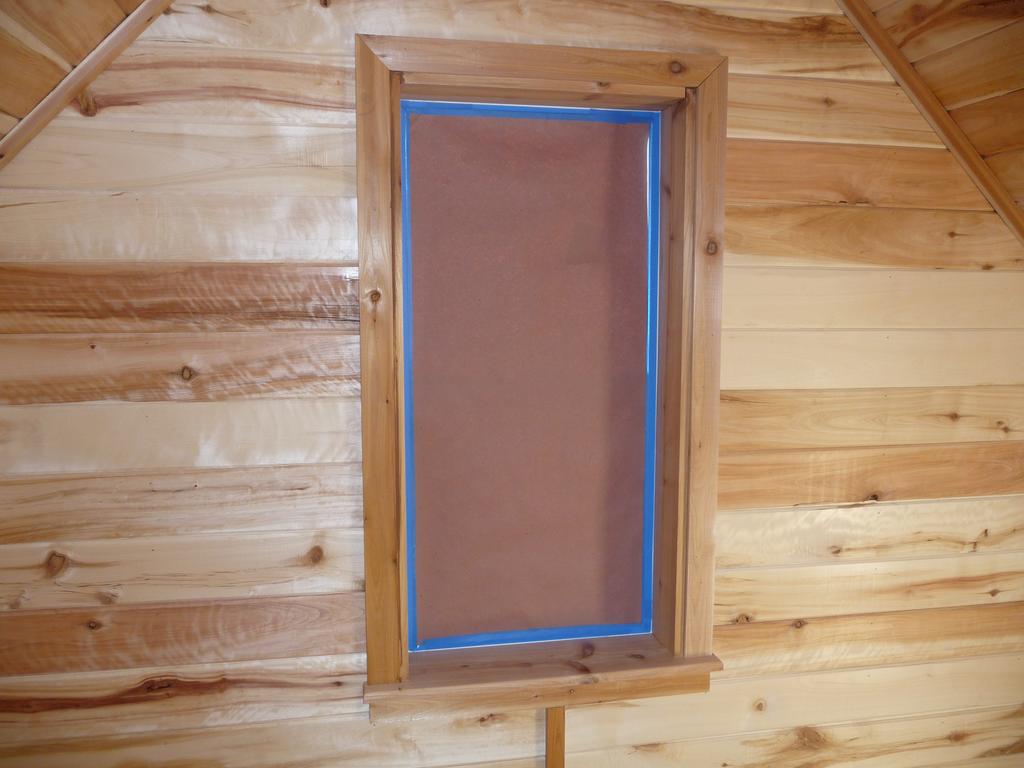
Loft Trim
Monday, Aug 06, 2012
Saturday I installed trim in the loft. I used cedar for the trim and the color matched the aspen siding very well. The windows took the longest but turned out well.